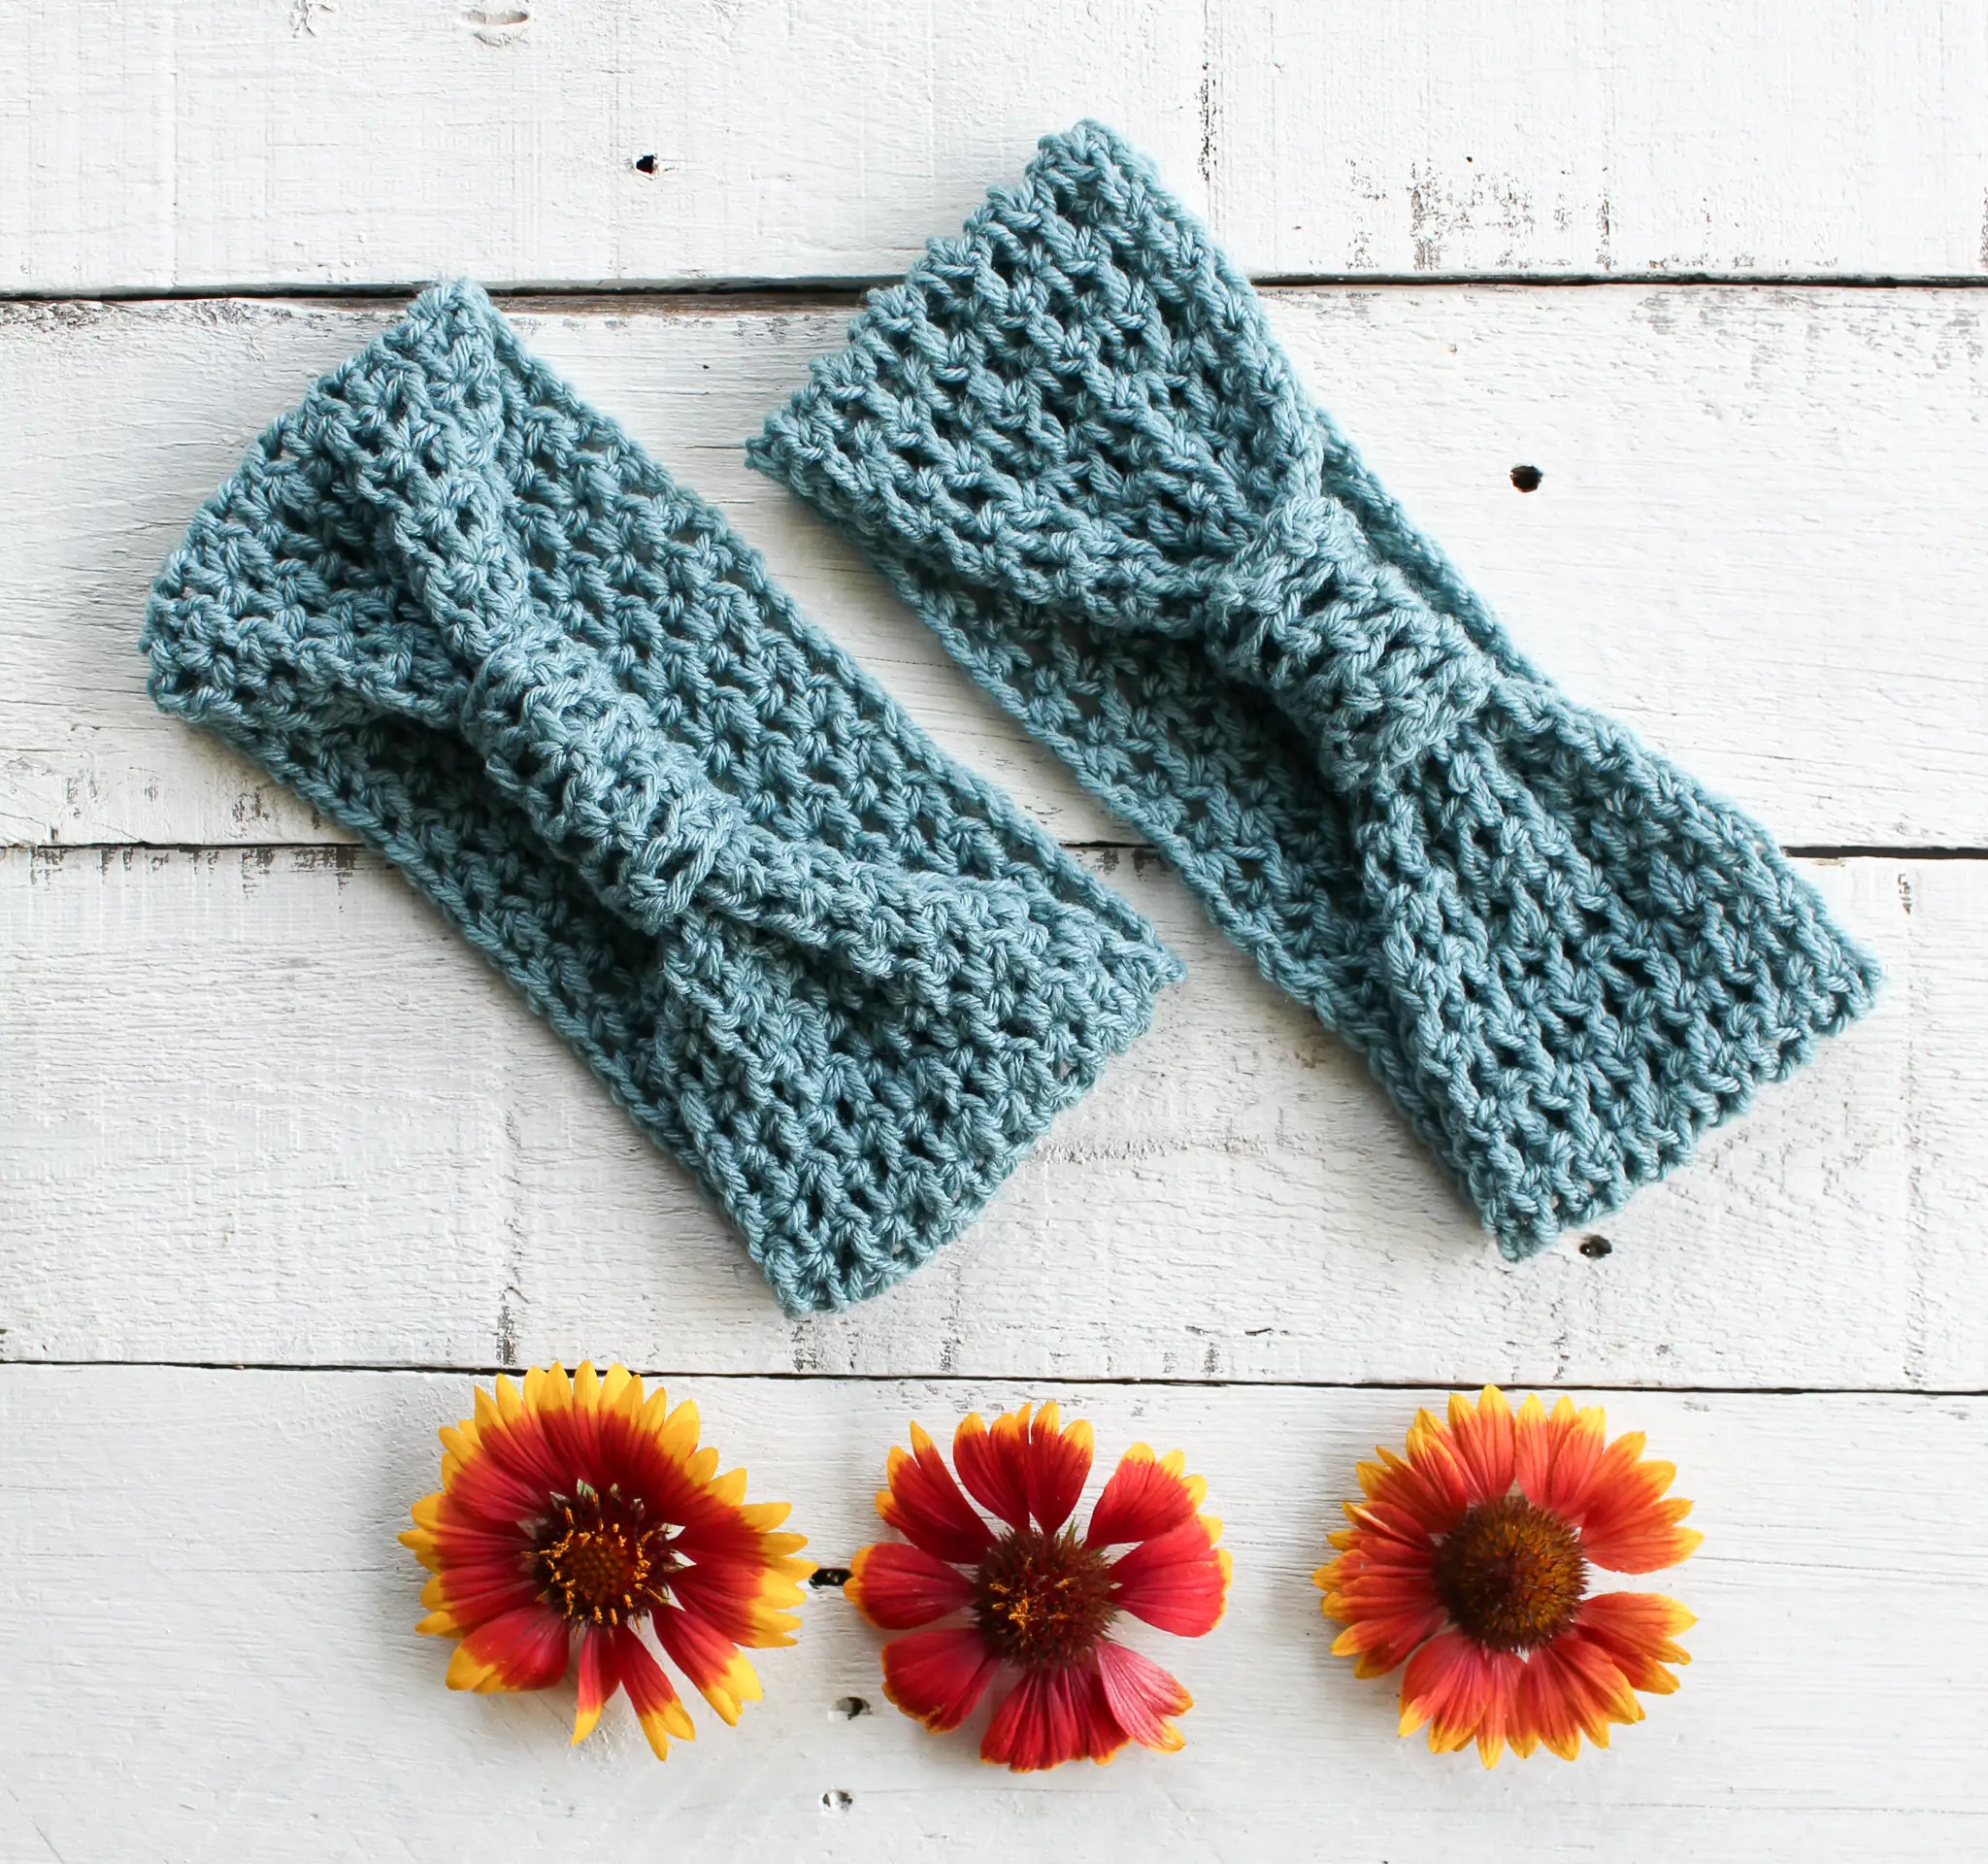
Easy Boho Headband
I am so happy to share the prettiest little easy crochet headband pattern with you today!

Pin it for later!
Now that we are back to school, hybrid-style, I’ve been rockin’ the messy mom bun daily while navigating remote learning with four kiddos (it’s crazy!). Buuuuutt I’m also trying not to look like a hot mess during in-school pick-ups/drop offs – enter the Easy Boho Headband!

Get an ad-free printable PDF of this pattern on Etsy or Ravelry or scroll down to get the free pattern!
The Yarn
The idea for this pattern has been floating around in my head for a few weeks. The goal was to make an easy crochet headband that was more of a hair accessory, not an ear warmer, to cover up my bad hair days!
Now to find the perfect yarn….On a whim, I added a hank of this GORGEOUS Gloss Fingering weight yarn to my cart with my last order from We Crochet and I just could not stop thinking about the stunning color (it’s called Wharf!). I knew this had to be my headband yarn without a doubt!

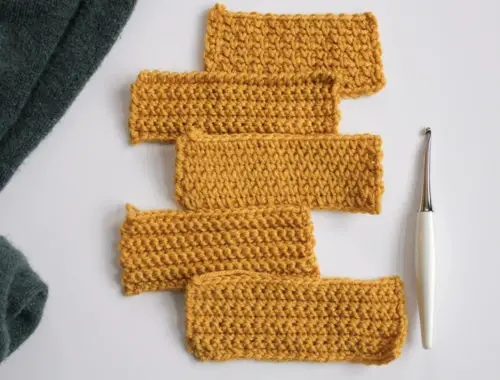
The Stitch
For the design, I wanted to make something open and airy to get that free-spirited boho vibe, so I went with my tried and true hdc mesh stitch. I used this stitch for the Magnolia Summer Cardigan and I love how mindless it is once you get going and how quickly it works up. These headbands take me under an hour to make (and I’m a pretty slow crocheter) so they would be great for market prep!

Get the free pattern below!

Easy Crochet Headband Pattern
SKILL LEVEL
Easy
MATERIALS
- Yarn: About 60 yards fingering weight yarn. I used WeCrochet Gloss Fingering in the color Wharf.
- Size K (6.5mm) crochet hook.
- Yarn needle and scissors.
DIMENSIONS
Finished, unstretched headband measures 18” around and 3.5” wide.
GAUGE
5 hdcs (4 chs) x 7 rows in 2” square using hdc mesh stitch.
NOTES
- This pattern is worked in rows to create a larger main band which is sewn together to form a loop. A smaller accent band is made using the same stitch and sewn around the main band.
- Pattern written in US terms.
- The ch 3 at the beginning of each hdc mesh stitch row DOES count as an hdc stitch + ch 1.
- Special stitch: Hdc mesh (check out this step-by-step tutorial).
- Abbreviations
- ch = chain
- hdc =half double crochet
- sk =skip
- st =stitch
PATTERN
Main Band:
Ch 64 (or any even number if you wish to adjust the circumference of your headband. Chain should overlap slightly when wrapped snugly around the head).
Row 1: Hdc in 4th ch from hook (the first 3 chs you skipped will count as a hdc + ch 1),
Tip: Hdc in the back bump of the chain to get a more finished looking edge.

[ch 1, sk st, hdc in the next st] repeat [ ] across to end of ch. <32 hdc & 31ch >

Row 2: Ch 3 (counts as hdc + ch 1), turn, sk first st, hdc in next st (work into the stitch, not the ch 1 space),

[ch 1, sk st, hdc in next st] repeat [ ] across. Place the final hdc in the top of the turning chain from the previous row. < 32 hdc & 31ch>

Rows 3 – 12: Repeat Row 2 (Adjust the number of rows if you wish to modify the WIDTH of your headband).
Fasten off at the end of Row 12, leaving a 15” tail for sewing.
Small Band:
Ch 12
Row 1: Hdc in fourth ch from hook, [ch 1, sk st, hdc in the next st] repeat [ ] across to end of row. <6 hdc & 5ch >
Tip: Hdc in the back bump of the chain to get a more finished looking edge.
Row 2: Ch 3, turn, sk first st, hdc in next st, [ch 1, sk st, hdc in next st] repeat [ ] across. < 6 hdc & 5 ch>
Rows 3 – 7: Repeat Row 2.

Fasten off, leaving an 8” tail for sewing.
Assembly:
- Fold the main band in half lengthwise to form a circle. Use the long tail and a yarn needle to mattress stitch the two short ends together.

- Wrap the smaller band around the main band at the seam, with the rows running in the opposite direction of the main band. Small band should fit tightly around the main band, with the main band bunched underneath.

- Use the long tail to mattress stitch the ends of the small band together to form a loop. Before fastening off, run a stitch through the main band to keep the smaller band from sliding.

- Fasten off, weave in ends, and enjoy looking fab in your new headband!

I hope you enjoyed this pattern! Tag me on Instagram @theknottednest and use the hashtag #crochetbohoheadband to share your project! Get more project ideas in the Patterns page here on the blog.
Happy making!