How to Naturally Dye Yarn with Mint
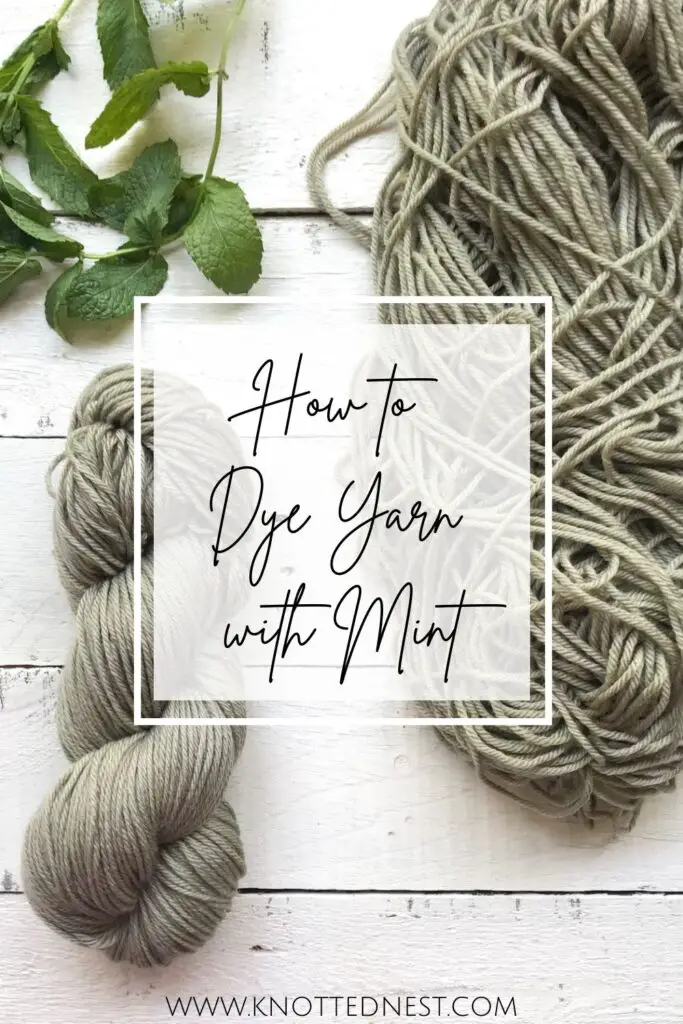
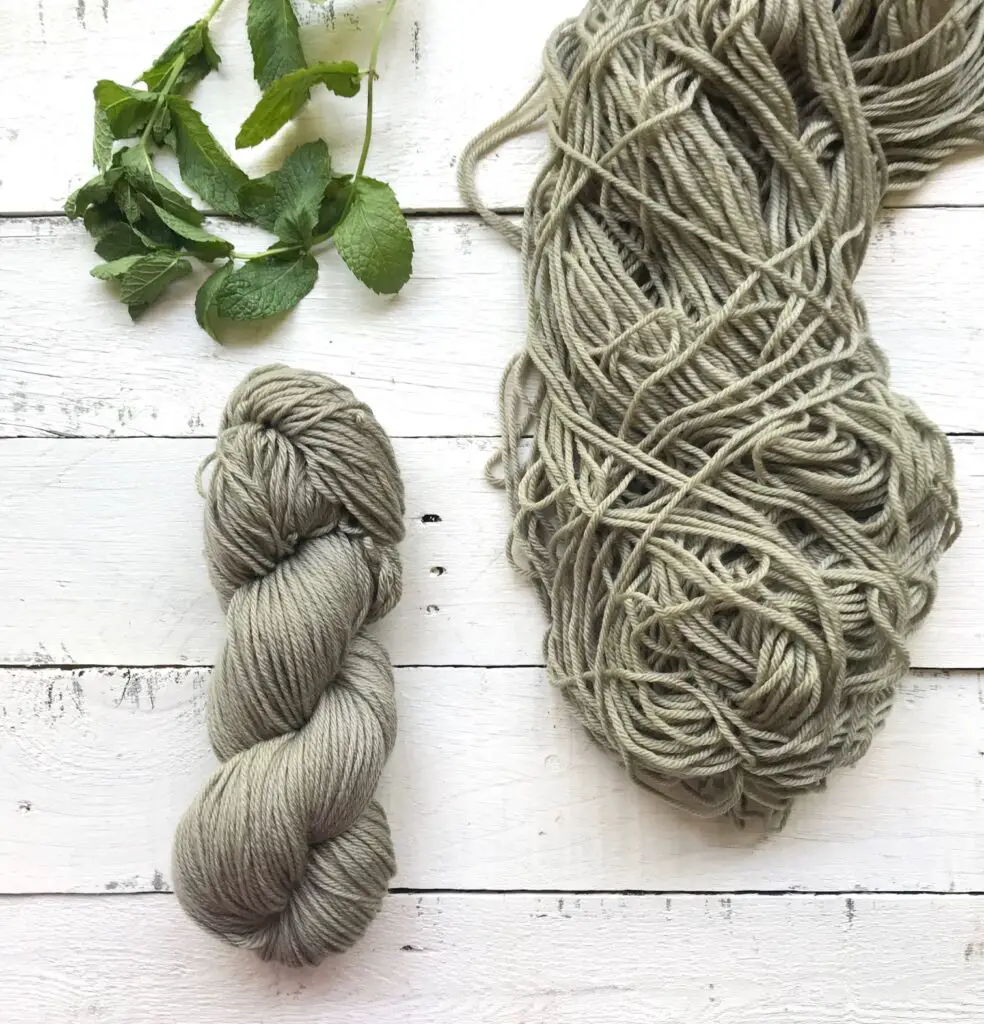
Hi all! I am so excited to share this easy tutorial for how to dye yarn with mint! This was my first time dyeing with herbs and I’m absolutely in LOVE with the result – a gorgeous gray-green!
If you have ever planted mint in your garden or flower bed, you know it’s the perennial that just won’t quit. Every year it comes back bigger and by mid-August, I’m wracking my brain to come up with ways to use it. Don’t get me wrong, I love a good mojito or tzatziki with mint, but …. we have bushels!
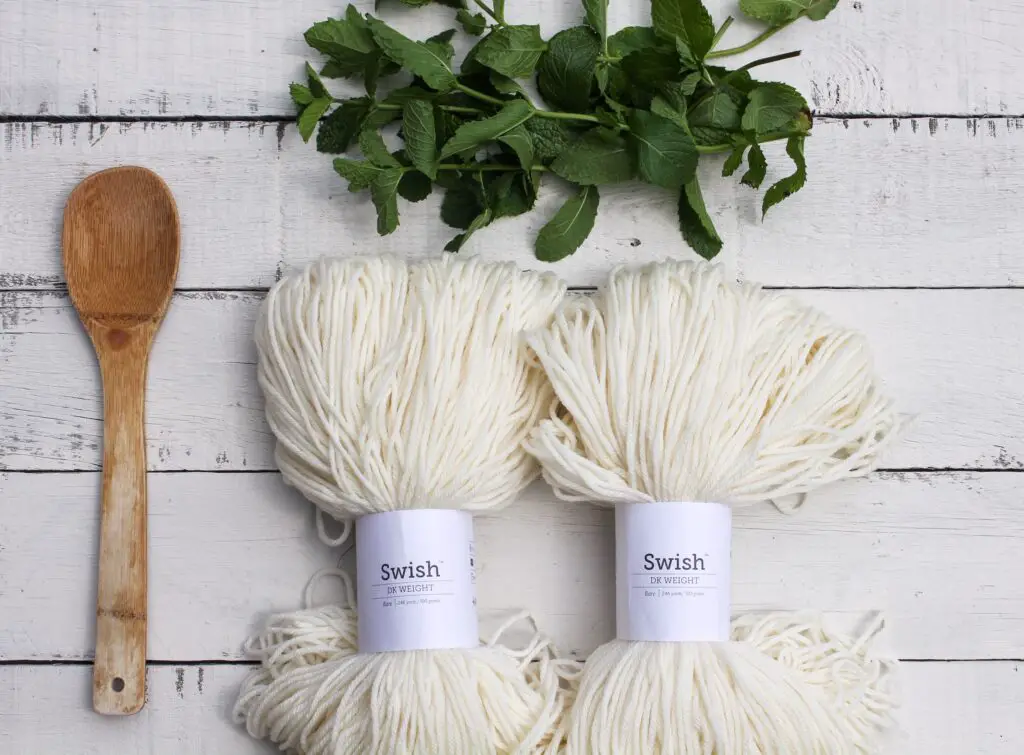
So, my solution for using our mint surplus this year ended up being my solution for most things – yarn! Specifically, some absolutely dreamy bare Swish superwash merino wool from WeCrochet. This yarn is AMAZING! It is so soft, it feels like a cloud, and it was just begging for some gorgeous color.
I did a little background research and couldn’t find much in the way of written tutorials for dyeing yarn with mint (however, this YouTube video is a great visual). So I hope you find this how-to helpful if you decide to raid your herb garden and add a little color to your stash!
How to Dye Yarn with Mint
Check out my Instagram highlights for a step-by-step of my dyeing process or read on for the written tutorial.
Pin this post for later!
The Materials
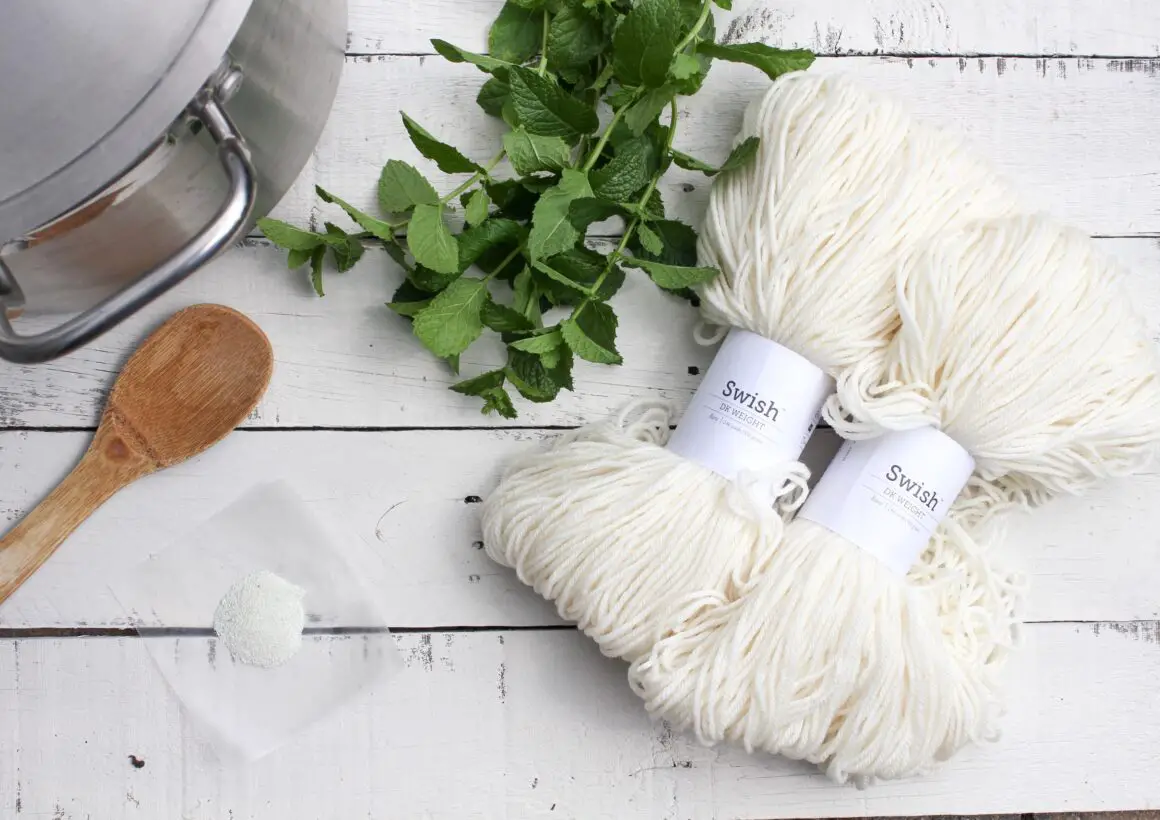
- Yarn – 1 to 2 skeins of yarn made from natural fibers like wool. I used bare Swish super wash merino wool from WeCrochet (they have a great selection of bare yarns that are perfect for natural dyeing!).
- Mint – a large bunch of fresh mint. You’ll need enough to fill your container 1/2 to 2/3 full.
- Mordant – I used Iron in the form of Ferrous Sulfate powder, which you can get online, or you can make your own using rusty nails or metal and a vinegar/water solution. You can find a tutorial here.
- Other mordants such as alum or cream of tartar can be used but your final color results will differ.
- Containers – large stainless steel pot, colander, bowl, 2 mason jars or similar .
The Process
Step 1: Making the Dye Bath
- Fill a large stainless steel pot about 1/2 to 2/3 full of fresh mint (woody stems removed, soft stems are ok) and top with water.
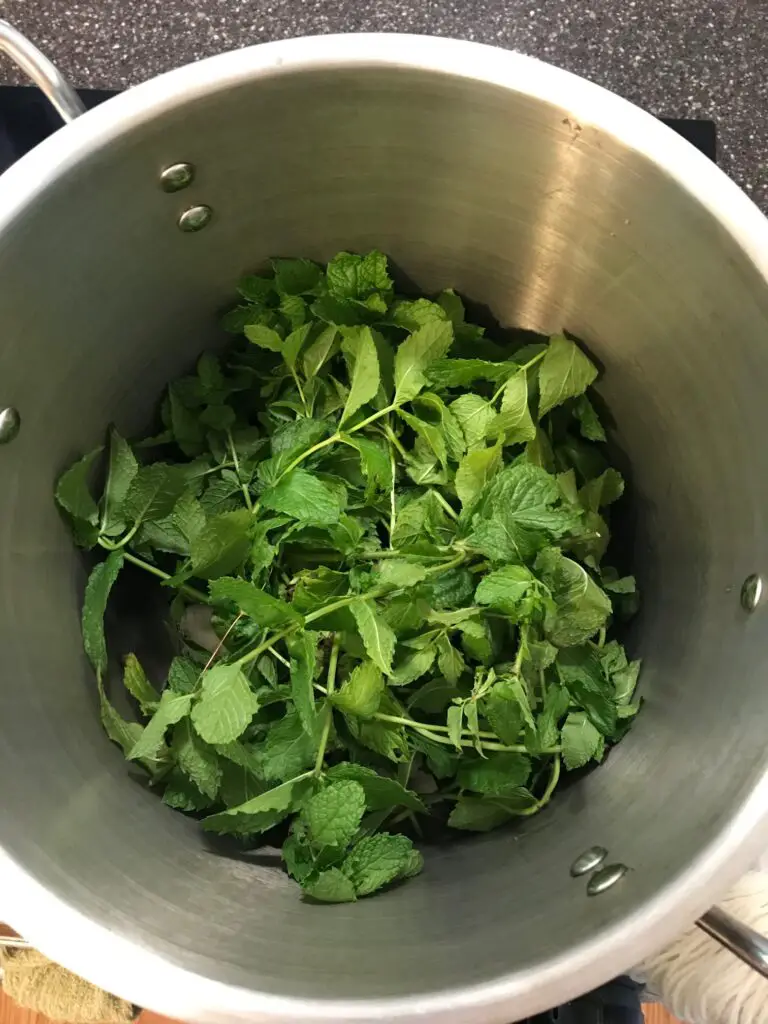
2. Bring to a light simmer (don’t boil) for about 1.5 – 2 hours, stirring occasionally. Your house will smell great!
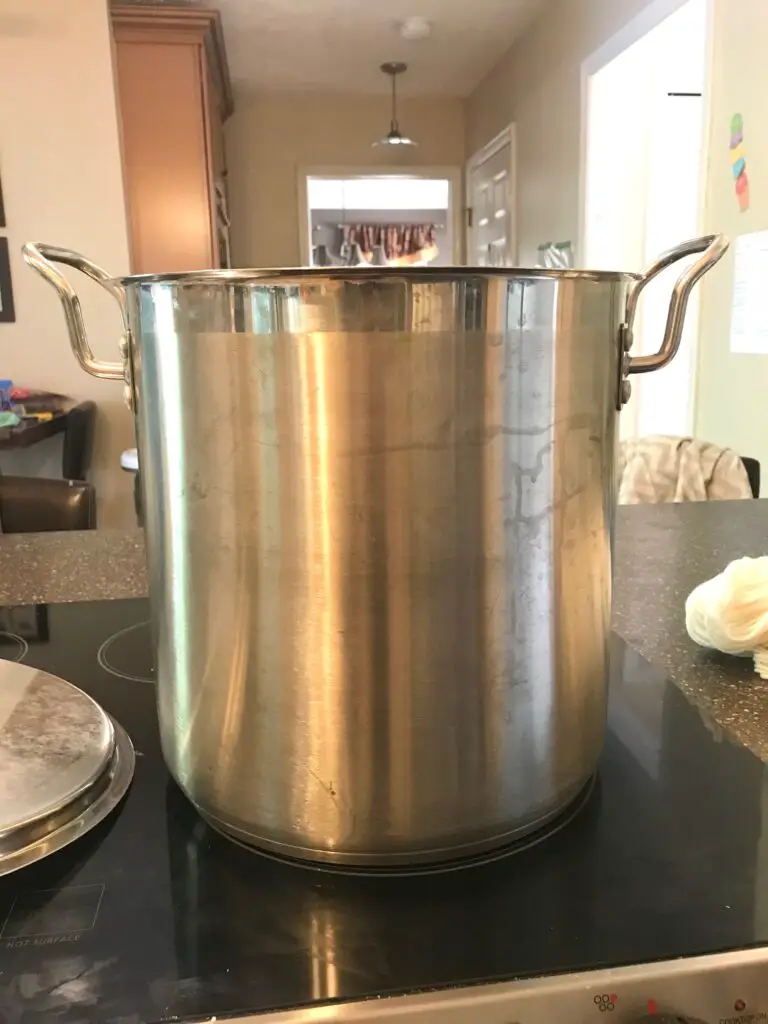
3. Remove from heat and allow to cool slightly before straining out the mint leaves and stems (discard in your compost!).
Step 2: Mordant
A mordant is a substance that helps the dye bind to the fiber of the yarn. There are a lot of options out there for mordants ranging from cream of tartar, to alum, to soy milk and more. For this tutorial, I decided to use Iron in the form of Ferrous Sulfate powder. You can read more about mordants here.
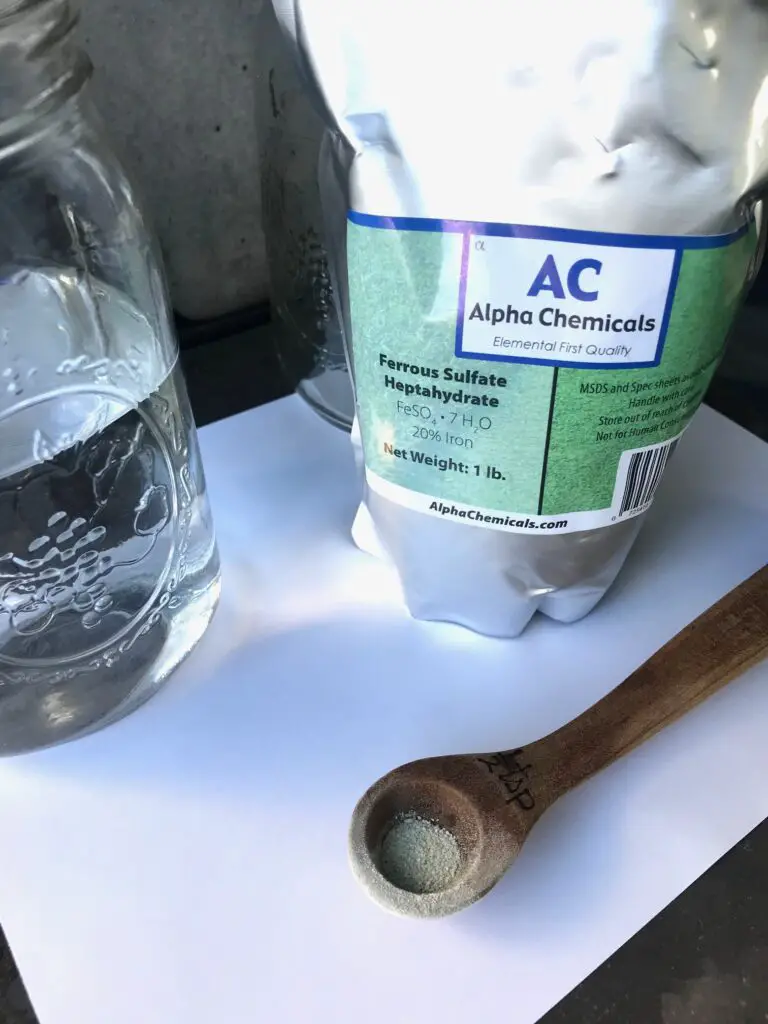
- If you are using Ferrous Sulfate powder, measure out a very small amount (about 1/16 tsp) in a mason jar and add about 2 cups of water. Mix well.
- Use a second mason jar to remove some of the mint liquid from the dye bath.
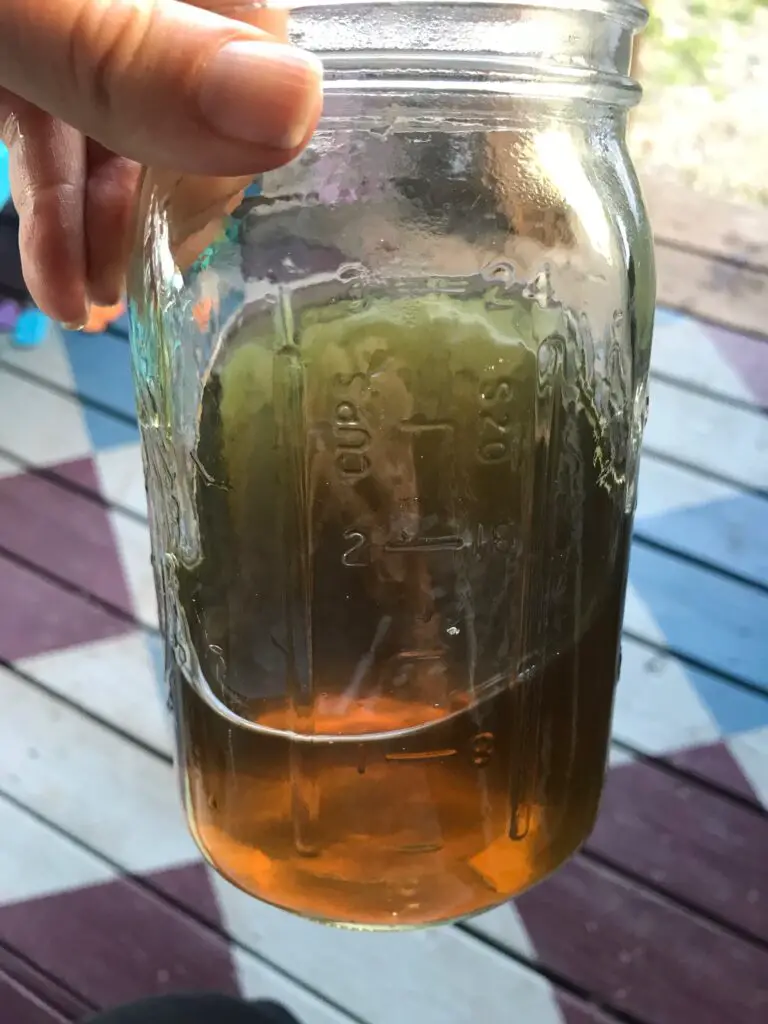
3. A little at a time, add the iron solution to the jar of mint dye liquid until you see it start to change color. To get the sage green I was looking for, I added about 3/4 – 1 cup of the iron solution and the mixture turned a very very dark forest green, almost black. Be careful not to add too much – too much iron can muddy the color and can make the yarn feel stiff. (Extra iron solution is safe to dump down the drain).
SAFETY NOTE: The iron powder should be handled in a well ventilated area to avoid inhalation. I chose to do Steps 2 and 3 of this process outside on my grill’s side burner.
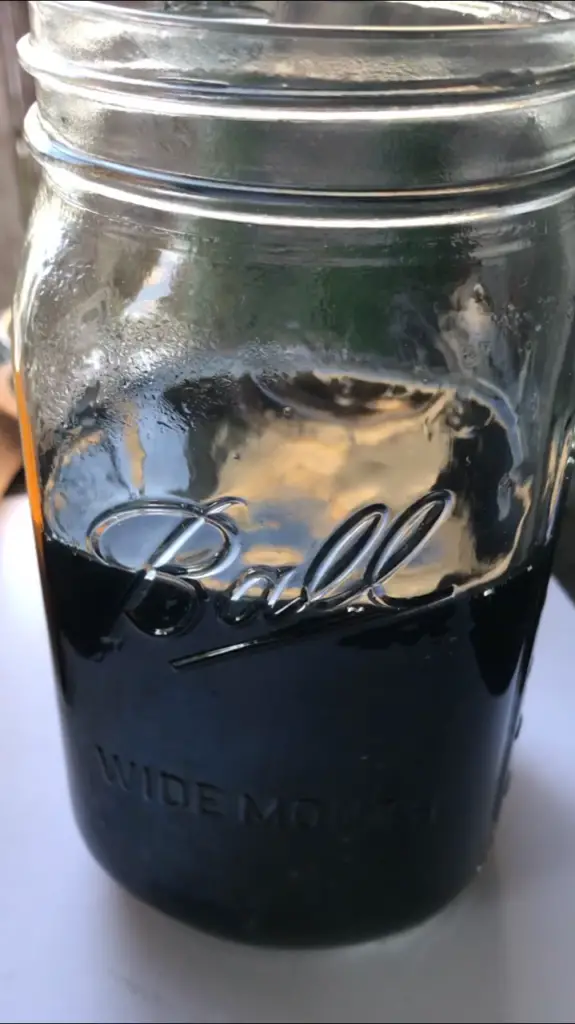
4. Add the jar of dye/iron mixture back to the dye bath pot and stir. Allow to sit for 30 – 60 minutes.
Step 3: Dyeing the Yarn (the fun part!)
- Prep yarn by unwinding it into a long loop and securing it with zip ties or yarn scraps in several places to avoid tangling. Wet yarn with tap water and wring out excess.
- Add wet yarn to dye bath and bring to a light simmer.
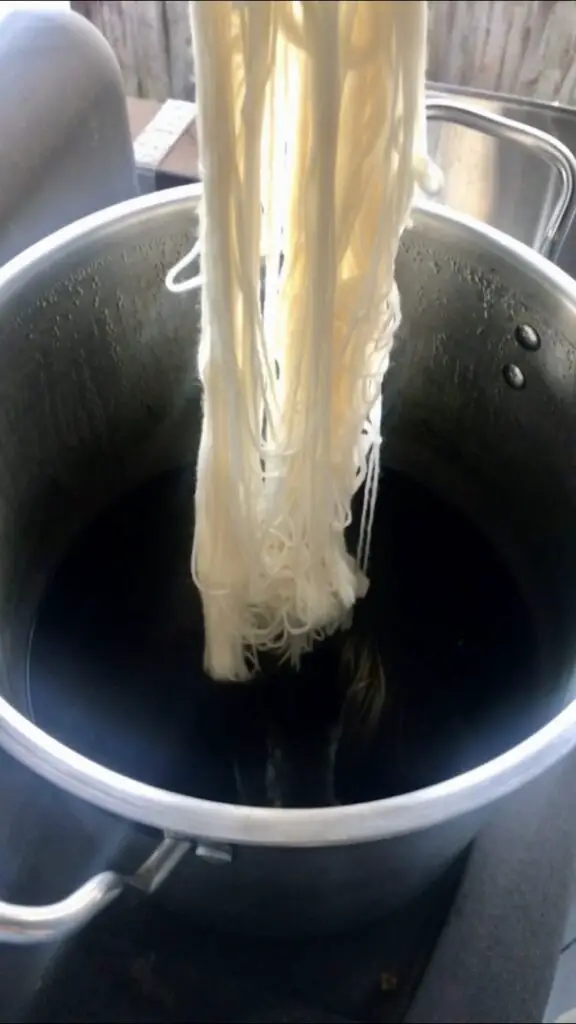
3. Simmer yarn in dye bath for about an hour, stirring gently several times.
4. Remove from heat and allow to cool. Rinse yarn with tap water and let dry overnight.
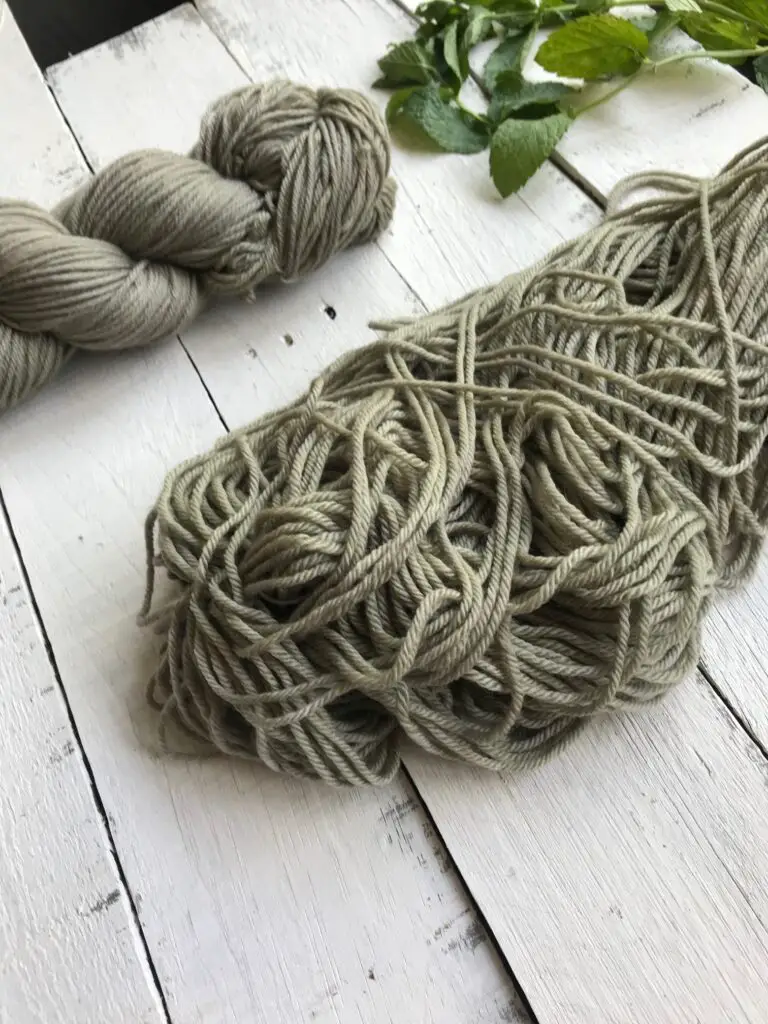
5. Ohhh and ahhh over your gorgeous new sage green yarn!
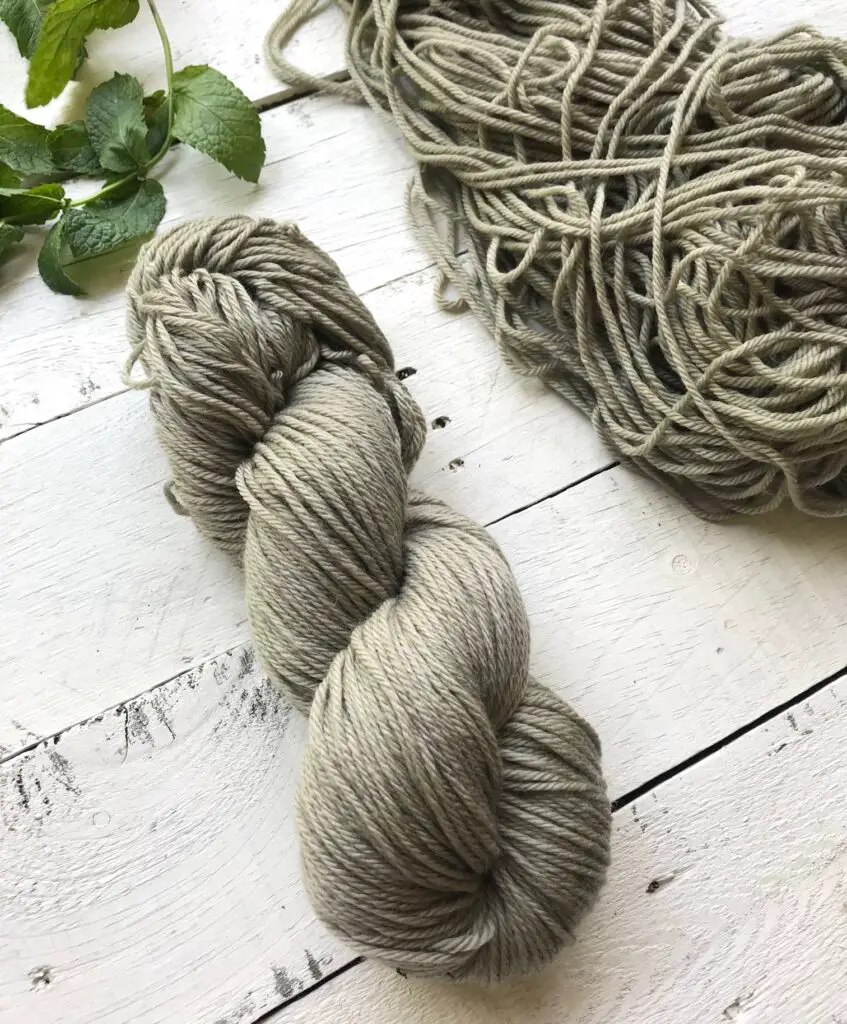
Overall, this process was a ton of fun and it’s safe to say I’m hooked on natural yarn dyeing! I love the freedom to experiment that natural yarn dyeing offers. There are so many ways to change it up – use different plants, different mordants or yarns, different soak times or applications – and your end product will be totally one of a kind!
Interested in natural dyeing? Check out my other natural dyeing adventure with black beans!
I hope you enjoyed this post! If you decide to dye yarn with mint, tag me on Instagram at @theknottednest so I can see how yours turns out!
Check out the Patterns section here on the blog for inspiration for what to make with your beautiful new green yarn!


