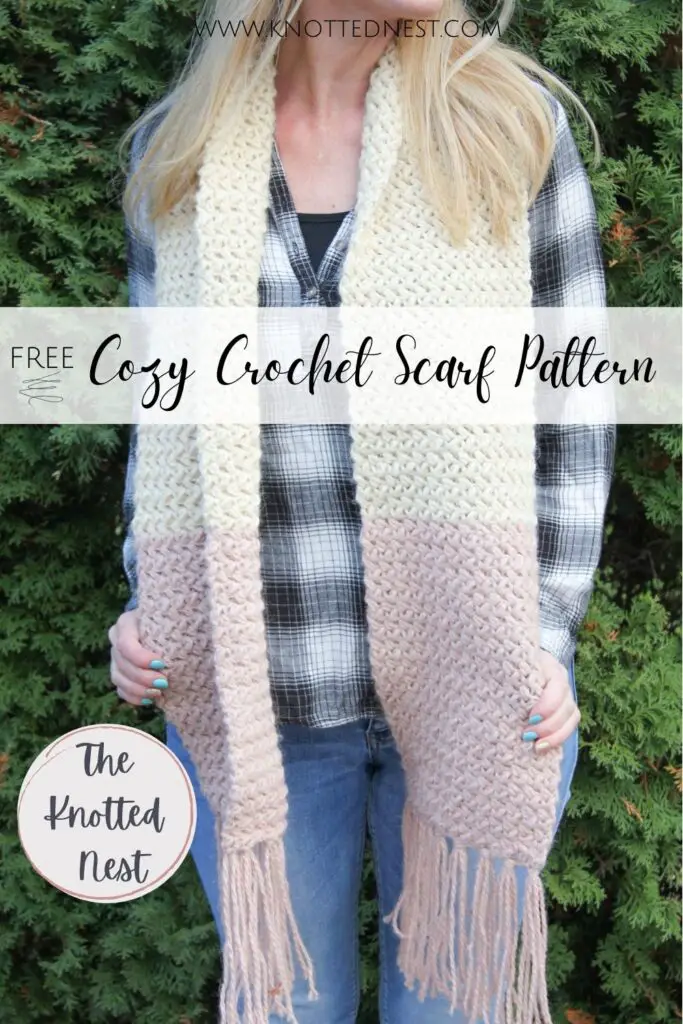
Cozy Bean Crochet Scarf Pattern
This Cozy Bean Crochet Scarf pattern is part of a matching set! Check out the matching mittens, the coordinating hat, or, if you’re more the ear warmer type, I’ve got you covered with that too!
The Cozy Bean Collection
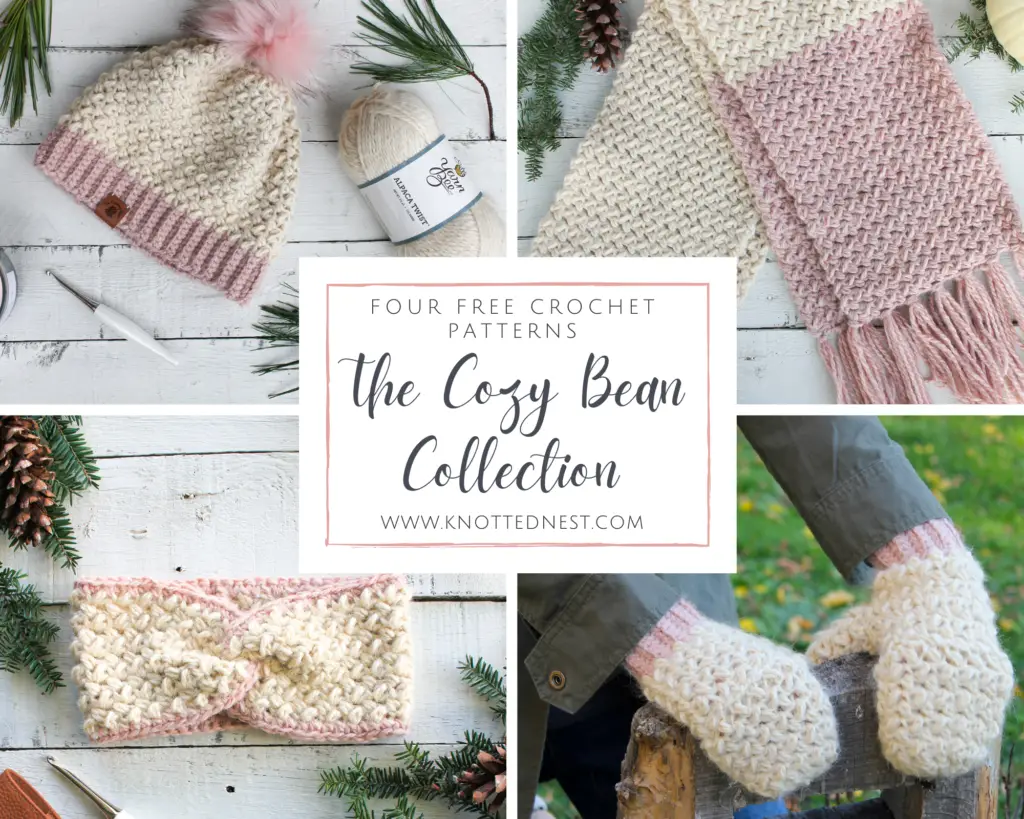
The Cozy Bean Collection
After I designed my Cozy Convertible Mittens, and my Cozy Bean Crochet Hat, I loved them so much I decided to just go all in and make a whole matching winter accessories set! The full set also includes the Cozy Bean Twisted Ear Warmer, and now, to pull it all together, the Cozy Bean Crochet Scarf! This cozy crochet scarf uses the same yarn and the same stitches (including the easy, but deliciously textured mini bean stitch!) as the other pieces in the collection, and it’s super simple to make!
Cozy Crochet Scarf: Construction and Supplies
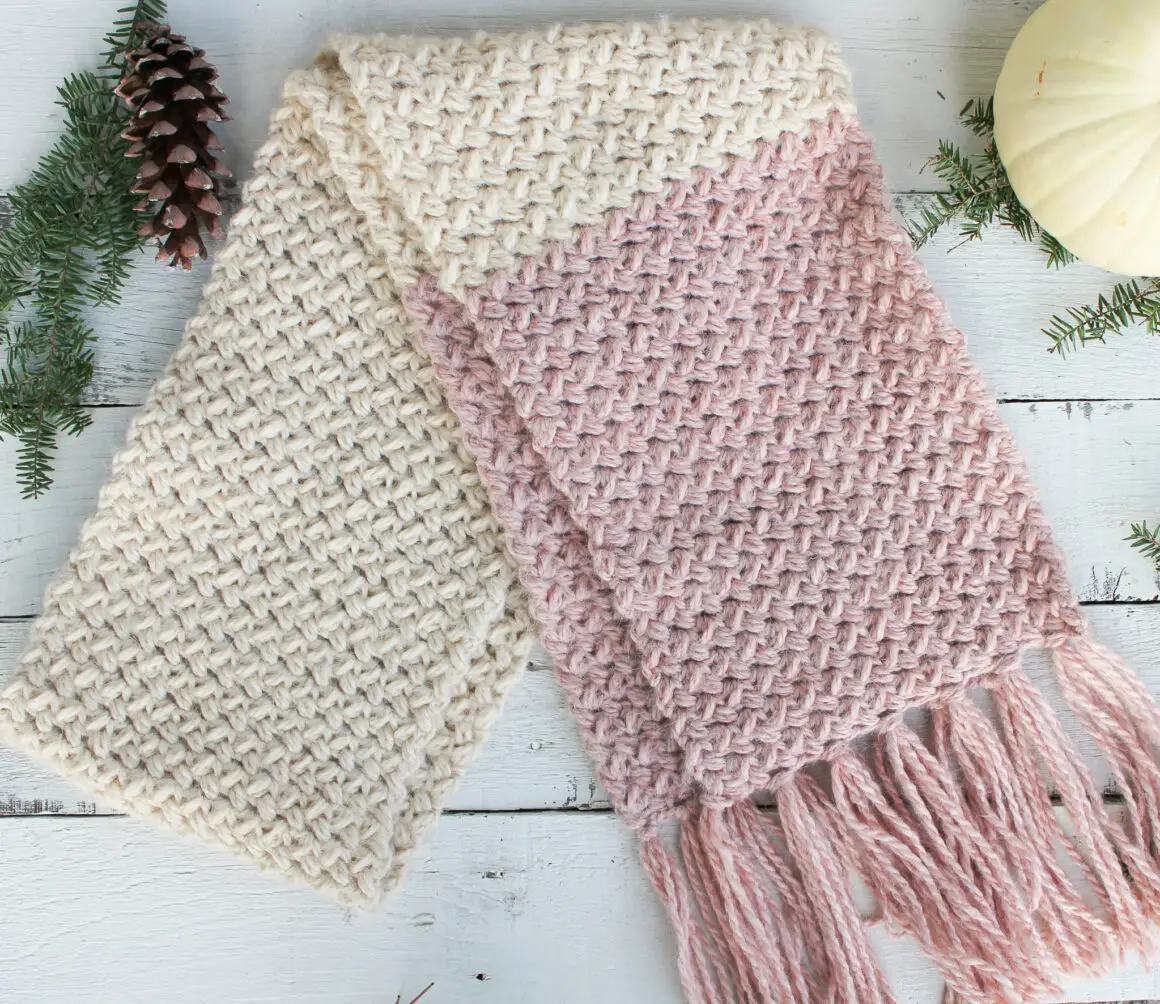
This cozy crochet scarf pattern is worked in rows widthwise using only the mini bean stitch. I absolutely love to use this stitch any time I want beautiful, sophisticated texture. The bonus is that, even though it looks intricate, it’s actually super easy to do and a great “mindless” stitch once you get going.
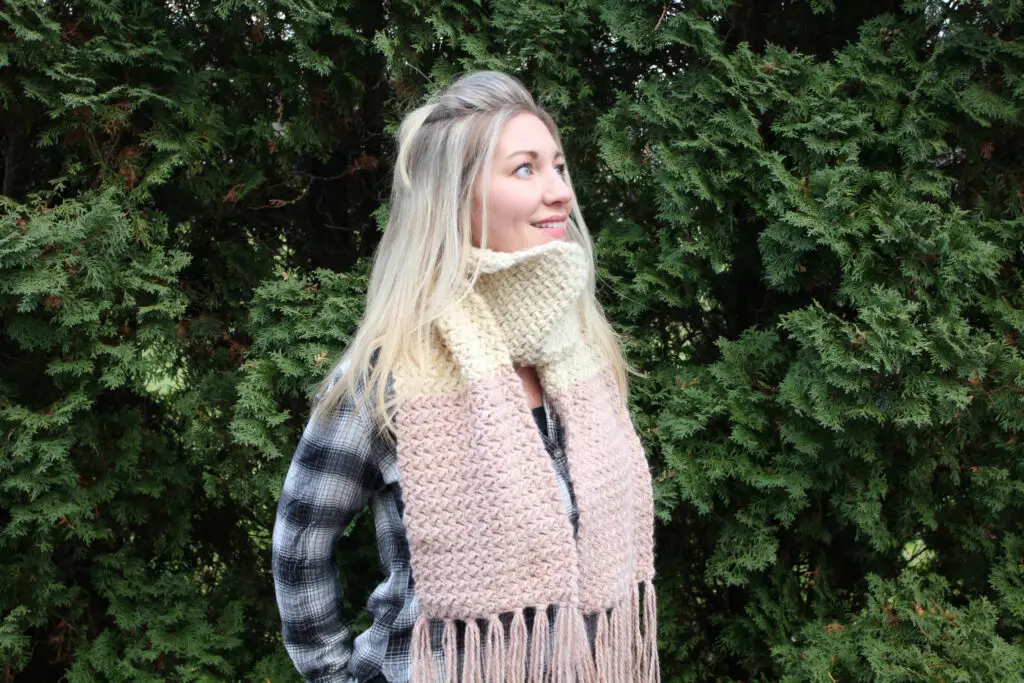
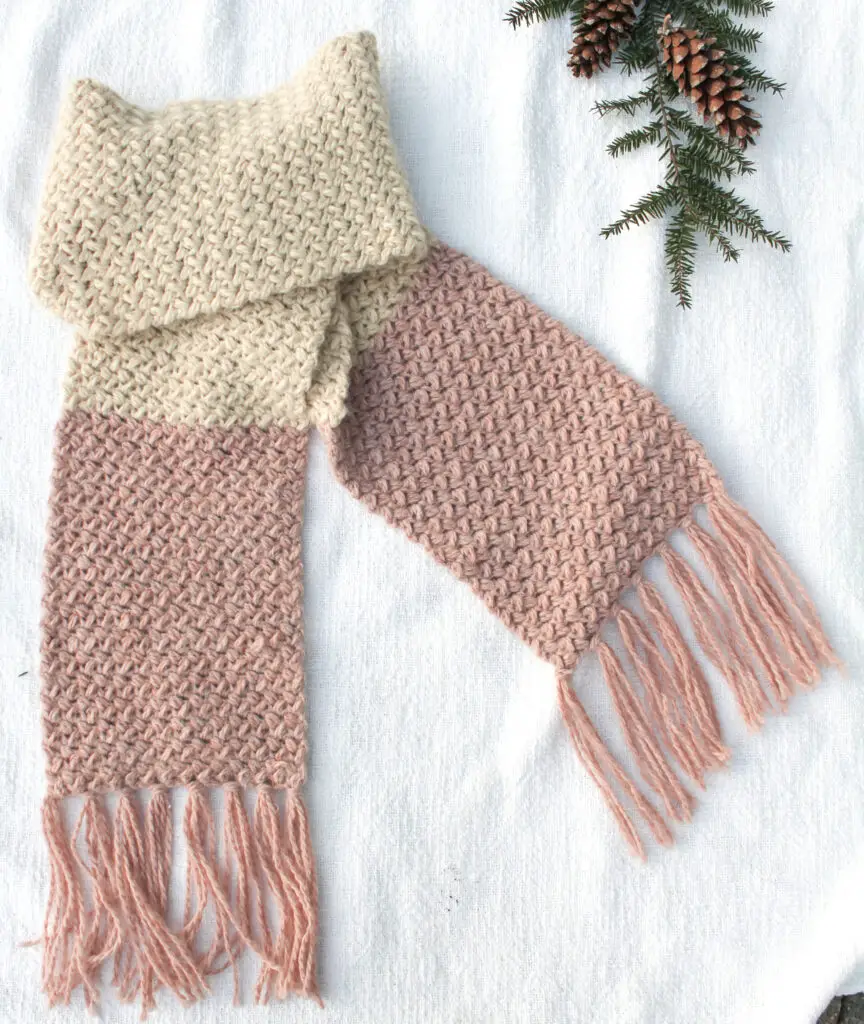
A few simple color changes gives this scarf a modern color block look, and some easy fringe adds a little detail. As written, this scarf fits an adult woman, but instructions are given to easily adjust the size.
Pin this pattern for later!
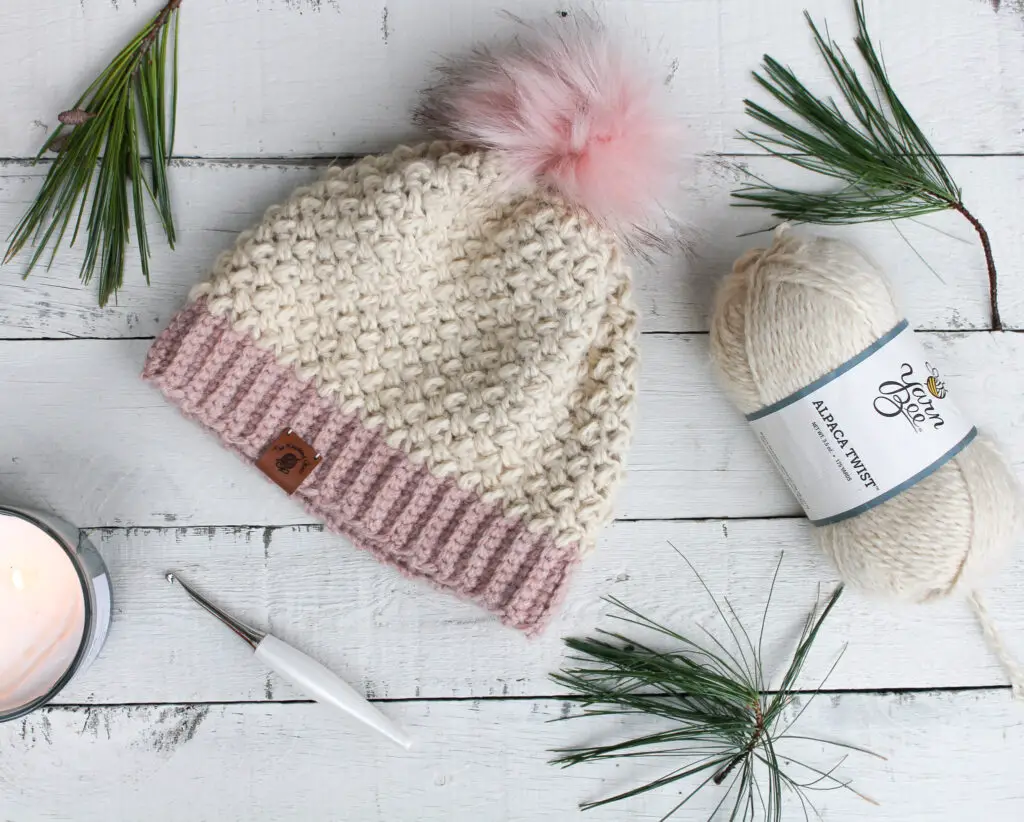
I used Yarn Bee’s Alpaca Twist yarn for this crochet scarf pattern (as well as the other pieces in the collection), and I think it really ups the cozy factor!
It’s a worsted weight yarn (size 4), but it definitely falls more on the bulky side of worsted. Keep that in mind if you decide to substitute yarn (I recommend checking gauge if you do!). Some suggestions for yarn substitutes are We Crochet’s City Tweed Aran yarn, WC’s Snuggle Puff Cotton, or Lion Brand’s Wool Ease.
Let’s get to the pattern! I hope you love it!
Get an ad-free printable PDF of this pattern on Etsy or Ravelry!
Or grab a discounted Pattern Bundle that includes all four patterns in the collection as printable PDFs!
Cozy Bean Crochet Scarf Pattern
SKILL LEVEL
Easy
MATERIALS
- Yarn: About 450 yards of worsted weight yarn (size 4). I used Yarn Bee Alpaca Twist (shown in Ecru (main color – I used about 2 skeins) and Blush (contrasting color – I used about 1 skein)). This yarn is on the bulkier side for worsted weight, so keep that in mind if you substitute yarn. Some suggestions for substitutions are We Crochet’s City Tweed Aran yarn or WC’s Snuggle Puff Cotton.
- Size J (6.00mm) hook.
- Yarn (tapestry) needle, scissors, and measuring tape.
DIMENSIONS
Without fringe, scarf measures 63” x 8”.
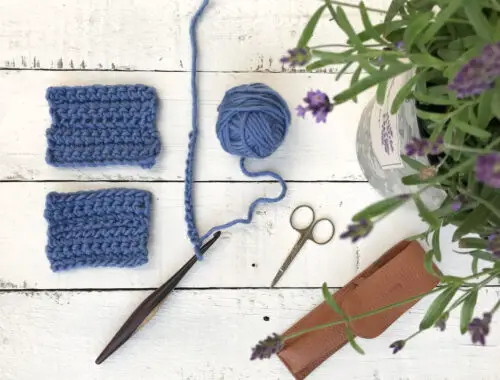
GAUGE
16 sts x 17 rows in 4” square using the mini-bean stitch.
NOTES
- This scarf is worked widthwise in rows using the mini bean stitch. A few simple color changes give it a modern color block effect.
- Special stitches:
- Mini Bean (MB) (aka Elizabeth Stitch): Insert hook into next st, yo and pull up a loop, yo and insert hook into same st, yo and pull up a loop (you should now have four loops on your hook), yo and pull through all four loops on hook. Ch 1 to close the stitch. This ch counts as part of the stitch, not a separate chain. See a helpful video tutorial of this stitch here.
- The Ch 1 turning chain used throughout does NOT count as a stitch.
- Pattern written in US terms.
- Abbreviations
- ch = chain
- MB = mini bean stitch
- sk = skip
- st =stitch
- yo = yarn over
- To adjust the WIDTH of the scarf, chain any ODD number to start. To adjust the LENGTH of your scarf, add or subtract rows.
PATTERN
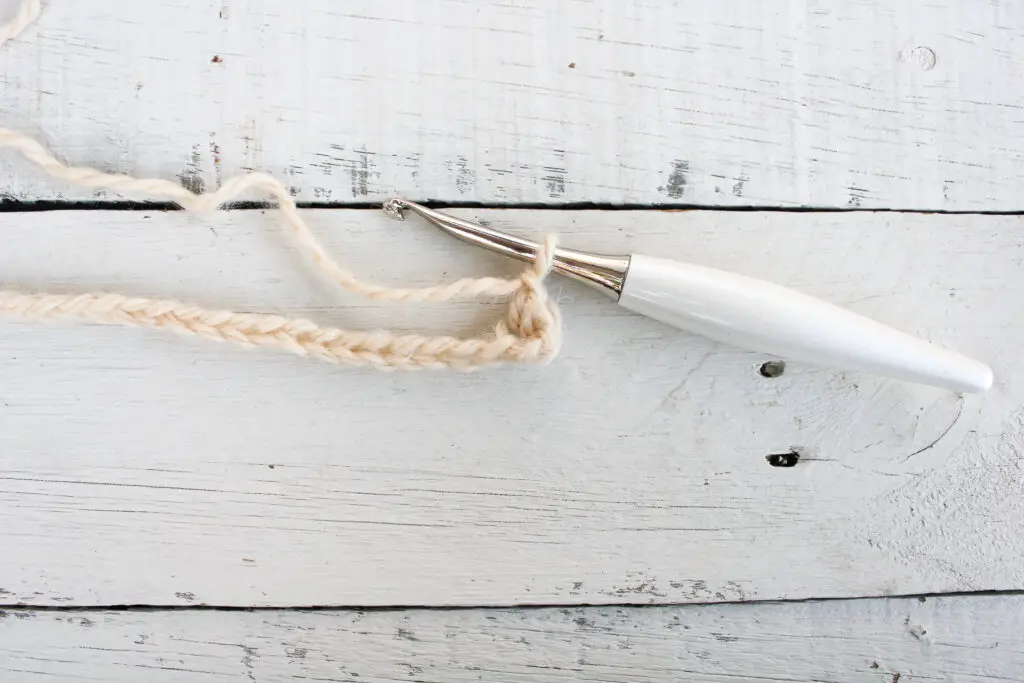
Ch 29 (or any ODD number if you are adjusting the width) with contrasting color (blush). Note: the colors shown in the photos are different from the color pattern in the written instructions.
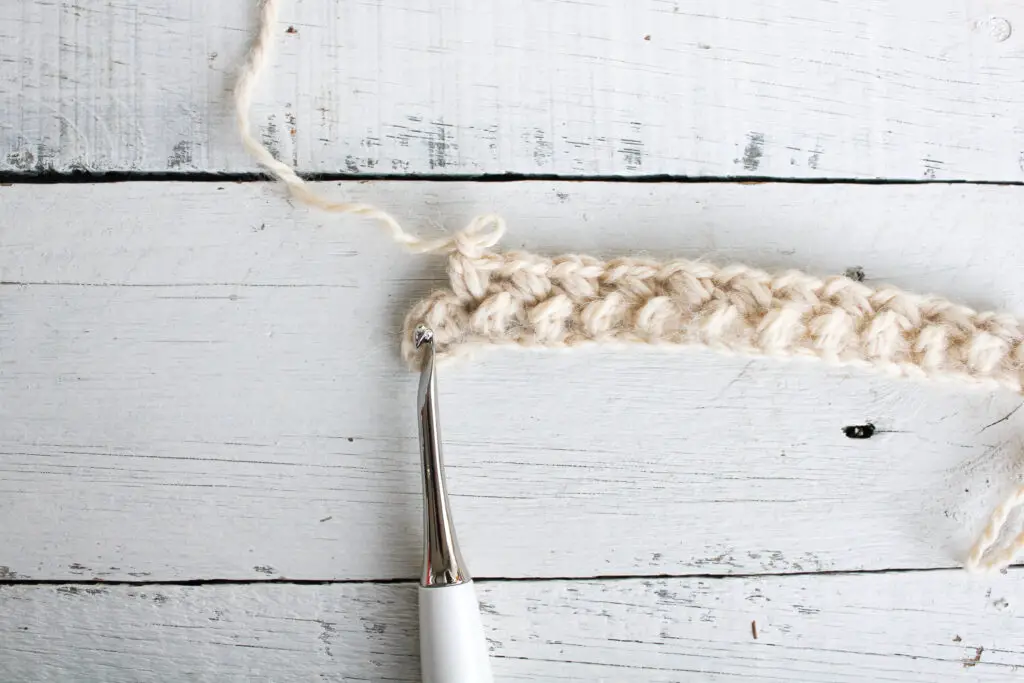
Row 1: MB in the 3rd ch from hook, [sk next ch, MB in next], repeat inside [ ] across chain, ending with a MB in last ch. <14 MB>
Row 2: Ch 1 (this will look like a ch 2 because of the ch 1 used to close the last MB, see picture), turn. MB in the first stitch.
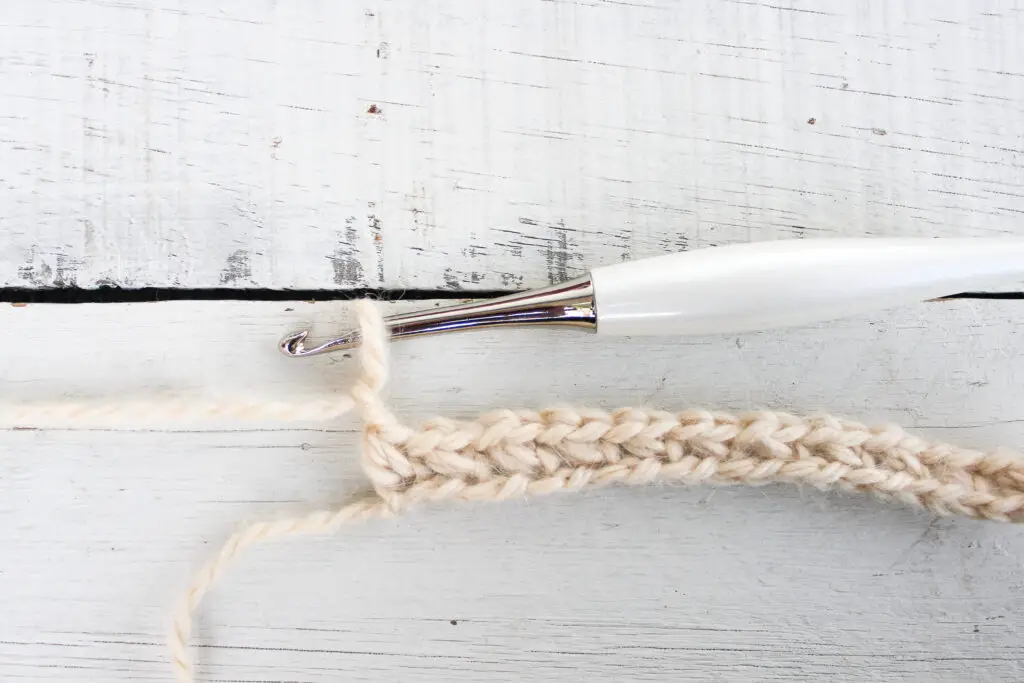
You will insert your hook into the little “V” that is naturally formed on the MB in the row below (See picture for help with where to insert your hook),
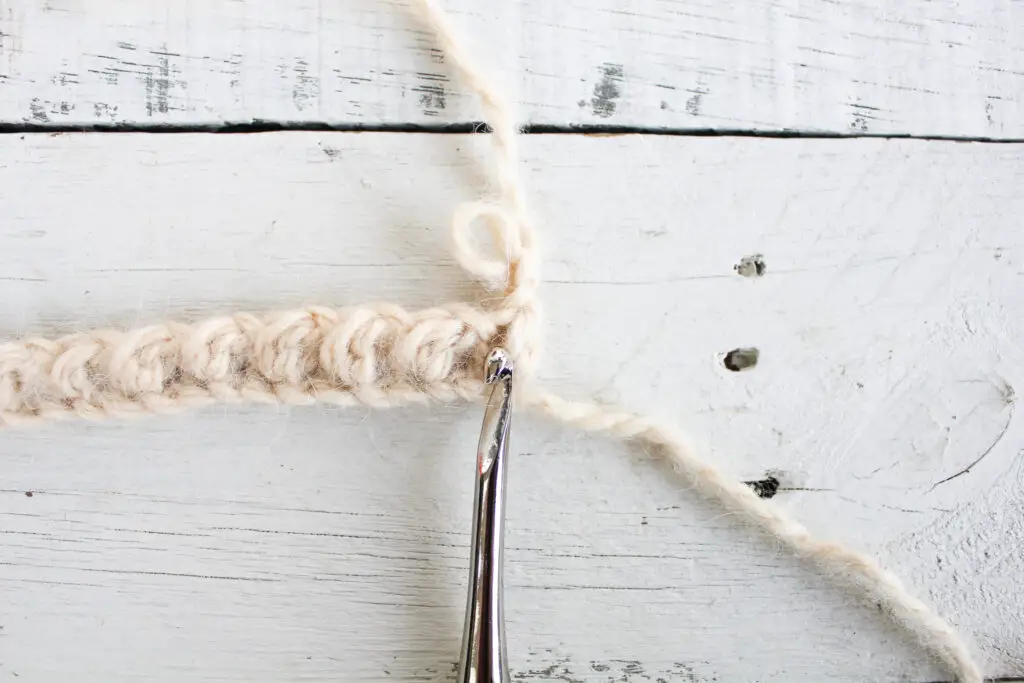
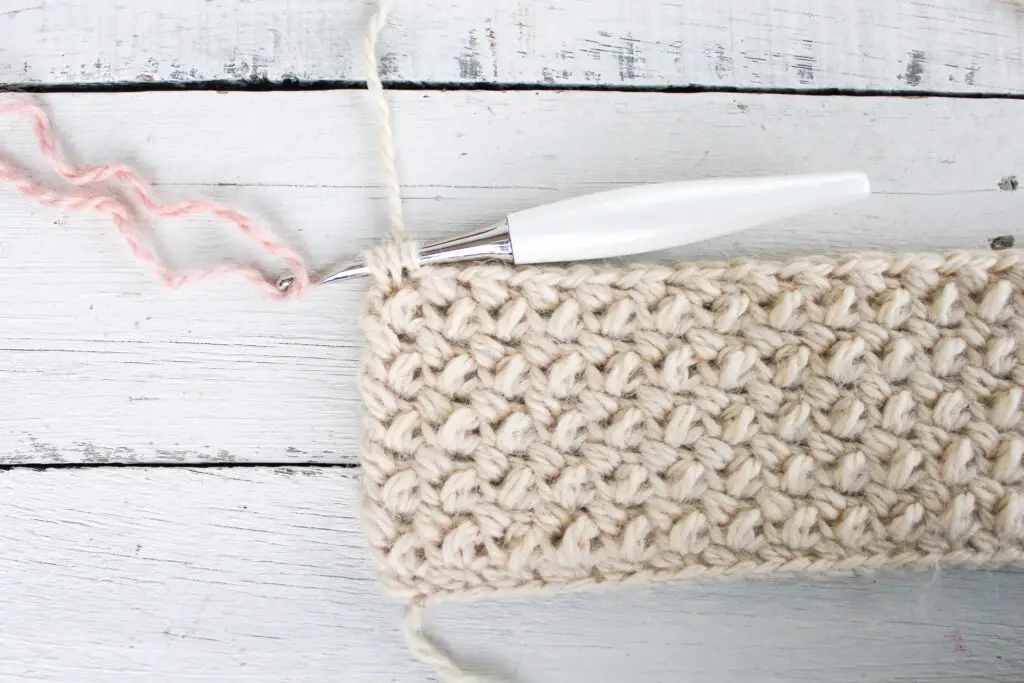
MB in each st across.
Final MB should be worked in the top of the last MB from the row below. <14 MB>
Rows 3 – 32: Repeat Row 2.
Color change: On the final MB of Row 32, stop when four loops remain on the hook. Pull through with main color and use it to Ch 1 to finish the stitch (See Figure 5). You will now be working with the main color. Cut contrasting color and fasten off.
Row 33 – 140: Repeat Row 2 with main color yarn (Ecru). At the end of Row 140, switch back to contrasting color.
Rows 141 – 172: Repeat Row 2 with contrasting yarn. Fasten off and weave in ends.
Adding the Fringe:
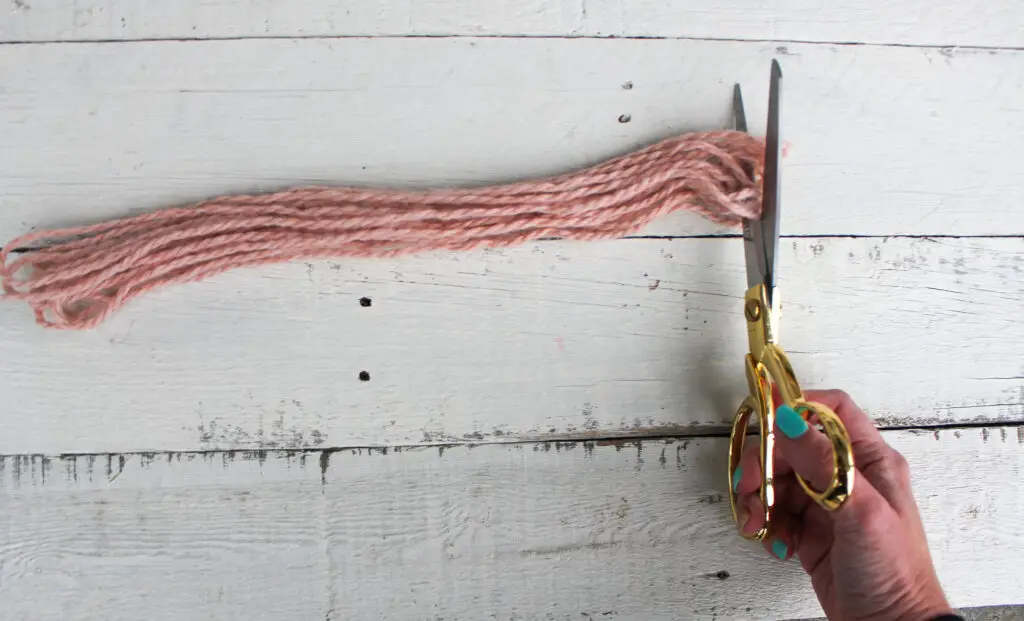
Step 1 – Measure a length of contrasting color yarn that is about 15” long.
Step 2 – Use the 15” piece of yarn to measure the rest of the fringe pieces. To do this in bulk, I like to wind the yarn around and around, using the 15” pieces as a guide, until I have a thick loop. Then use sharp scissors to cut the loops at each end.
Step 3 – Use three pieces of yarn for each “fringe.” Holding the three pieces together, fold them in half.
Step 4 – Then, beginning at one corner, insert your hook into the stitch. Use your hook to grab the yarn pieces where they are folded and pull through the stitch about an inch. Remove the hook and use your fingers to reach through the loop end of the yarn and grab the tails. Pull the tails through the loop and cinch tight.
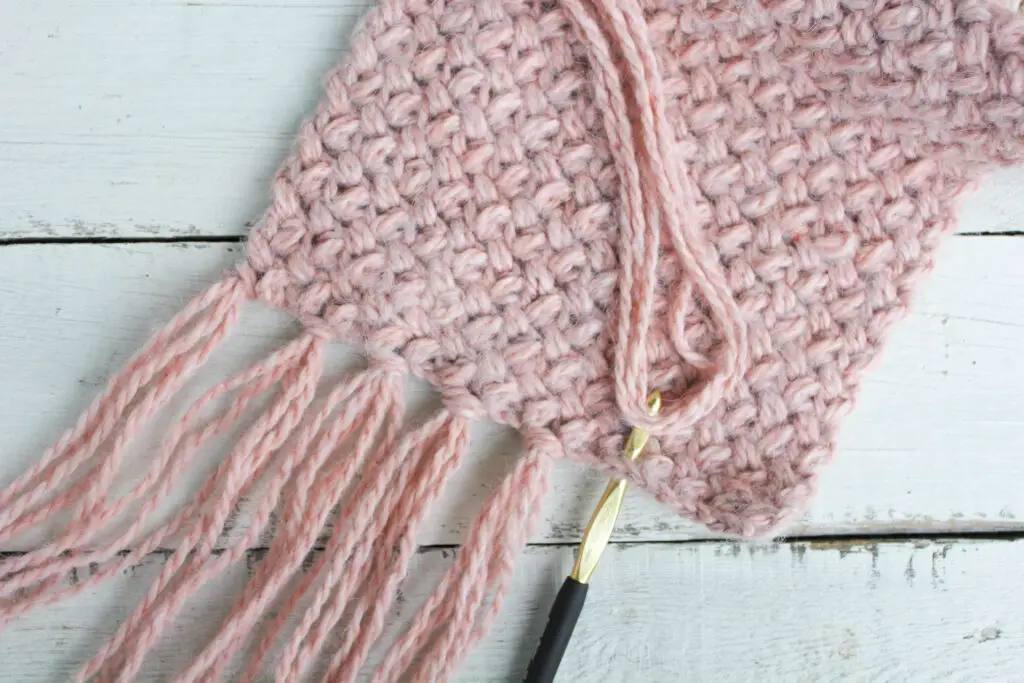
Step 5 – Repeat this process for each piece of fringe. I added fringe in every other stitch, but you can play around with how you want it look. When all fringe is secured, use scissors to trim the ends evenly across. Weave in any loose ends and enjoy your cozy new scarf!
Before you go, don’t forget to check out the other pieces in the Cozy Bean Collection!

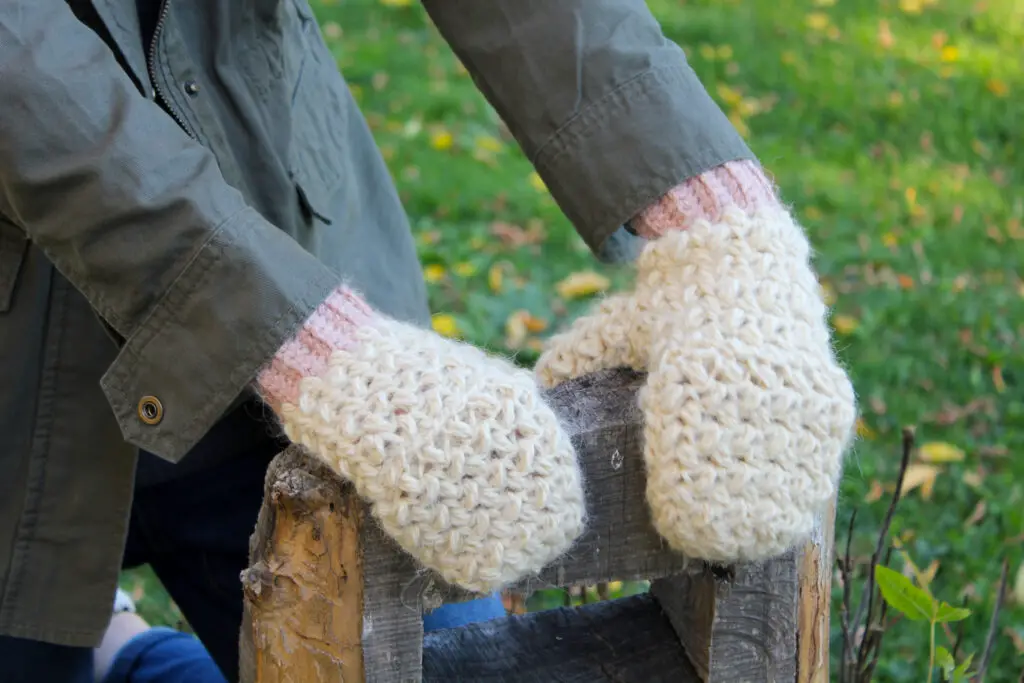
Get The Cozy Bean Crochet Hat pattern here, the Cozy Convertible Mittens pattern here, and the Cozy Bean Twisted Ear Warmer here!
I hope you enjoyed this pattern! Tag me on Instagram @theknottednest and use the hashtag #cozybeancollection to share your project! Find more project ideas in the Patterns section here on the blog or check out my Alpine Hygge Beanie or Dreaming of Spring Triangle Scarf for more cozy winter accessories!
Happy Making!


Cozy Bean Twisted Ear Warmer


One Comment
Pingback: