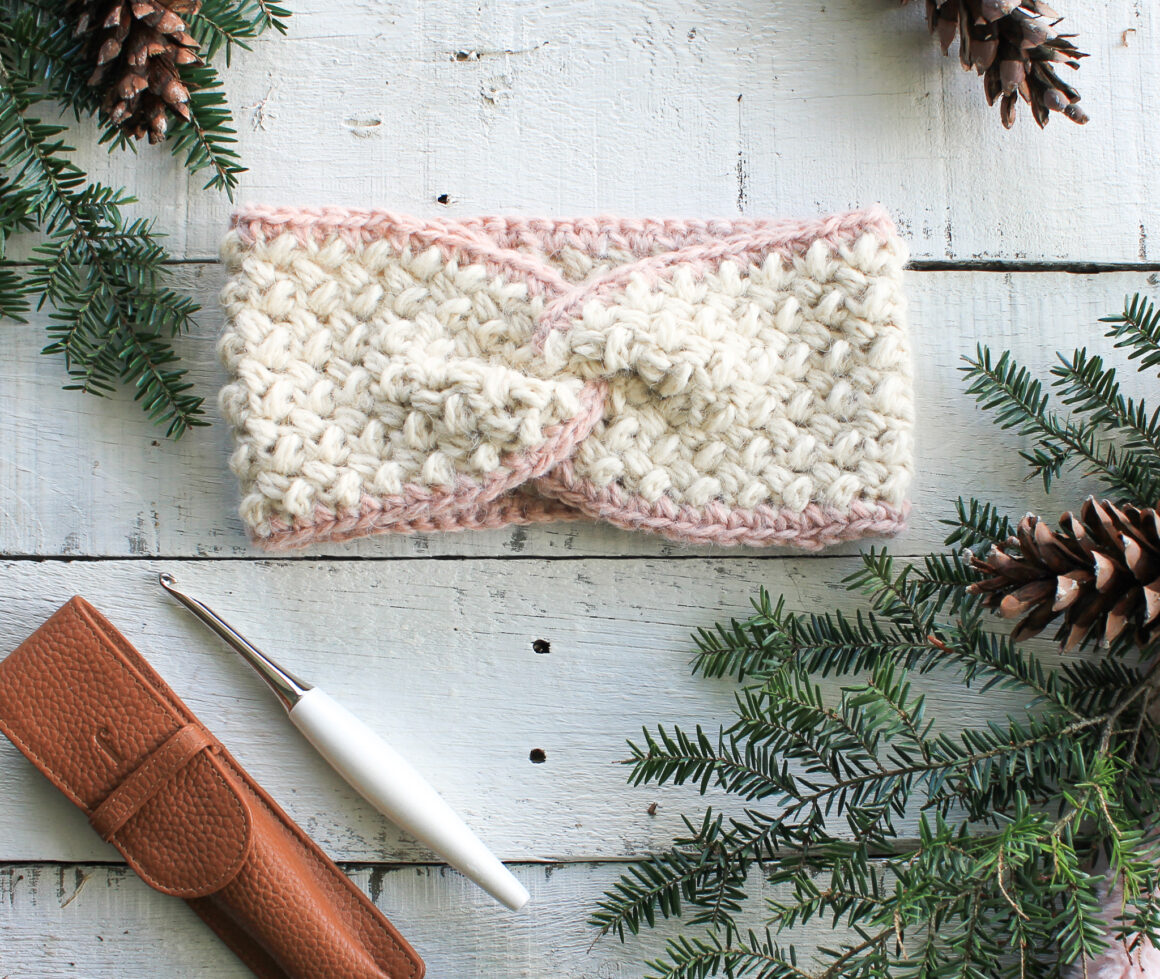
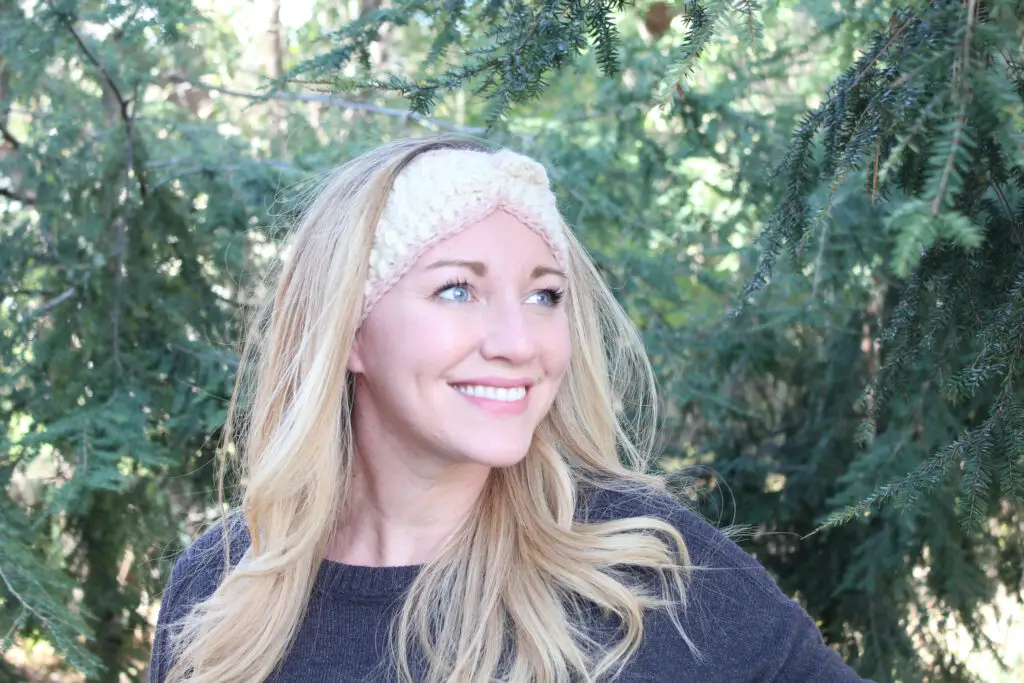
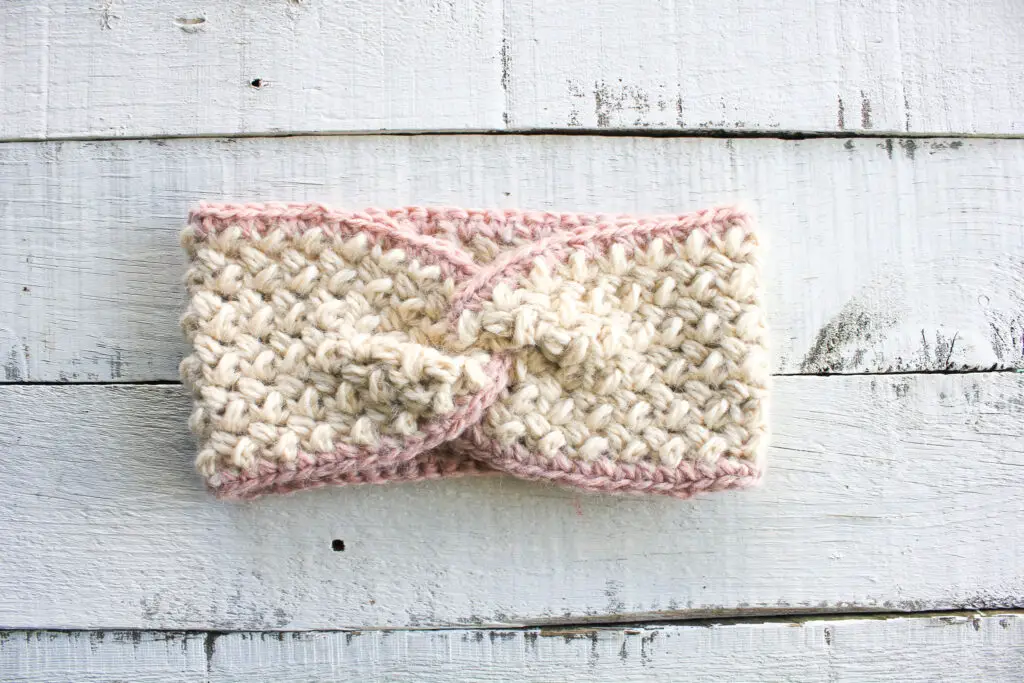
Cozy Bean Twisted Ear Warmer
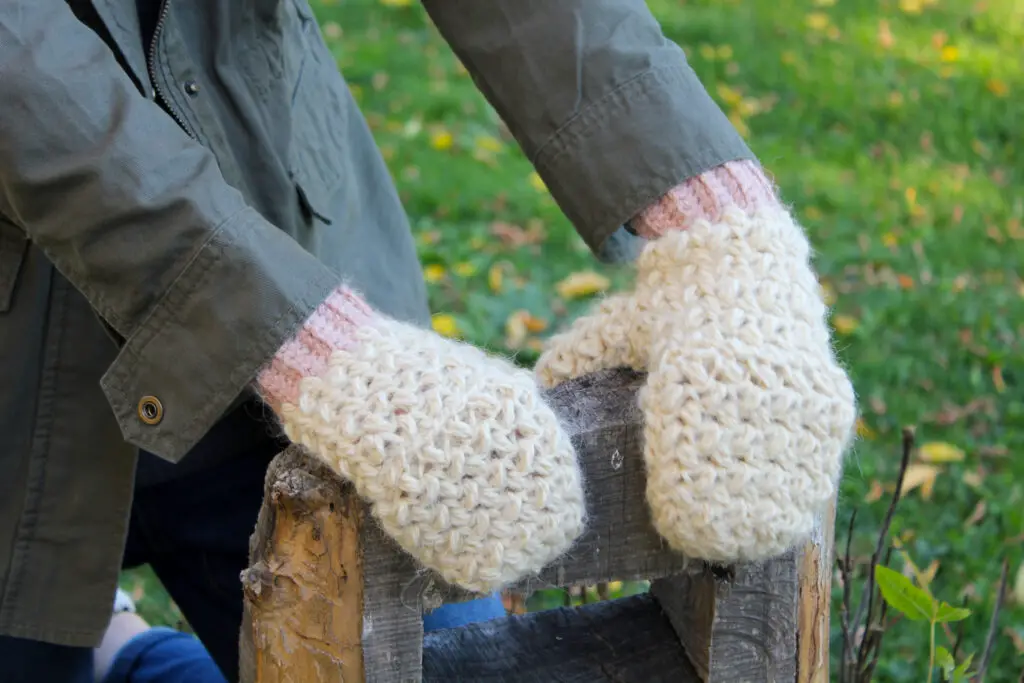
This Cozy Bean Twisted Ear Warmer is part of a matching set! Check out the matching mittens here and if you want to switch things up, here is the coordinating hat! The scarf to complete the set is coming soon. 🙂
This post may contain affiliate links, which means I may receive a small commission, at no extra cost to you, when you make a purchase. Please read my affiliate disclosure for more details.
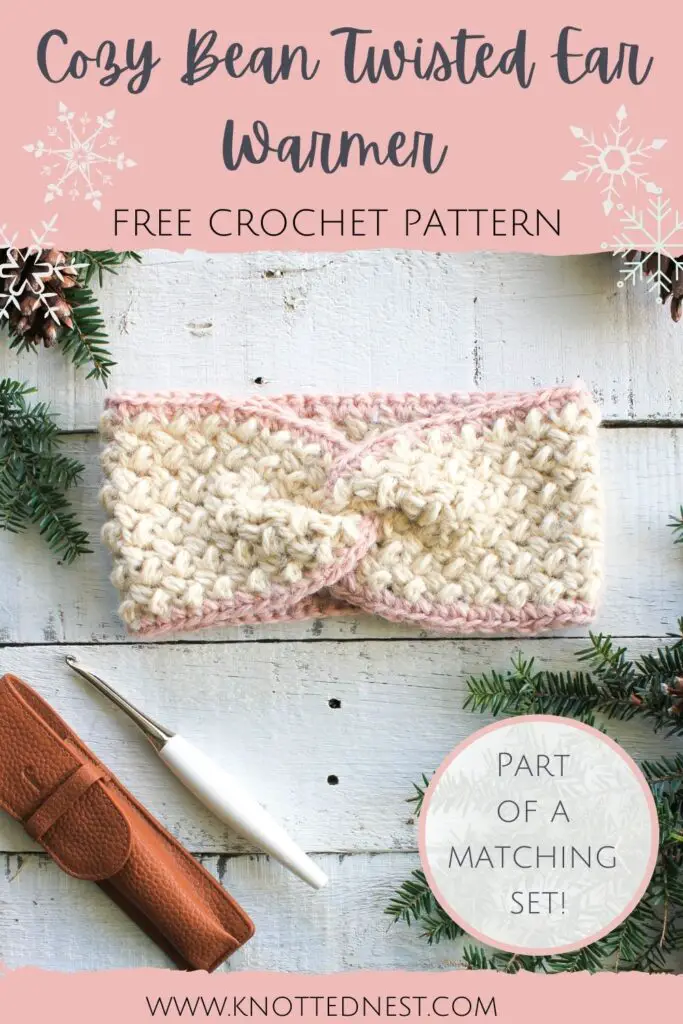
Pin this Post for later!
The Cozy Bean Collection
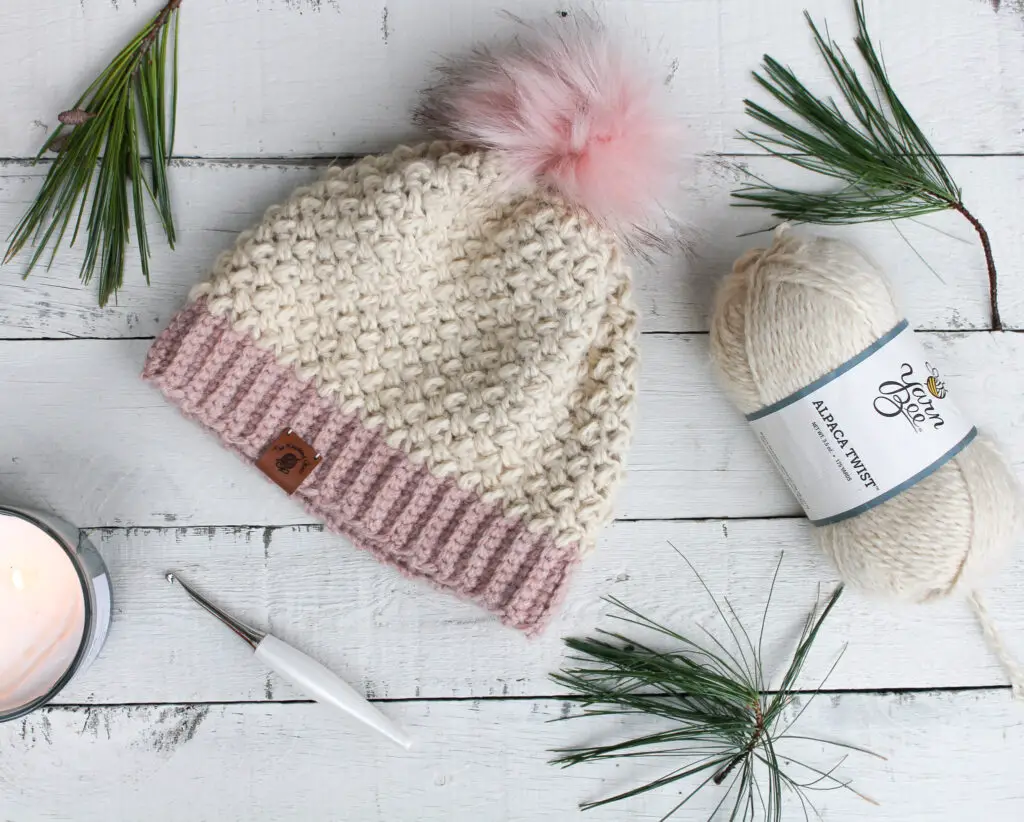
After I designed my Cozy Convertible Mittens, and my Cozy Bean Crochet Hat, I loved them so much I decided to just go all in and make a whole matching winter accessories set! This ear warmer uses the same yarn and the same stitches (including the super simple, but deliciously textured mini bean stitch!) as the other pieces in the collection, but it’s even easier to make!
Construction and Supplies
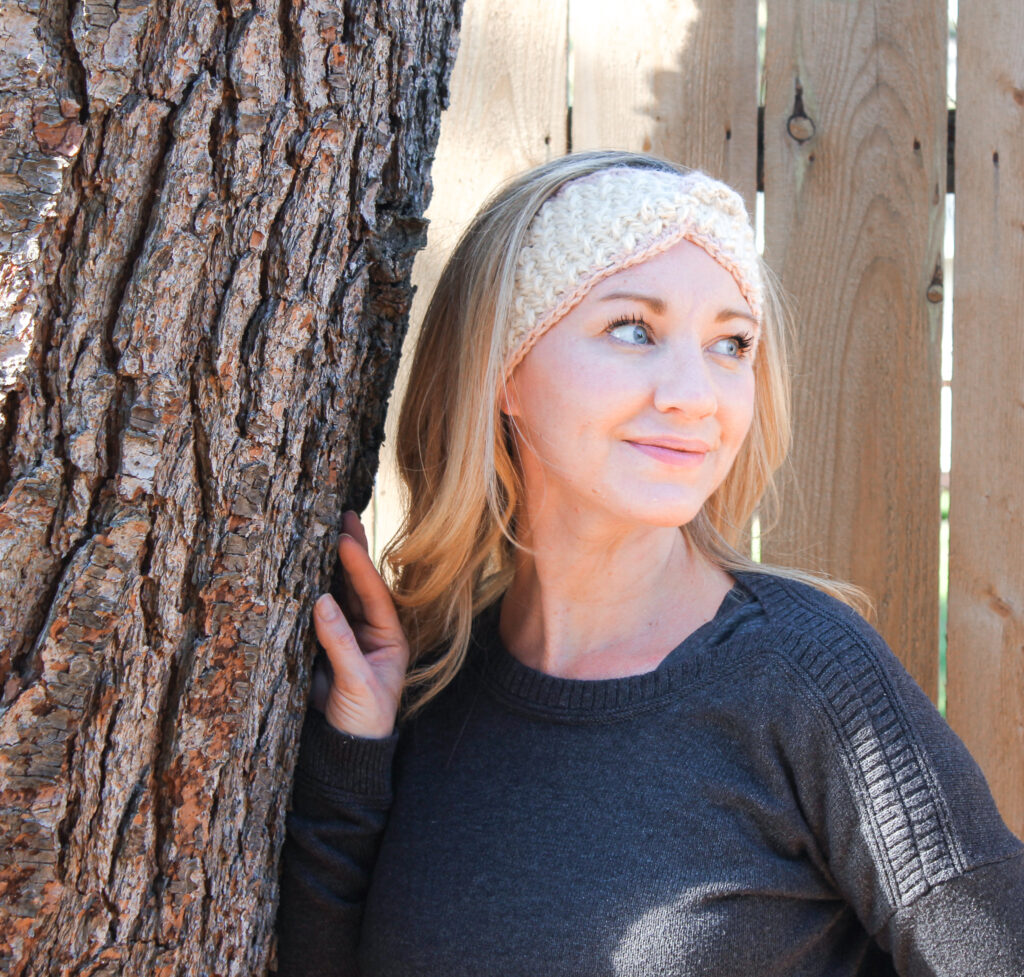
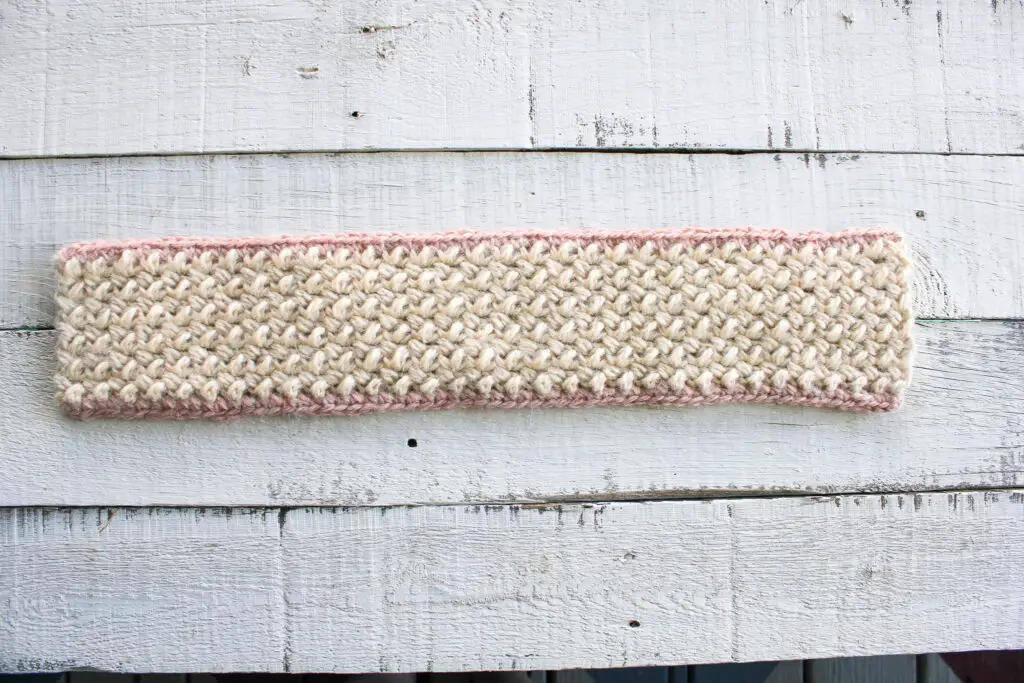
This twisted ear warmer is worked in rows to form a long band which is then seamed with a nifty little technique to give it a fun twist! The pattern is written for a medium adult size, but a chart is included for adjusting the size.
I used Yarn Bee’s Alpaca Twist yarn for this crochet ear warmer (as well as the other pieces in the collection), and I think it really ups the cozy factor.
It’s a worsted weight yarn (size 4), but it definitely falls more on the bulky side of worsted. Keep that in mind if you decide to substitute yarn (I definitely recommend checking gauge if you do!). Some suggestions for yarn substitutes are We Crochet’s City Tweed Aran yarn, WC’s Snuggle Puff Cotton, or Lion Brand’s Wool Ease.
Grab the ad-free, printable PDF of this pattern on Etsy or Ravelry!
Cozy Bean Twisted Ear Warmer Pattern
SKILL LEVEL
Easy
MATERIALS
- Yarn: About 75 yards of worsted weight yarn (size 4). I used Yarn Bee Alpaca Twist (shown in Ecru (main color) and Blush (contrasting color)). This yarn is on the bulkier side for worsted weight, so keep that in mind if you substitute yarn. Some suggestions for substitutions are We Crochet’s City Tweed Aran yarn or WC’s Snuggle Puff Cotton.
- Size J (6.00mm) hook.
- Yarn (tapestry) needle, scissors, and measuring tape.
DIMENSIONS
Written for Medium Adult, but can be easily adjusted. See sizing chart if you want to adjust the size.
As written, final circumference is about 21”.
GAUGE
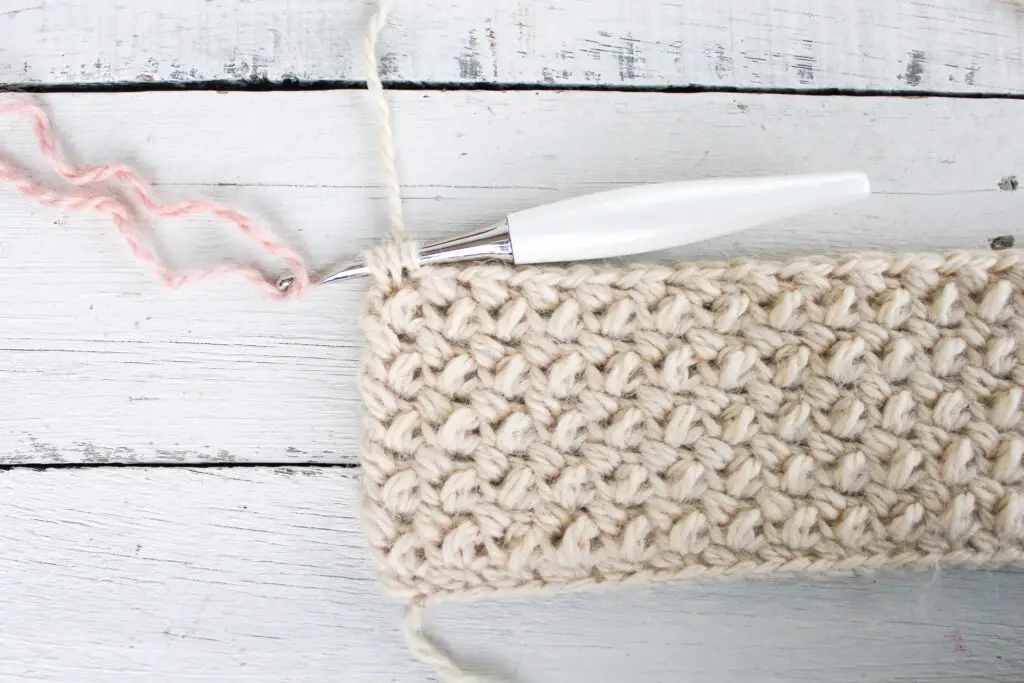
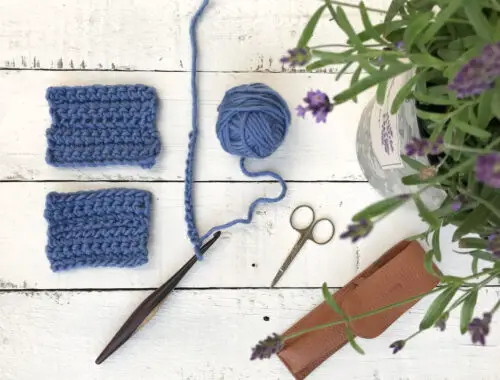
16 sc x 17 rows in 4” square using the mini-bean stitch.
NOTES
- This ear warmer is worked in rows using the mini bean stitch, trimmed with single crochet, and then seamed using a twisted folding technique.
- Special stitches:
- Mini Bean (MB) (aka Elizabeth Stitch): Insert hook into next st, yo and pull up a loop, yo and insert hook into same st, yo and pull up a loop (you should now have four loops on your hook), yo and pull through all four loops on hook. Ch 1 to close the stitch. This ch counts as part of the stitch, not a separate chain. See a helpful video tutorial of this stitch here.
- The Ch 1 turning chain used throughout does NOT count as a stitch.
- Pattern written in US terms.
- Abbreviations
- ch = chain
- MB = mini bean stitch
- sc =single crochet
- sk = skip
- st =stitch
- yo = yarn over
- To adjust the size, chain any ODD number to start. Measure length after Row 2. The length should be about 1-1.5 inches shorter than the intended head circumference. See chart below for average head size if you can’t measure the person.
- Sizing Chart:
Average Head Circumference by Age
| Newborn – 3 months | 13 – 14 inches |
| 3 – 6 months | 14 – 15 inches |
| 6-12 months | 15.5 – 16.5 inches |
| 12 -24 months | 16 – 18 inches |
| Child (3 -10 years) | 19 – 21 inches |
| Teen/Small Adult | 21 inches |
| Medium Adult | 22 inches |
| Large Adult | 23 inches |
PATTERN
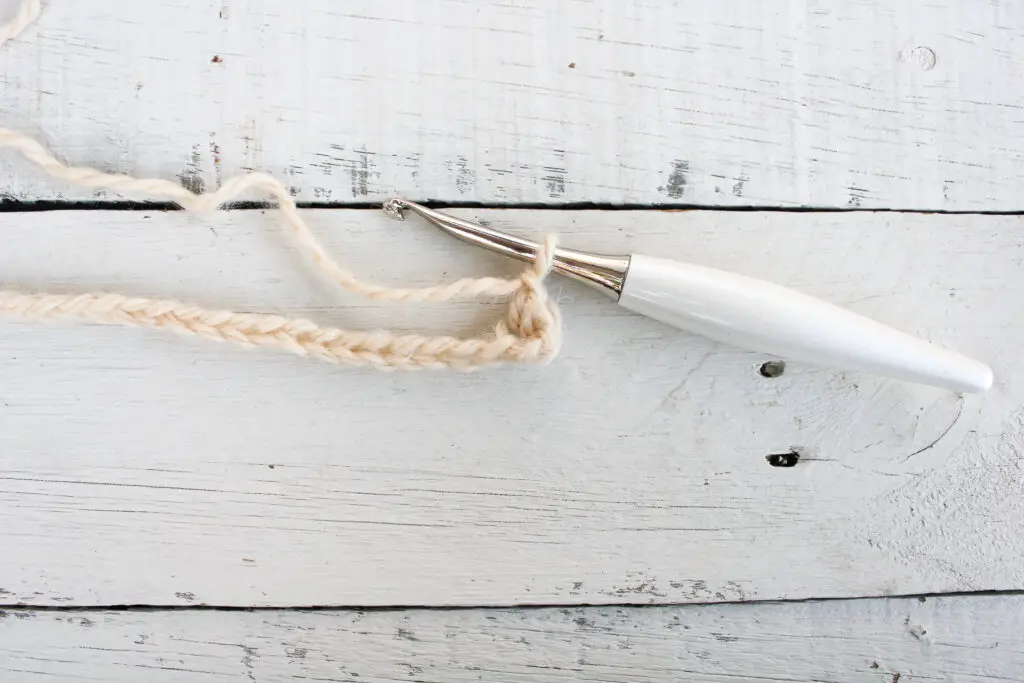
Ch 65 with main color (or any ODD number if you are adjusting the size).
Row 1: MB in the 3rd ch from hook, [sk next ch, MB in next], repeat inside [ ] across chain, ending with a MB in last ch. <32 MB>
Row 2: Ch 1 (this will look like a ch 2 because of the ch 1 used to close the last MB), turn. MB in the first stitch.
You will insert your hook into the little “V” that is naturally formed on the MB in the row below (See picture for help with where to insert your hook),
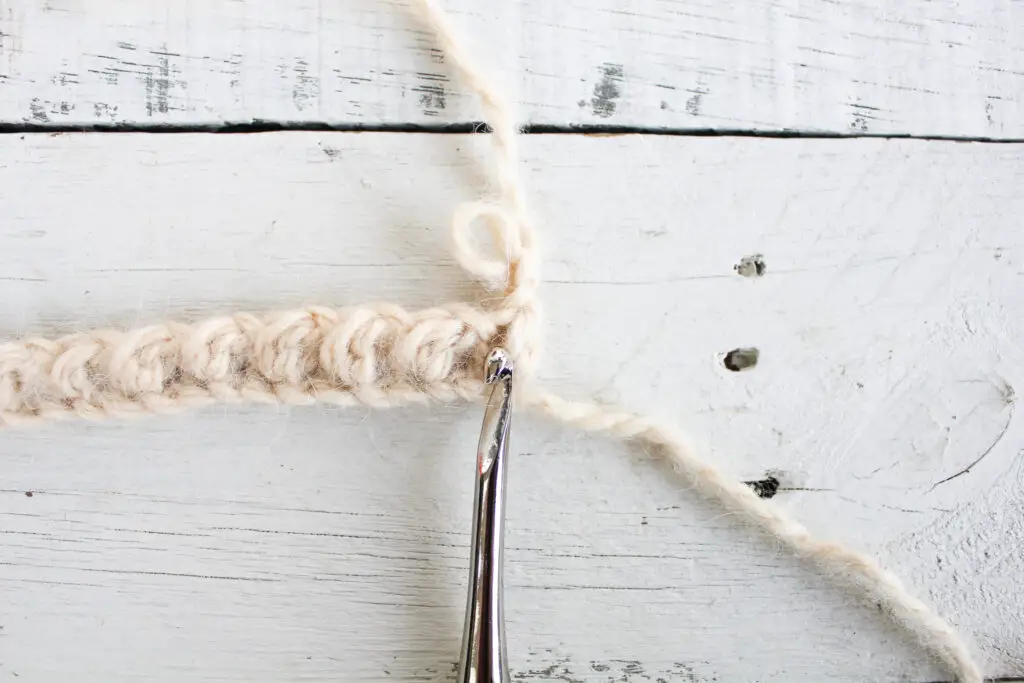
MB in each st across.
Final MB should be worked in the top of the last MB from the row below. <32 MB>
Measure length after Row 2. It should be about 1-1.5 inches shorter than the intended head circumference.
Rows 3 – 10: Repeat Row 2. (If you’d like to adjust the WIDTH of your ear warmer, work more or less rows)
Color change: On the final MB of Row 10, stop when four loops remain on the hook. Pull through with contrasting color and use it to Ch 1 to finish the stitch. You will now be working with the contrasting color (do not cut). Cut main color and fasten off. Weave in end.
Edging:
Ch 1 with contrasting color, turn.
First Edge: Sc in the first MB in the same spot as usual (in the little “V”) AND sc into the space next to the little “V” (before the next MB). This means that each MB stitch will have two sc’s worked into it. Continue working 2 sc’s into each MB across the row. You will work the 2 sc’s into the same space for the last stitch. Fasten off and weave in ends. <64 sc>

Opposite Edge:
Attach contrasting color yarn to the other long side of the rectangle, on the same end where you just fastened off. You want the “right side” of both sc rows to be facing you.
Ch 1. Work 2 sc’s evenly in each MB across the row. Fasten off leaving a long tail for sewing. Weave in any other ends. <64 sc>
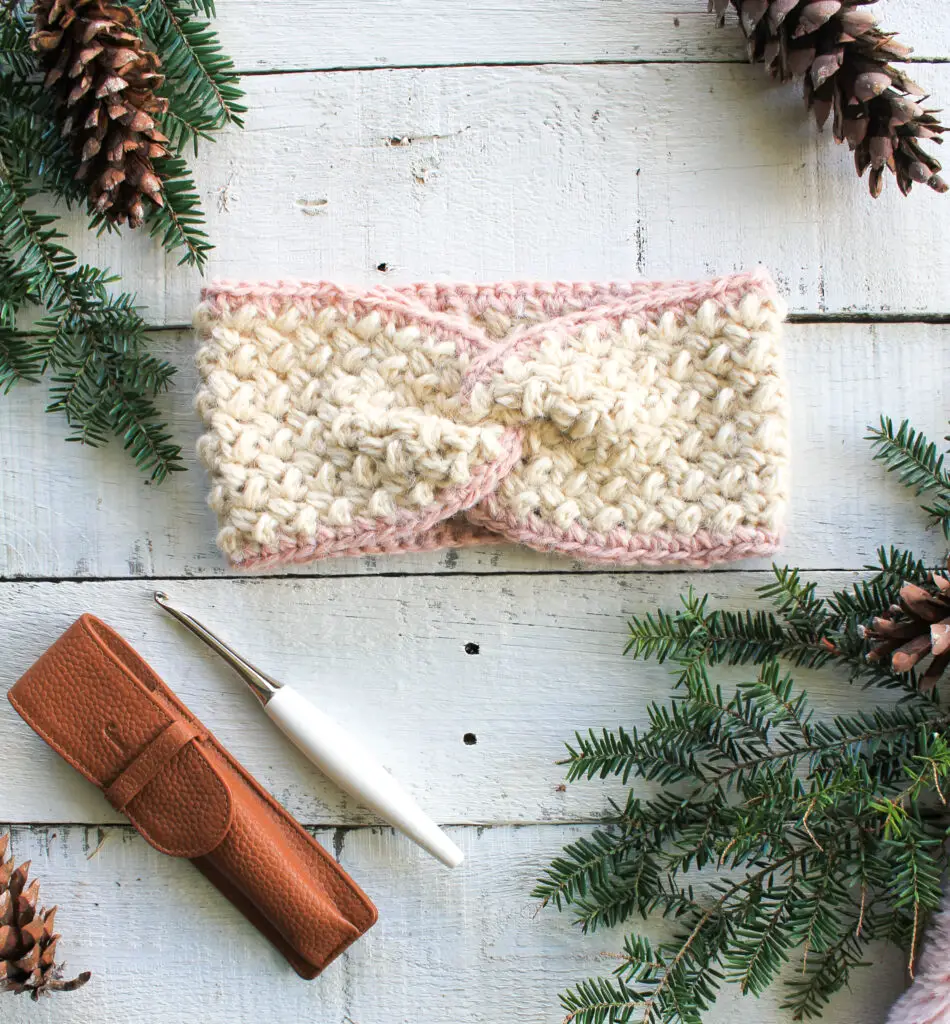
Making the Twist:
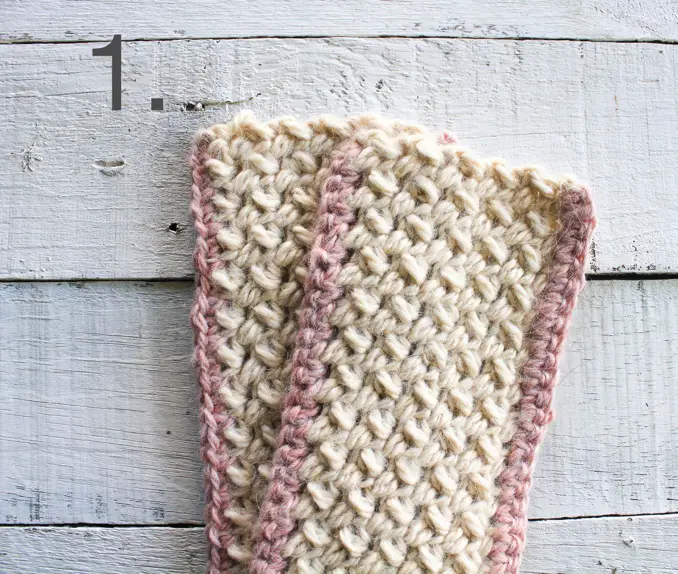

Step 1 – Lay the band flat with the right side facing you. Fold in half so that the two short ends meet. Slide the top piece so the the edging is in the middle of the bottom piece.
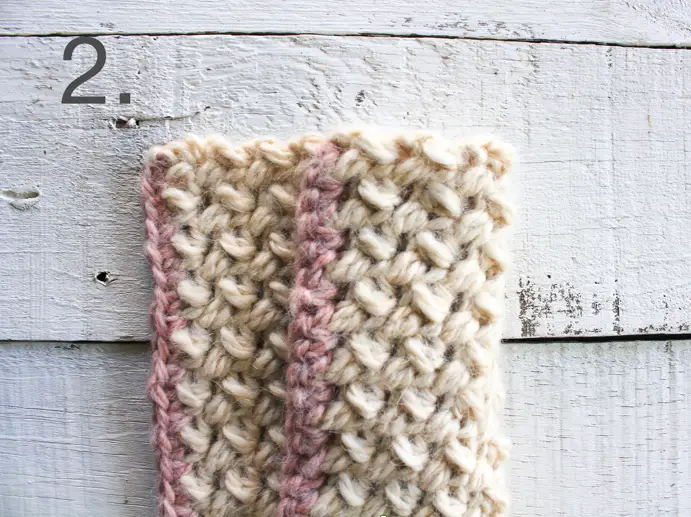
Step 2 – Fold the right side of the top piece around the back of the bottom piece.
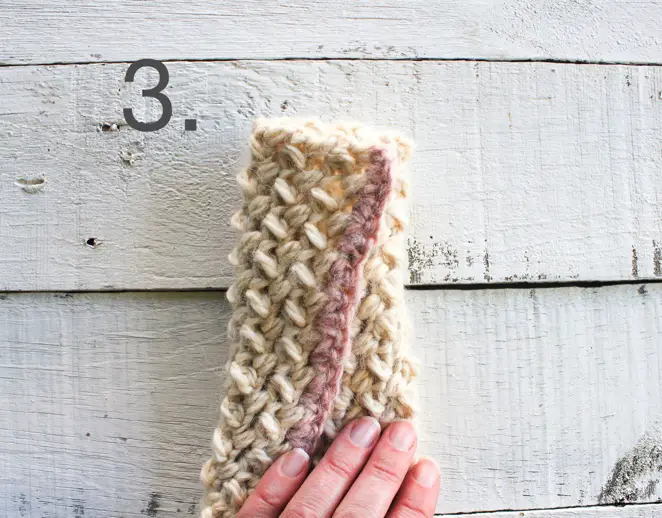
Step 3 – Fold the left side of the bottom piece around to the front, so that you now have four layers sandwiched together.
Step 4 – Using the long tail and a tapestry needle, sew back and forth through all four layers until secure. Fasten off and turn inside out. Weave in any loose ends and enjoy your cozy new headband!
Don’t forget to check out the other Patterns in the Cozy Bean Collection!
I hope you enjoyed this pattern! Tag me on Instagram @theknottednest and use the hashtag #cozybeancollection to share your project! Find more project ideas in the Patterns section here on the blog or check out my Alpine Hygge Beanie or Dreaming of Spring Triangle Scarf for more cozy winter accessories!


4 Comments
Pingback:
Pingback:
Pingback:
Pingback: