
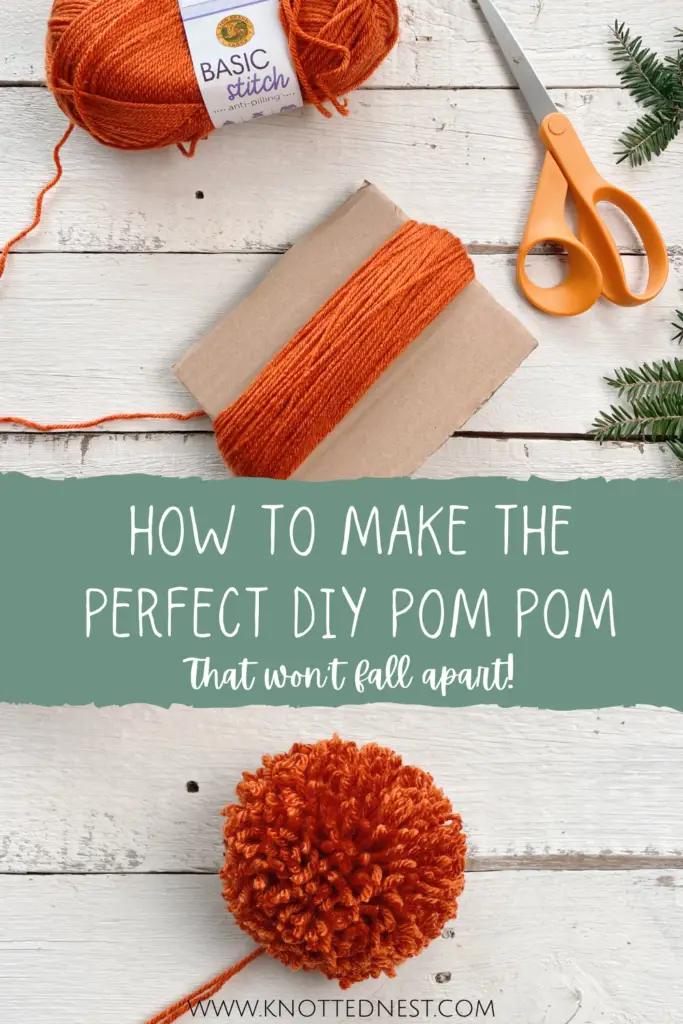
3 Tips: How to Make a Perfect Pom Pom
Learn how to make a pom pom out of yarn – that won’t fall apart!
Click here to Pin this post for later!
Ah, pom poms. We love them, we hate them. A quick Pinterest search for what you can do with yarn pom poms will have your crafty heart going pitter-patter: wreaths, garlands, rugs, and so much more (I have a whole Pinterest board of pom pom craft inspiration – so many cool ideas)!
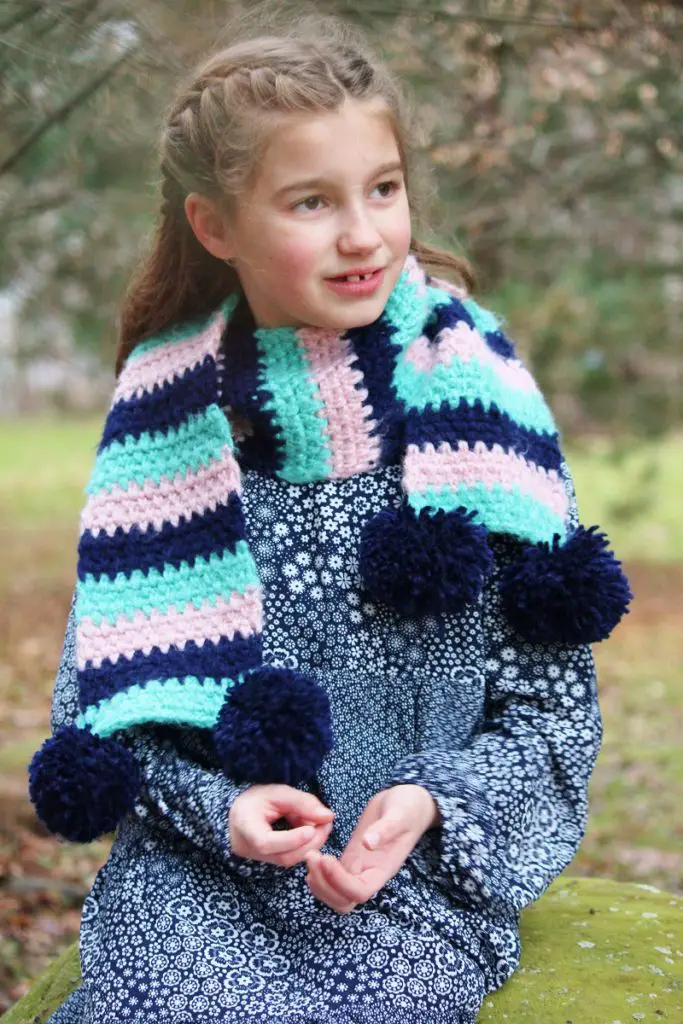
But even if you just need to make a pom pom to top a crocheted hat, or fancy up a scarf, it doesn’t take long to realize that they can be finicky. It’s tough to get that full, plush look. And even tougher to get a full pom that actually stays together!
There are several handy devices out there that can take a lot of the guess work out of it (these Clover Pom Pom makers are my favorite!). But you don’t have to have a fancy maker to get fluffy, full poms that won’t fall apart. These 3 tips will have you churning out perfect poms with nothing but items you probably have at your fingertips.
What You Need:
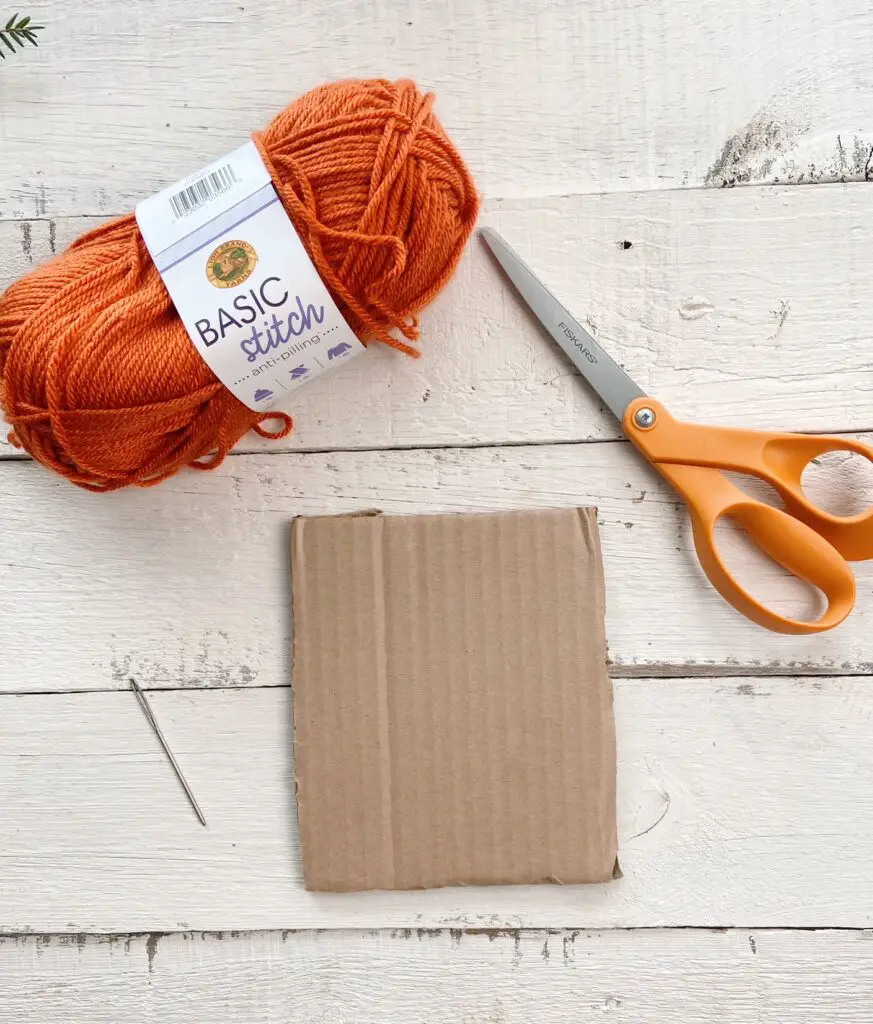
- Yarn
- A square of cardboard that is about 1.5″ – 2″ bigger than the size of pom you wish to make (ex. If you want a 4″ finished pom, use a 6″ tall piece of cardboard).
- Sharp scissors (the sharper, the better)
- Yarn needle
How to Make a Perfect Pom Pom
Tip # 1 – Wrap A LOT of Yarn!
Step 1: Begin wrapping your yarn around the cardboard.
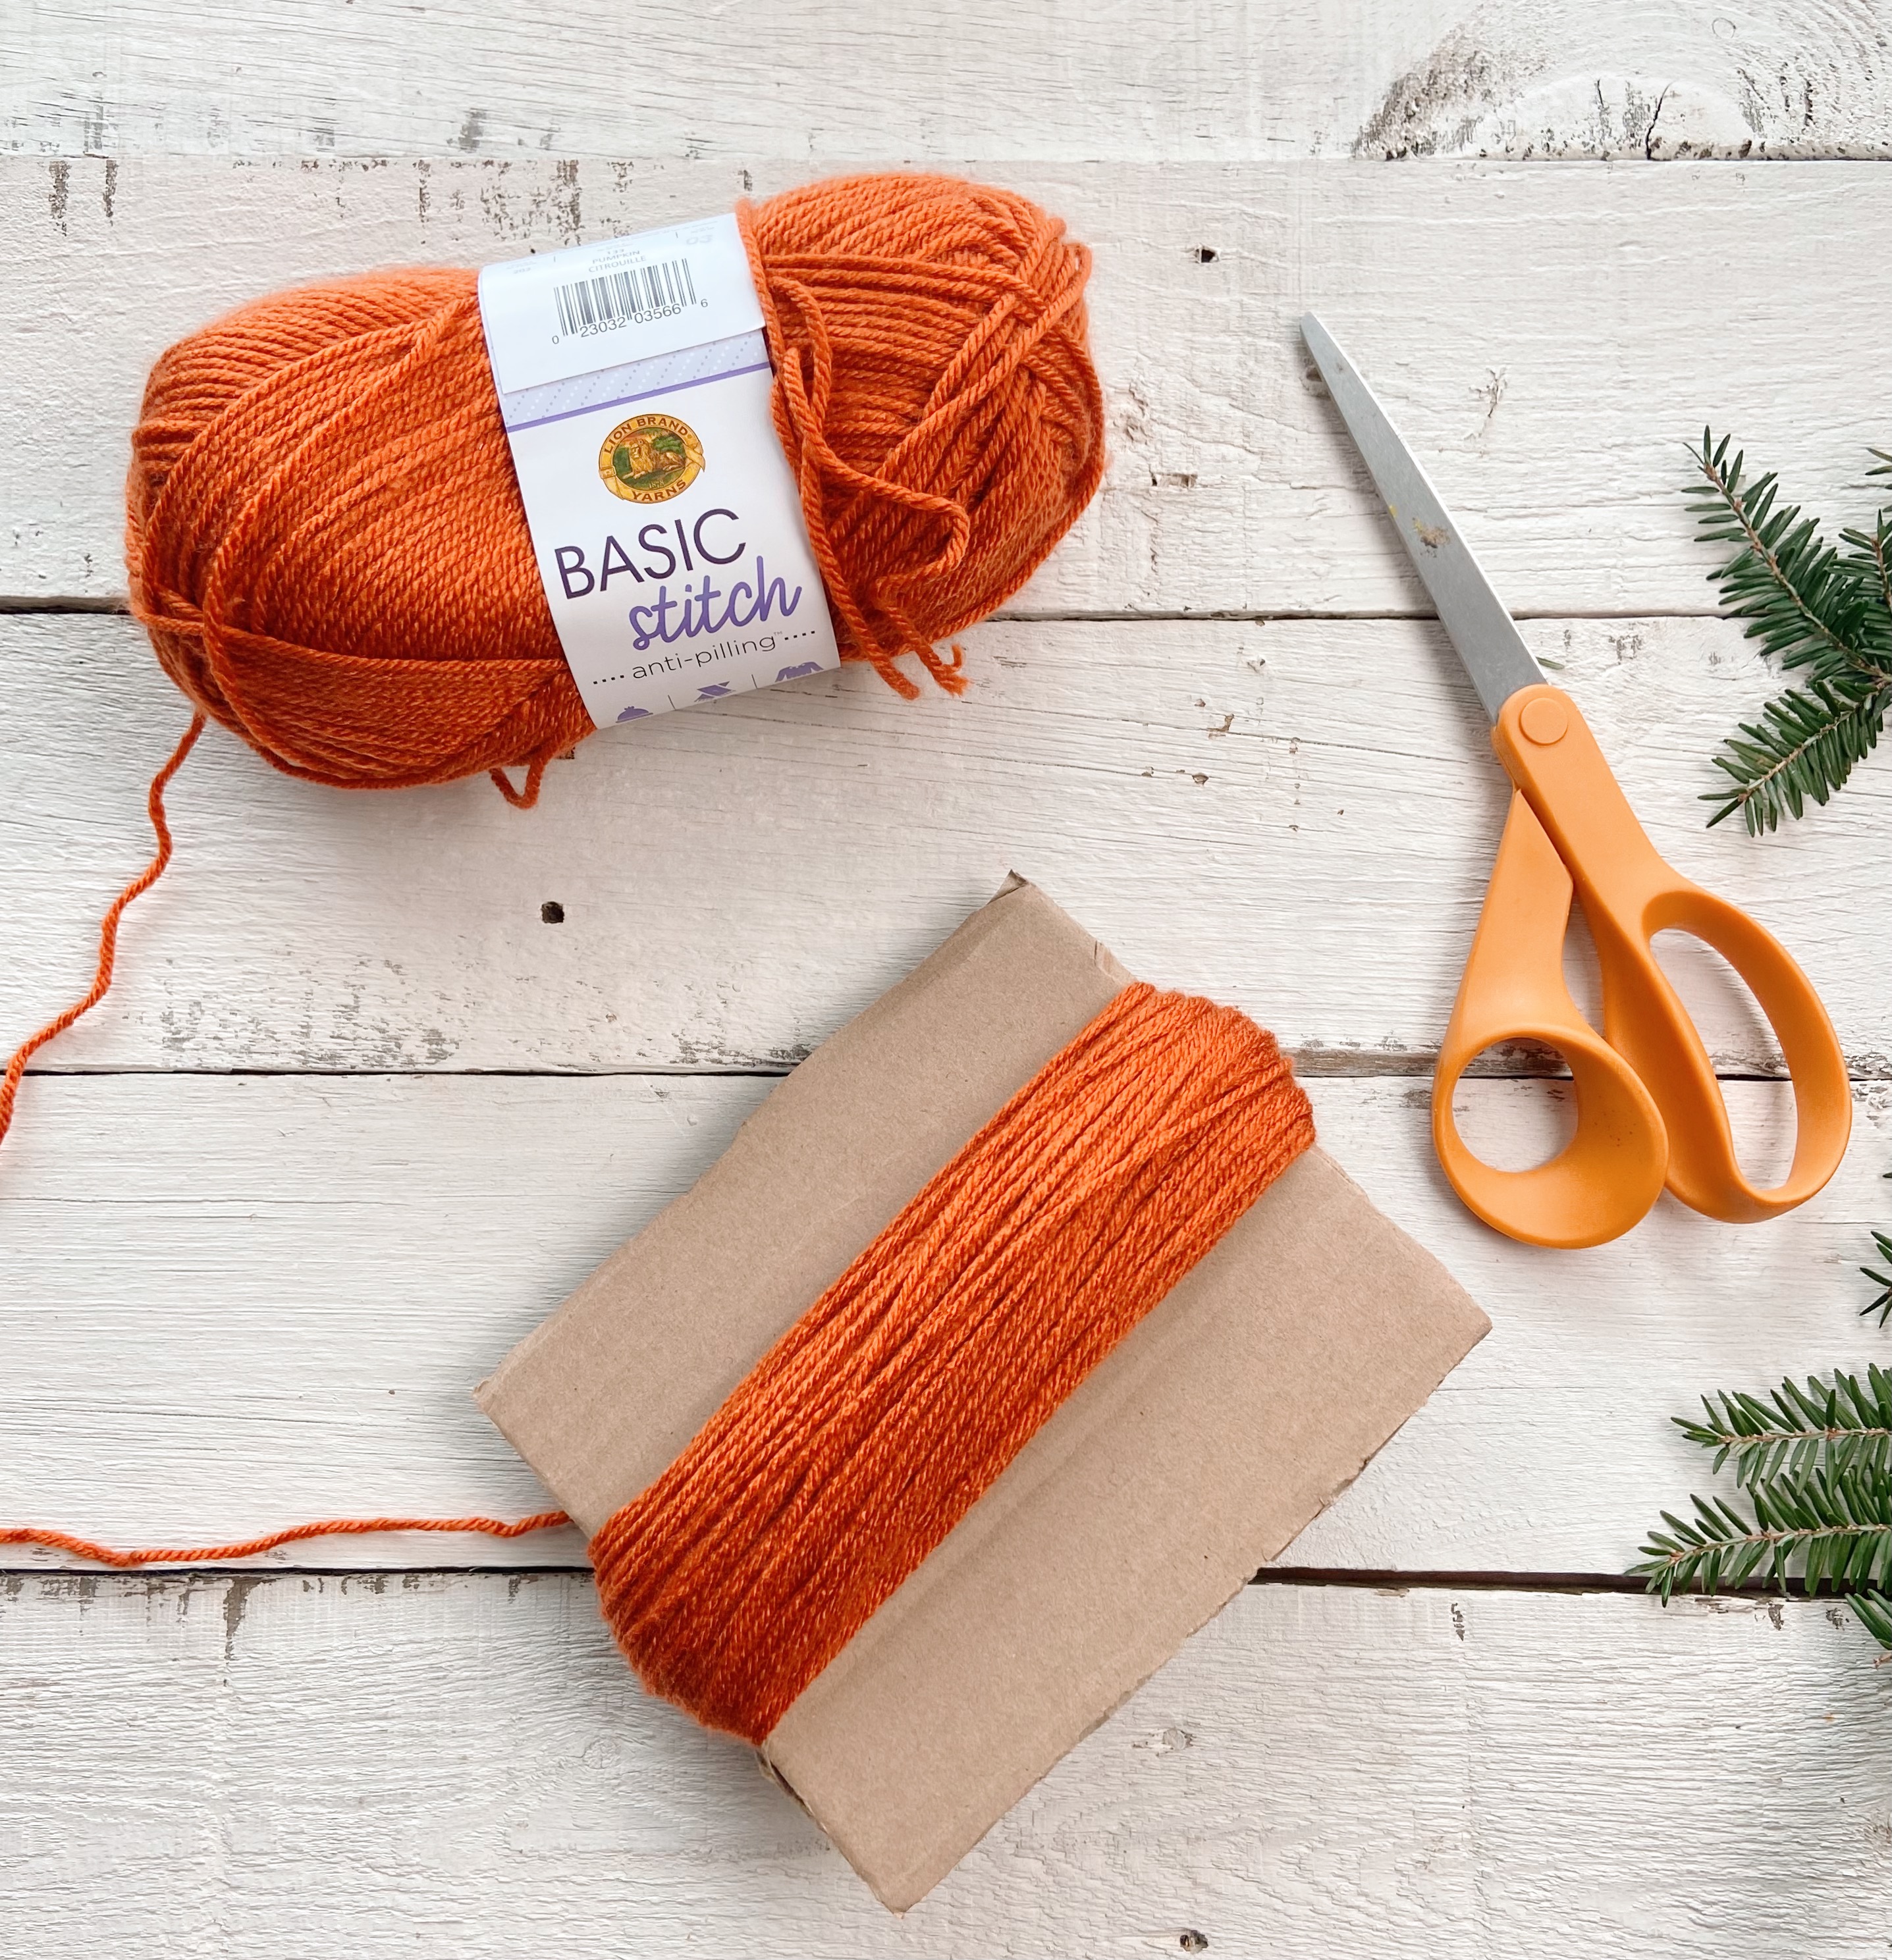
You really need to have a thick bundle of yarn to get a full pom. Exactly how many wraps will depend on the yarn thickness and the finished size you want to make, but if in doubt, wrap some more.
For reference, I am making a 4″ pom and I did 180 wraps of worsted weight yarn.
Tip #2 – Secure Each SIDE of the Bundle First
Step 2: Thread a yarn needle with a small length of yarn. Pass the needle behind the wrapped yarn on one side of the cardboard (in the center). Pull as tight as you can and tie securely. Repeat on the other side of the cardboard. This prevents the whole thing from falling apart even when you have a thick bundle.
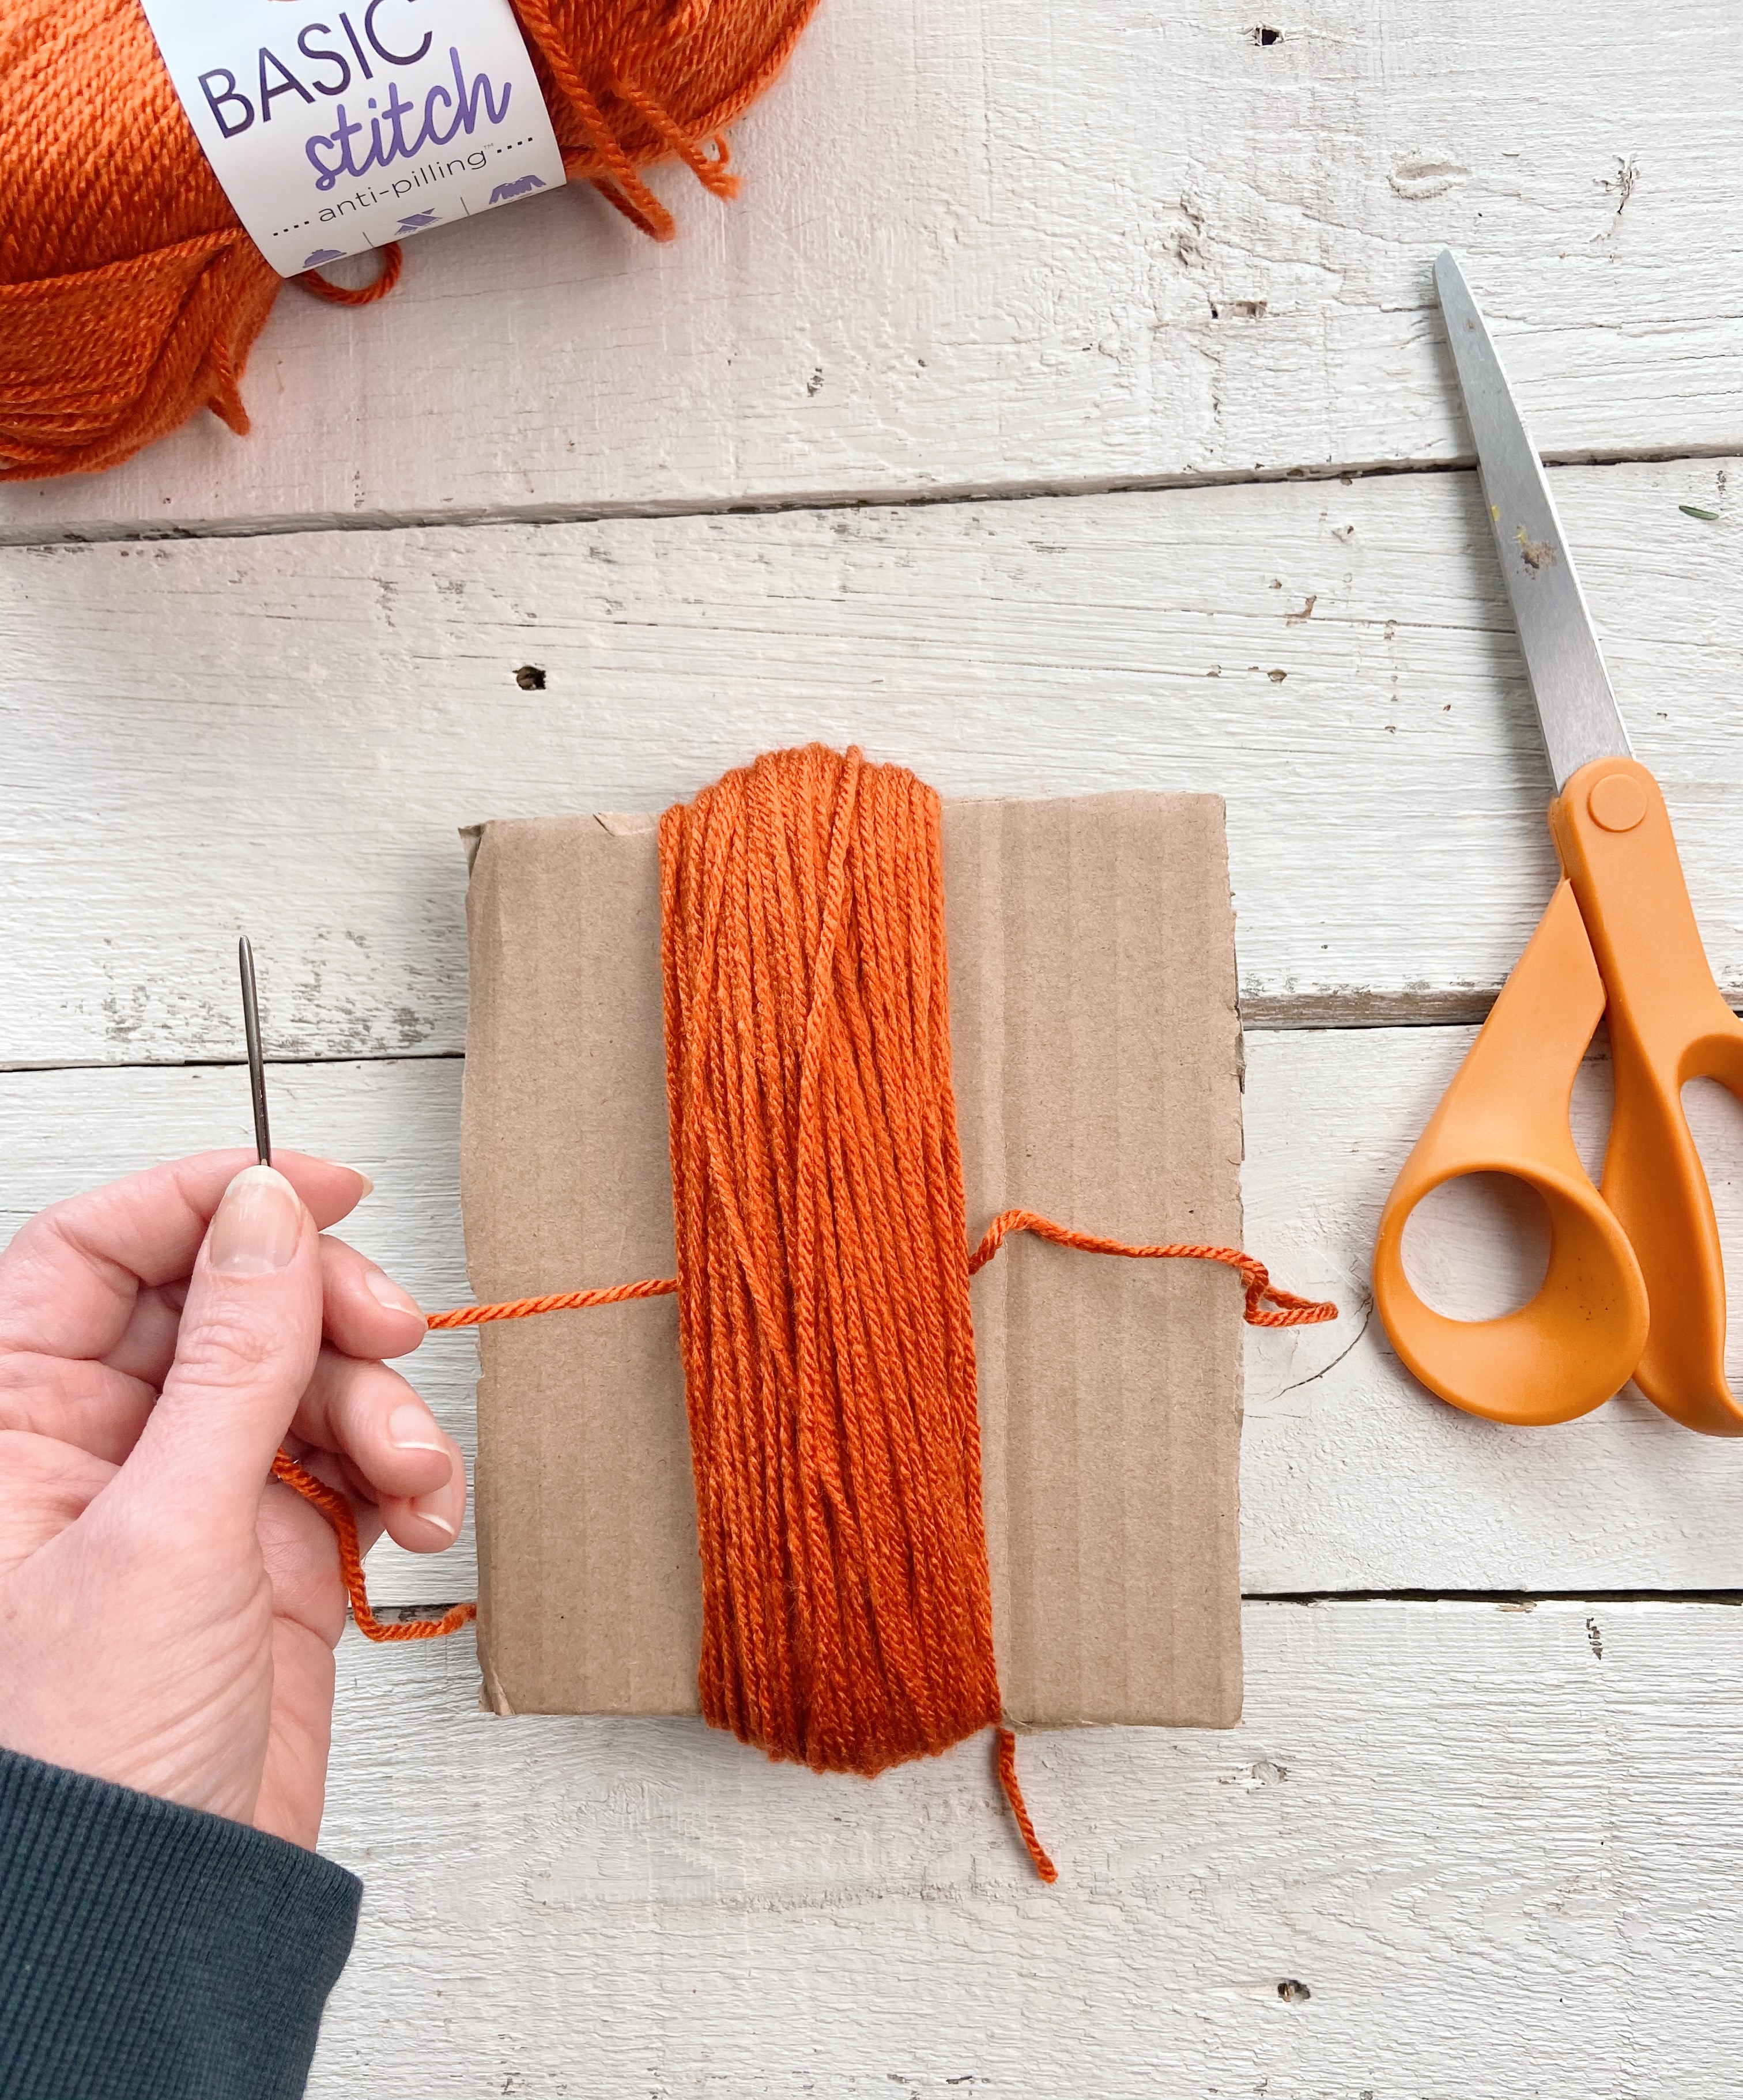
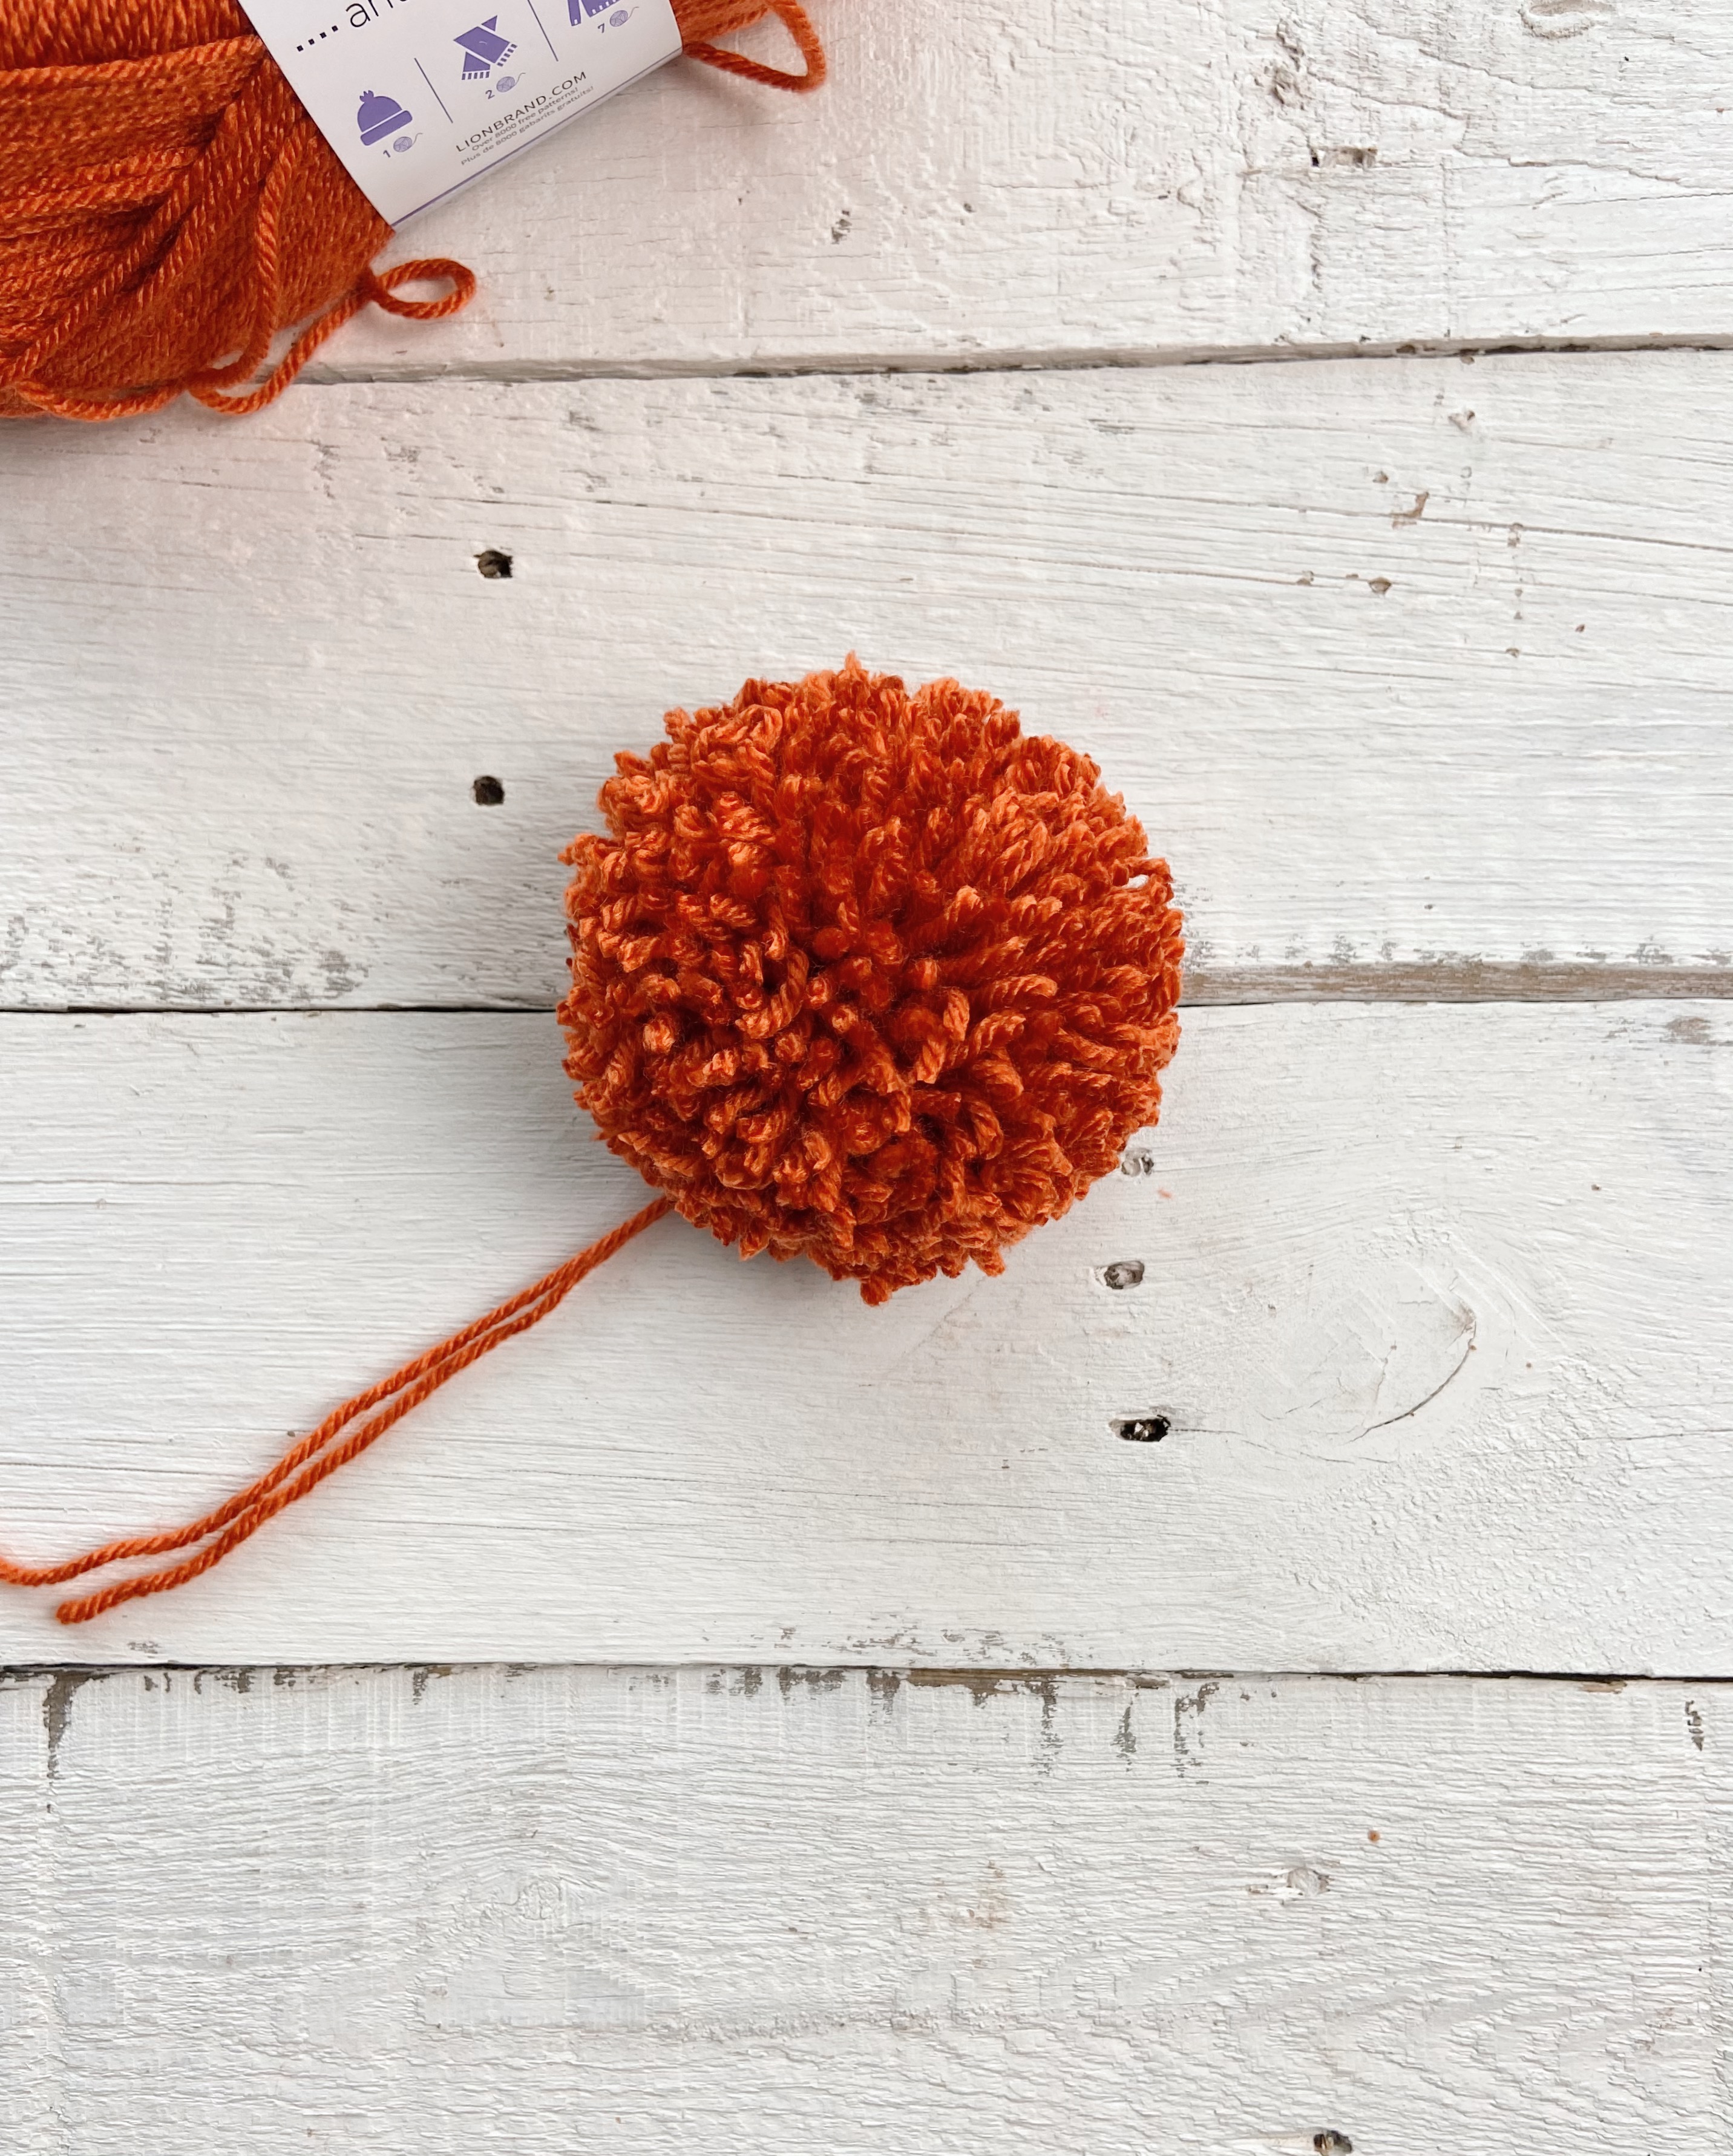
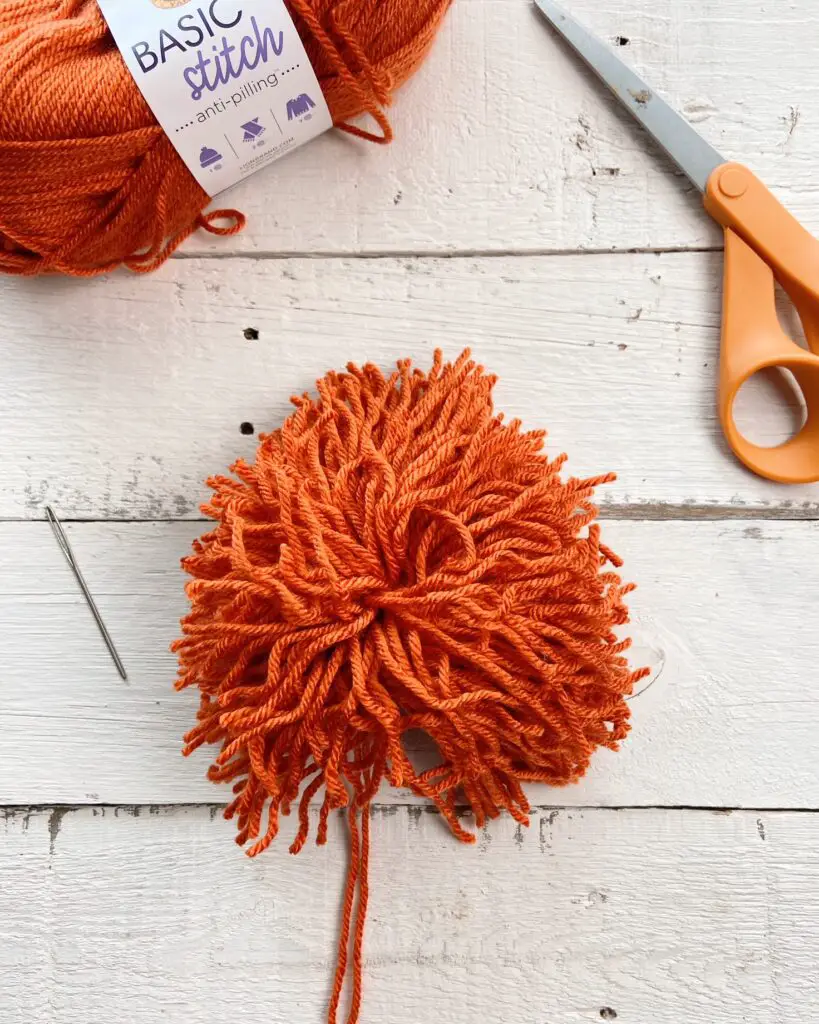
Step 3: Slide the whole bundle off of the cardboard. Use a longer length of yarn to wrap around the whole bundle (again in the center). Pull as tight as you can and tie. Leave the tails long, they will be what you use to attach the pom to your project.
Tip #3 – Don’t Be Afraid to Trim Off a Good Amount of Yarn
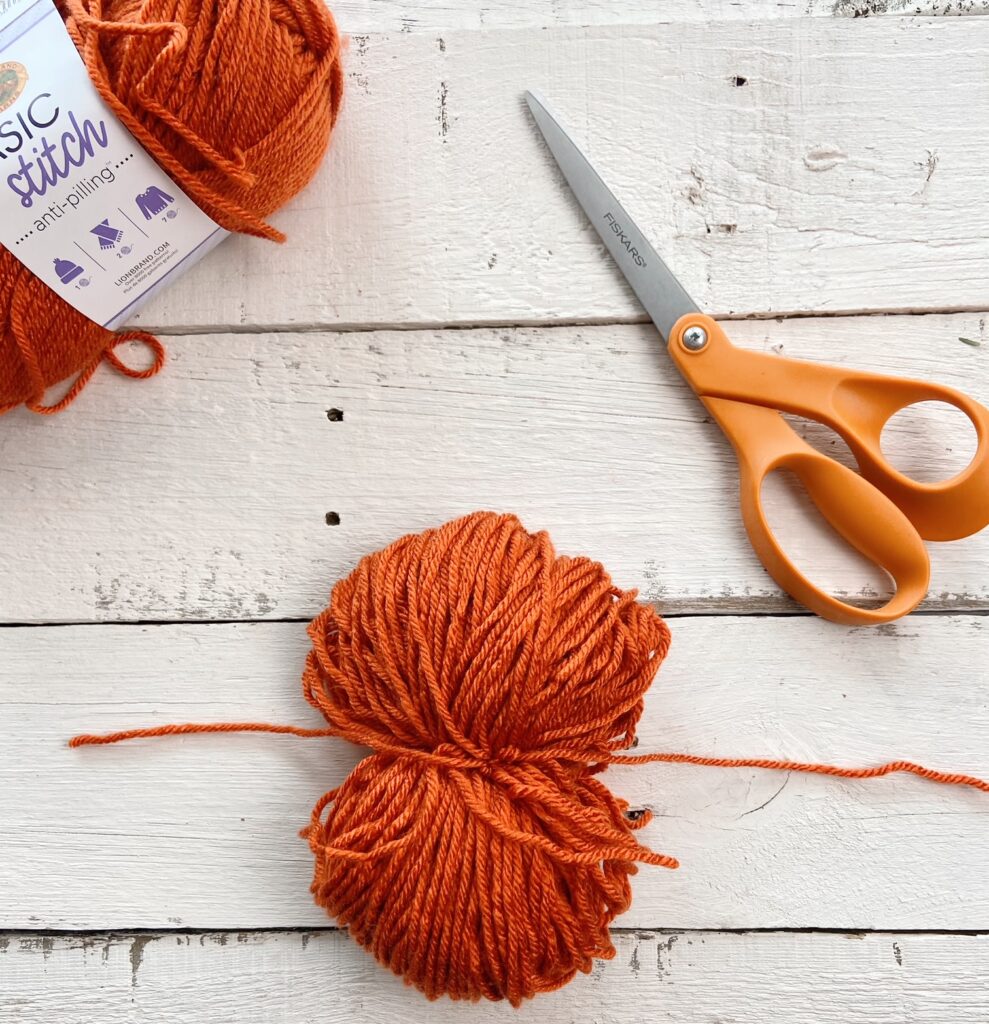
Step 4: Use SHARP scissors to cut the loops on either end of the bundle.
Step 5: Shake out your bundle. It will look kinda crazy at this point but you will be trimming a lot of this off. Be careful to hold the long tails out of the way so they don’t accidentally get cut.
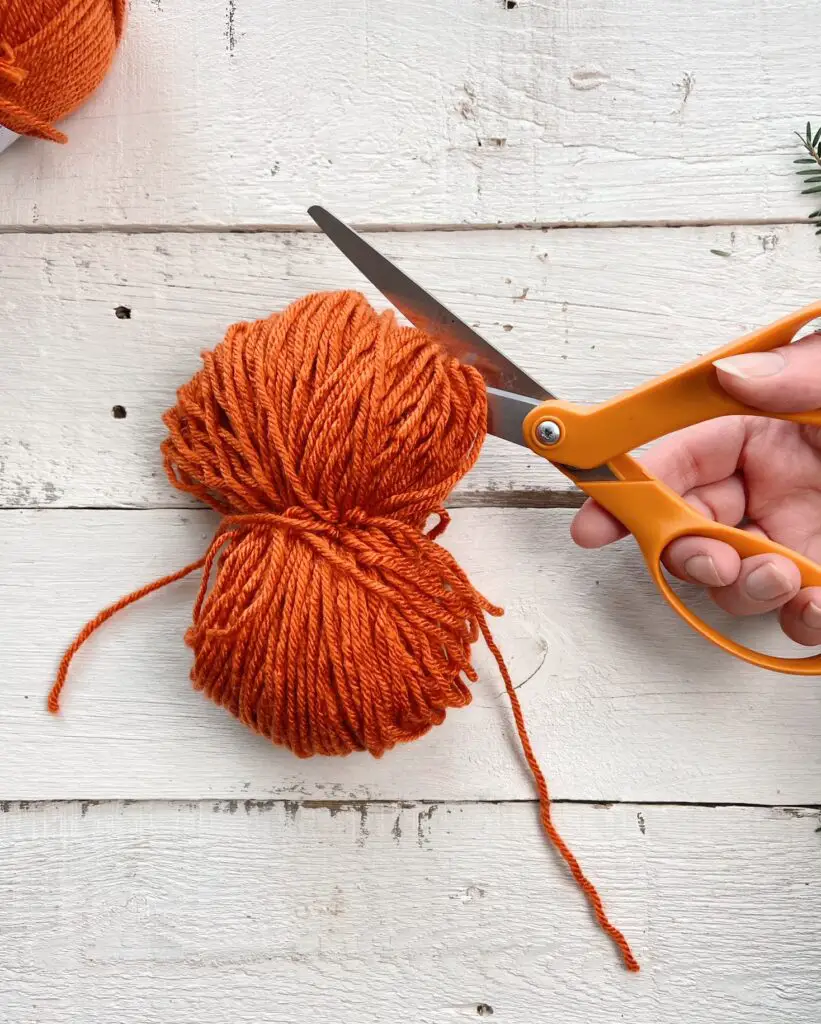
Step 6: Over a trash can or newspaper, begin trimming and shaping the yarn. The more you trim off, the denser the pom will be (this is why we used cardboard that is 1.5″ – 2″ bigger than the size we want. Lots of wiggle room to trim).
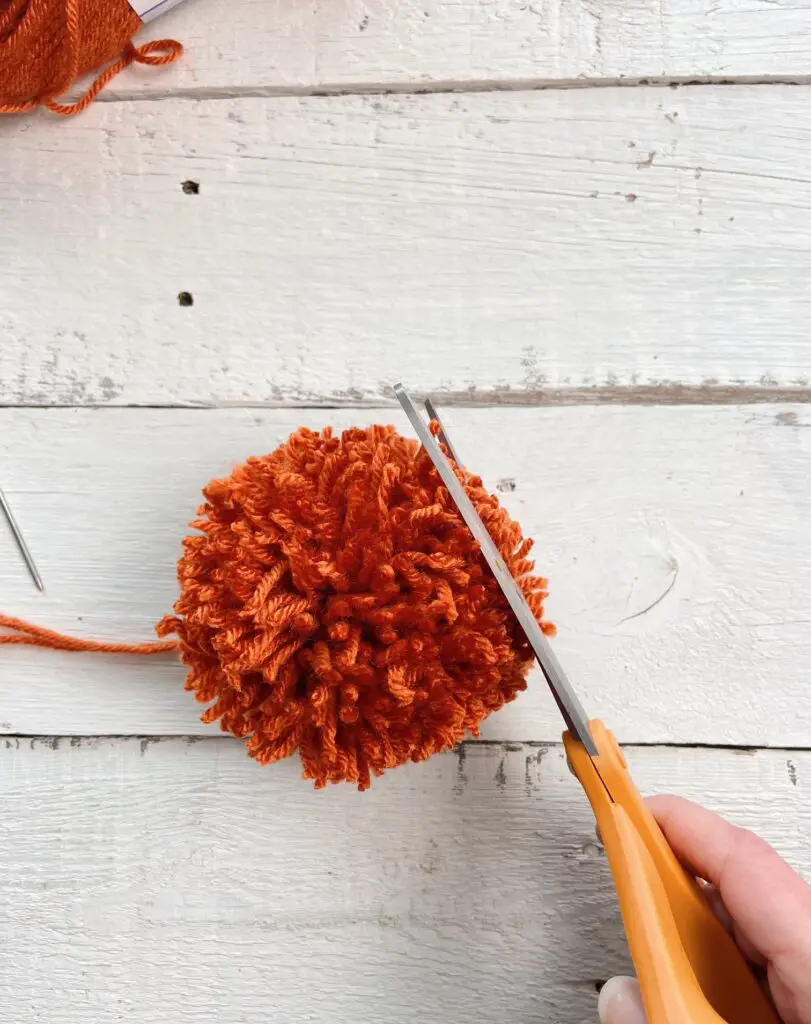
Step 7: Use your scissors to shape the bundle into a sphere. I have seen suggestions of using a circle of cardboard as a template, but I find it easier to just eyeball. Make sure to turn the ball all around (and upside down) as you trim to make it as even as possible. Remember the more you trim off, the fuller it will look.
Step 8: Once you are happy with the shape, give it a shake to fluff it out. Use the long tails to attach the pom to your project and you’re done!
I hope you found this tutorial helpful! Do you have any other suggestions I missed? Let me know in the comments! Looking for something smaller? I also have a tutorial for making mini poms using a fork as part of my Easter Bunny Garland pattern!

You can find more project inspiration in the Patterns sections here on the blog!
Happy making!

P.s. Let’s be IG friends! Follow me @theknottednest for more crochet related tips!


2 Comments
Pingback:
Pingback: