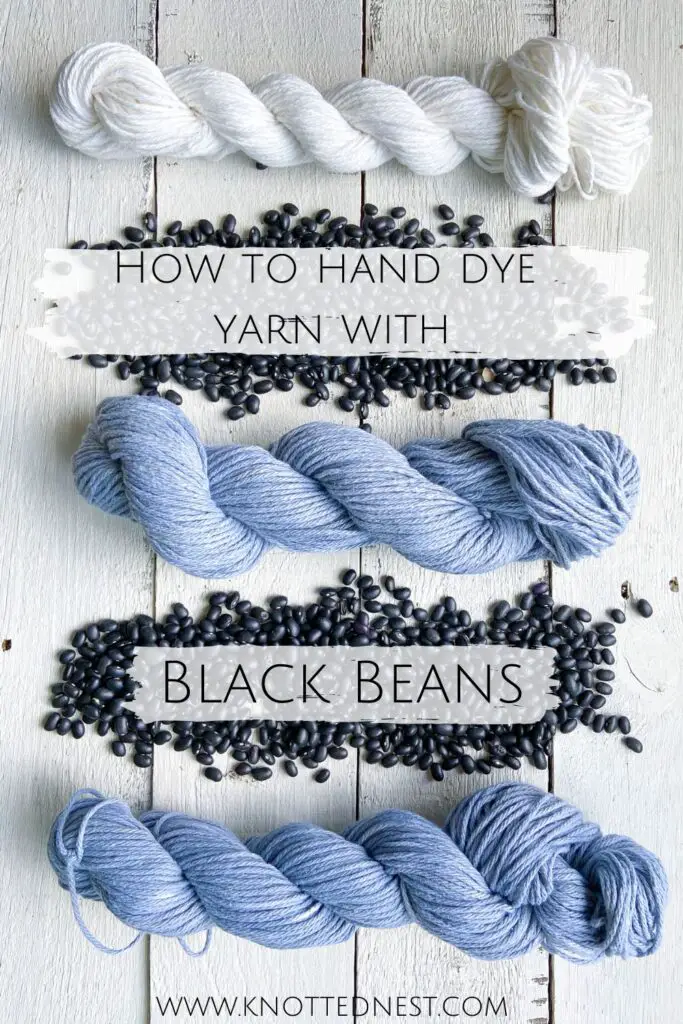
Natural Dyeing: How to Dye Yarn with Black Beans

Pin this post for later!
Yarn and plants – two of my favorite things! Did you know you can dye yarn with plants? It’s the coolest thing! I recently tried natural yarn dyeing for the the first time (I shared the entire process and step-by-step tutorial on Instagram here) and I am still in awe of what you can do with common plants and foods!
Gorgeous yellows can be made using onion skins or dandelions, rich browns and tans result from walnuts, acorns, and tea, earthy greens come from mint and other herbs, and avocado pits and skins will give you a lovely peachy pink!
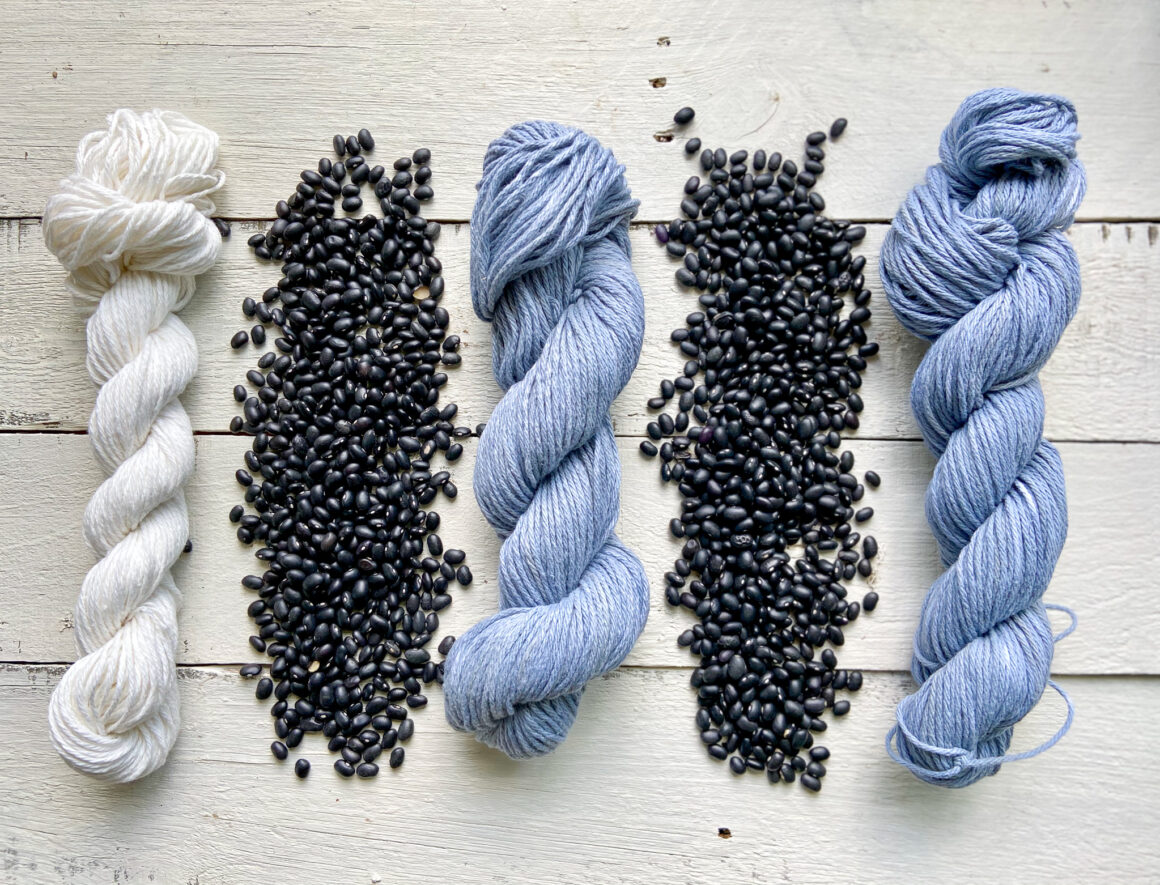
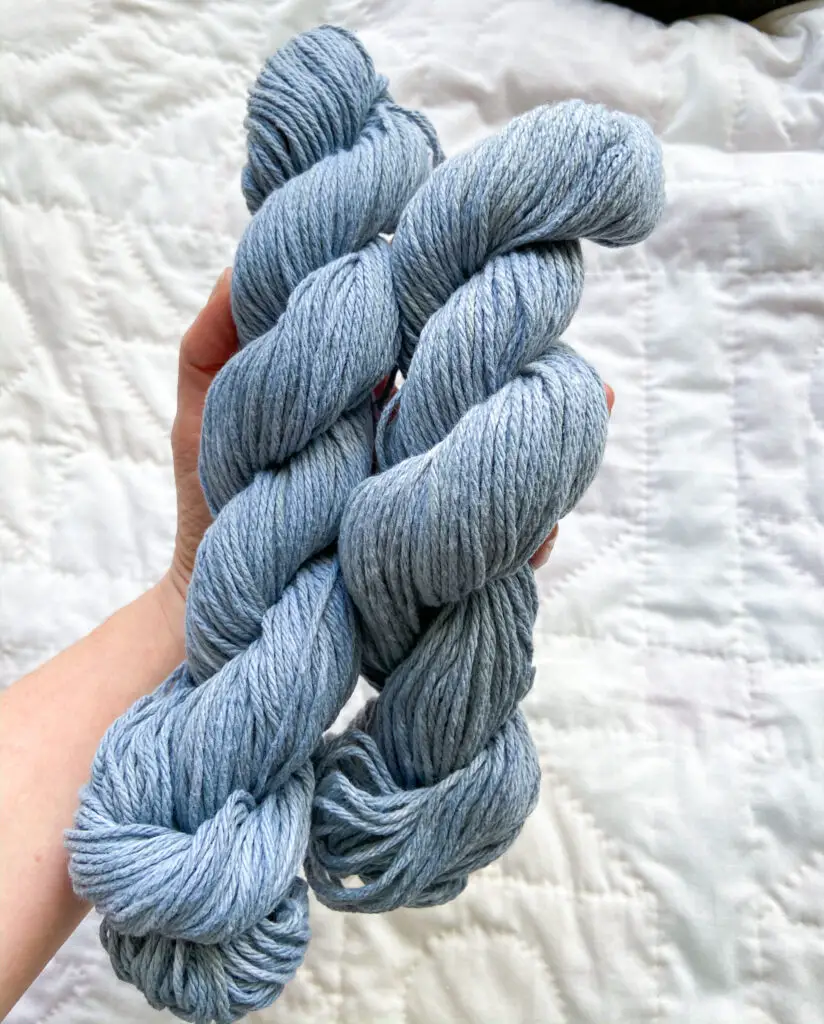
I can’t wait to try each and every one of the above, but since this was my maiden voyage, I went with something I already had sitting in my pantry – black beans! – which, believe it or not, produce a stunning dusty blue dye!
Hand-dyeing yarn with black beans is a fairly simple process, but it does take a little time. You will need to mordant the yarn ahead of time (not as scary as it sounds!). And you will let the yarn soak in the dye for 12 – 48 hours, depending on the depth of color you’re going for.
In general, animal fibers like wool and alpaca will take the dye better and produce deeper colors than plant fibers like cotton and linen. However, plant fibers are usually cheaper and easier to get. I used good old Peaches & Creme cotton since I had it on hand, but I can’t wait to try black bean dyeing with this bare 40% Off Our Favorite Crochet Kits“>WeCrochet!
Note: Acrylic yarns are typically not recommended for use in natural dyeing.
So let’s get into the details!
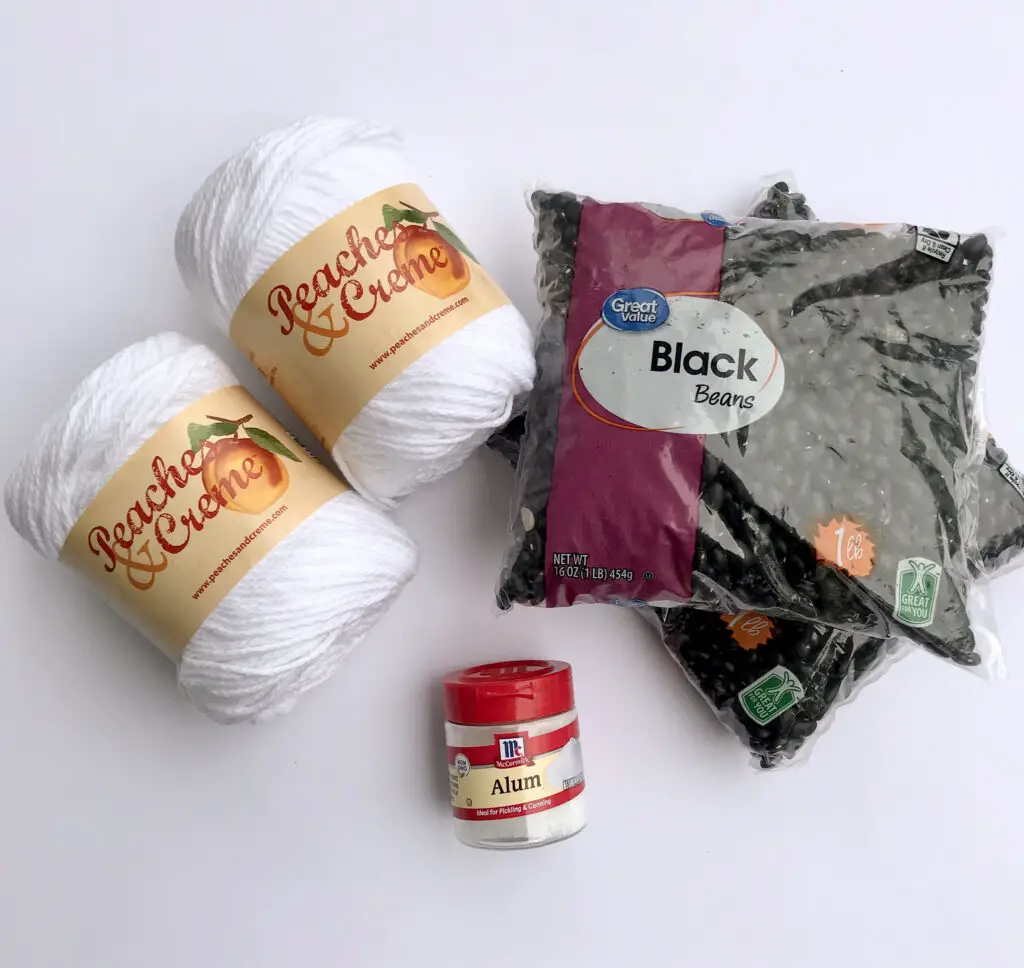
To Dye with Black Beans You Will Need:
- Yarn – 1 to 2 skeins of yarn made from natural fibers like wool or cotton. I used white Peaches & Creme cotton, but WeCrochet has a great selection of black beans will produce enough dye for 1 to 2 skeins of yarn.
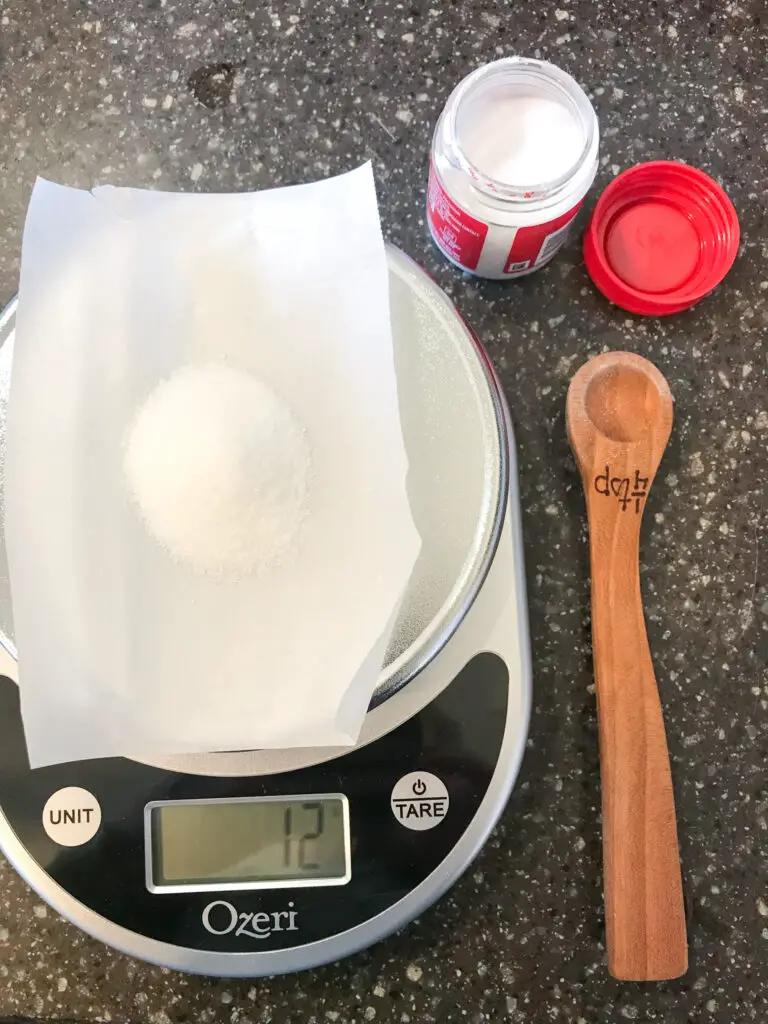
- Mordant – I used Alum (about a tablespoon) which is available in the spice aisle of most grocery stores or can be purchased online.
- Containers – large stainless steel pot (not aluminium), several large glass bowls or other vessels for soaking the beans and the yarn.
- Optional – scale for measuring the alum (this is the one I have – works great and is so handy to have when you crochet), old pantyhose if you choose to soak yarn in with beans.
The Process
There are 3 basic steps to dyeing with black beans:
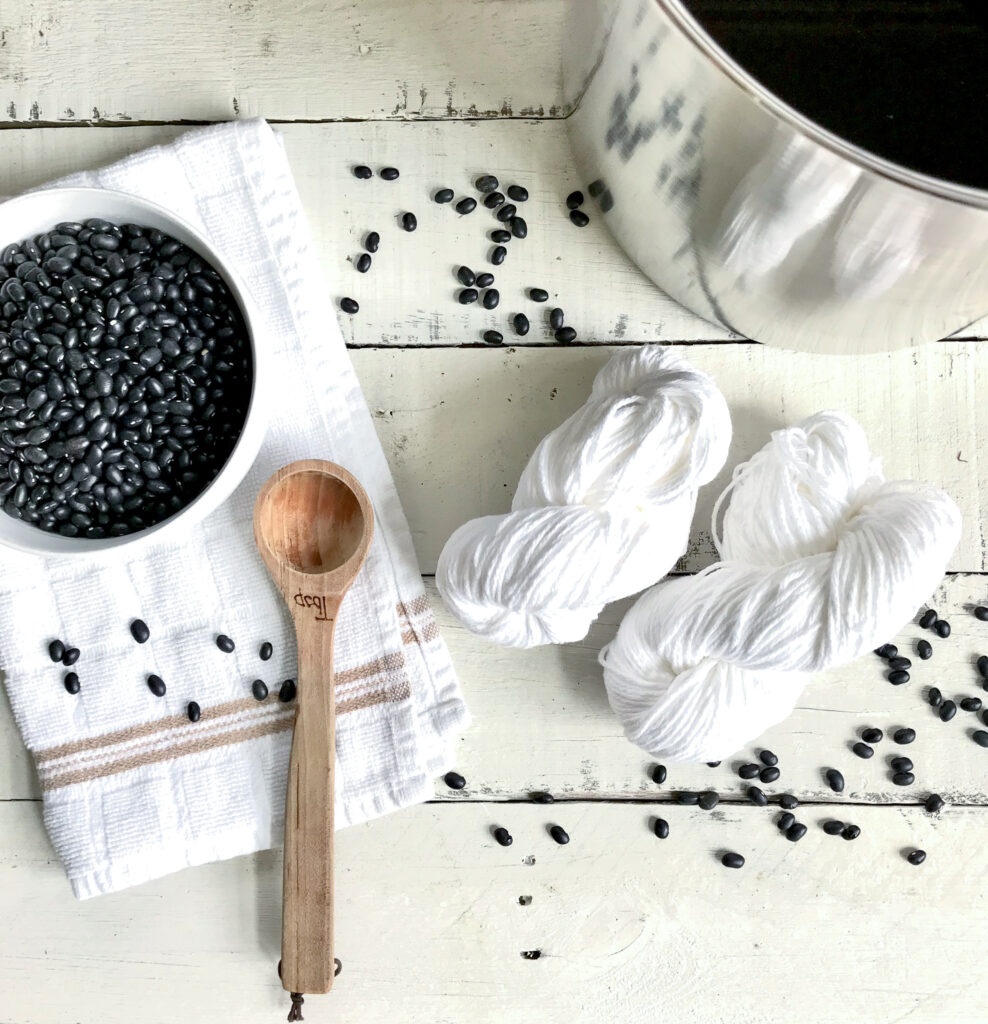
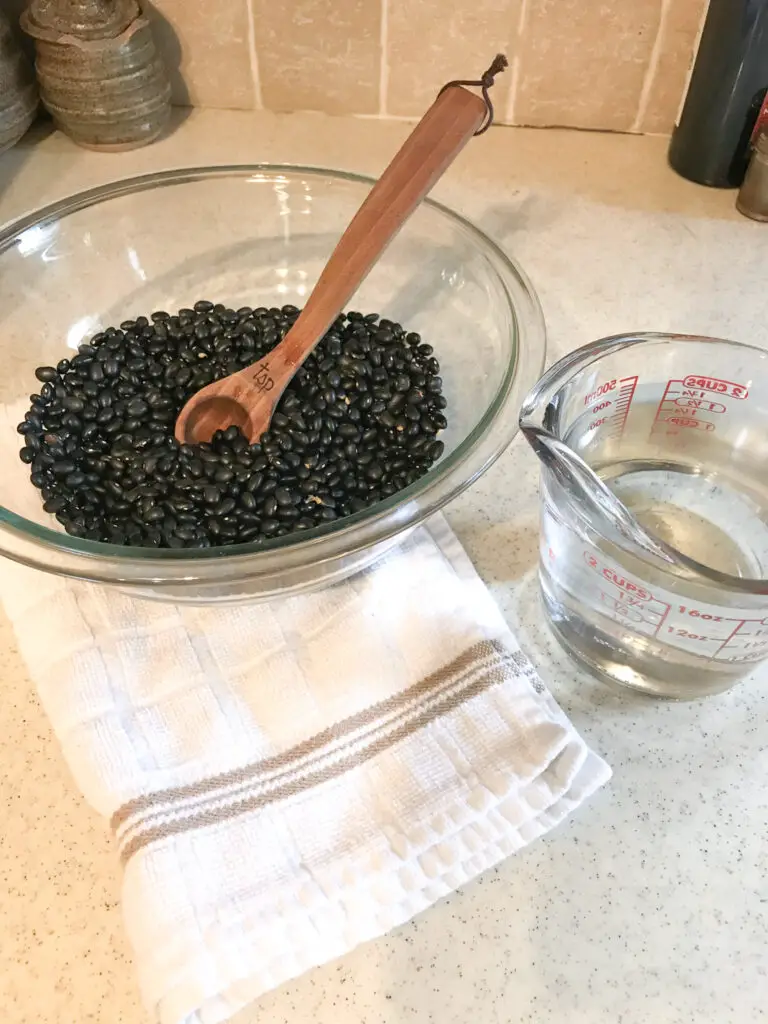
Step 1: Soaking the Beans
- Pour 1 lb of dried black beans into a large bowl or pot.
- Add enough water to cover the beans by about 2 inches.
- Allow to soak for at least 24 hours, stirring occasionally, and adding more water as it is absorbed.
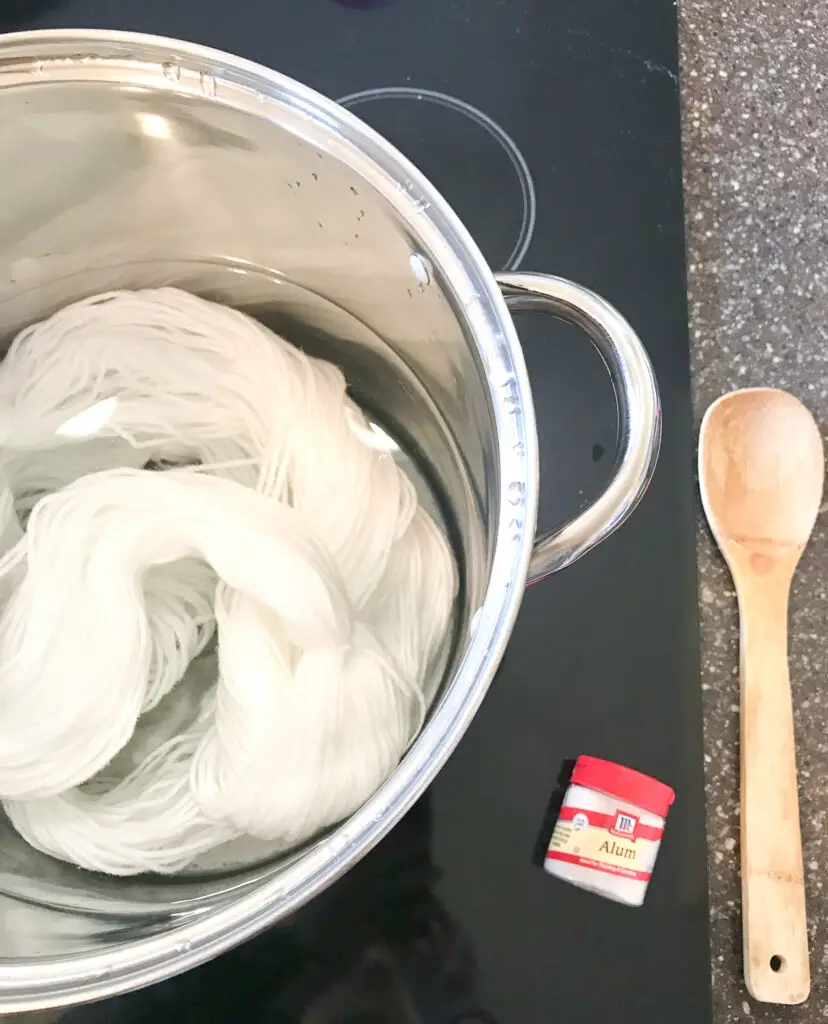
Step 2: Mordant the Yarn
A mordant is a substance that helps the dye bind to the fiber of the yarn. There are a lot of options out there for natural mordants ranging from cream of tartar, to soda ash, to soy milk, but for this tutorial, I just used a simple Alum mordant. You can read more about mordants here.
This step can be done while you wait for the beans to soak, but you don’t want to do it more than a few days in advance or the mordant can begin to break down the fibers in the yarn.
- Unwind your hank of yarn or use the back of a chair to unwind a ball or skein. Use a few scraps of yarn tied in a figure 8 around the yarn in several places to keep it from tangling (zip ties also work).
- Measure out the amount of alum you will need. Opinions differ on the correct amount. I’ve seen anywhere from 5 -10% of the dry weight of the yarn so I decided to shoot for somewhere in the middle and went with 8% (for me this turned out to be a little under a tablespoon). I used a scale, but if you don’t have one, do your best to eyeball, keeping in mind that 1 Tbsp = 15 g.
- Dissolve the Alum in warm water (enough to so that your yarn will be covered) in a large pot, add yarn, and slowly bring to a simmer.
- Warning! Some natural fibers will felt with too much agitation or sudden changes in temperatures. DO NOT stir or allow to heat or cool too quickly.
- Allow yarn to simmer for about an hour, then remove from heat and let slowly cool in the pot.
Step 3: Dyeing the Yarn!
I wanted to experiment a little with the two skeins of yarn I was dyeing so I came up with two options:

Option A – Caked yarn
- For this option, I used a yarn winder (I have this little beauty – love it!) to cake the yarn before dyeing. The goal here was to produce a semi-solid or variegated yarn, which didn’t quite work out how I was picturing, but I’m still happy with the results.
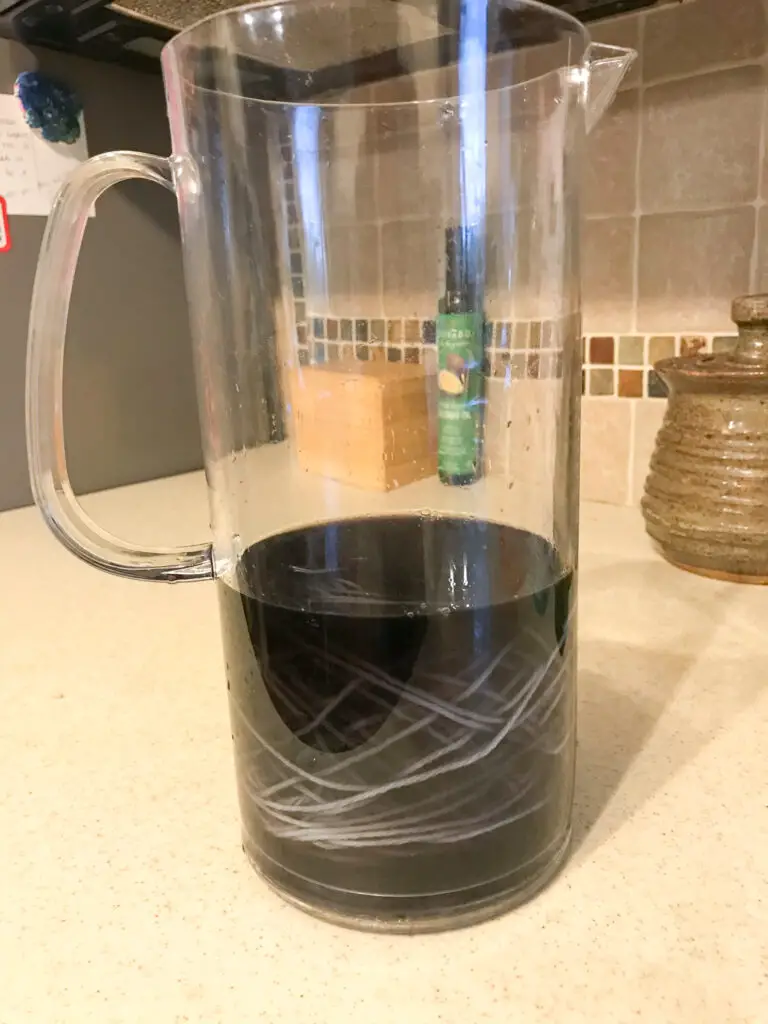
- For the dye, I carefully scooped out some of the liquid from the beans and put it in a tall narrow container.
- I added the caked yarn (making sure the liquid fully covered the yarn) and let this sit at room temperature for about 20 hours.
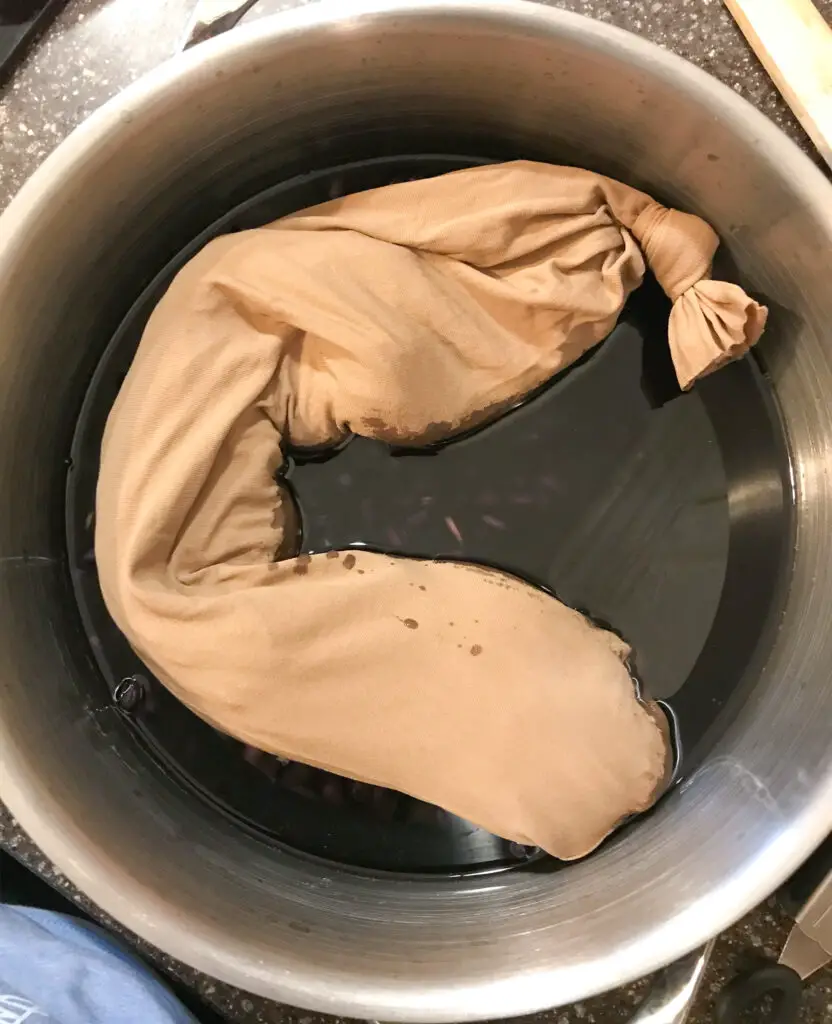
Option B – Soak Yarn in with Black Beans
- For this option, I tied the yarn inside some old pantyhose (to keep bean particles from getting stuck in the yarn) and placed it directly in the remaining liquid and beans.
- I let this sit at room temperature for about 48 hours.
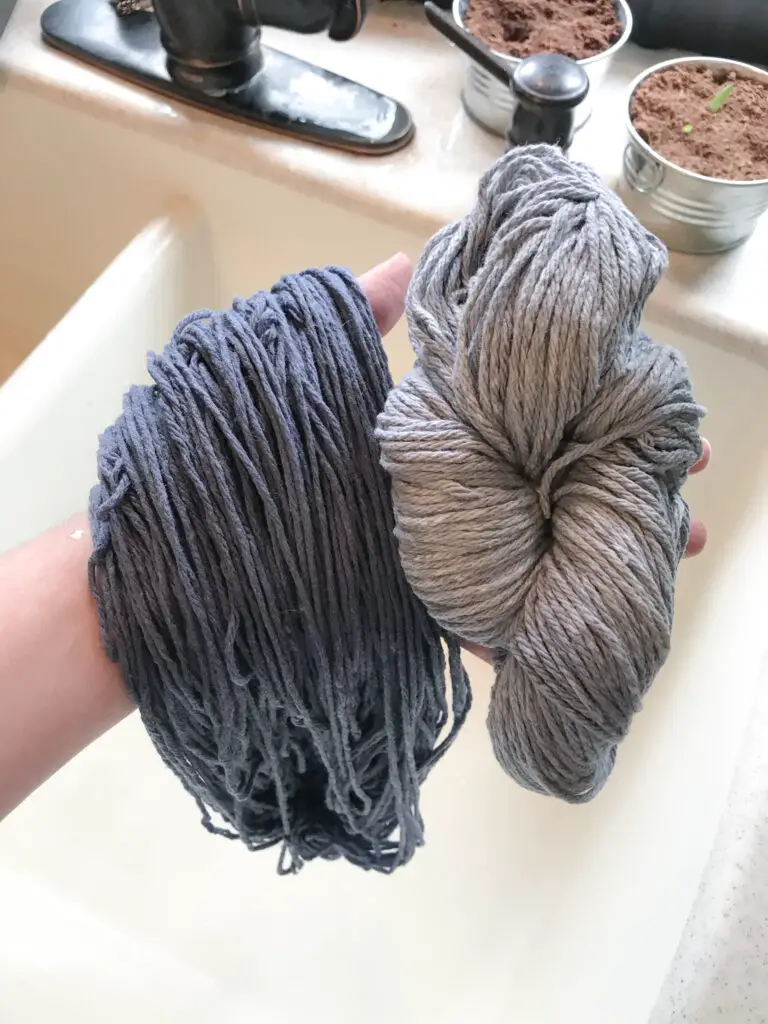
The Results
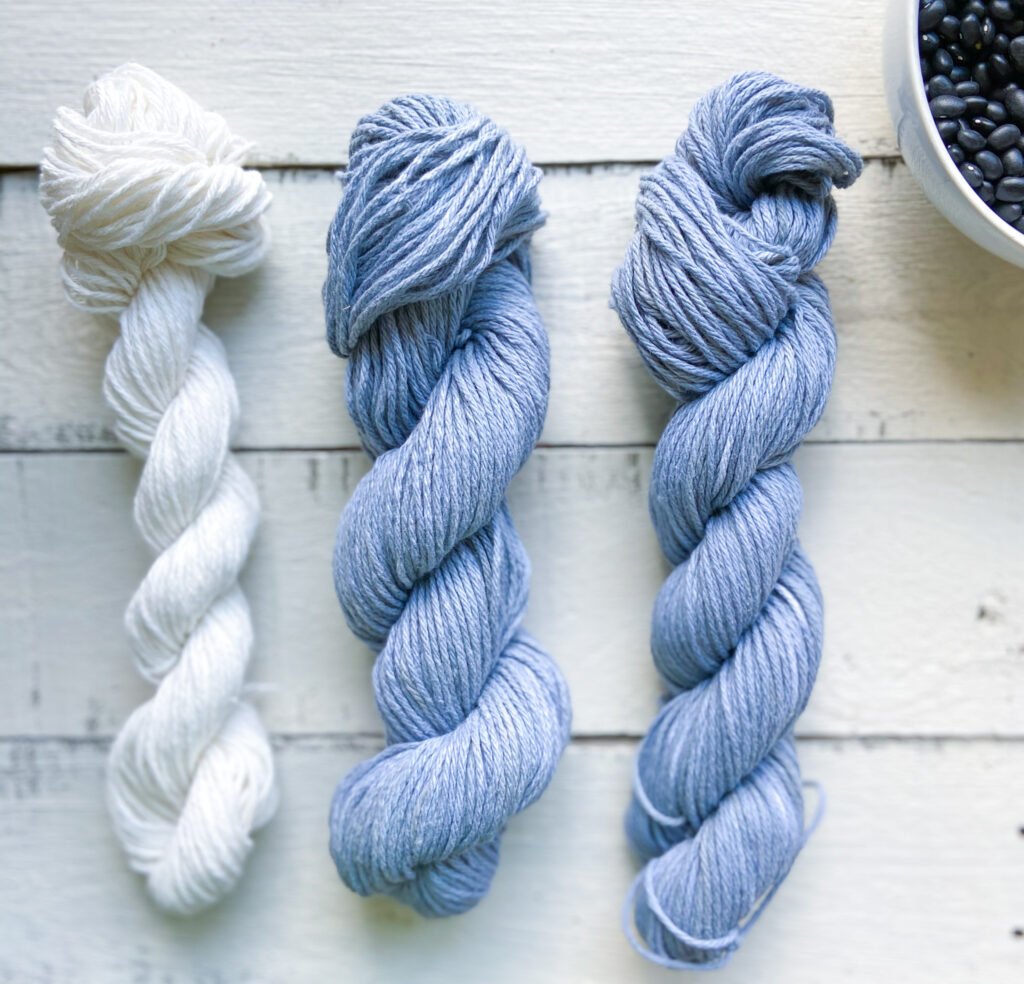
Option A
I didn’t quite get the semi-solid effect I was going for with this option, but I’m still happy with the result. The end product is a light smokey blue, with subtle variations in the color.
When I try this method again, I plan to wind the yarn more tightly and leave in the dye for a much shorter time. Maybe only a few hours? I’d love to get a distinct stippled effect similar to this beautiful black bean dyed cotton by Meg Made With Love.
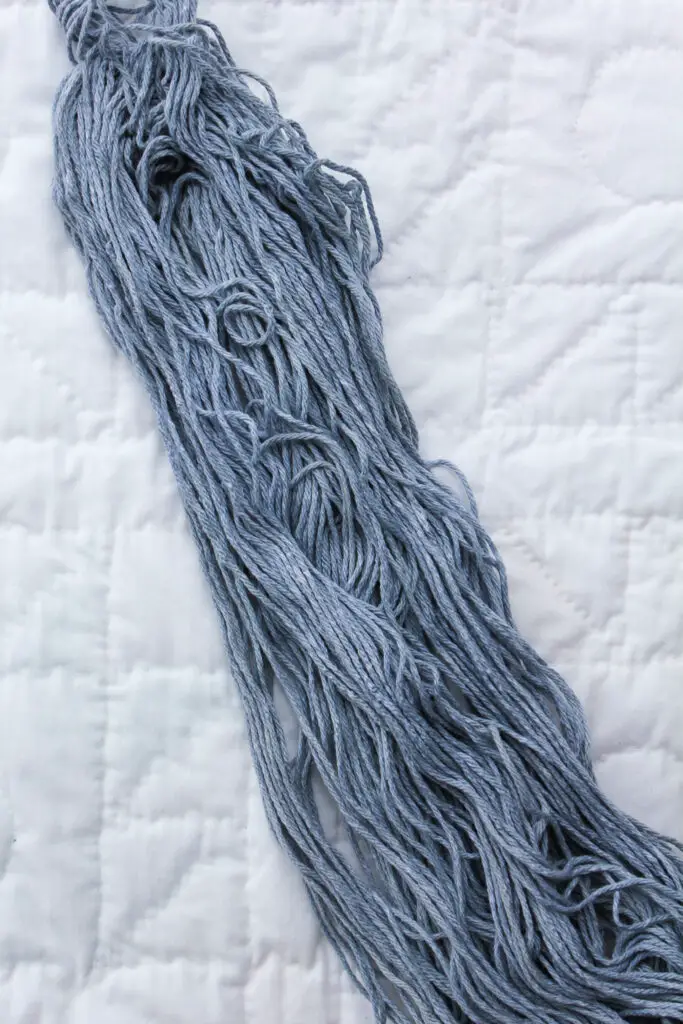
Option B
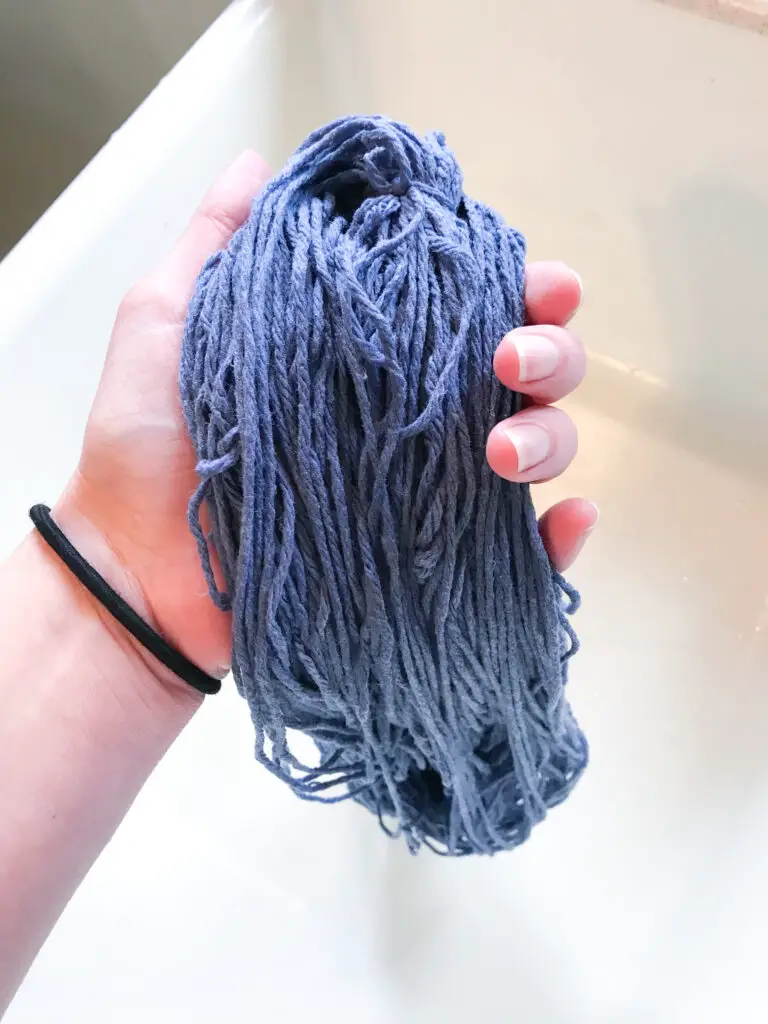
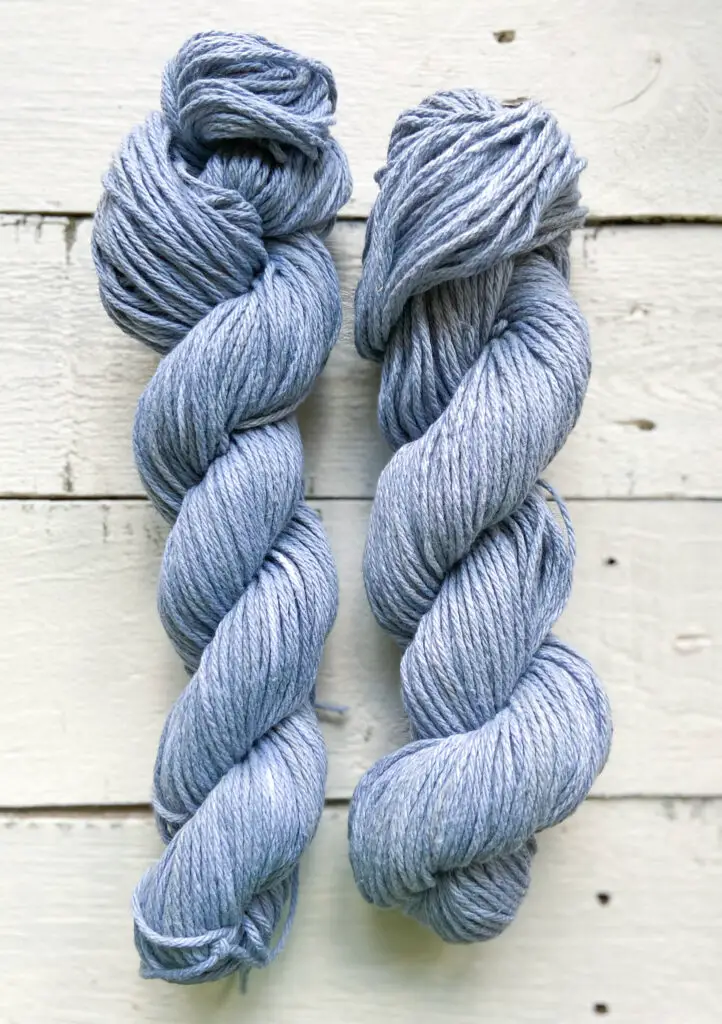
I am in love with the results from Option B! I really wanted to get it as deep blue as I could (considering that I used cotton yarn) and I think I succeeded! This method produced a deep, rich denim blue – a color you’d be hard-pressed to find in most craft stores!
For both options, the color lightened quite a bit after it dried, but the yarn that soaked longer stayed maybe a shade darker. I don’t think it would have been necessary to soak this option for so long to get a similar color result. The next time I try this method, I’ll probably only leave the yarn to soak for 24 hours or so.
Final thoughts
Overall, this process was a ton of fun and it’s safe to say I’m hooked on natural yarn dyeing! I love the freedom to experiment that natural yarn dyeing offers. There are so many ways to change it up – use different plants, different mordants or yarns, different soak times or applications – and your end product will be totally one of a kind!
I can’t wait to try natural dyeing again soon! I’m already eyeing up every vibrantly-colored food in my kitchen and plant in my yarn to assess their dyeing potential, haha!
As a side note, I plan to order this gorgeous book, Botanical Colour at Your Fingertips by Rebecca Desnos to learn a bit more about natural dyeing before my next dyeing adventure.
I hope you enjoyed this post! If you decide to try dyeing your own yarn with black beans, tag me on Instagram at @theknottednest so I can see how yours turns out!
Looking for inspiration? Check out the Patterns section here on the blog for lots of projects to use your beautiful new blue yarn!


One Comment
Pingback: