
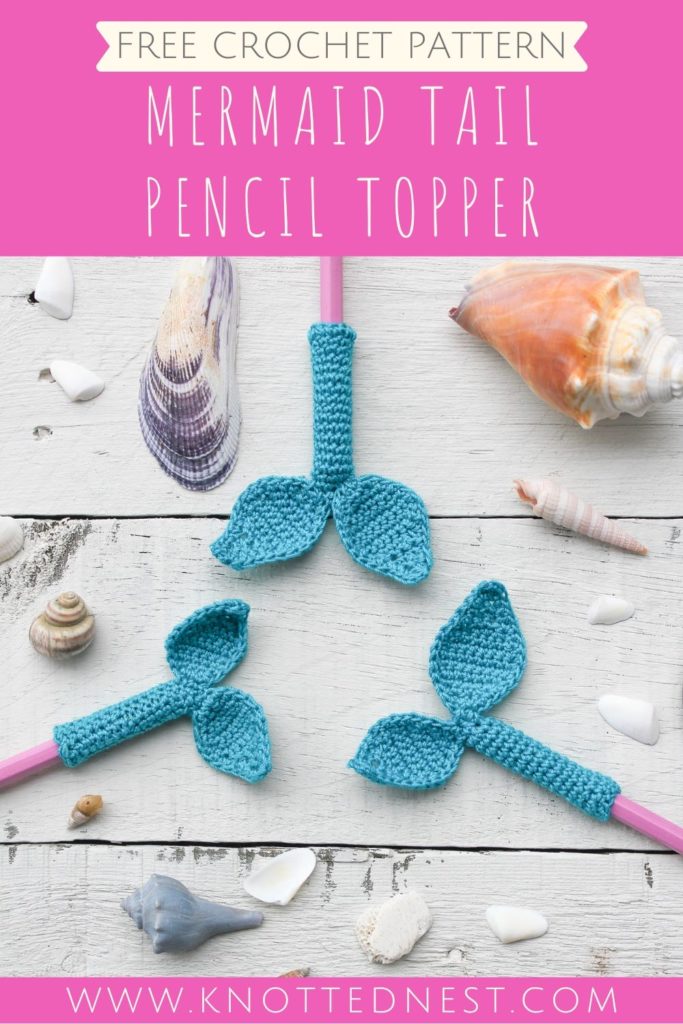
Mermaid Tail Pencil Topper Crochet Pattern
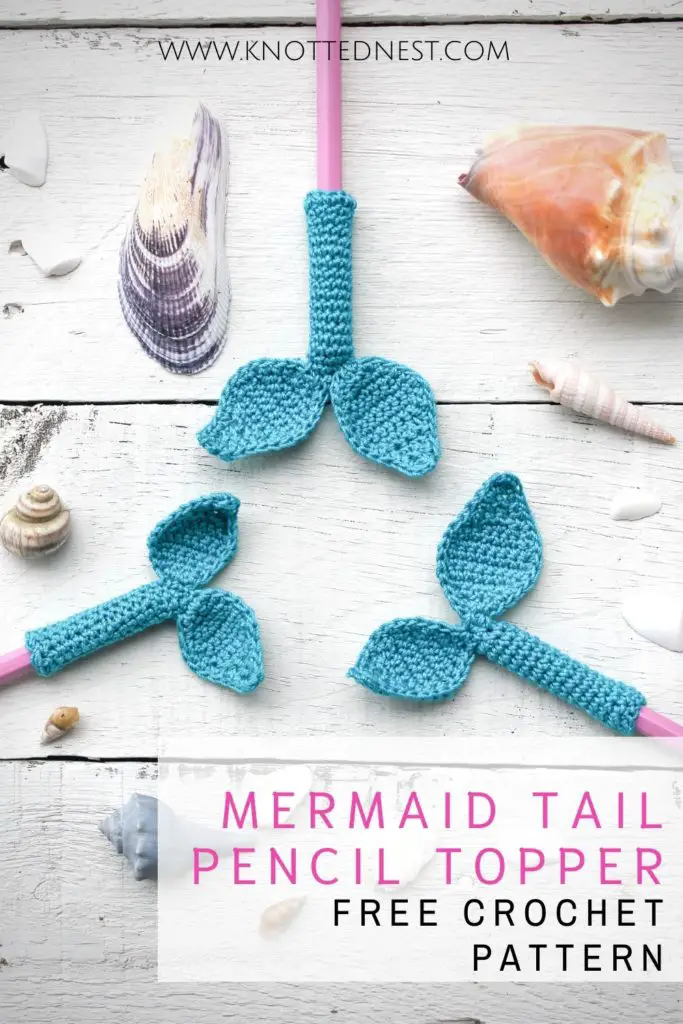
Pin this post for later!
These cute mermaid pencil toppers were a special request from my mermaid-obsessed 9 yo! As quarantine stretches on, all of my school-aged kiddos are really missing their friends. When my daughter asked if we could put together some care packages to send to her friends, I thought that would be a great way to help them connect (from a distance!).
I offered to make something for the packages, and – after explaining why I couldn’t crochet 6 blankets in the next two weeks – this pencil topper was her choice!
We are are going to pack them up with homemade shrinky-dink key chains, these super cute mermaid note pads and pencils (of course!), candy, scrunchies, and other goodies perfect for 9yo girls, but I think these fun toppers would be great for lots of occasions: end of the school year gifts, birthday party favors, class Christmas gifts, Valentine treats, or just as something special for your favorite mermaid fanatic!
This fast and easy pattern uses crochet thread instead of yarn, which I think is a fun way to change things up a bit! Plus, I don’t know about you, but I tend to buy a whole ball of thread for a tiny bit of embroidery, then never touch the stuff again. This pencil topper is the perfect reason to dig out all that crochet thread that’s gathering dust!
Grab an ad-free, printable pdf of this pattern on Etsy!
Mermaid Tail Pencil Topper Pattern
SKILL LEVEL
Easy – level 2
MATERIALS
Size 10 crochet thread (I used Aunt Lydia’s in Peacock)
Scissors, small yarn needle
DIMENSIONS
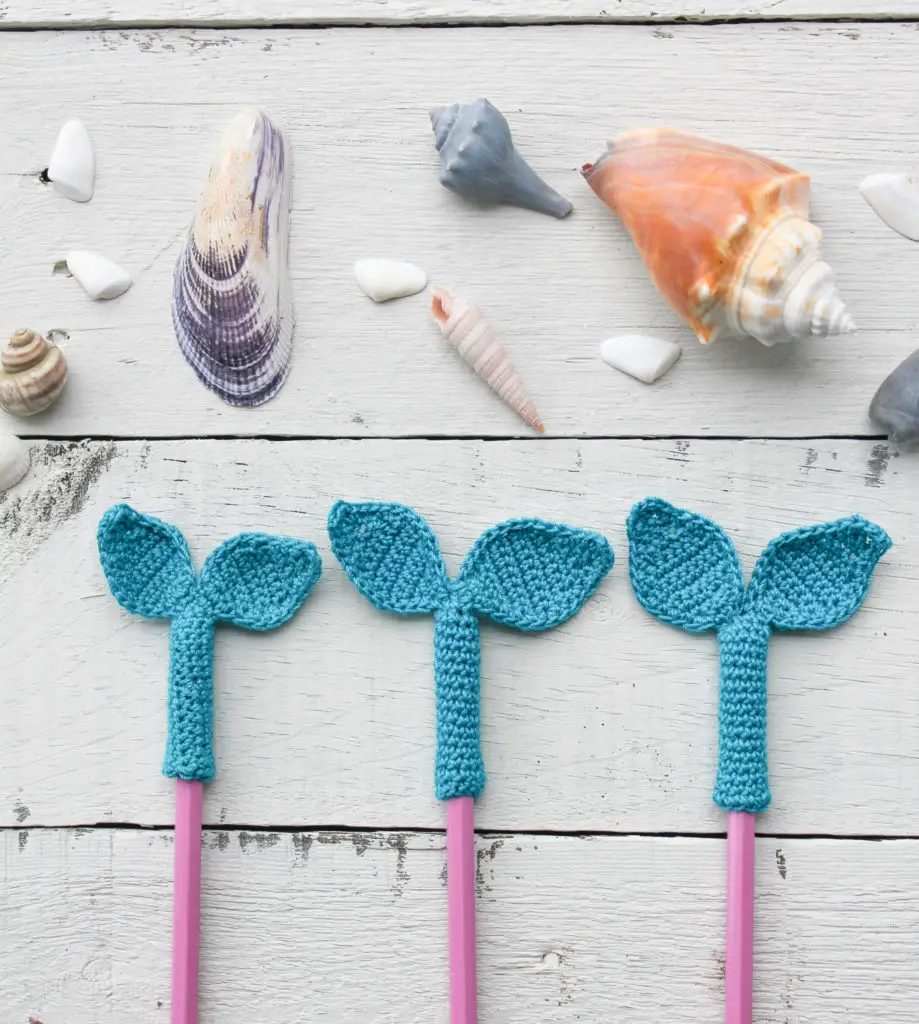
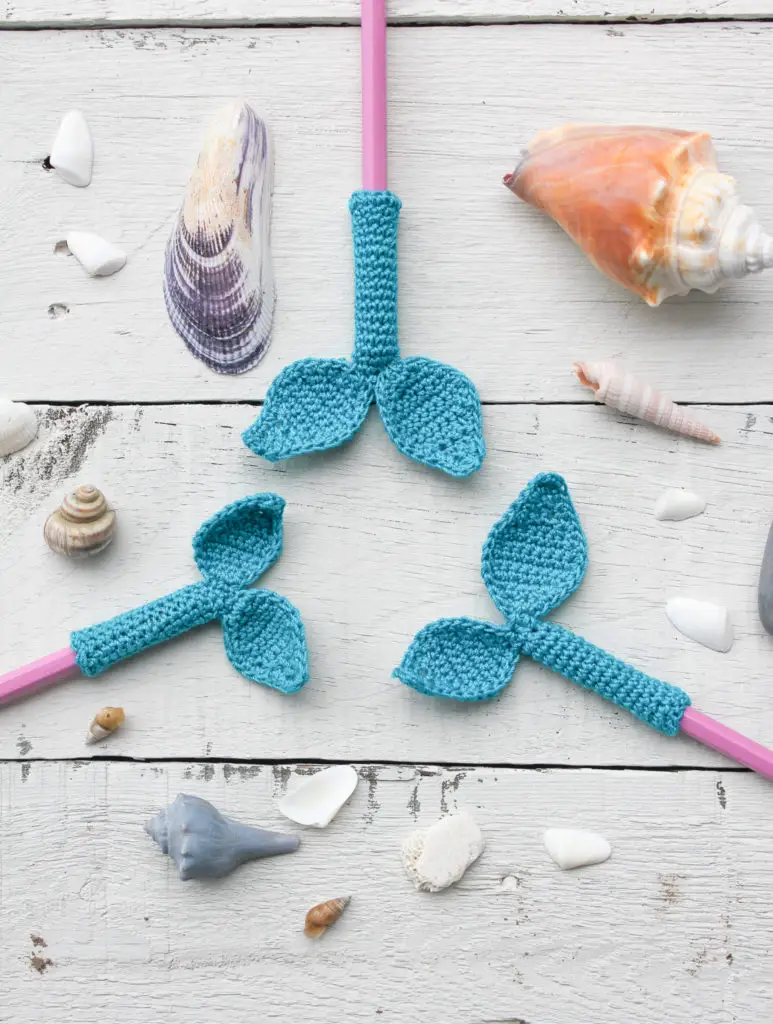
Fits a standard #2 pencil
GAUGE
Use a pencil to check fit after Round 2. It should slide on easily, but fit snugly.
NOTES
- The base of the tail is worked in spiraled rounds. Use a stitch marker to keep track of rounds (you could also pull the starting tail up through the first stitch of each round as a marker).
- The ch 1 turning chain (fins) does NOT count as a stitch.
- Take care not to make stitches too tight.
ABBREVIATIONS (US terms)
- ch = chain
- sc = single crochet
- sc dec = single crochet decrees
- sl st =slip stitch
- st = stitch
PATTERN
TOPPER BASE
Ch 10, sl st into the 1st ch to form a ring.
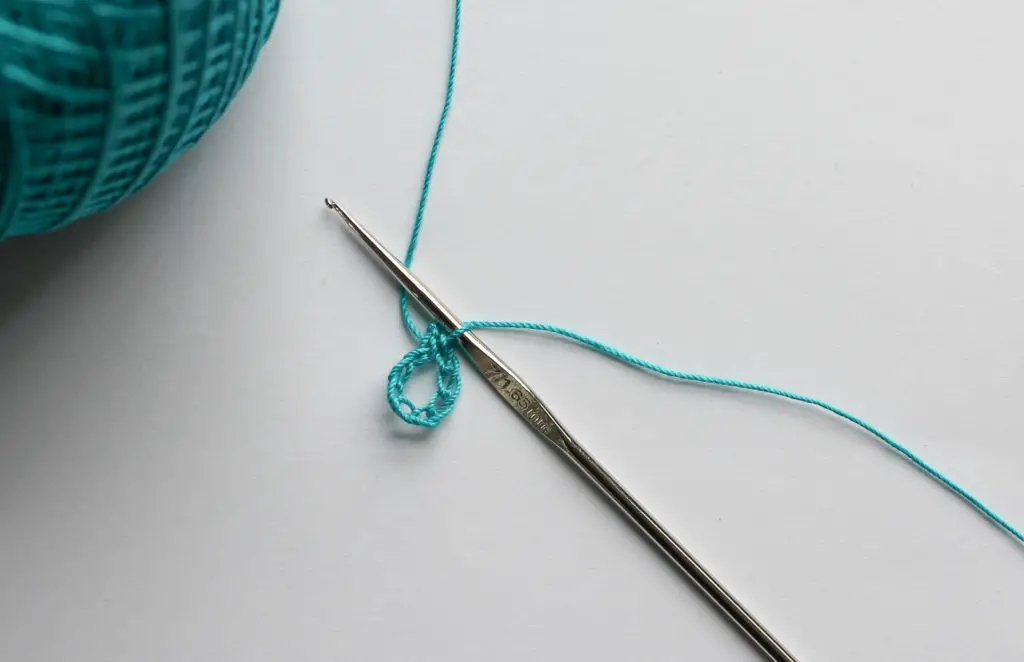
Round 1: Ch 1, sc in same ch and in each ch around. <10 sc>
Working in spirals (Mark each round with a stitch marker or by pulling through each 1st stitch with starting tail).
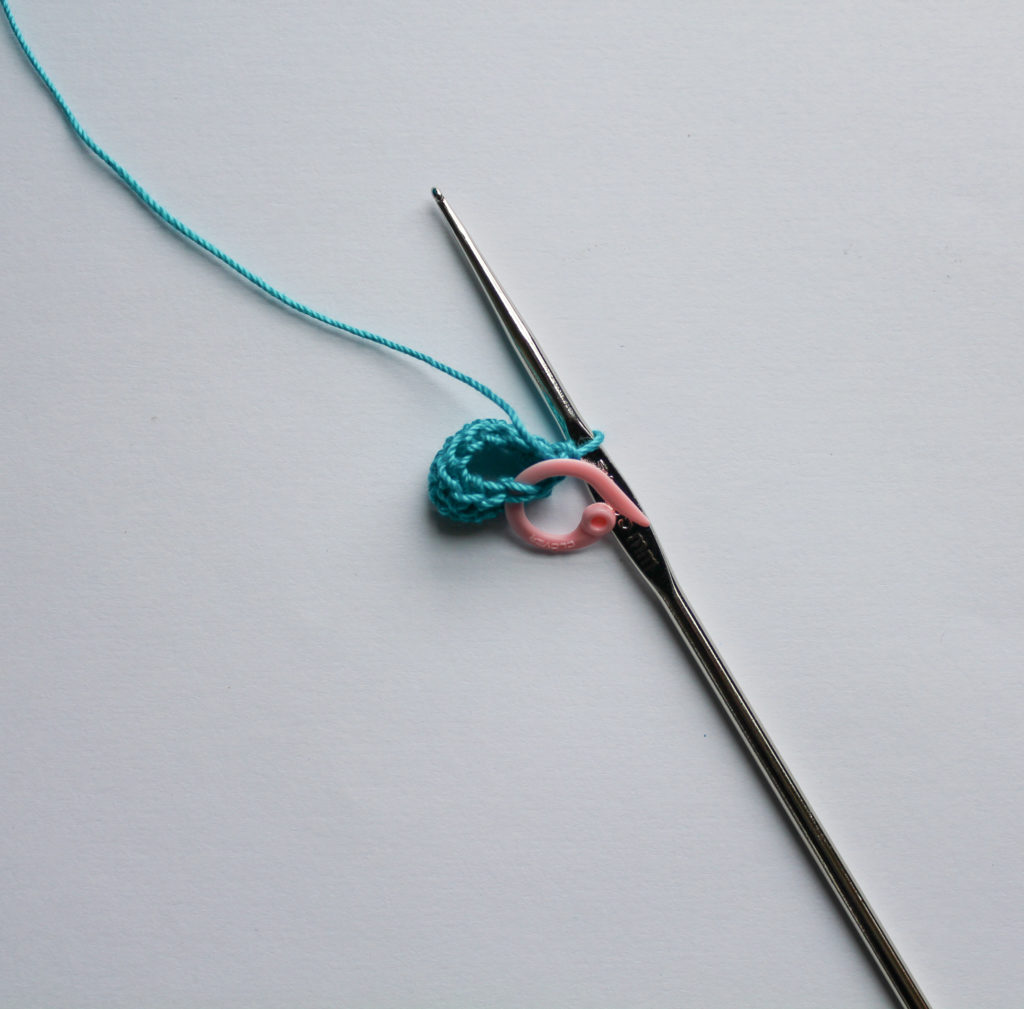
Rounds 2 – 15: Sc in each st. <10 sc>
Check fit on a #2 pencil after Round 2 or 3. The base should go on easily, but fit snugly.
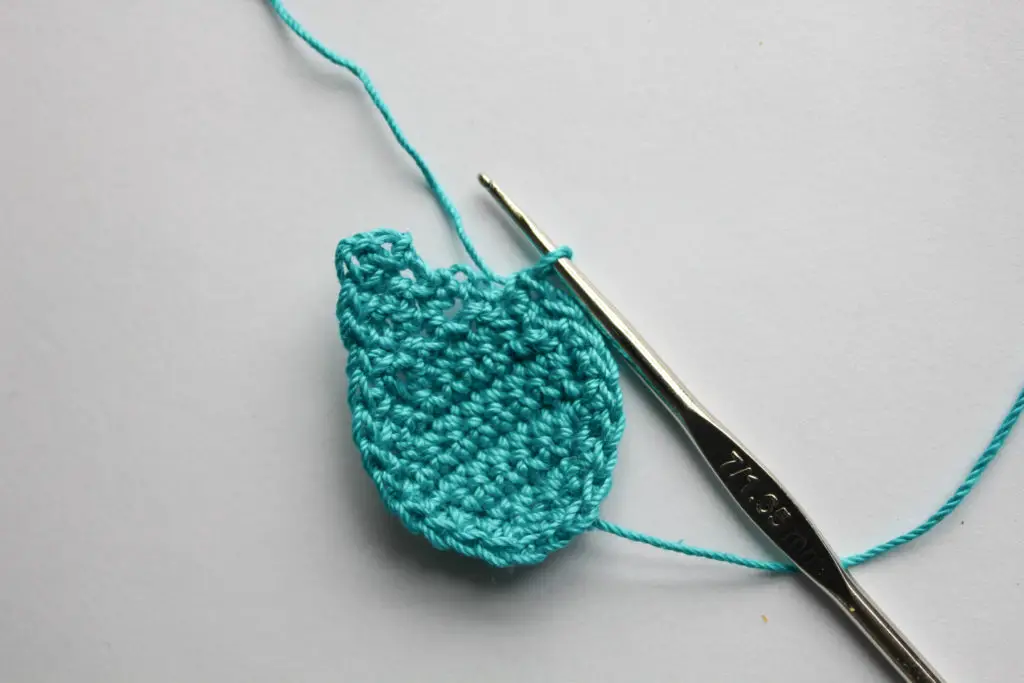
Round 16: Sc dec over first 2 sts, 1 sc in next 2 sts, sc dec over next 2 sts, 1 sc in next 2 sts, sc dec over last 2 sts. <7 sc>
Round 17: Sc dec over first 2 sts, 1 sc in next 3 sts, sc dec over last 2 sts. <5 sc>
Round 18: Sc dec over first 2 sts, 1 sc in next st, sc dec over last 2 sts. <3 sc>
Pull tight, fasten off and use tail to close top of base. Weave in ends.
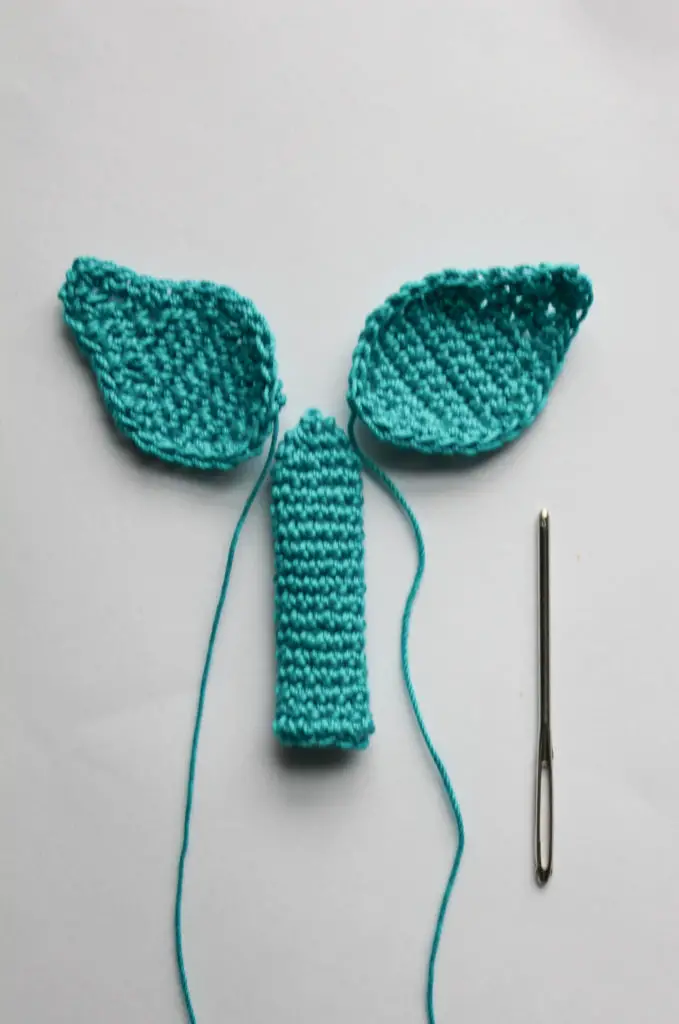
FINS
(Make 2)
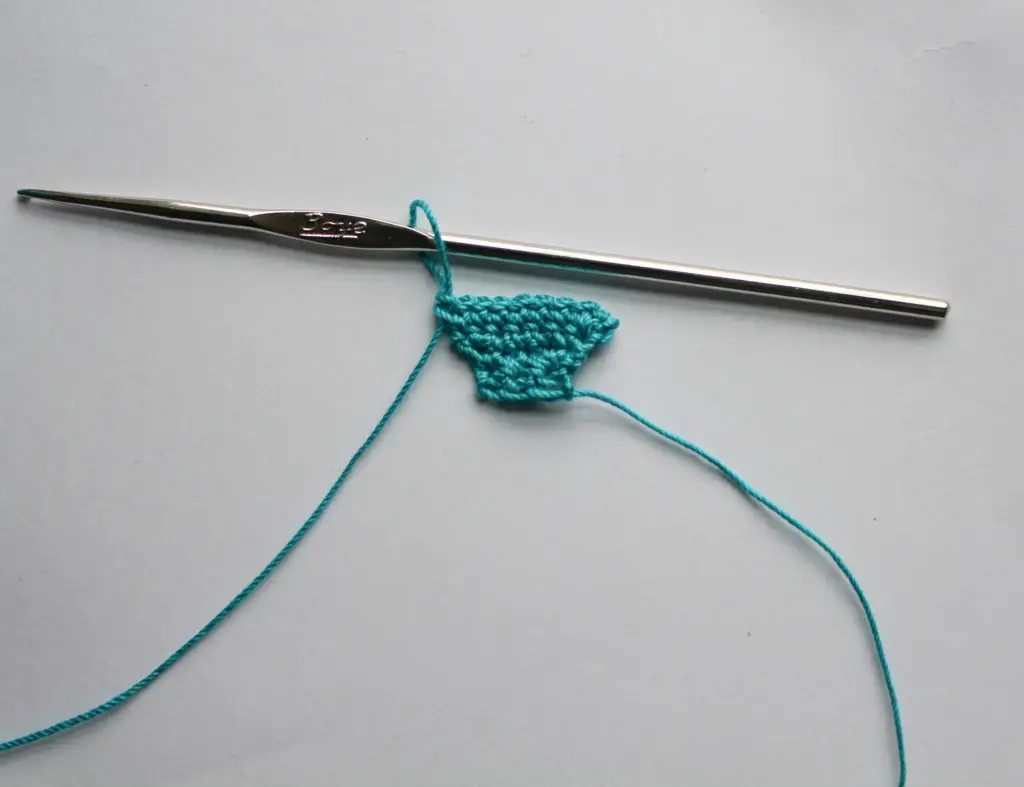
Leaving a 6” tail, ch 4.
Row 1: Sc in 2nd chain from hook and in each ch. Ch 1, turn <3 sc>
Row 2: 2 sc in 1st st, 1 sc, 2 sc in last. Ch 1, turn. <5 sc>
Row 3: 2 sc in 1st st, 1 sc in next 3 sts, 2 sc in last. Ch 1, turn. <7 sc>
Row 4: 2 sc in 1st st, 1 sc in next 5 sts, 2 sc in last. Ch 1, turn. <9 sc>
Rows 5 – 6: 1 sc in each st. Ch1, turn <9 sc>
Row 7: Sc dec over first 2 sts, 1 sc in next 5 sts, sc dec over last 2 sts. Ch 1, turn. < 7 sc>
Row 8: Sc dec over first 2 sts, 1 sc in next 3 sts, sc dec over last 2 sts. Ch 1, turn. < 5 sc>
Row 9: Sc dec over first 2 sts, 1 sc, sc dec over last 2 sts. Ch 1, turn. < 3 sc>
Row 10: 1 sc in each st. Ch 1, turn. < 3 sc>
Row 11: Sc dec, 1 sc. Ch 1, turn. < 2 sc >
Row 12: Sc dec. < 1 sc > Do not fasten off.
Ch 1. Begin evenly sc around the outer edge of the fin. Work (sc, ch, sc) in last st to create a point. Fasten off and weave in end (do not weave in starting tail, it will be used for assembly).
ASSEMBLY
Align fins on on either side of the closed end of the topper base. If needed, use stitch markers or pins to hold fins in place while attaching. Use the 6” starting tails and small yarn needle to sew fins to topper base. Weave in ends and enjoy your cute new pencil topper!
For more patterns from The Knotted Nest, check out the Patterns category here on the blog. And don’t forget to follow me on Instagram @theknottednest and use the hashtag #mermaidpenciltopper to show off your project!

