How to use a Yarn Winder and Swift – and why you need to!
Have you heard the words “yarn winder and swift” and thought, what the heck are those and why in the world would I need them? Well then, this is the post for you!
Read on to find out what these fancy-sounding pieces of equipment are used for, why a crocheter might need them, and how to actually use them!
This post may contain affiliate links, which means I may receive a small commission, at no extra cost to you, when you make a purchase. Please read my affiliate disclosure for more details.
Click here to Pin this post for later!
What are yarn winders and swifts used for?
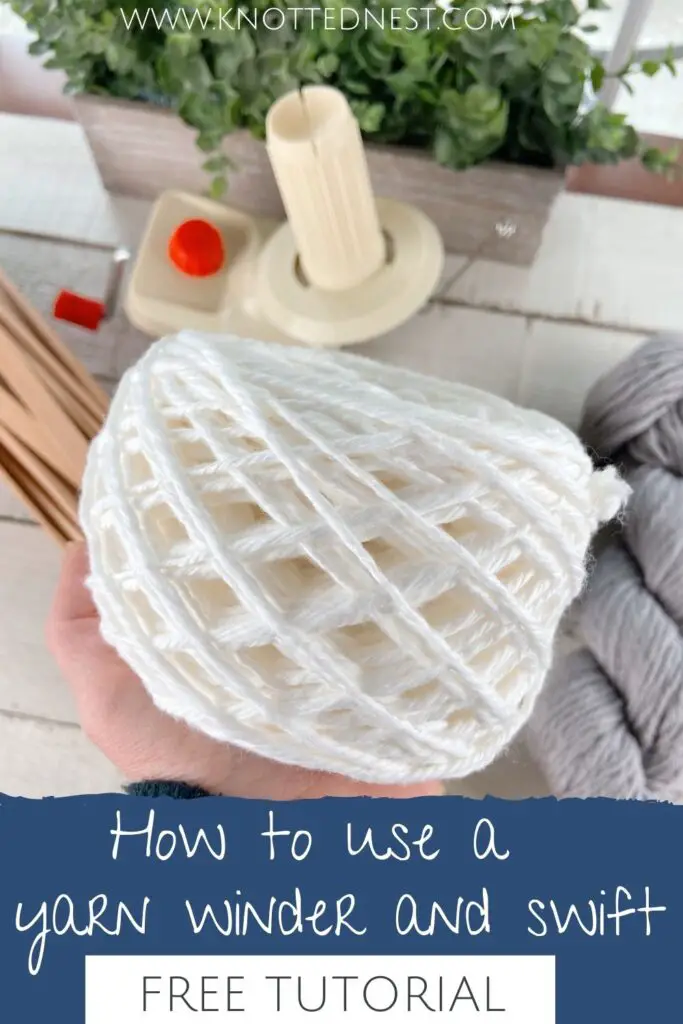
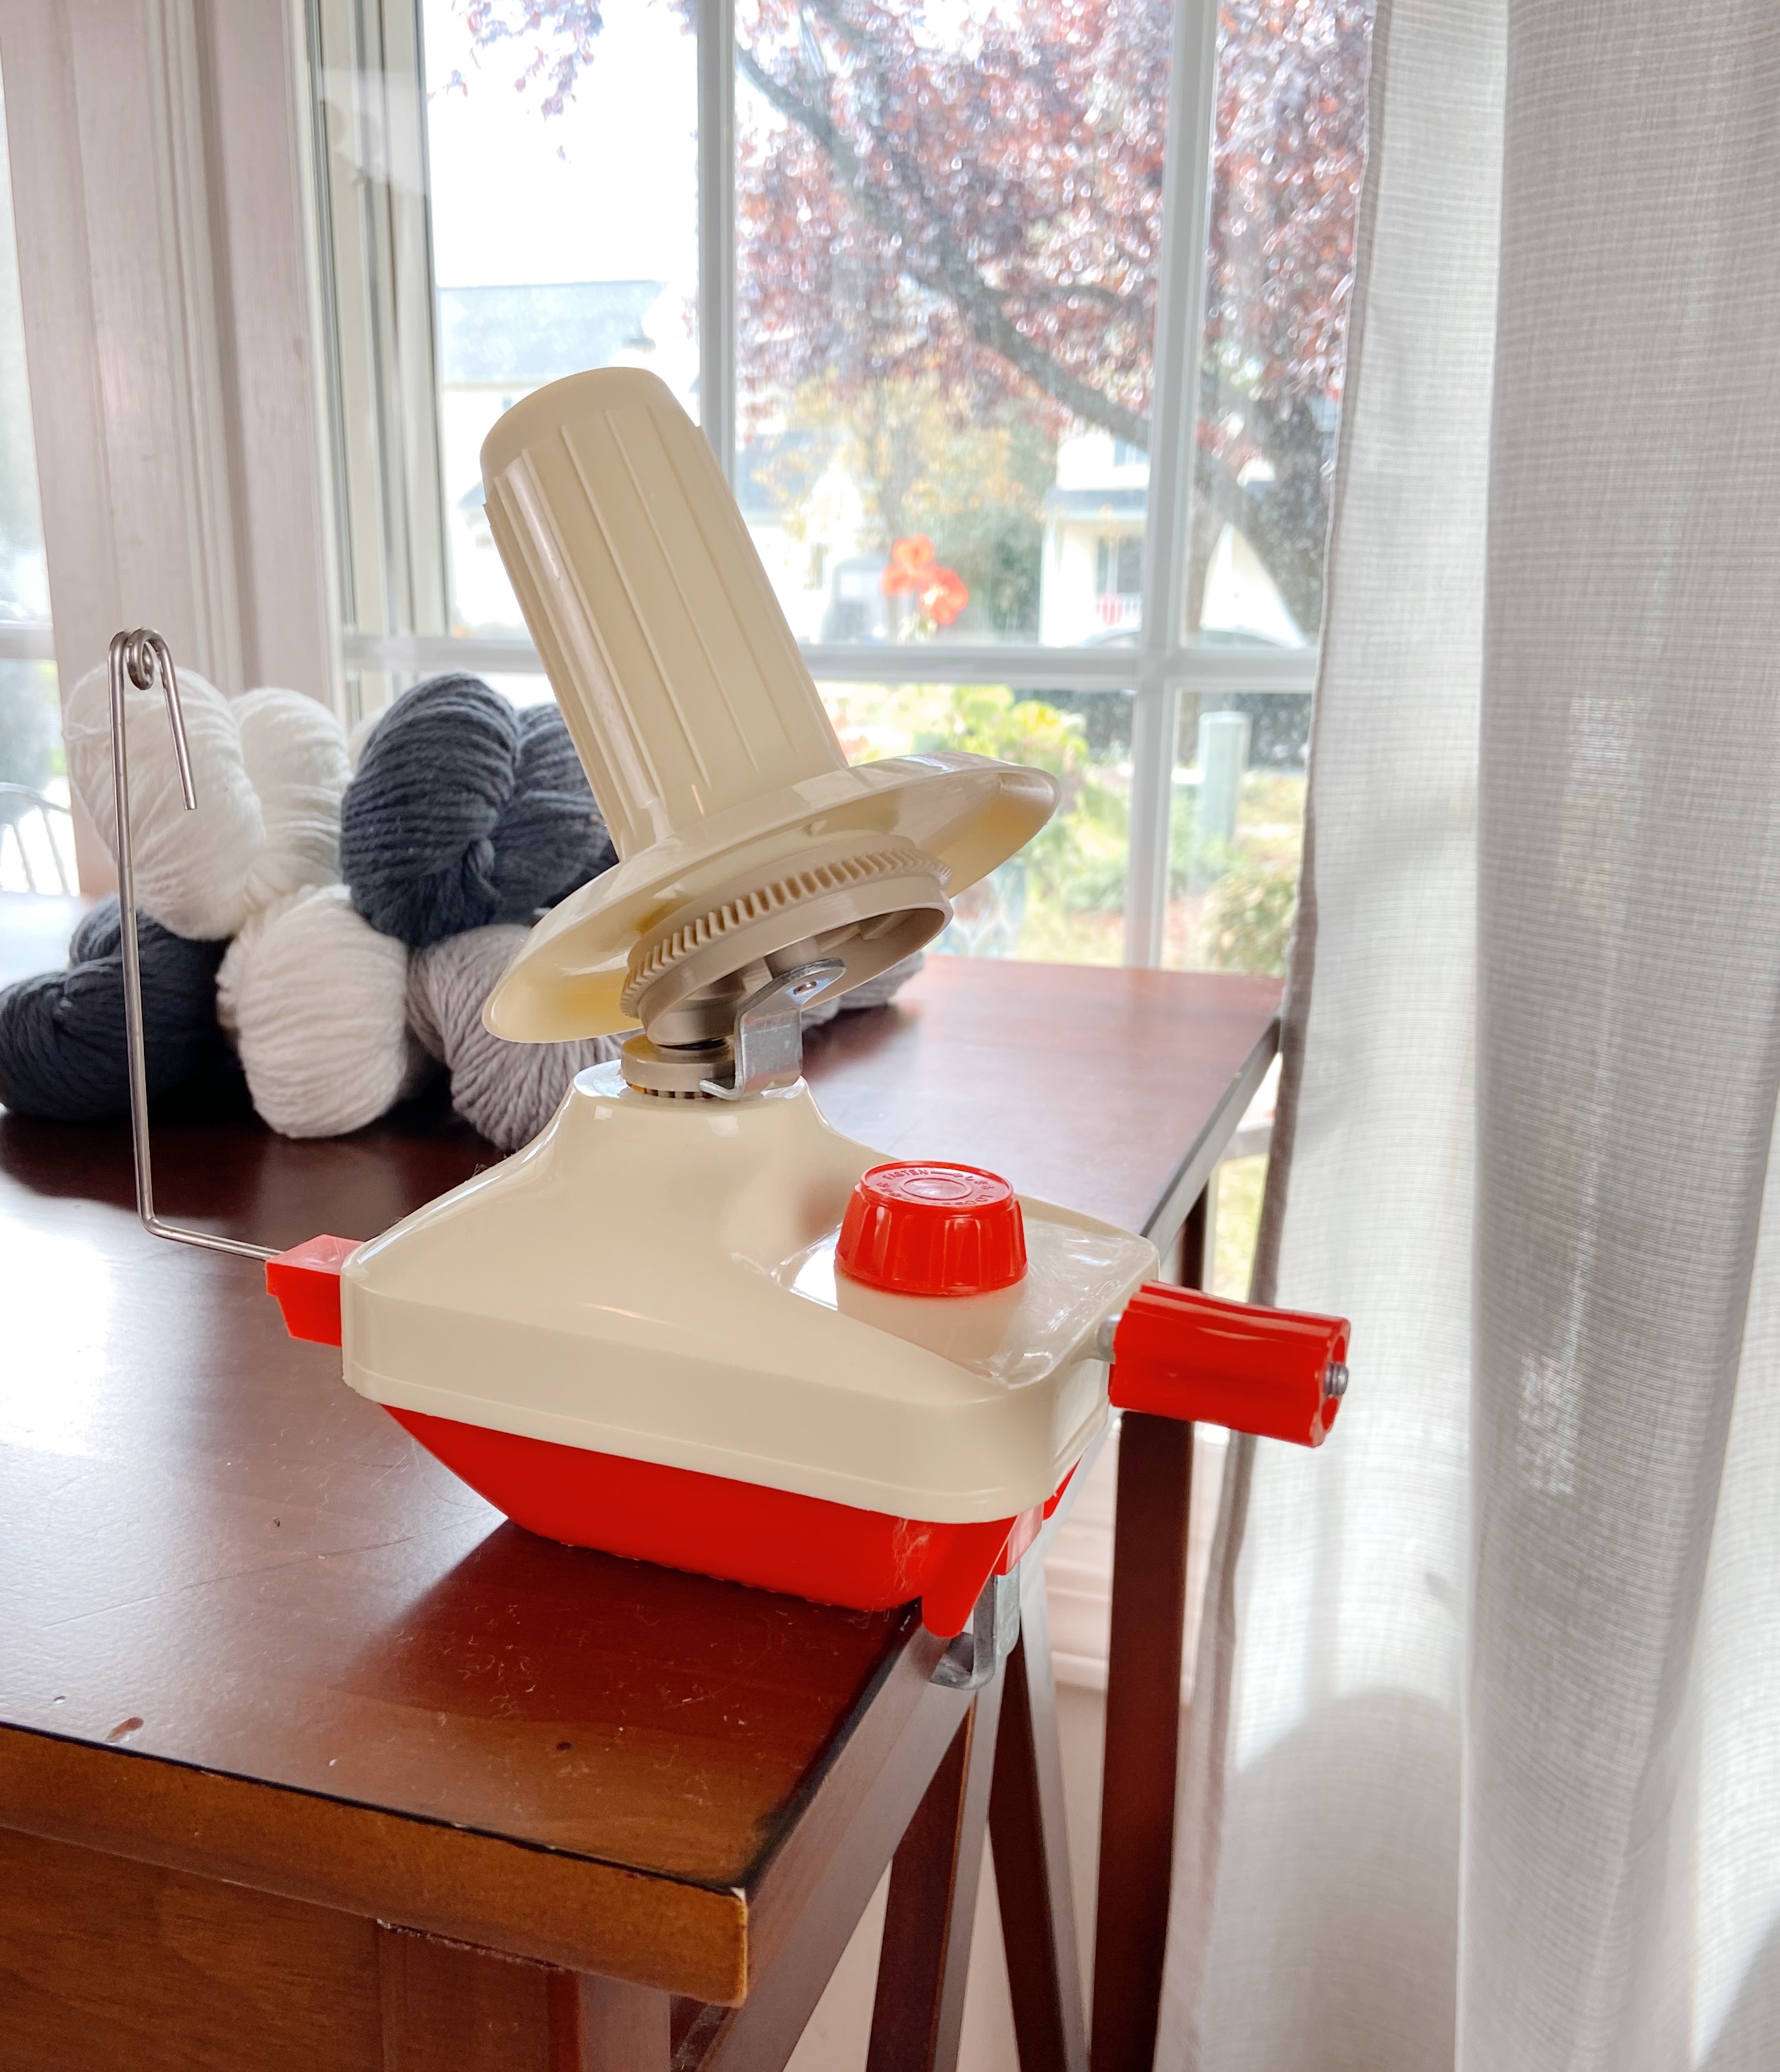
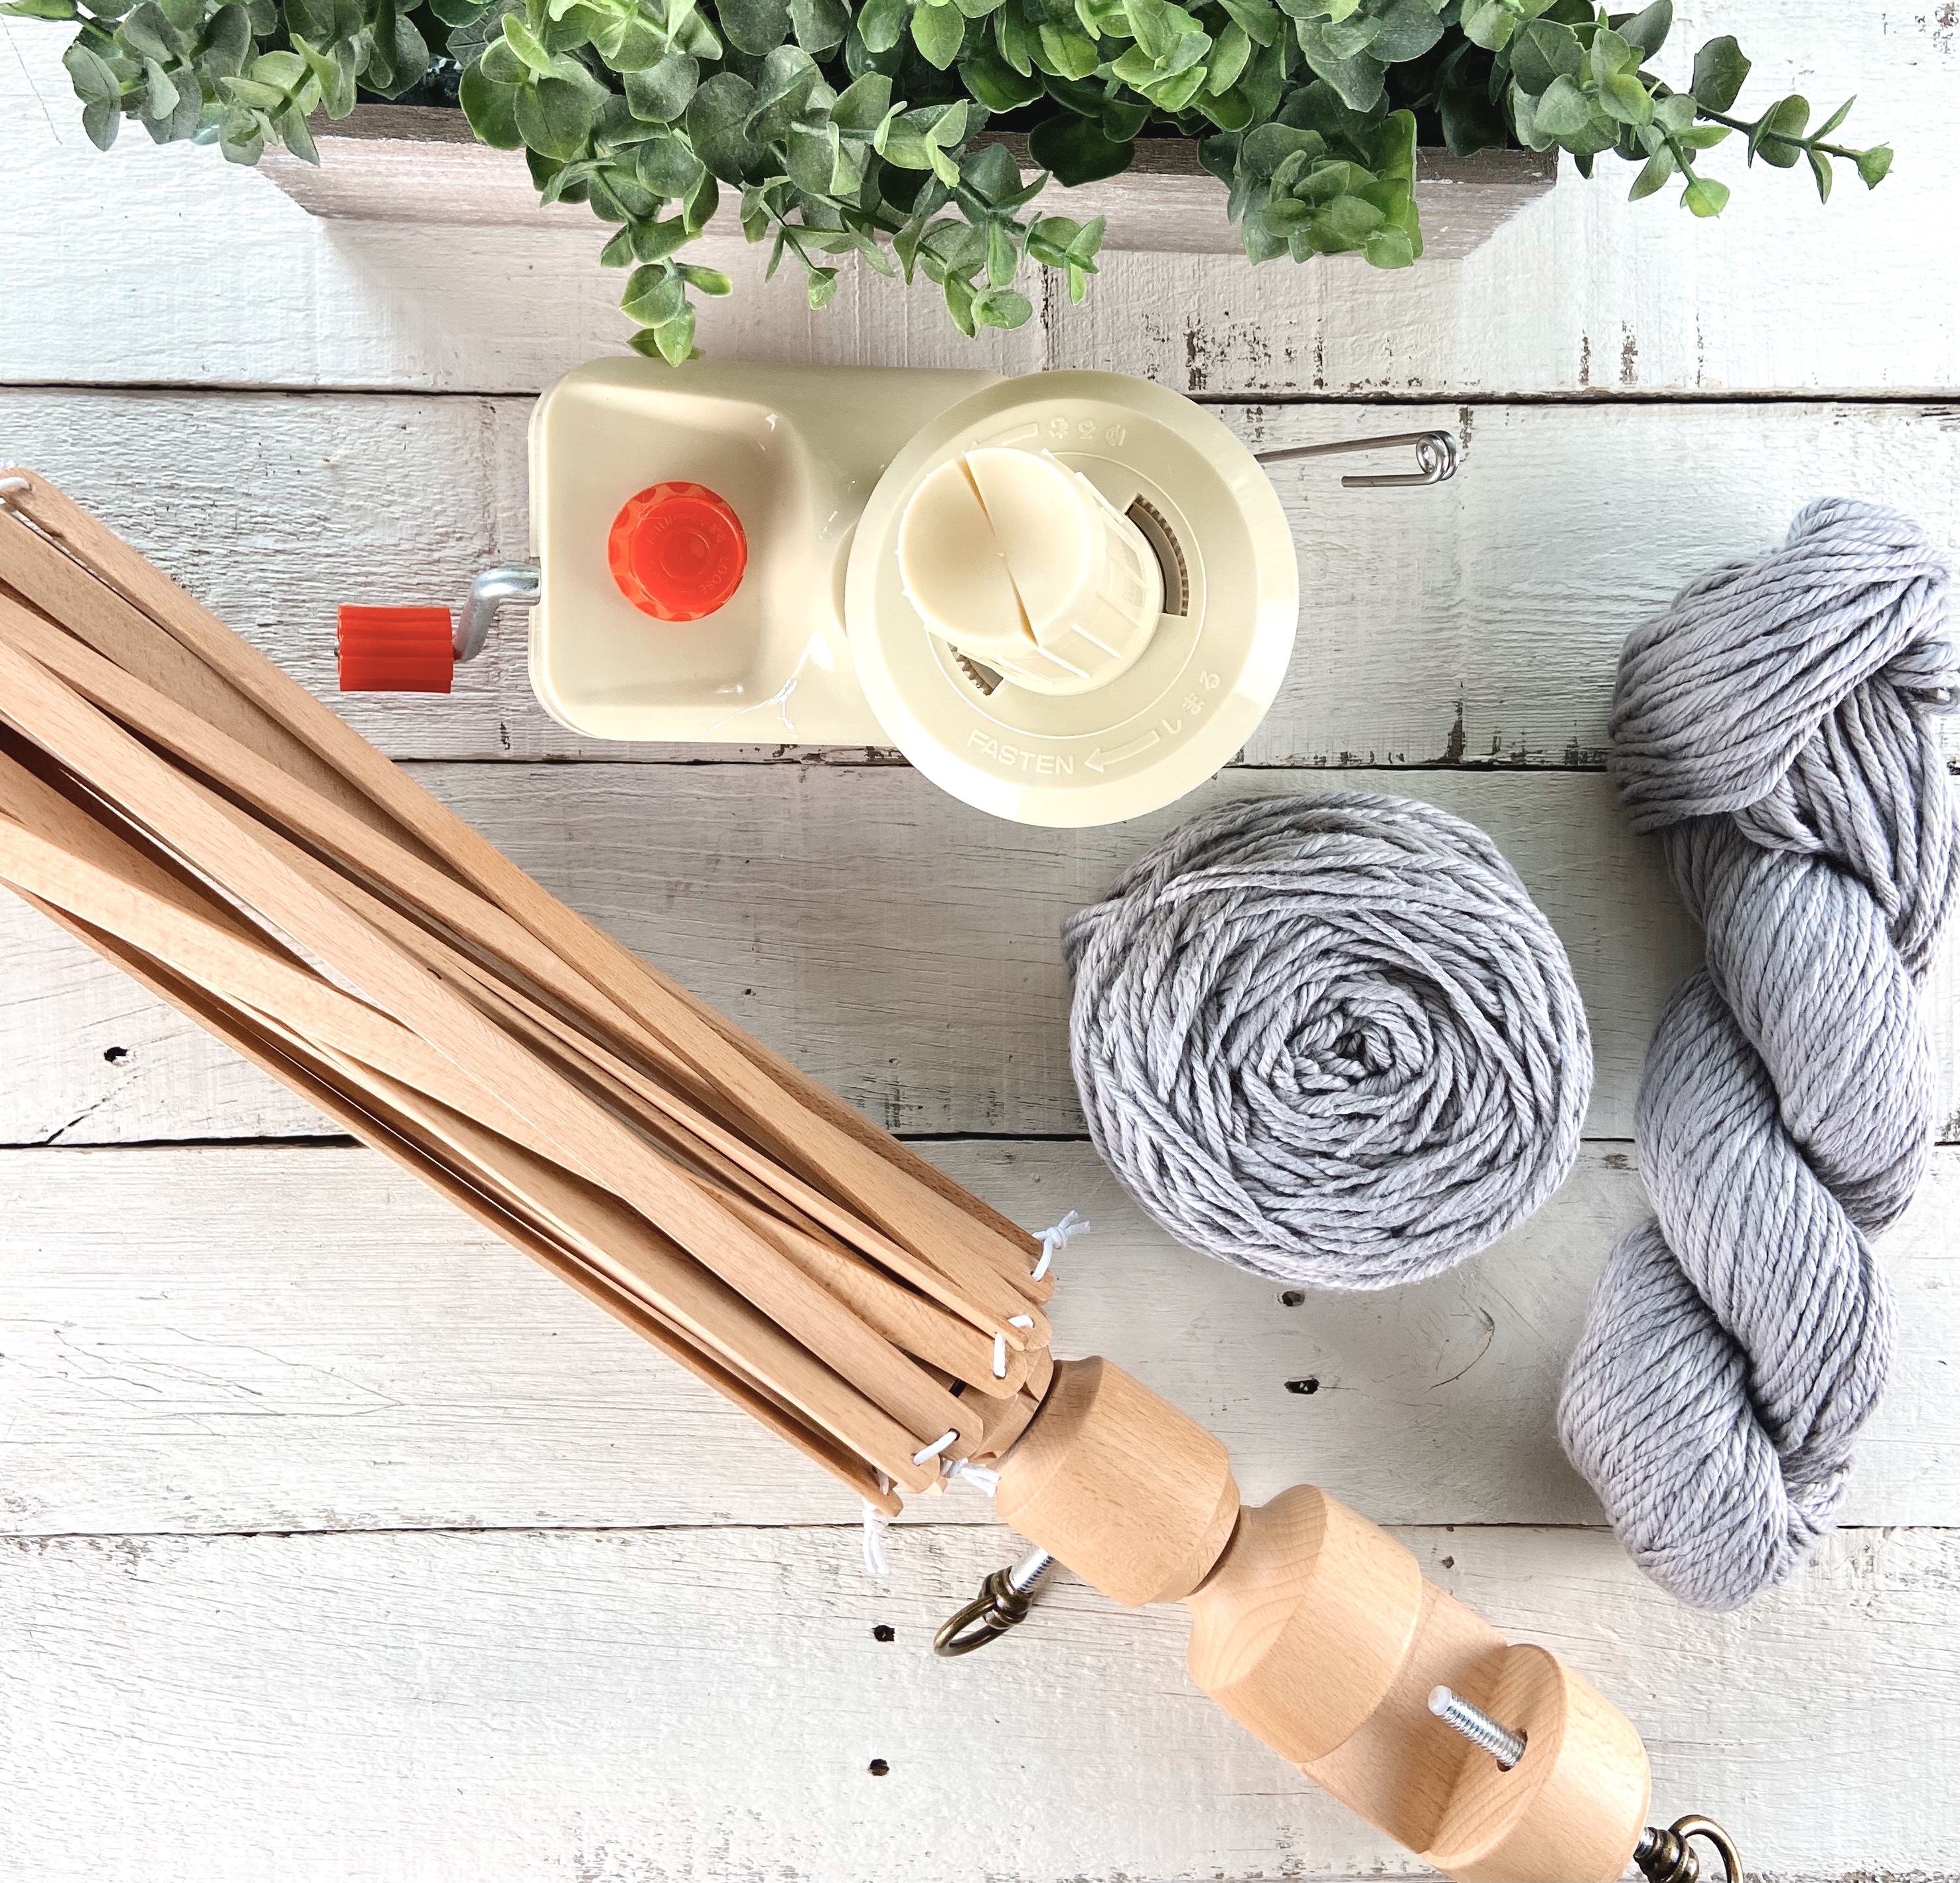
If you’re asking the question – what are they? – I won’t keep you in suspense, THIS is a yarn winder:

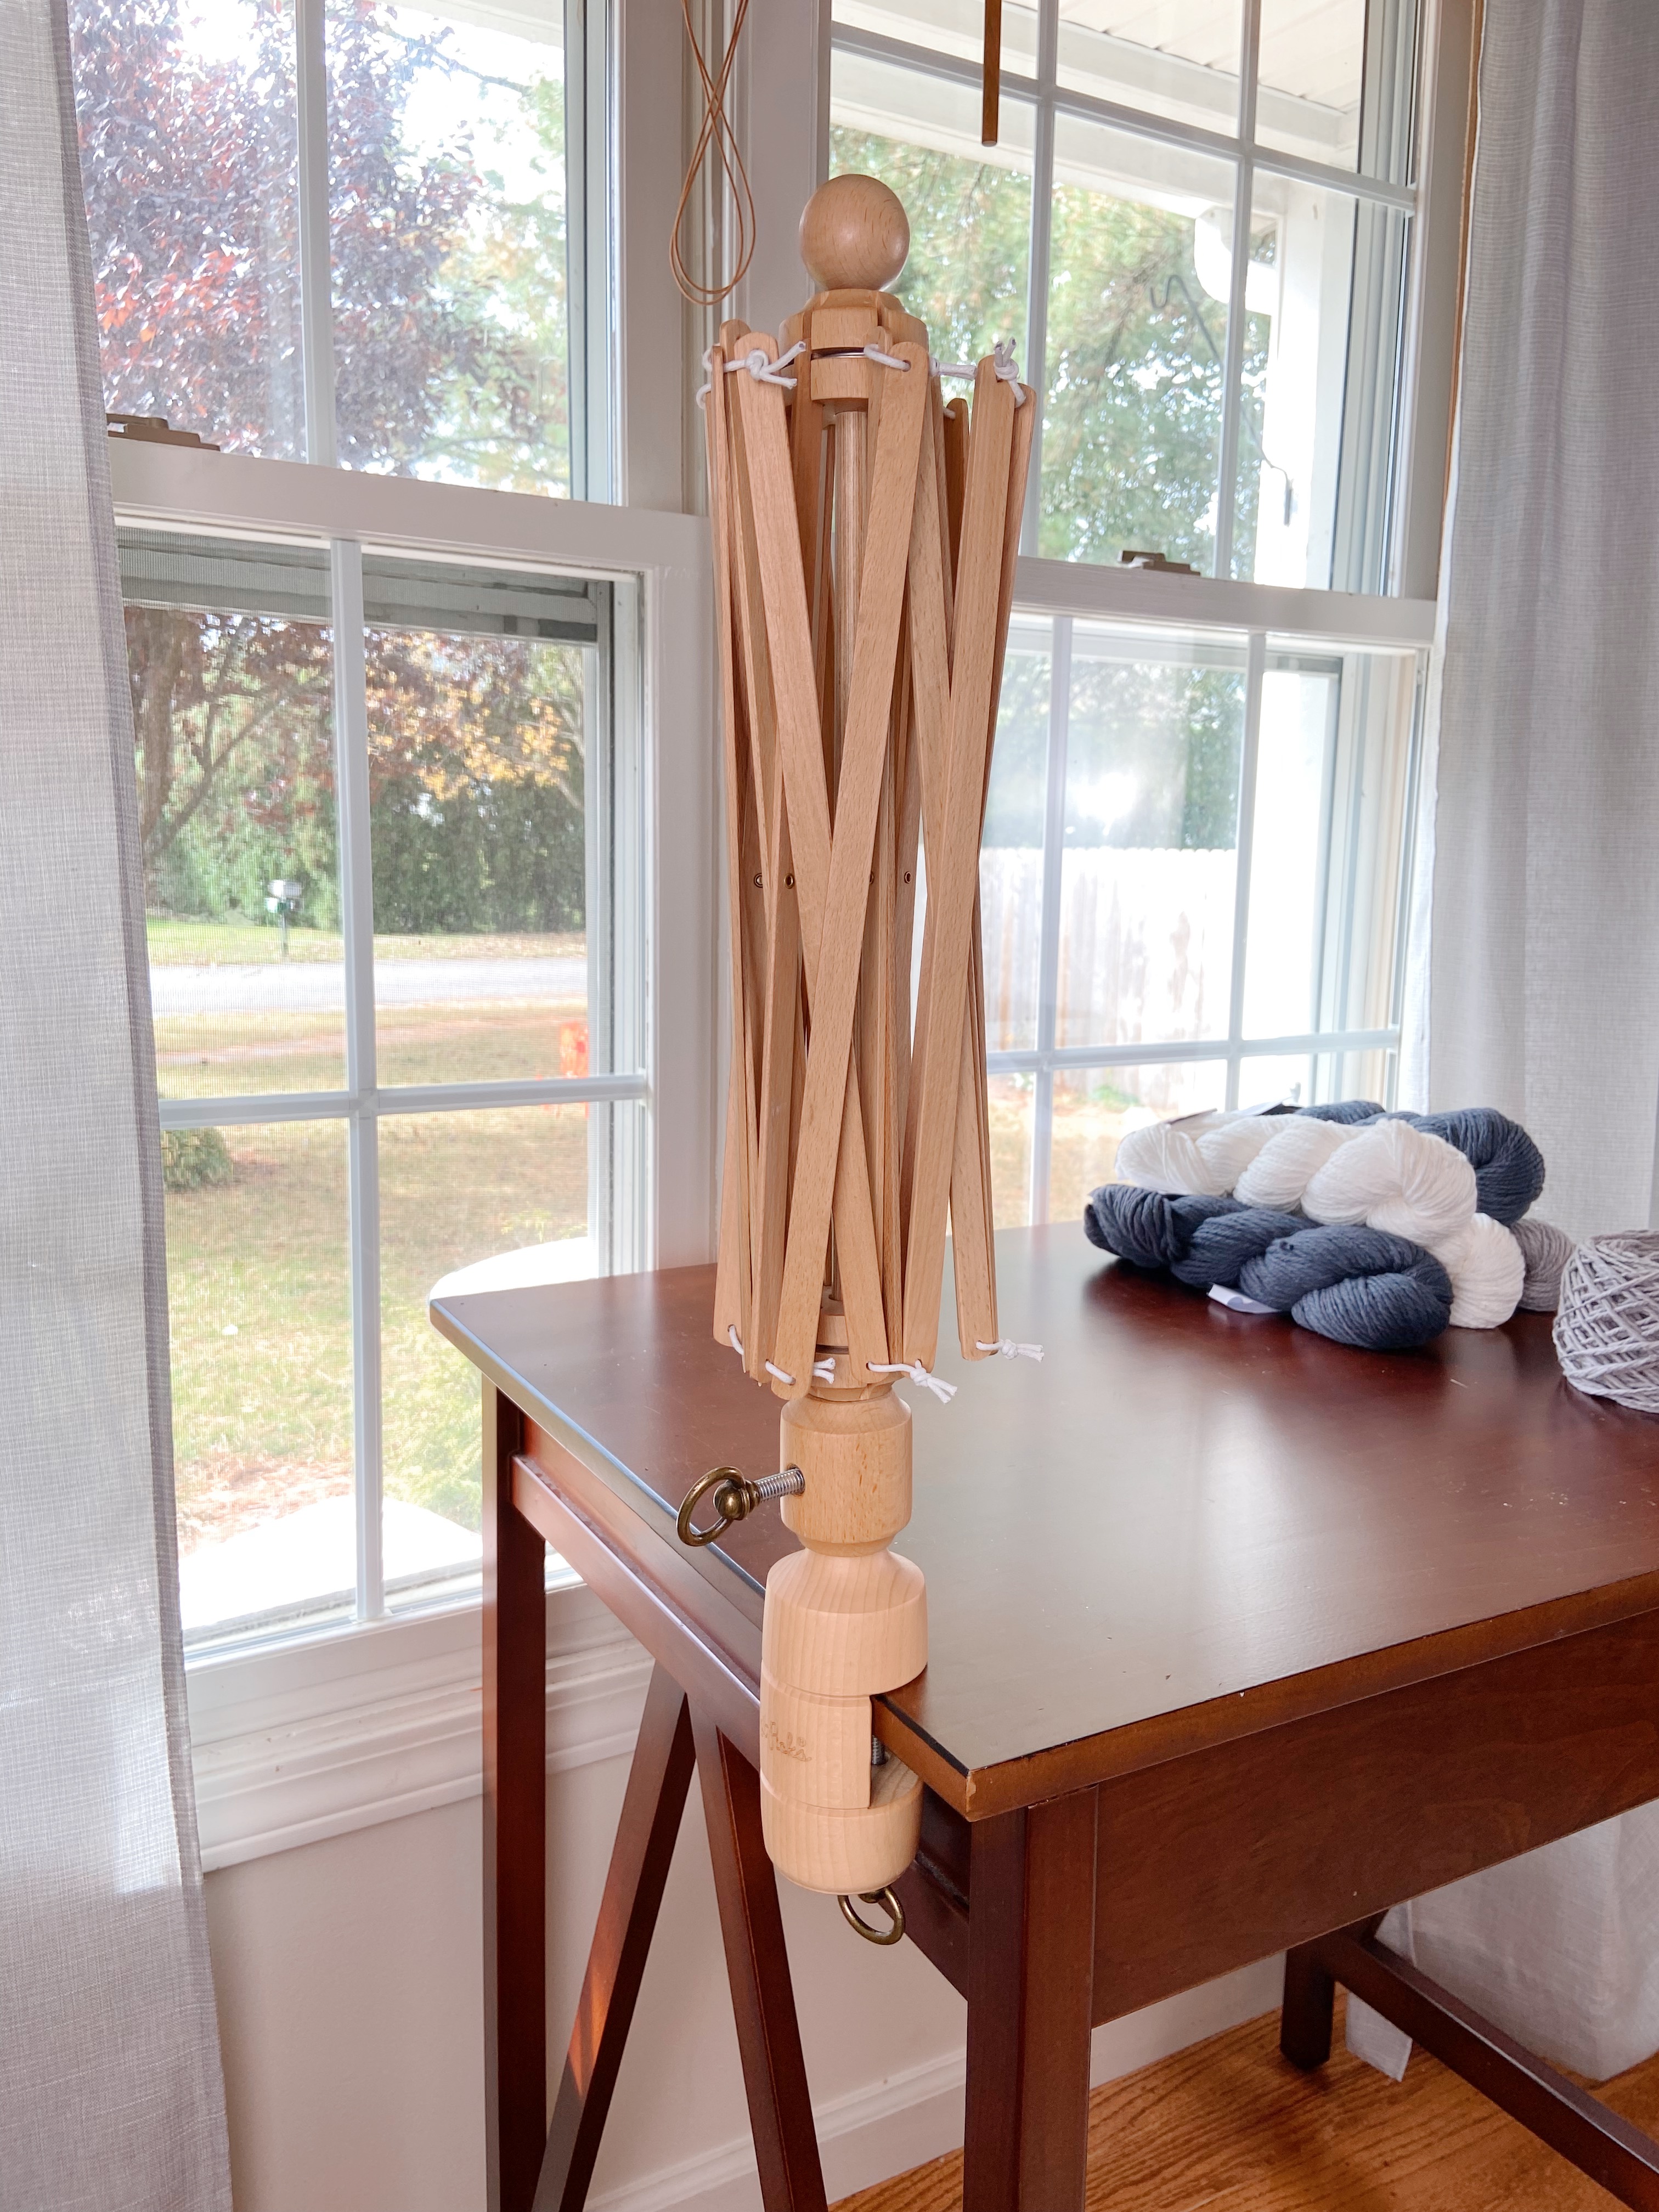
and THIS is a yarn swift.
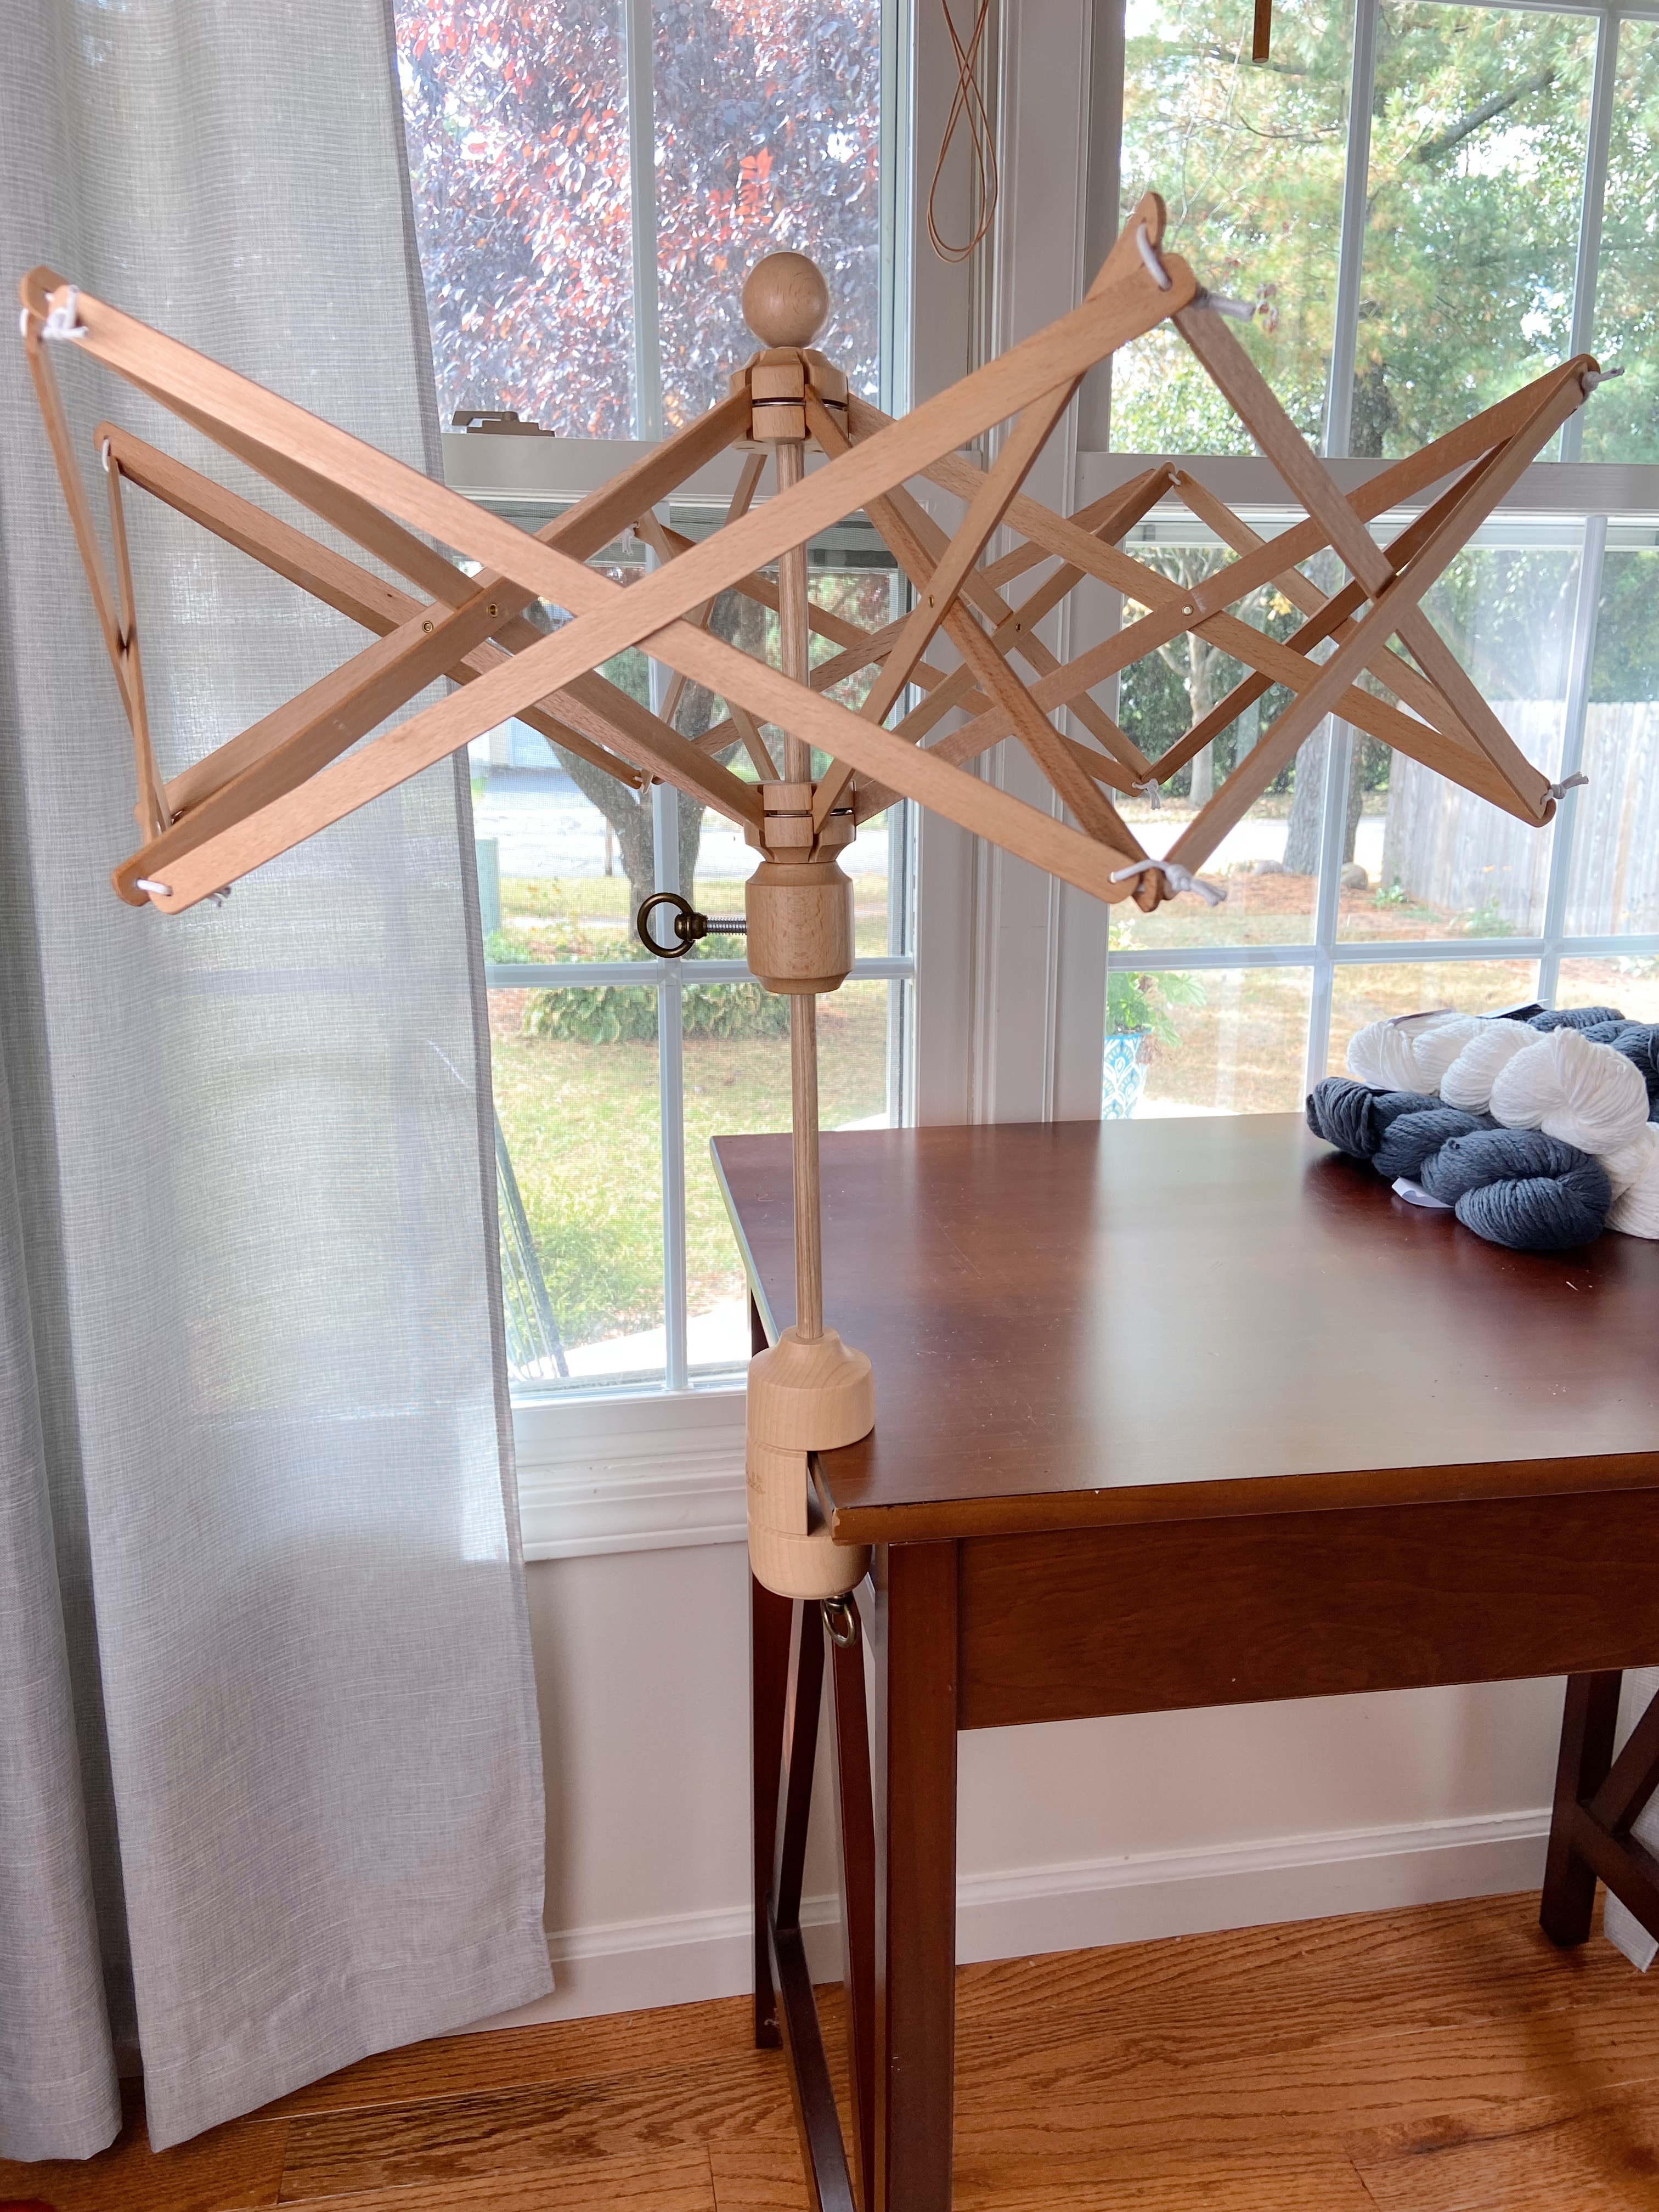
As you might expect from the name, a yarn winder is used to wind yarn into a neat, center pull cake. A swift is used to hold the loose yarn and keep it from being tangled while you wind.
Why do you need a yarn winder and swift?
Well, you don’t NEED them, but they are handy little gadgets to have around when you work with yarn. Most people refer to a ball or skein of yarn, but the truth is, yarn is wound and sold in many different forms. Some of the forms are ready to work with right off the shelf, but others need a little help to be crochet-ready. That’s where the yarn winder and swift come in!
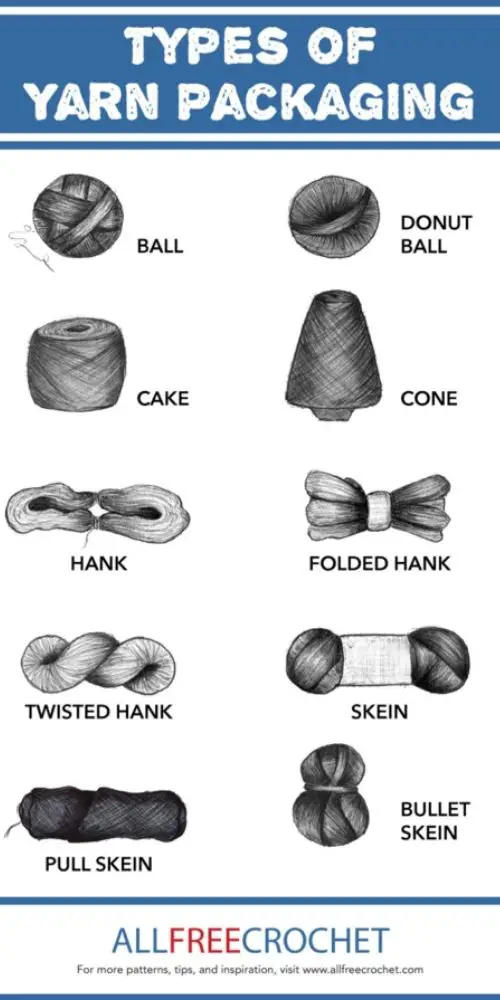
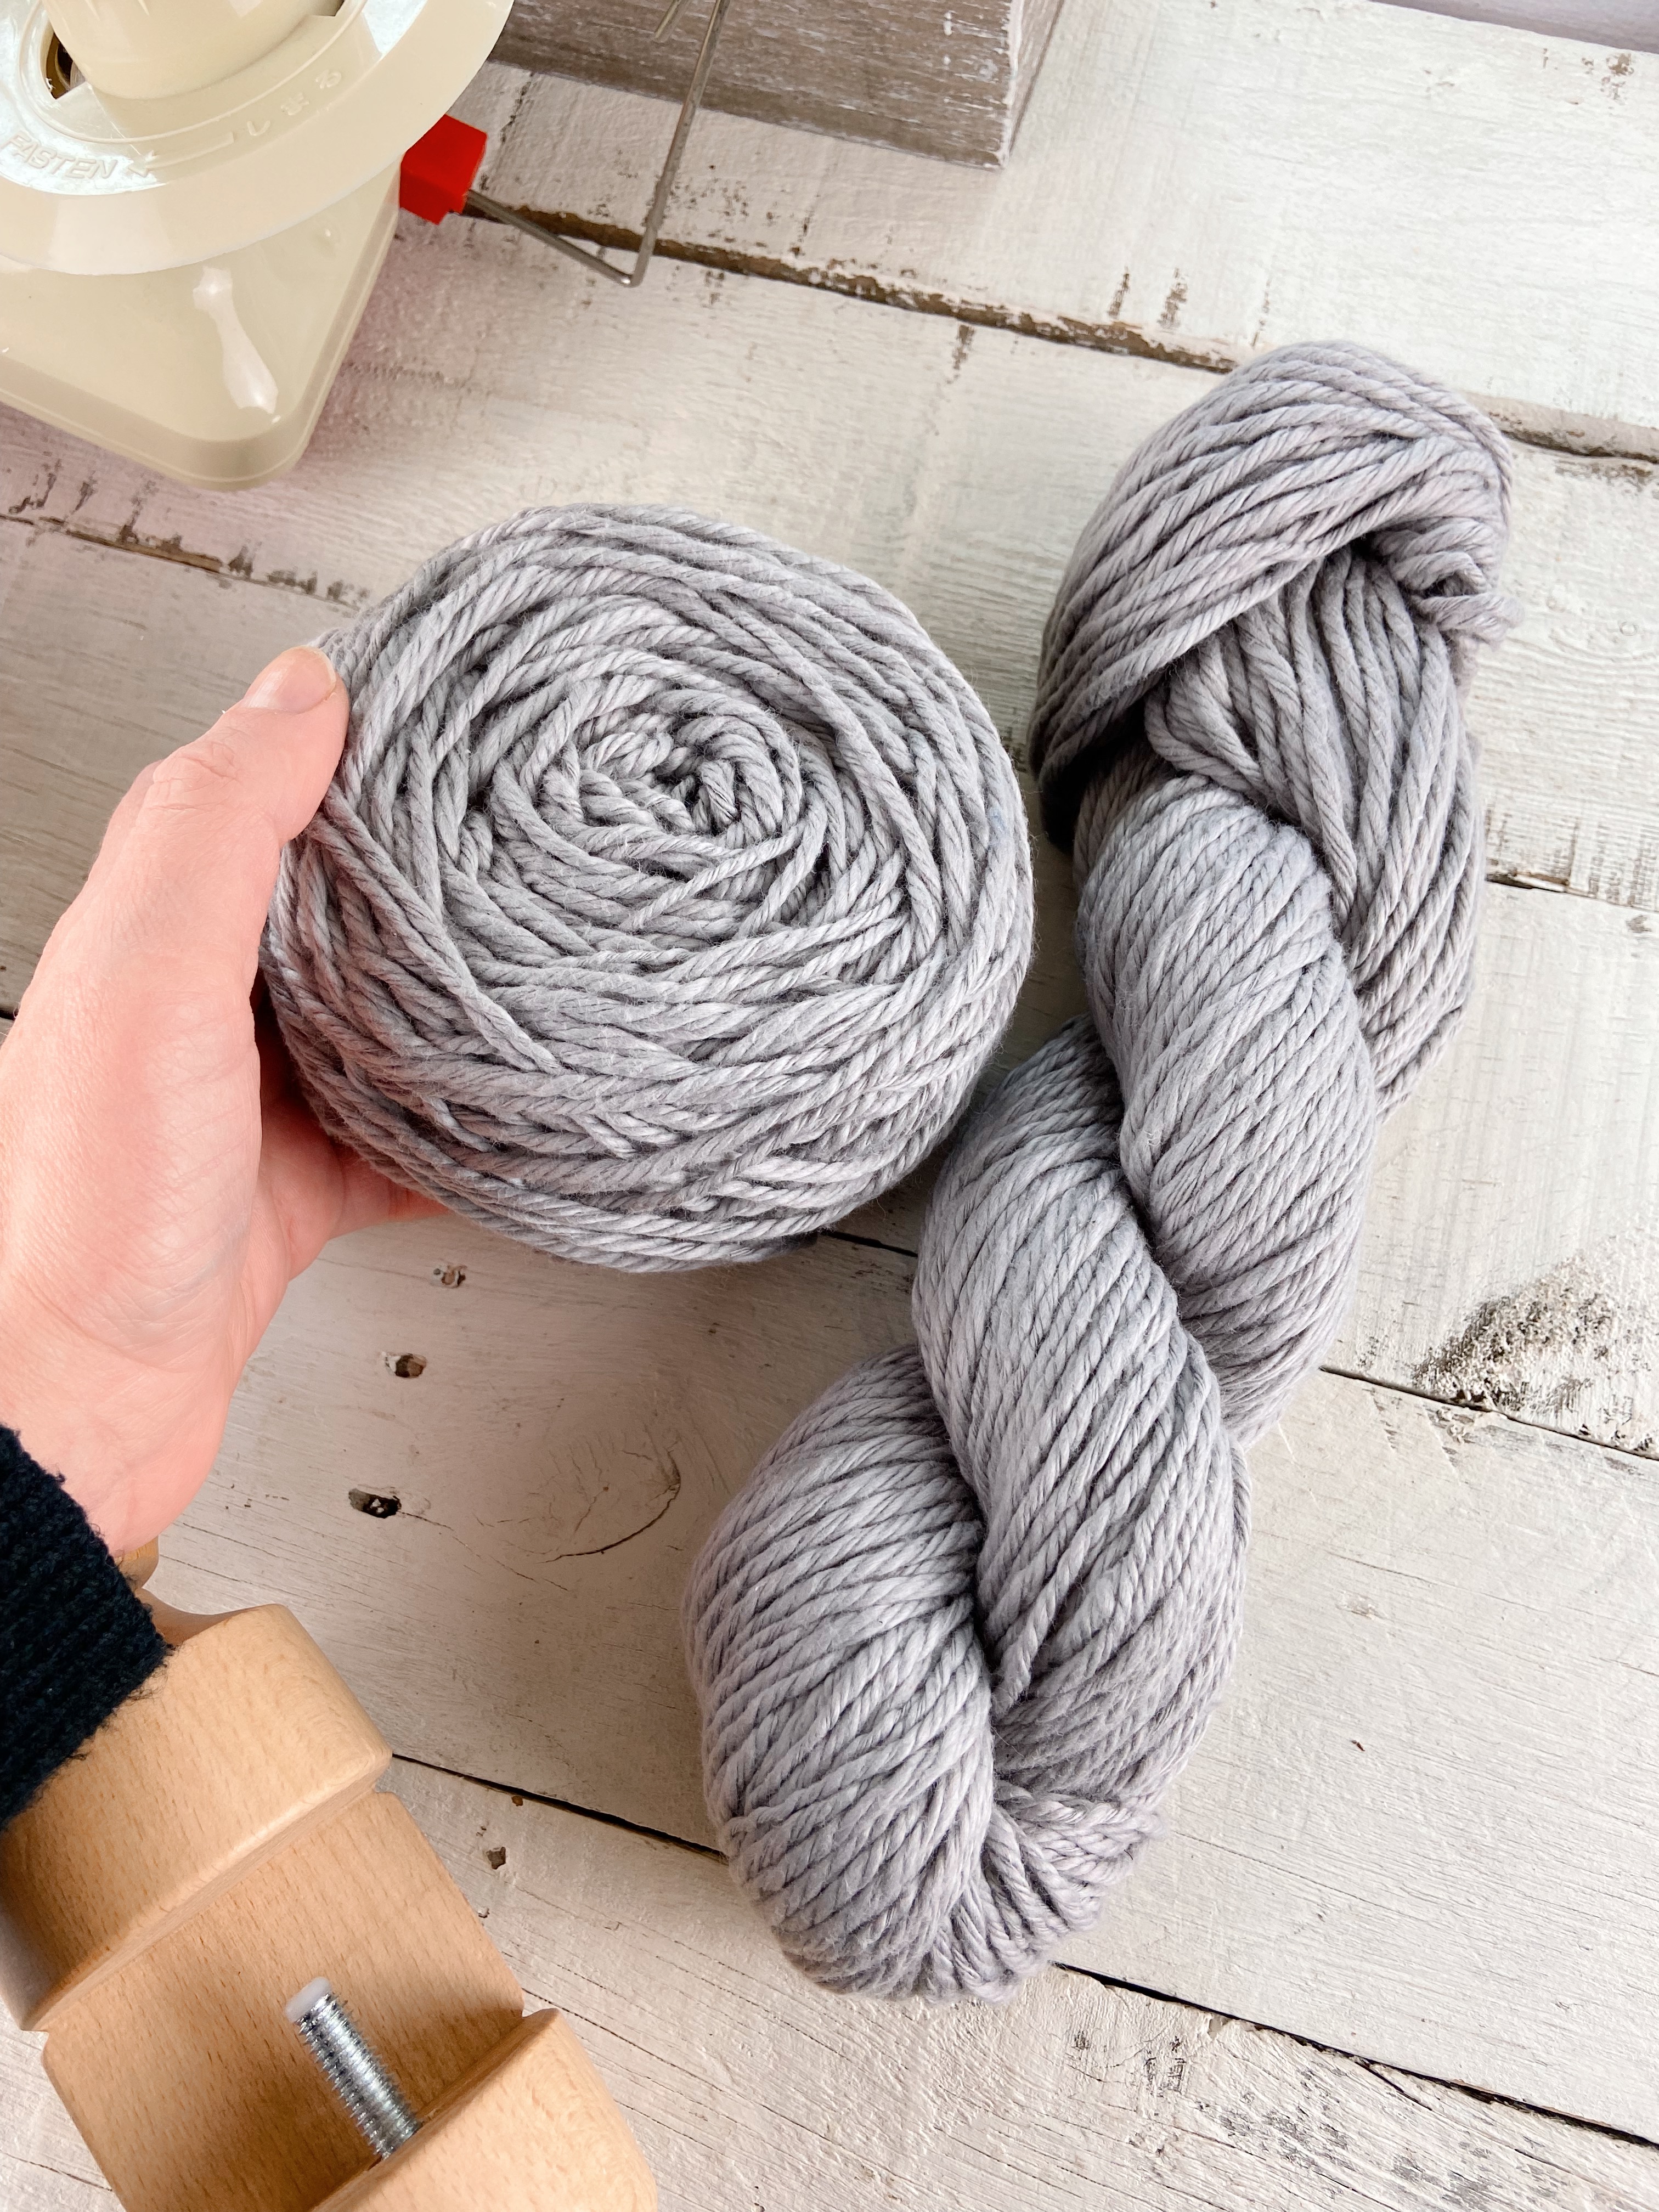
Most big box craft store yarn these days comes in skeins or cakes that you can crochet with as is. But, if you have ever purchased hand-dyed yarn or yarn from a local yarn store you probably noticed that it typically comes in a big twisted loop, aka a “hank”. Take it from someone who has tried (and failed miserably), you cannot easily crochet from a hank of yarn. You will end up with a tangled mess.
Hanks of yarn need to be wound into a ball or cake before you can crochet with them. Of course, there are several DIY ways to accomplish this, ranging from a simple ball wound around your hand to a basic cake made with a wooden Nostepinne (aka. yarn wand), but a yarn winder and swift is the fastest and probably the easiest way to get it done.
Side note: There are two main reasons most specialty yarn is sold in hanks instead of a skein or ball. The first is for storage and transport; hanks are easier to store and less likely to snag or fall apart when shipped. The second reason is that they are often made of luxury fibers which can stretch and become uneven under the strain of tight winding.
So what if you don’t often find yourself buying hand-dyed or luxury yarn? Would it still be worthwhile to invest in yarn winder and swift? Possibly!
Imagine all those half-used and haphazardly rewrapped balls of yarn in your cabinet, magically transformed into neat little uniform cakes of happiness. Ahhhh! Much better!
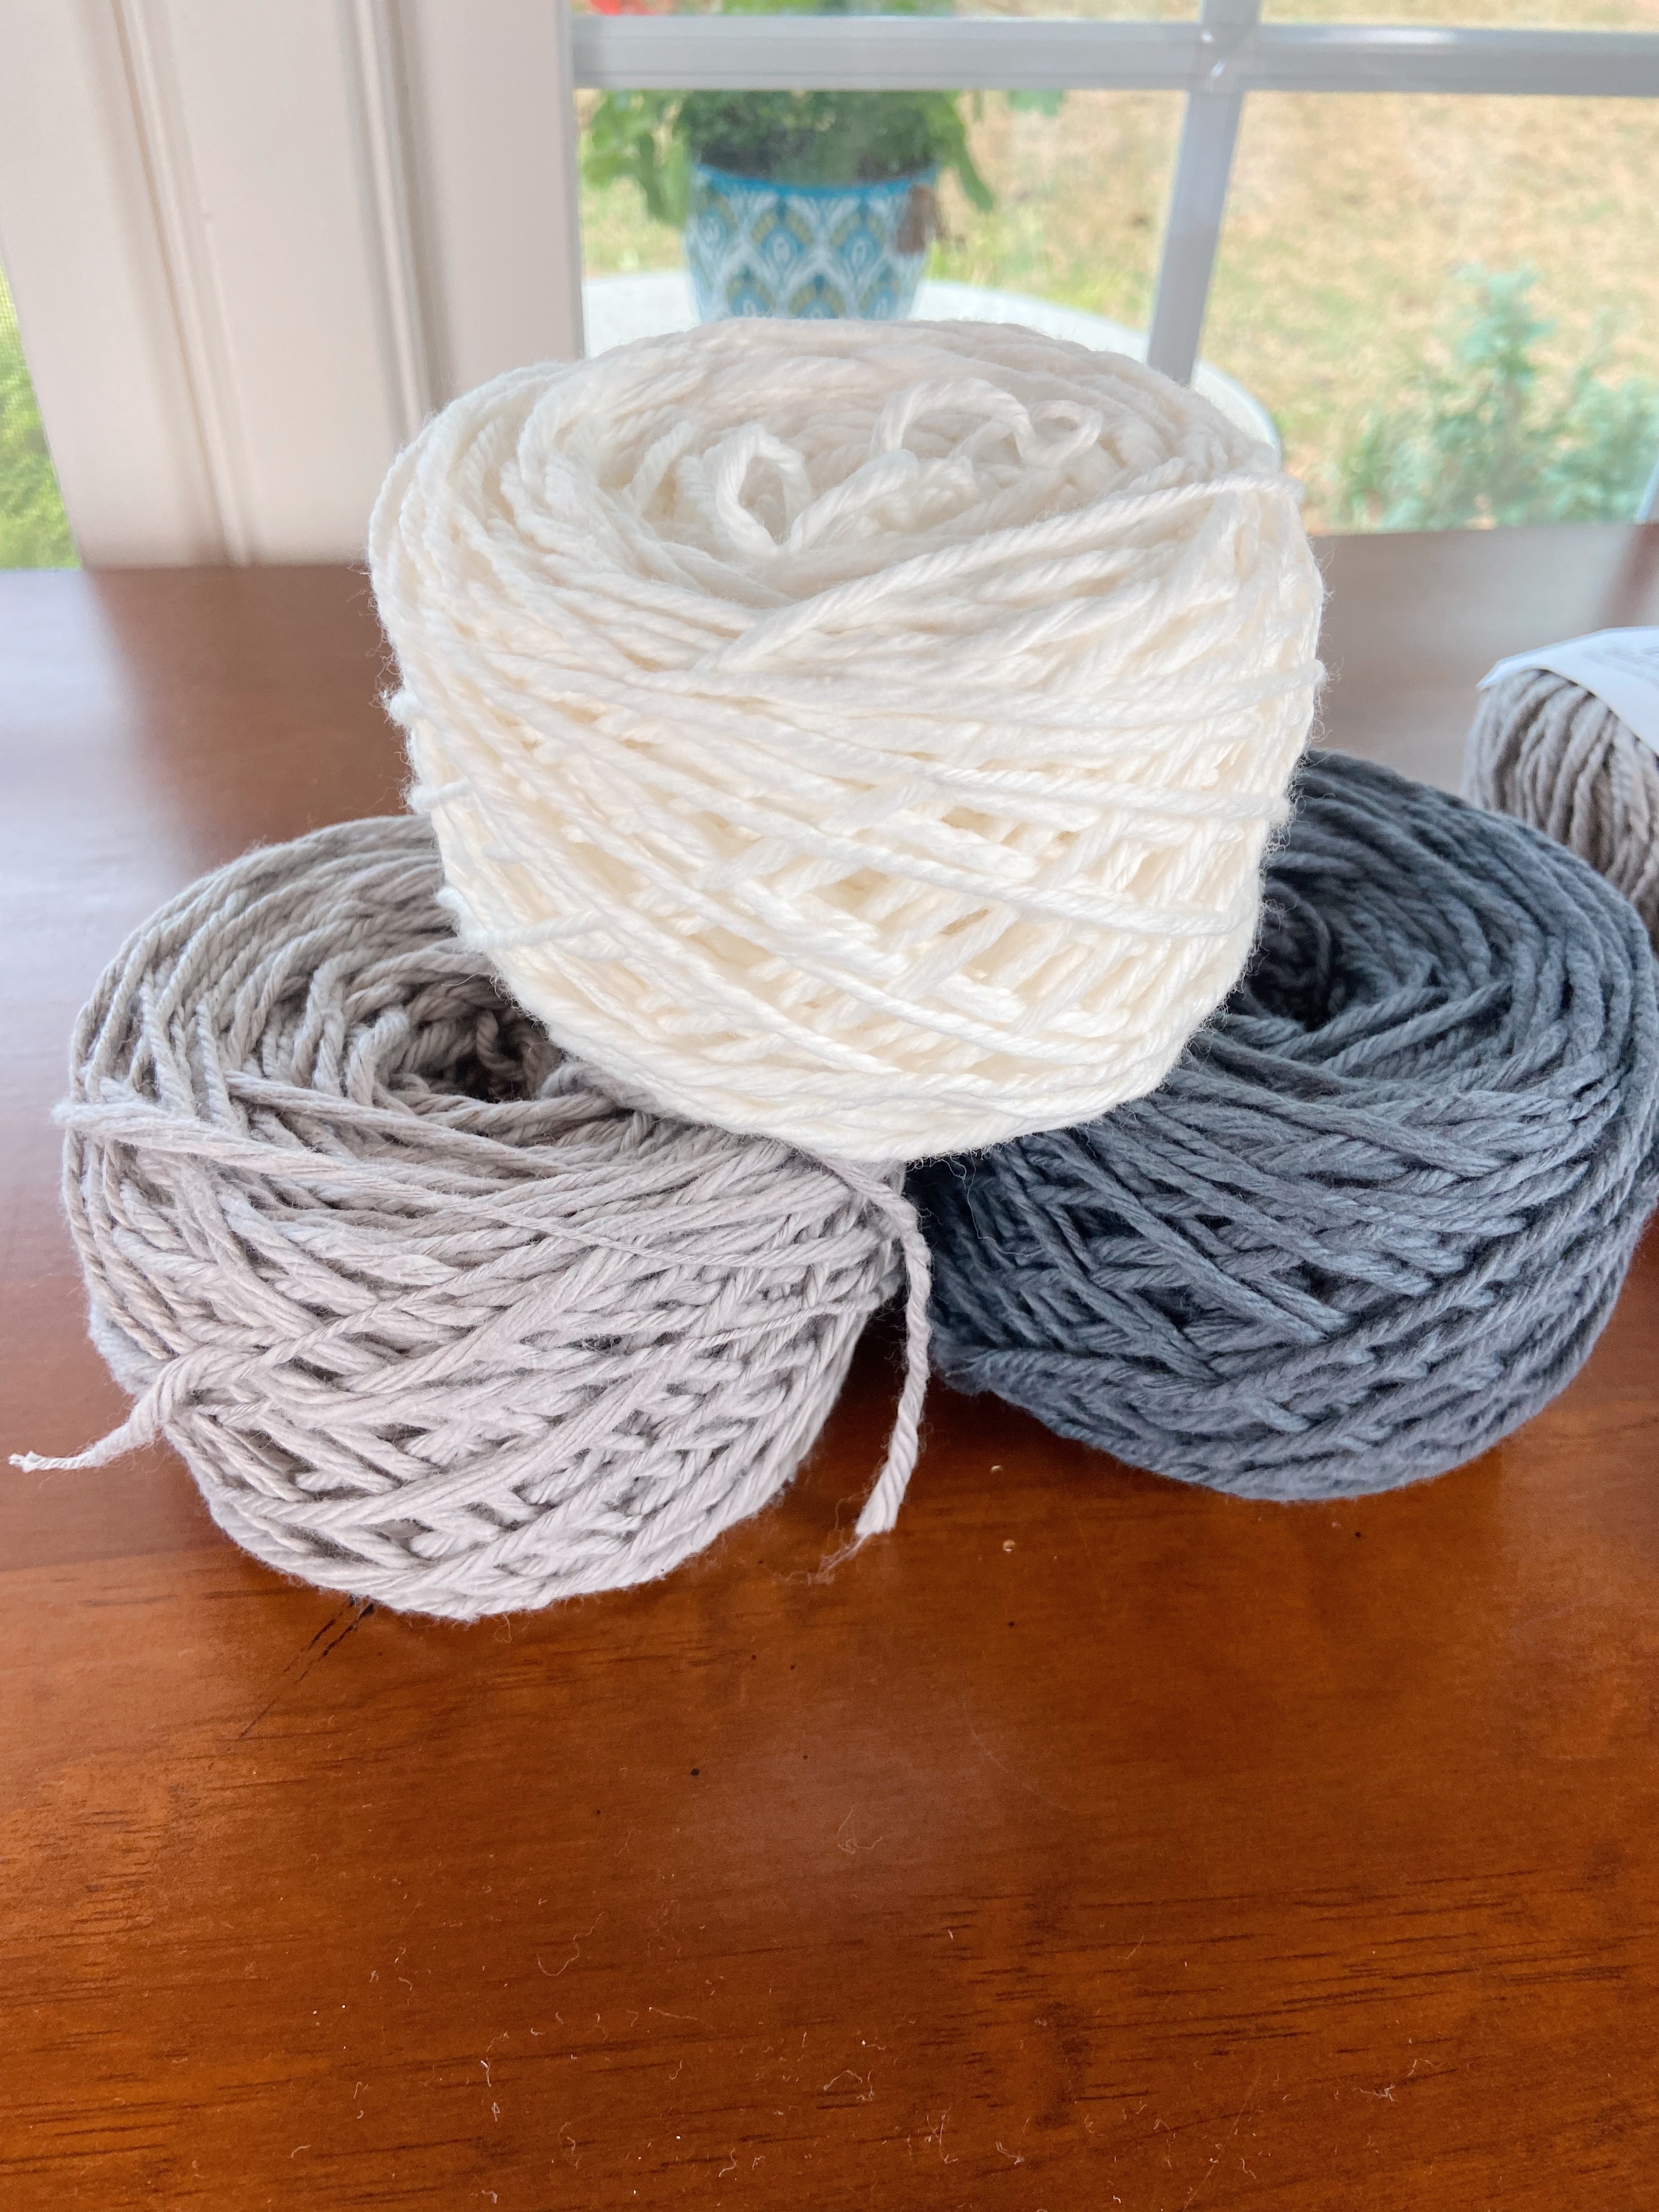
Or maybe you just want the ease of use and smooth tension that comes from a center pull cake. I know crocheters who use their yarn winder to rewind brand new skeins of yarn because they prefer to crochet from a cake (bonus: you can check the yarn for manufacture knots or imperfections BEFORE you start your project!).
And finally, if like to use a yarn bowl while you crochet, a winder will produce the most perfect little cake of yarn to fit inside.
Where to buy a yarn winder and swift?
Unfortunately, they aren’t easily found in stores. Maybe in a local yarn shop, but for most people, going online is your best bet. For yarn winders, I have this one from amazon, but TBH, it isn’t the best. It gets the job done, but some parts are a little flimsy. If you’re looking to buy, for only a few more dollars, I would go with this lovely model from Knit Picks that has great reviews!
I am a little embarrassed to admit that, for a while, I thought I could get away with just the winder and no swift. I tried all the tricks – hanging the yarn loop over the backs of two chairs, having someone hold the loop in their hands, I even tried sitting criss-cross-applesauce with the yarn looped over my knees (0/10, do not recommend)…as you can imagine none of my improvising worked. I ended up with tangled yarn and a lot of frustration.
Eventually, my sweet husband felt bad for me (or maybe he was tired of holding yarn) and ordered me this beauty of a swift from knit picks! I love it so much! First of all, it’s a gorgeous natural birch wood (also comes in an Onyx color), but it is also easy to set up and works like a dream.
There are cheaper options out there (I know a lot of people like this one on Amazon), but this is one of those time where I think you’ll be happy you went with higher quality.
AND if you are ready the take the plunge and get both the yarn winder and swift, WeCrochet/Knit Picks sells them in a convenient bundle at a discount!
Ok, so now let’s talk about how to use them!
How to use a yarn winder and swift
I remember being a little intimidated the first time I tried to wind yarn with my new tools, but it’s really a simple process when you break it down (my kids LOVE to help wind – they come running when they see me get out the swift! haha!). Here are the basic steps:
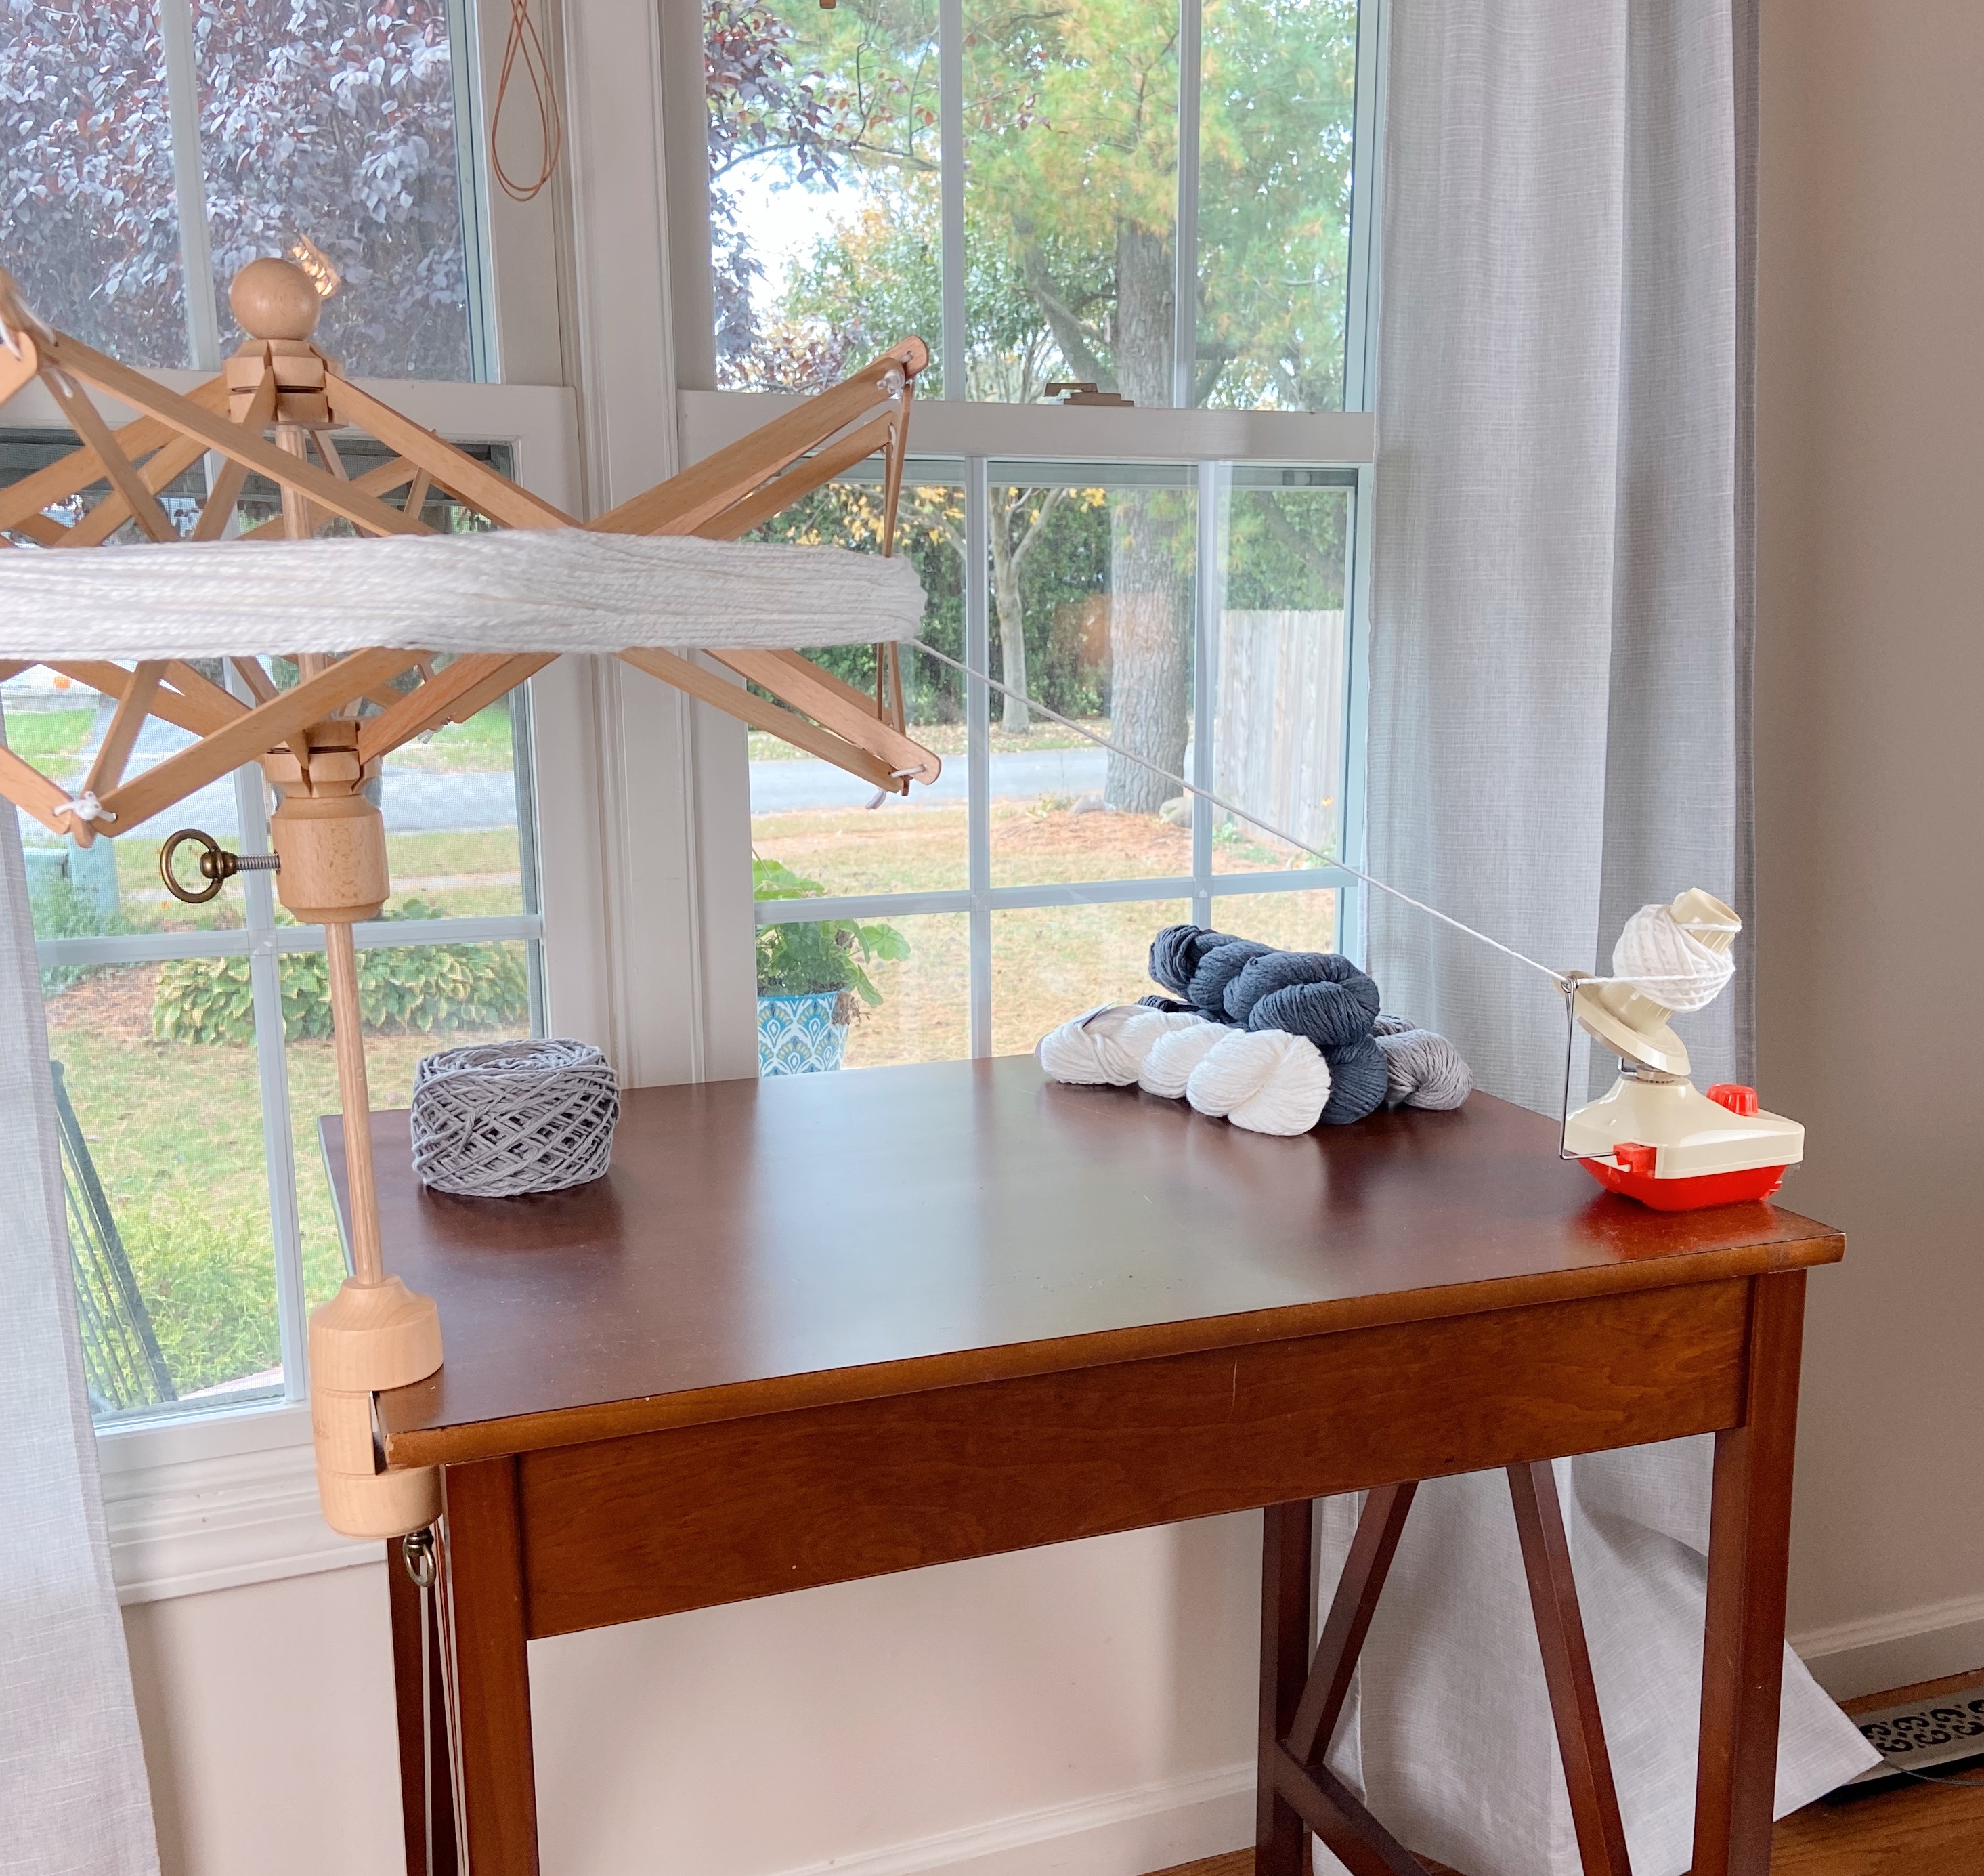
1. Attach your equipment to a surface.
A table or desk works best, but any solid surface with a lip should work. You’ll need to use the built-in clamp on the yarn winder to tighten it to one side of the table. Then, use the clamp on the swift to attach it to the other side. Ideally, you want them about 3 feet apart so the swift has room to spin.
2. Untwist your hank of yarn
Untwist the large twist of your hank, taking care to keep the loop intact and not tangled. Look closely at the loop and you should find one or more places where a separate piece of yarn is tied in a figure 8 around the yarn. This is to keep the yarn from tangling during the dying and shipping process, but you’ll need to remove it before winding.
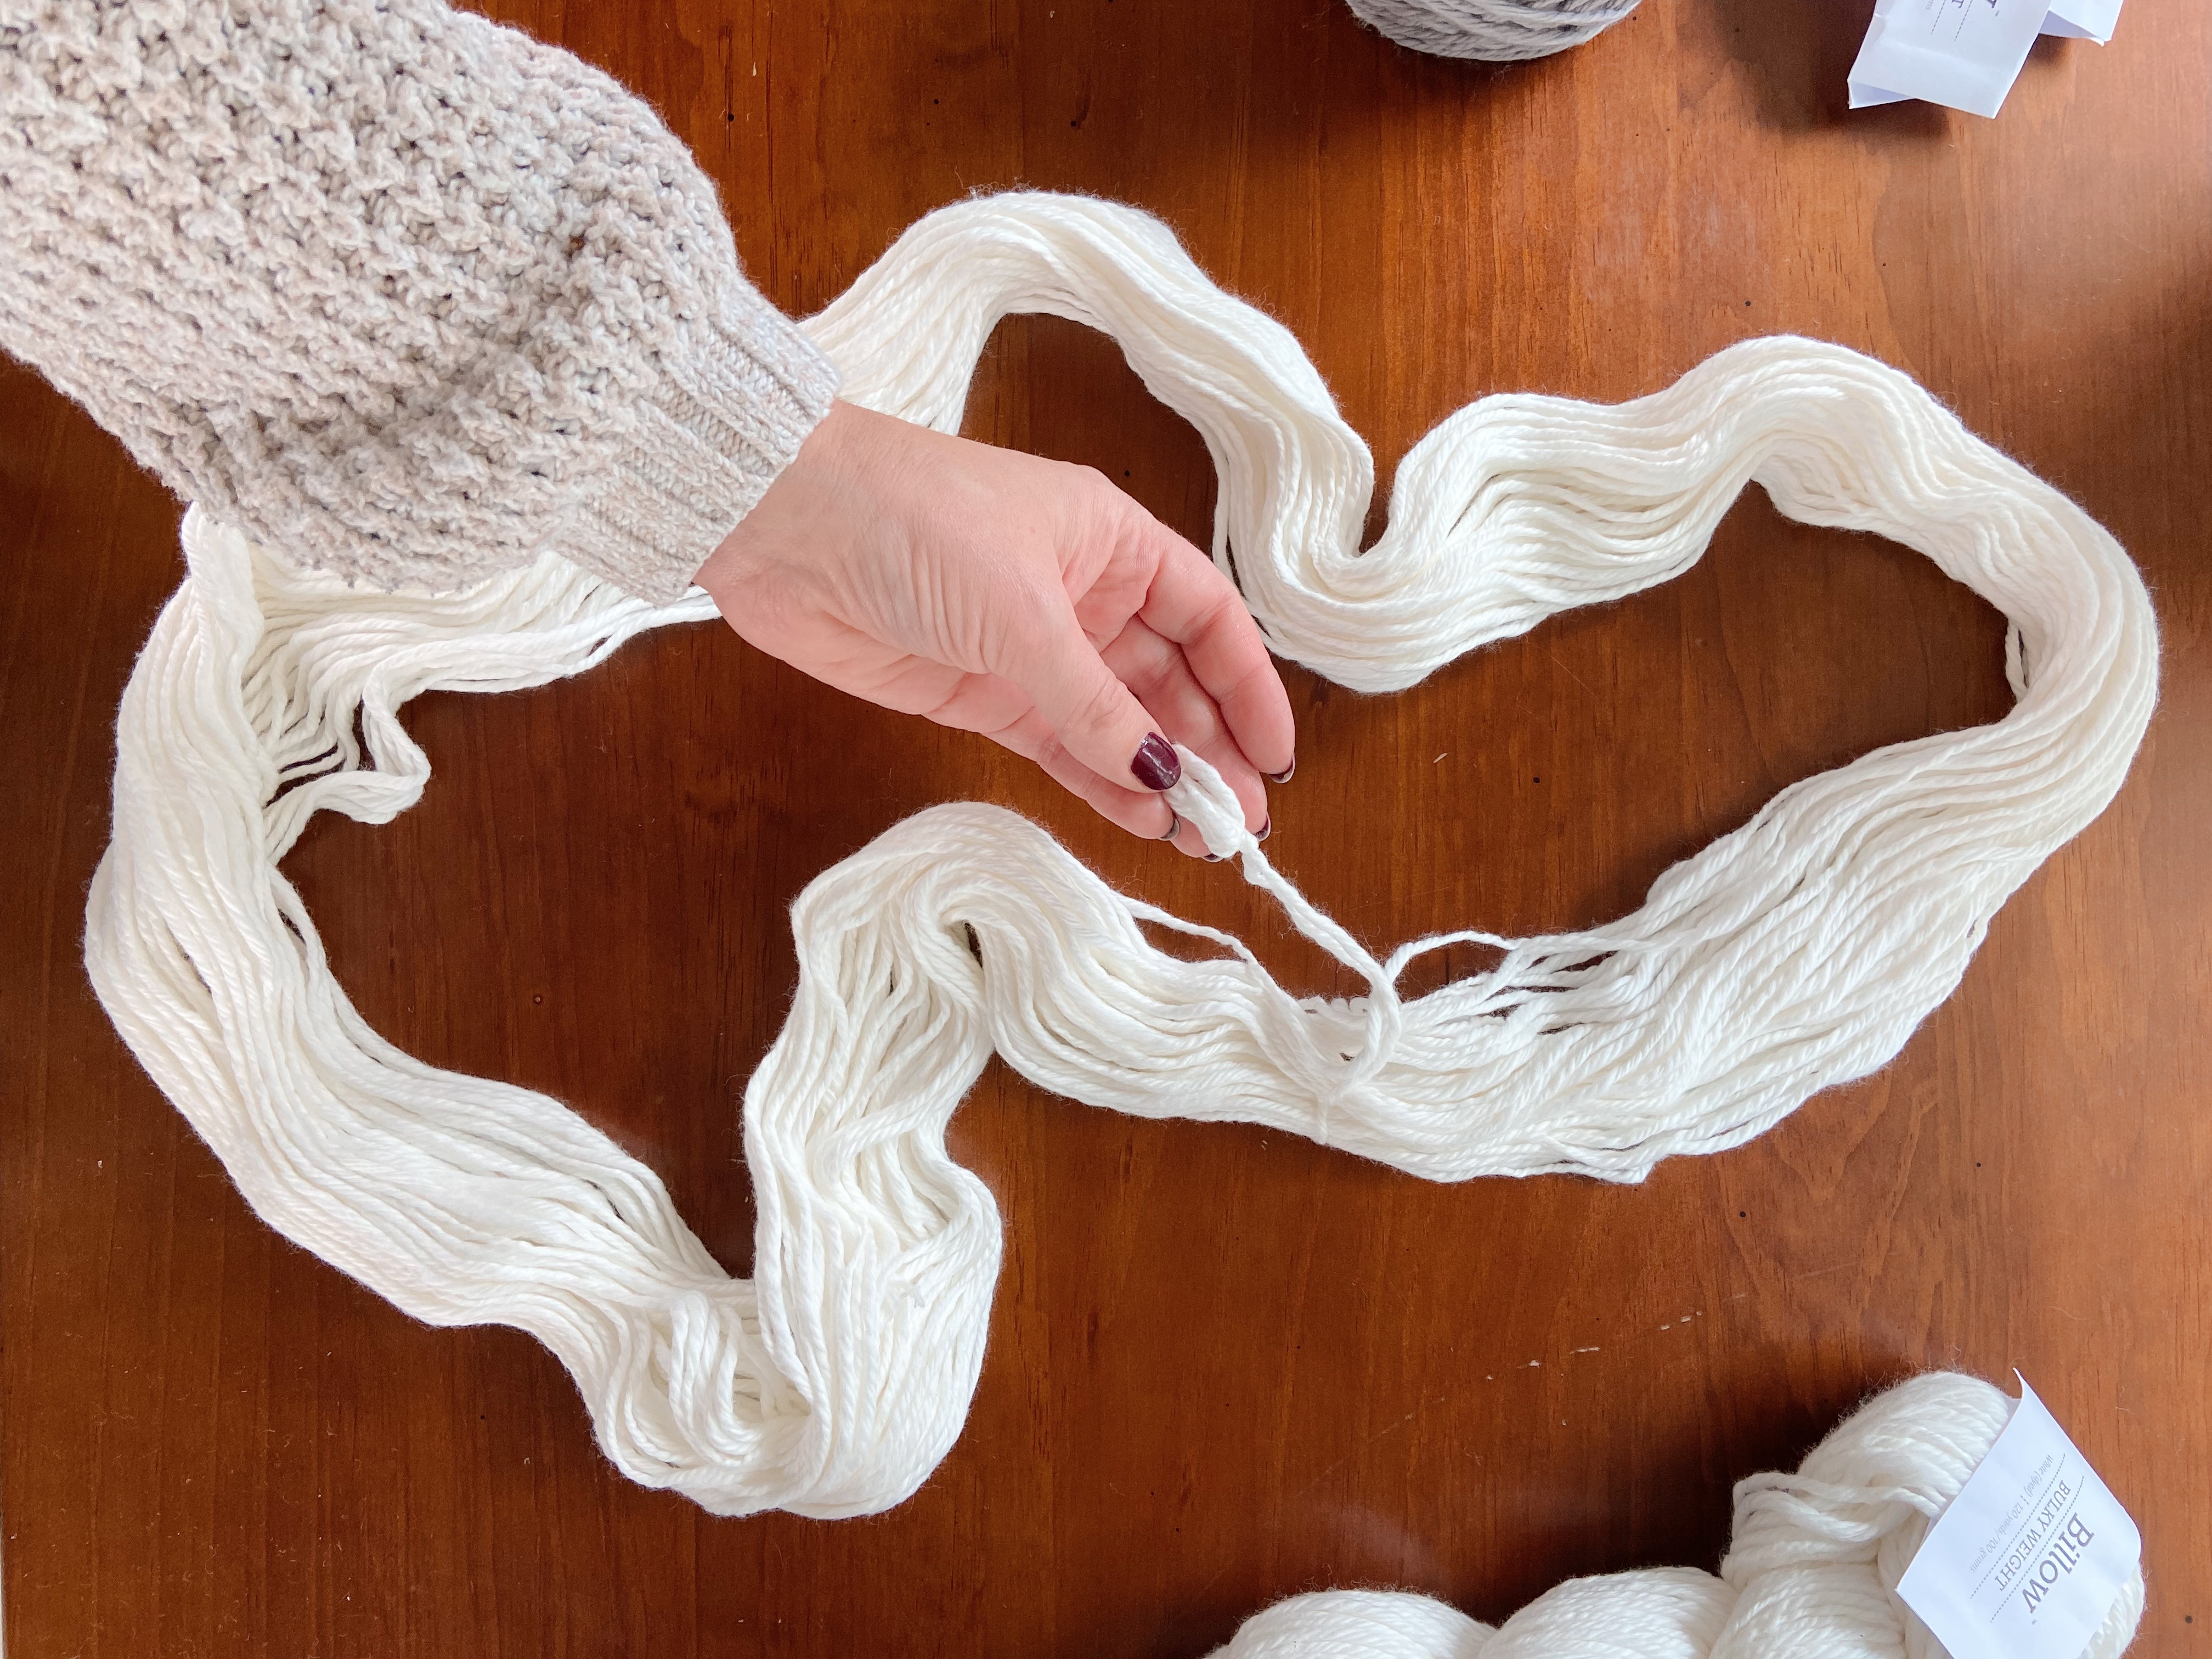
Cut or untie these knots and then find the two yarn ends. I got lucky and the Billow cotton yarn I was using actually used the two yarn ends to make the figure 8 – woo hoo!
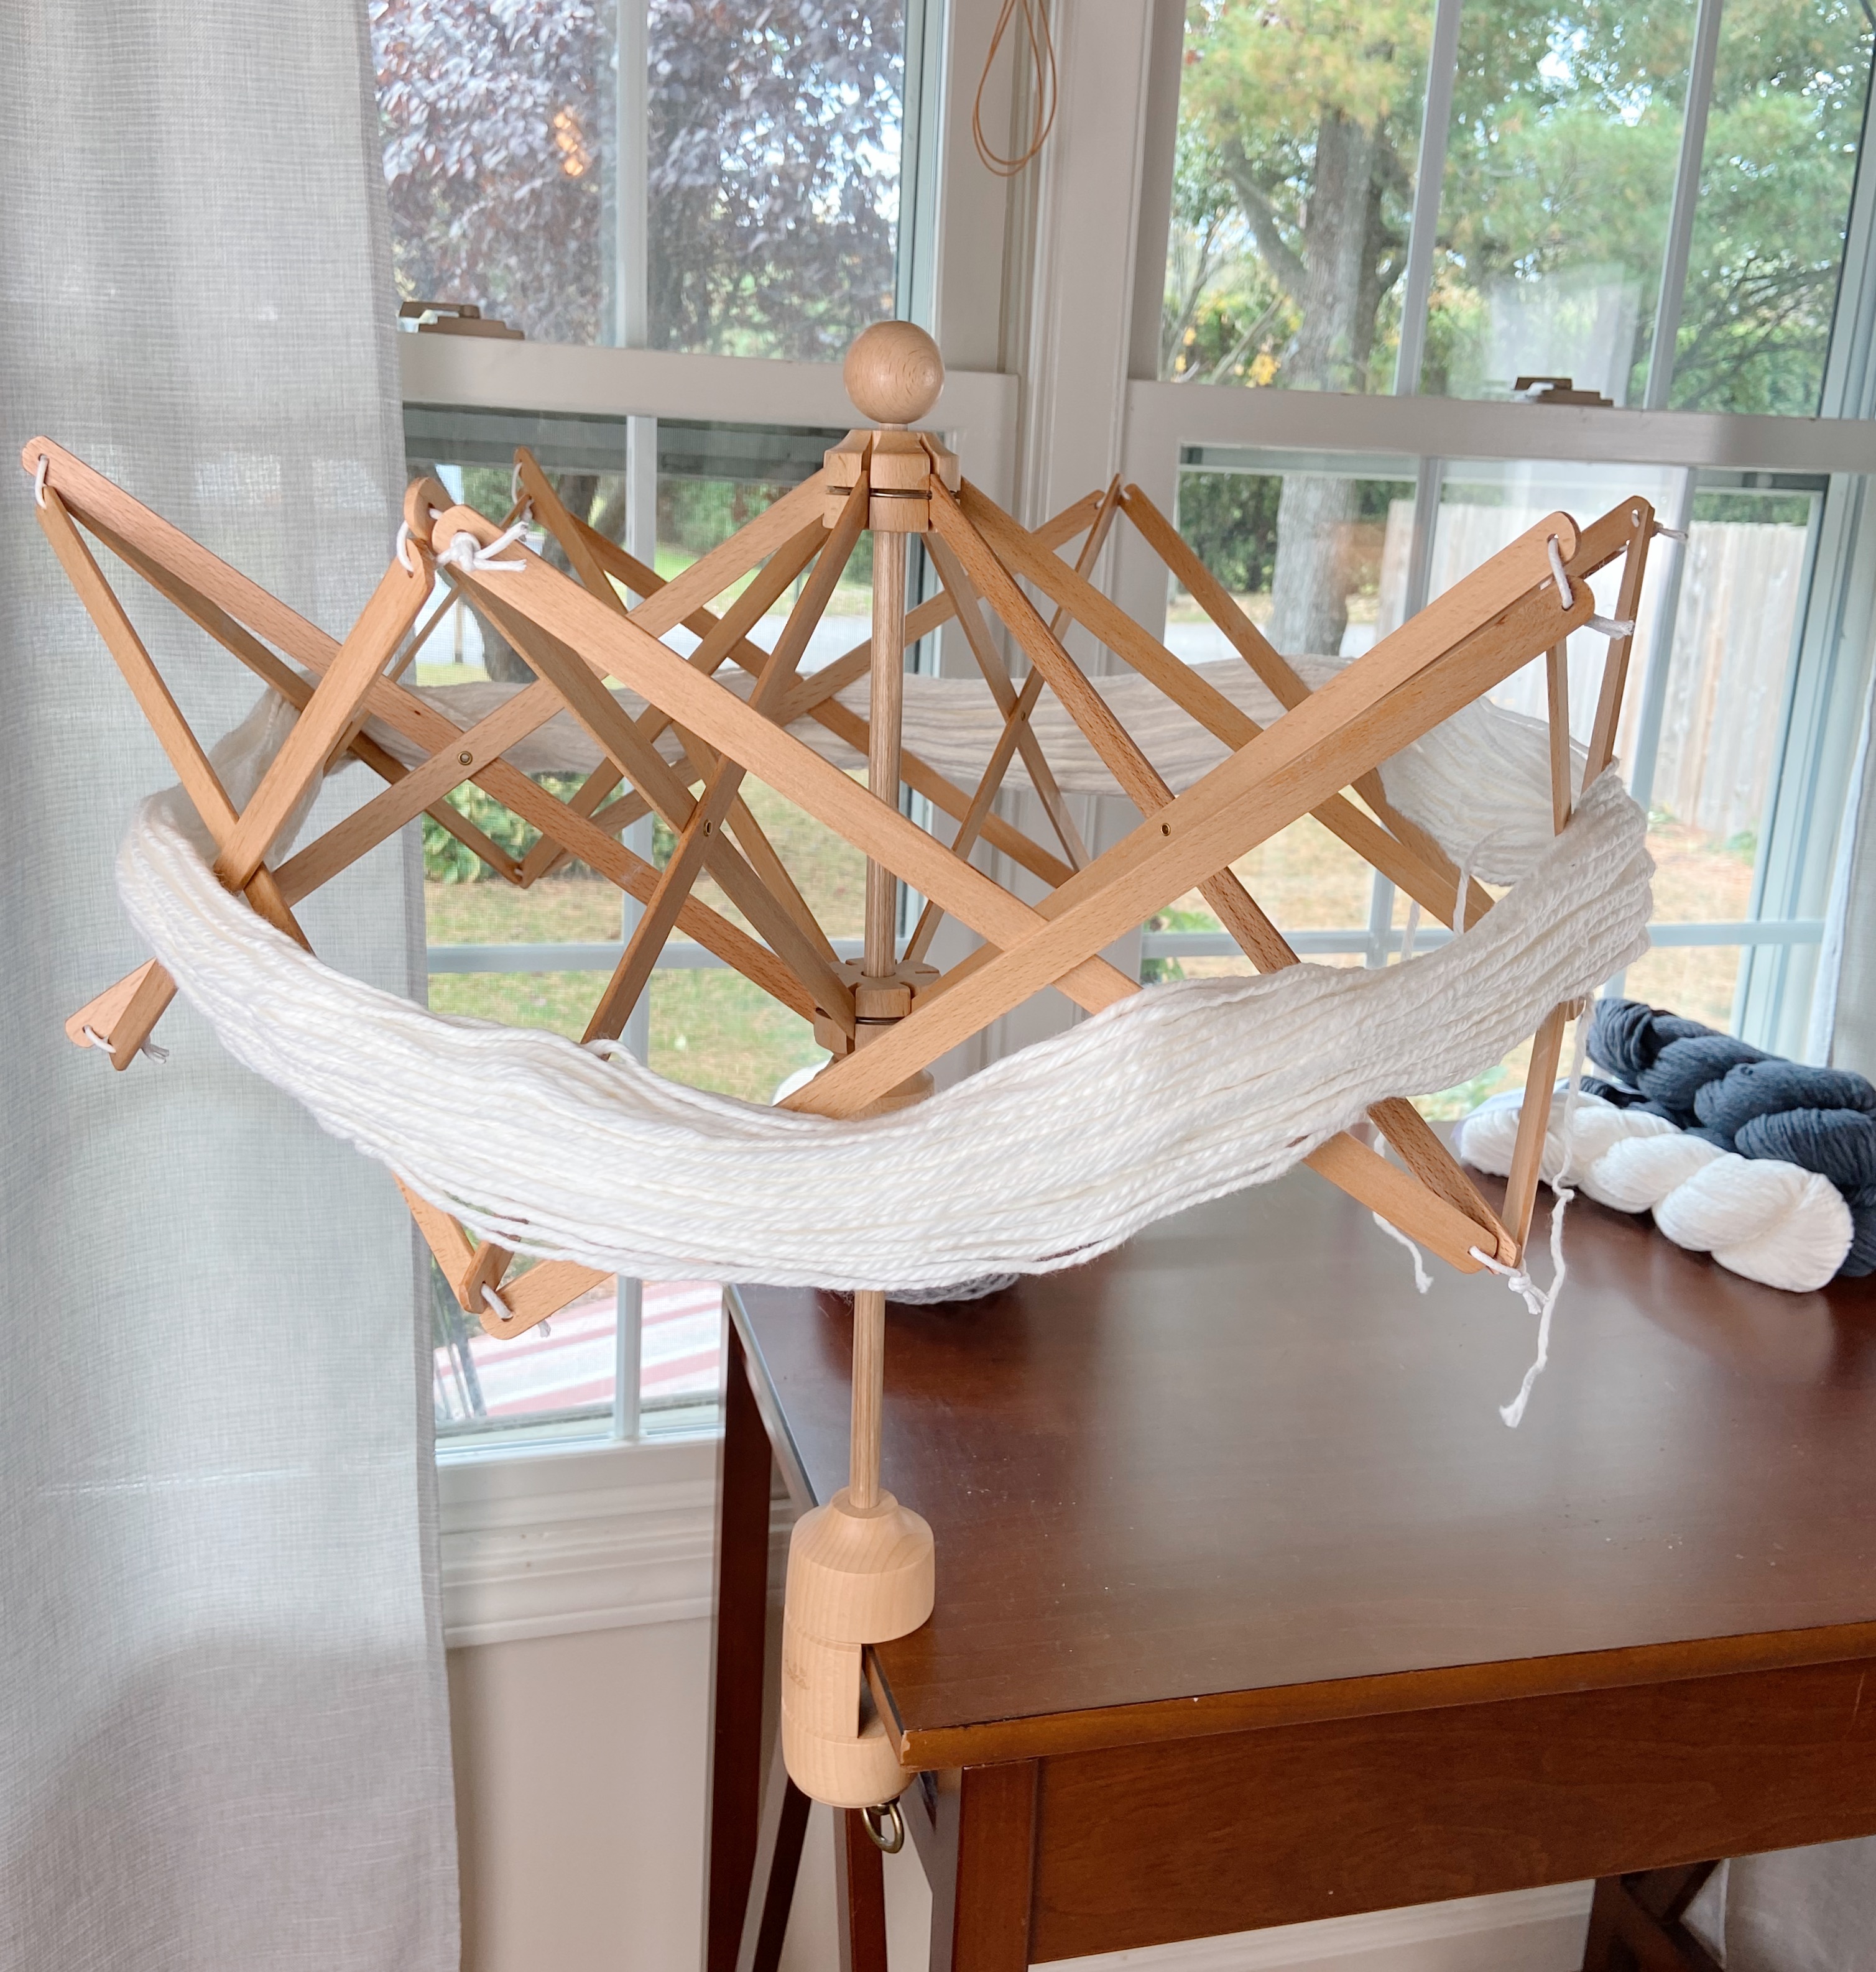
3. Secure yarn loop on swift
A swift works like an umbrella that spins. It “opens” to the diameter necessary to hold the yarn loop taught, and then it spins as the yarn is being pulled off by the yarn winder.
First, you’ll want to expand the swift about halfway and secure it using the key clamp. Then, carefully pick up the yarn loop and, taking care not to twist or separate the loop, drape it over the half open swift. Last, raise the swift to expand it enough to hold the loop tightly in place and secure with the key clamp.
Find one of the yarn ends and gently pull it to get it ready to thread on the winder. Try to make sure the other yarn end is tucked more to the inside of the loop if you can.
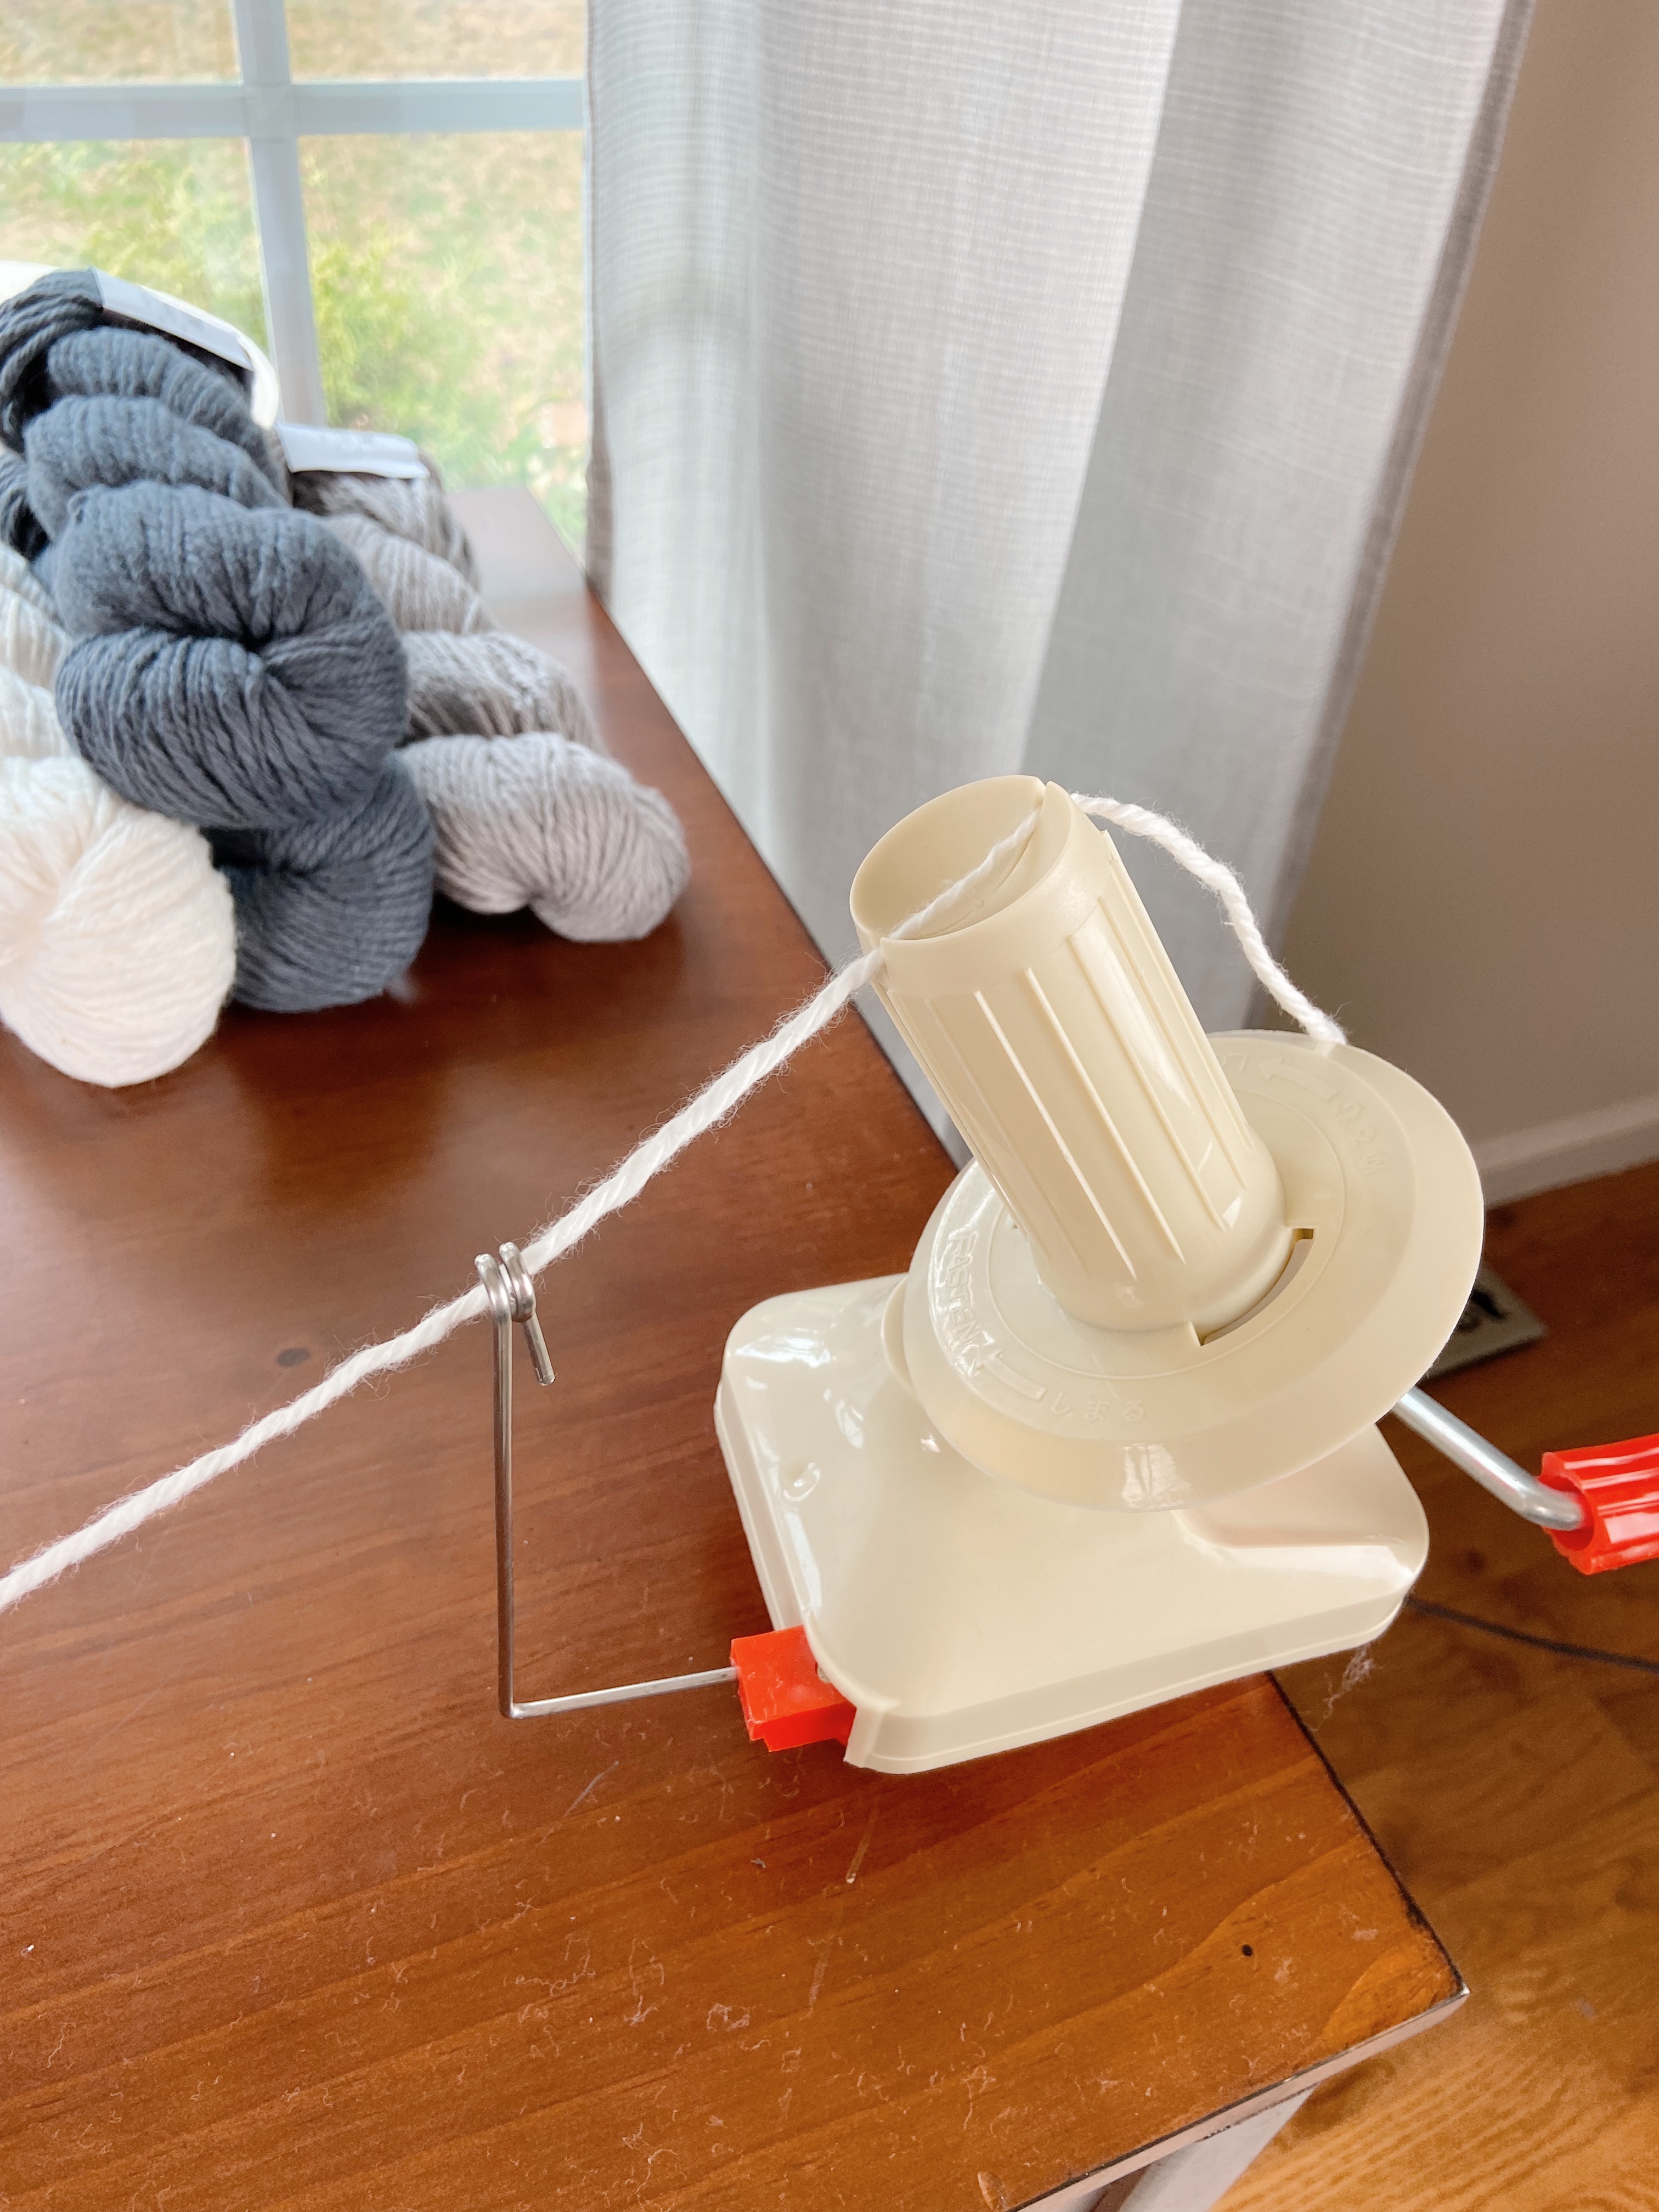
4. Thread yarn on yarn winder
Your yarn winder should have come with a thin metal arm that has a loop at the top (sometimes this arm folds down for storage, make sure it is upright and secured in place before you start winding). Thread the yarn end from the loop on the swift through the loop on the metal arm and slide it into the slot at the top of the winder head (this string will become the center pull). You are now ready to wind!
5. Wind your yarn!
Once everything is in place, it’s time to start cranking that handle! I think it helps to use your other hand to hold tension on the yarn when you are getting started. You should start to see a criss-cross pattern forming on your winder and the swift should be spinning freely. Keep winding until you reach the other end (which can be tucked somewhere on the outside of the cake to keep it secure).
Slide your beautiful cake of yarn off the winder and enjoy!
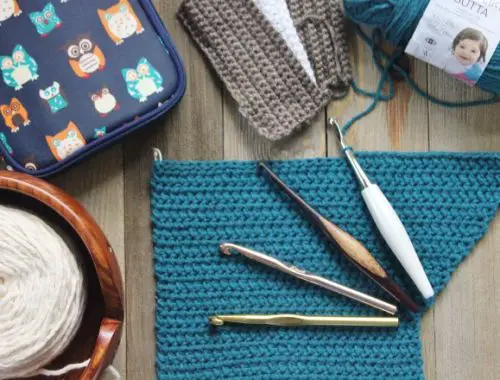
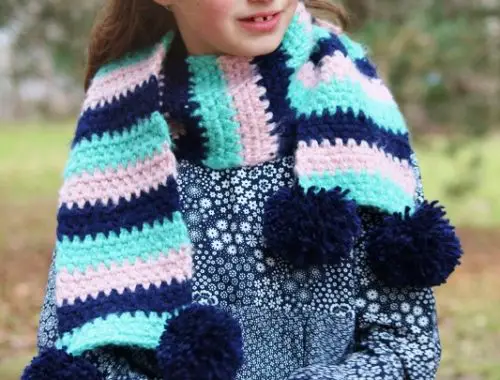
I hope you found this tutorial helpful! You can find more crochet education and tutorials in the How To section here on the blog. If you’re looking for inspiration for projects you can make with your newly wound hand dyed yarns, check out my Brooklyn Triangle Scarf. It’s made with some absolutely stunning hand dyed yarn from Sewrella Yarns!
Happy Making!