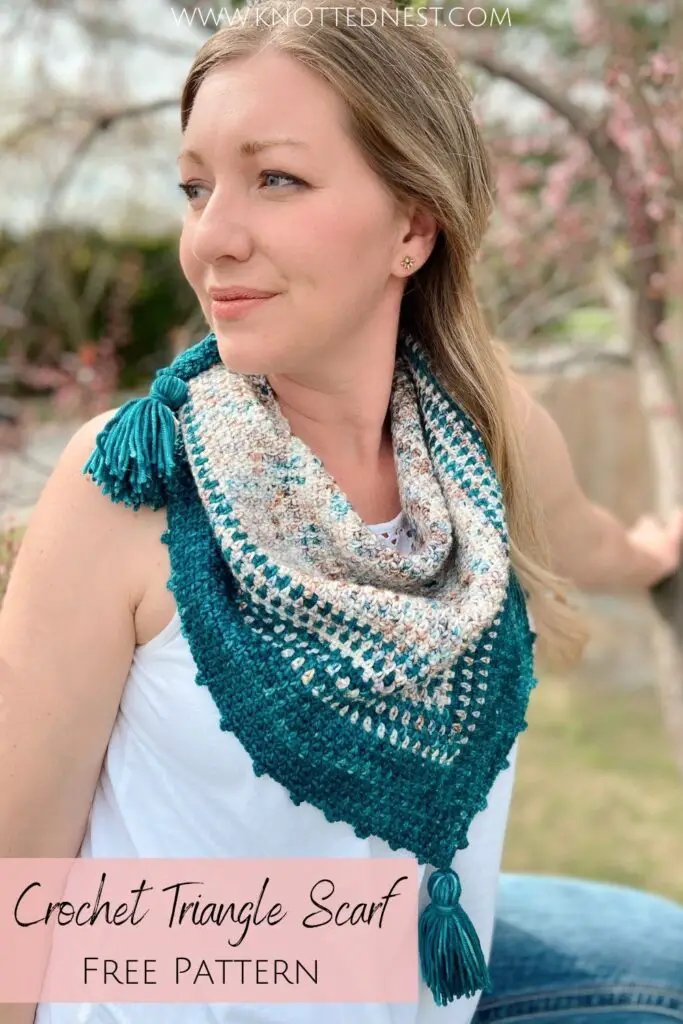
Brooklyn Crochet Triangle Scarf Free Pattern
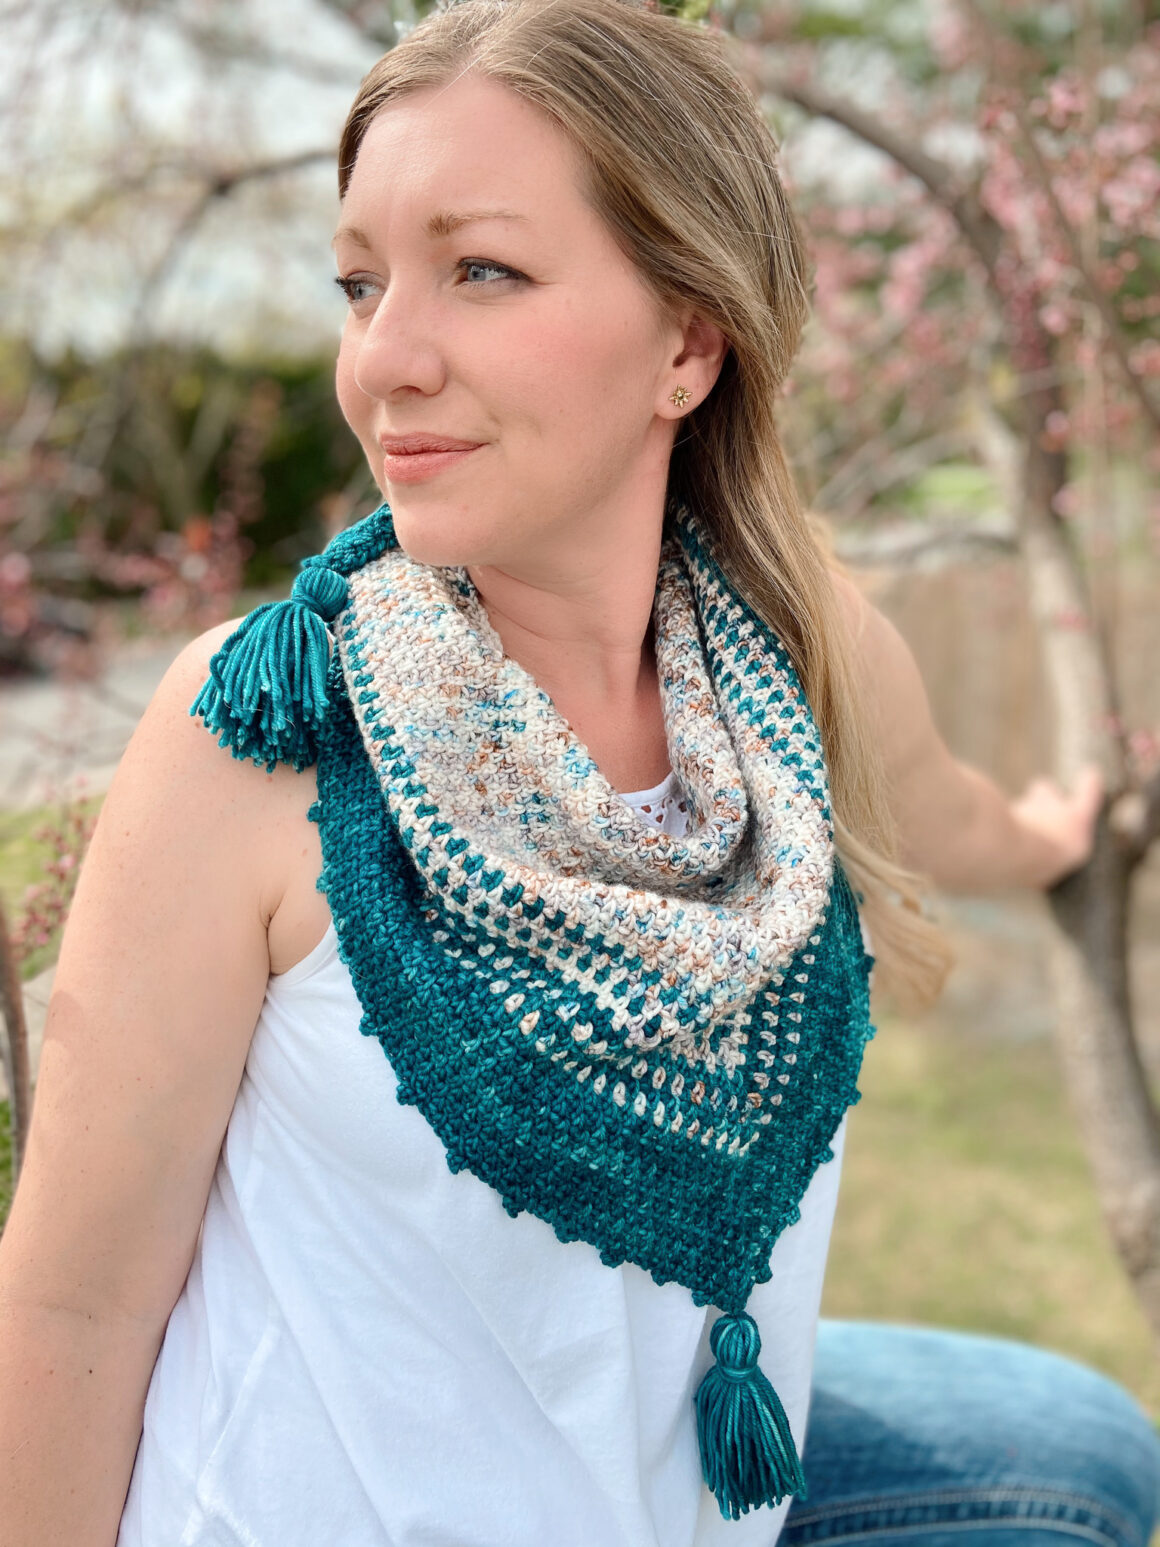
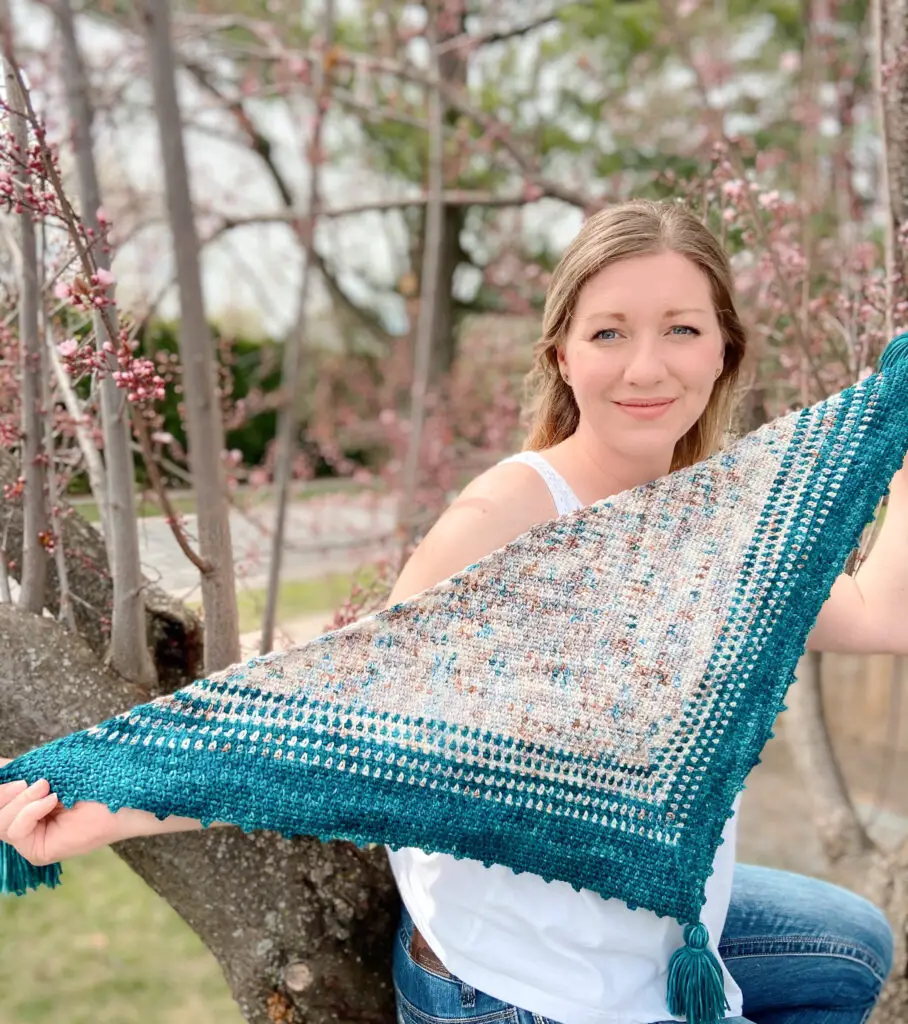
This crochet triangle scarf is a quick and easy accessory to make for yourself or give as a gift! Read on to find out more about the inspiration for this pattern (big hint: it’s the gorgeous yarn!) and the scarf’s construction or scroll on down for the free pattern.
Click here to pin this post for later!
The Inspiration
I’ve always been a huge fan of hand-dyed yarn, but for one reason or another, I have never actually designed a pattern to feature it. Then, this past Christmas, hubby treated me to a gift card for one of my favorite indie dyers – Sewrella Yarn- and I knew right away that I wanted to design something to show off the masterpiece that is hand-dyed yarn!
Probably the biggest barrier to using hand-dyed yarn for most people is the cost. It’s expensive (rightfully so! A huge amount of work and creativity goes into making it!). So I wanted to design a pattern that would get the most bang for your buck. Enter the Brooklyn Crochet Triangle Scarf. It only uses two skeins of DK weight yarn, but shows off the hand-dyed work of art in all its glory!
Since this crochet triangle scarf uses a color fade stripe pattern, you’ll want to choose two complimentary colors. Sewrella Yarn’s bi-monthly collections are great for this because they typically include combos of poured or speckled yarn and coordinating tonals. Perfect! (p.s. I’m not an affiliate, just a fan! haha!).
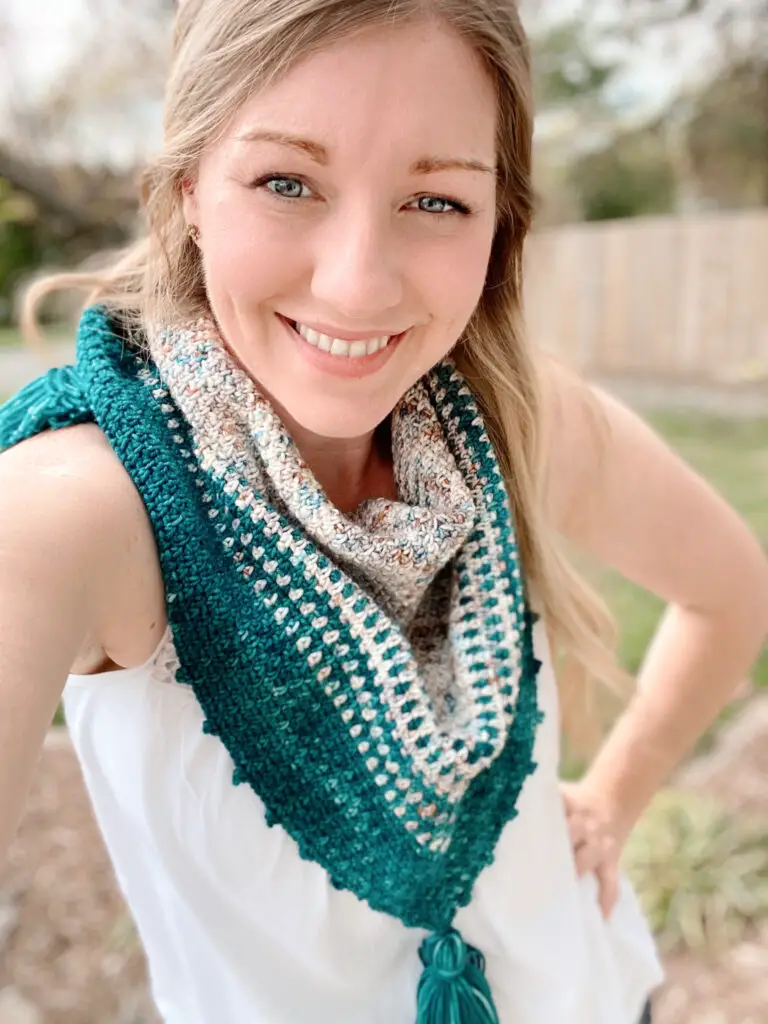
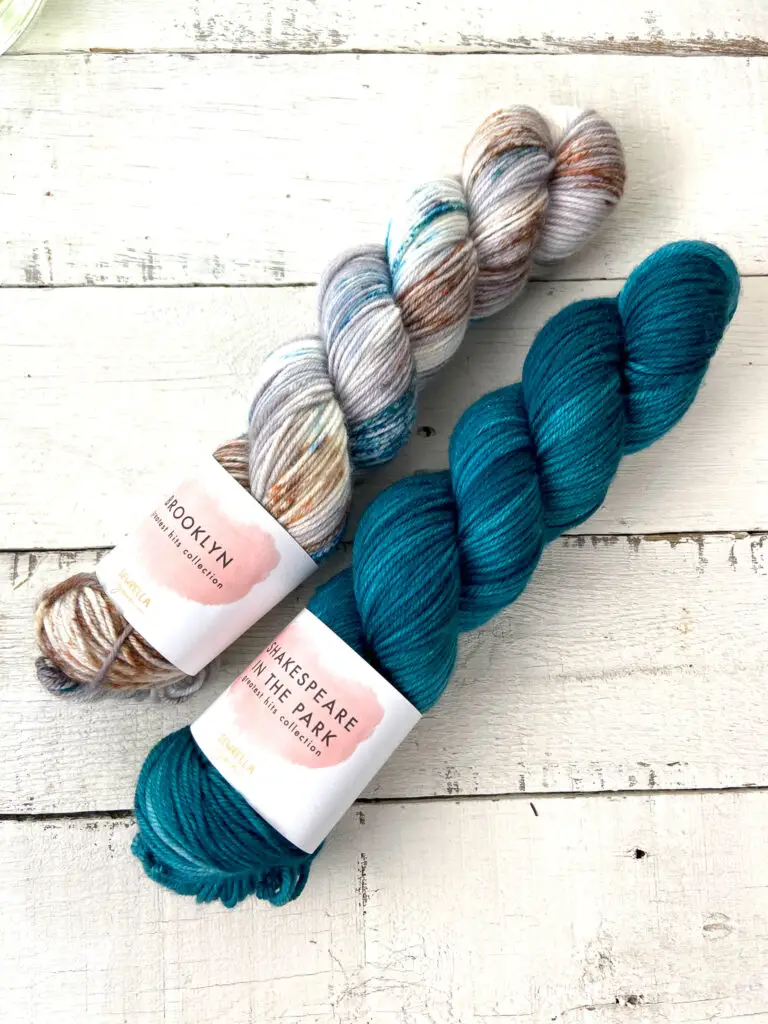
To keep this crochet triangle scarf light and drapey, I decided to go with the DK weight base in the colorways “Shakespeare in the Park” and “Brooklyn.” Unfortunately, these colorways are no longer available, but check out the Sewrella Yarn website to keep an eye out for the next collection. Or hit up your favorite indie dyer!
The Construction
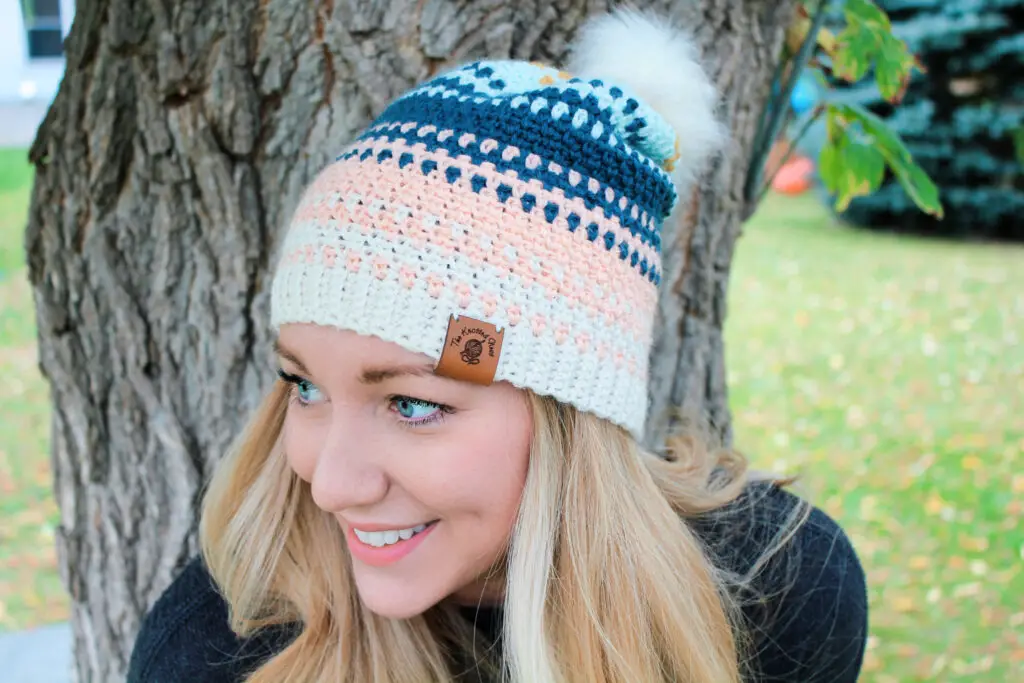
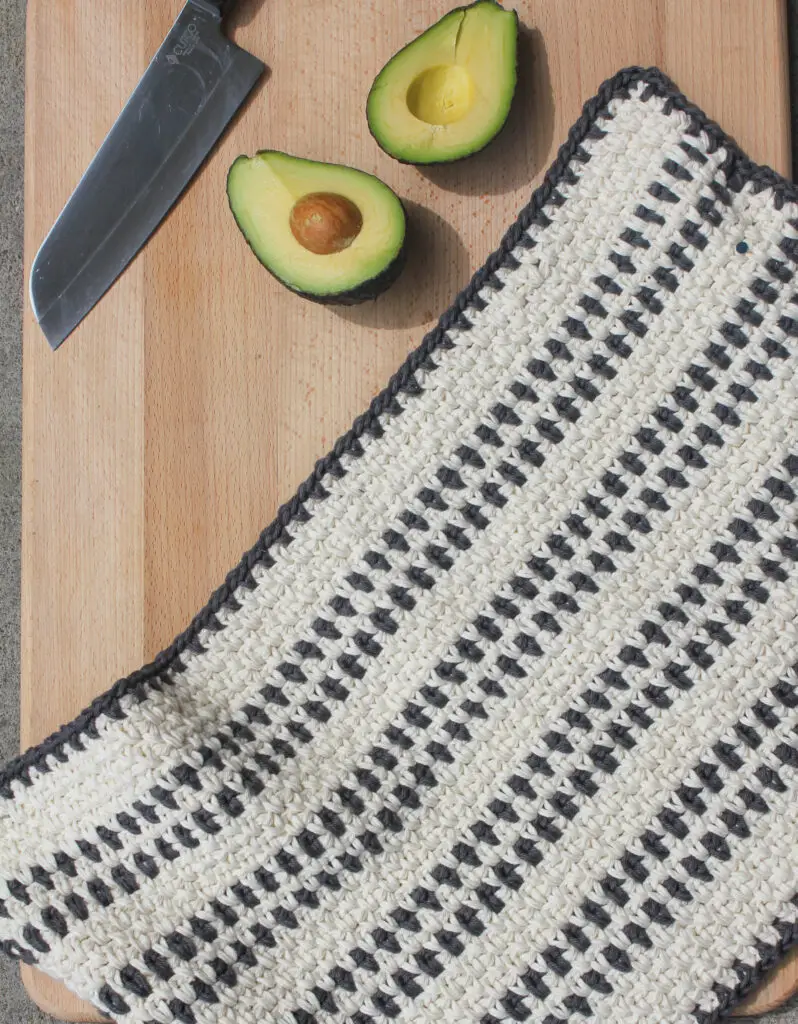
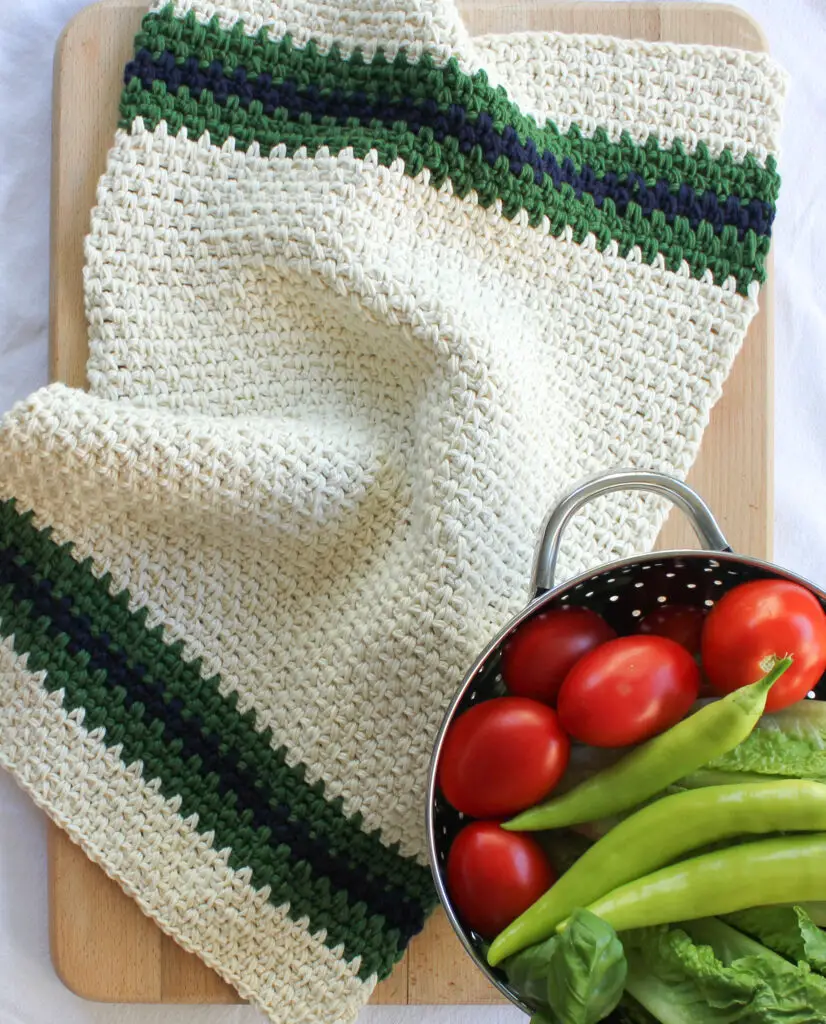
The Brooklyn Crochet Triangle Scarf uses one of my all time favorite crochet stitches – the moss stitch! I wouldn’t say I’m a one-trick pony, but if you poke around the blog a bit, you’ll definitely find several patterns using this stitch. The Color Fade Beanie, the Modern Farmhouse Dish Towel, and the Easy Striped Kitchen Towel come to mind!
The moss stitch is great because it’s super beginner friendly (it’s just scs and chs), it’s reversible, and it effortlessly turns simple stripes into something elevated and modern. I love it!
It can be a tight stitch though, so I sized way up to a J (6.00mm) hook for a finished product that drapes nicely around the neck.
I used about 460 yards of DK weight yarn to make a small, cowl-sized scarf, but you could easily expand this crochet triangle scarf to make a shawl or wrap by simply repeating the pattern for extra rows.
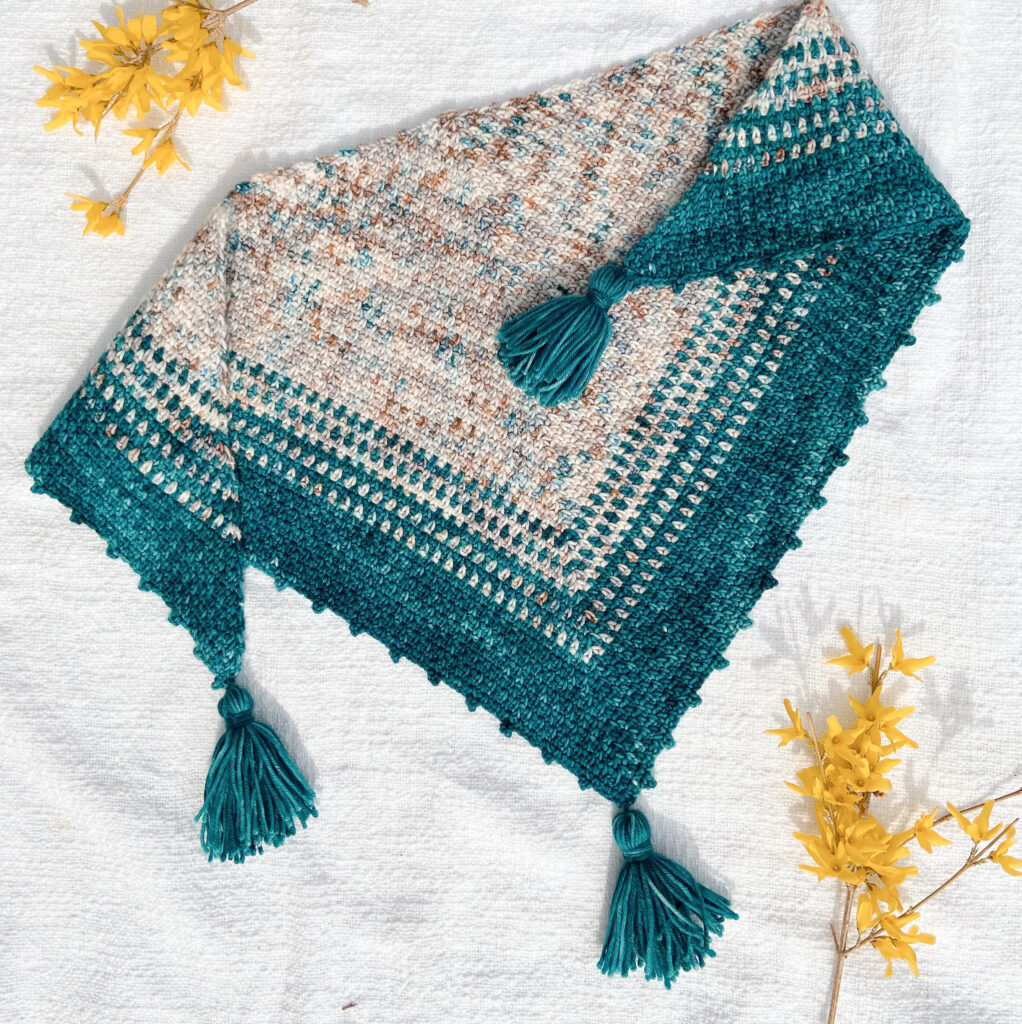
To finish it off (and because I can’t leave well enough alone, lol), I added a basic picot edging on the last row and whipped up some tassels to decorate each point of the triangle. The tassels are optional, of course, but I love the look!
Tips for Crocheting a Triangle Scarf
It can be a bit intimidating to crochet a triangle scarf for the first time. I remember being totally lost the first time I attempted it.
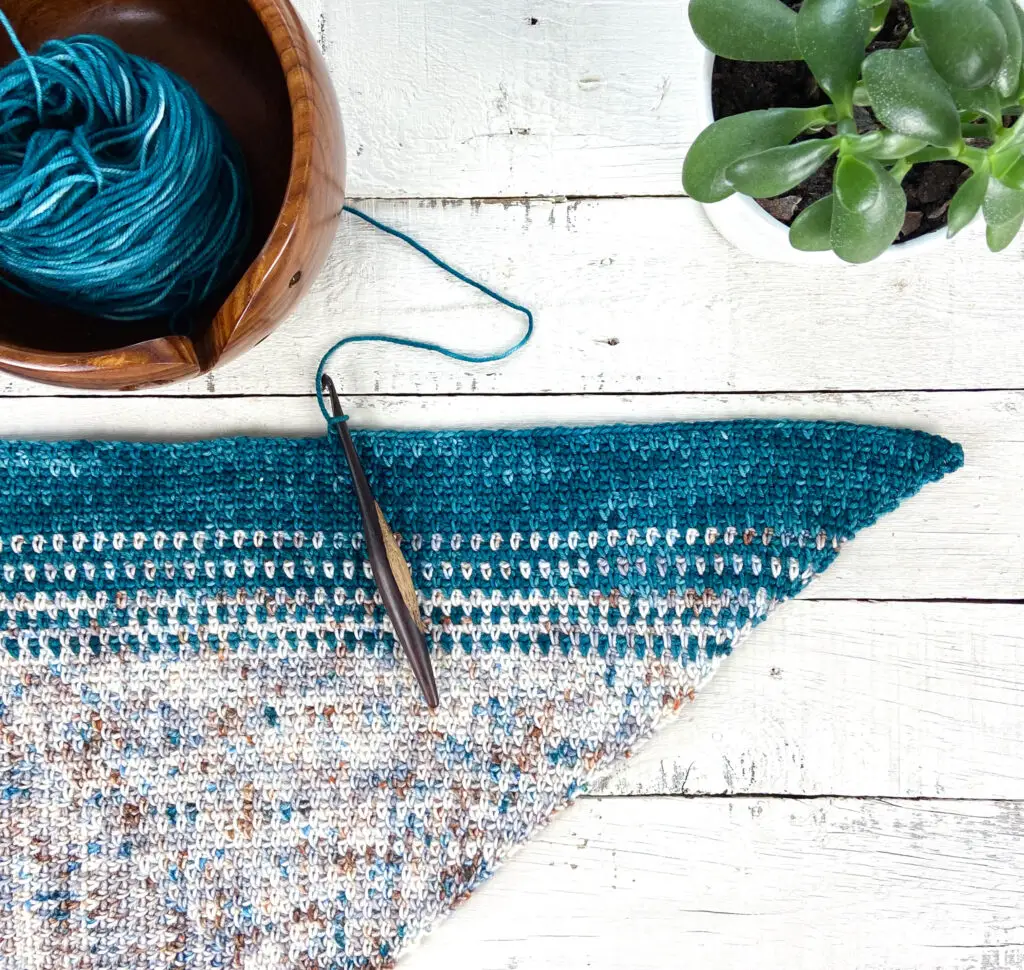
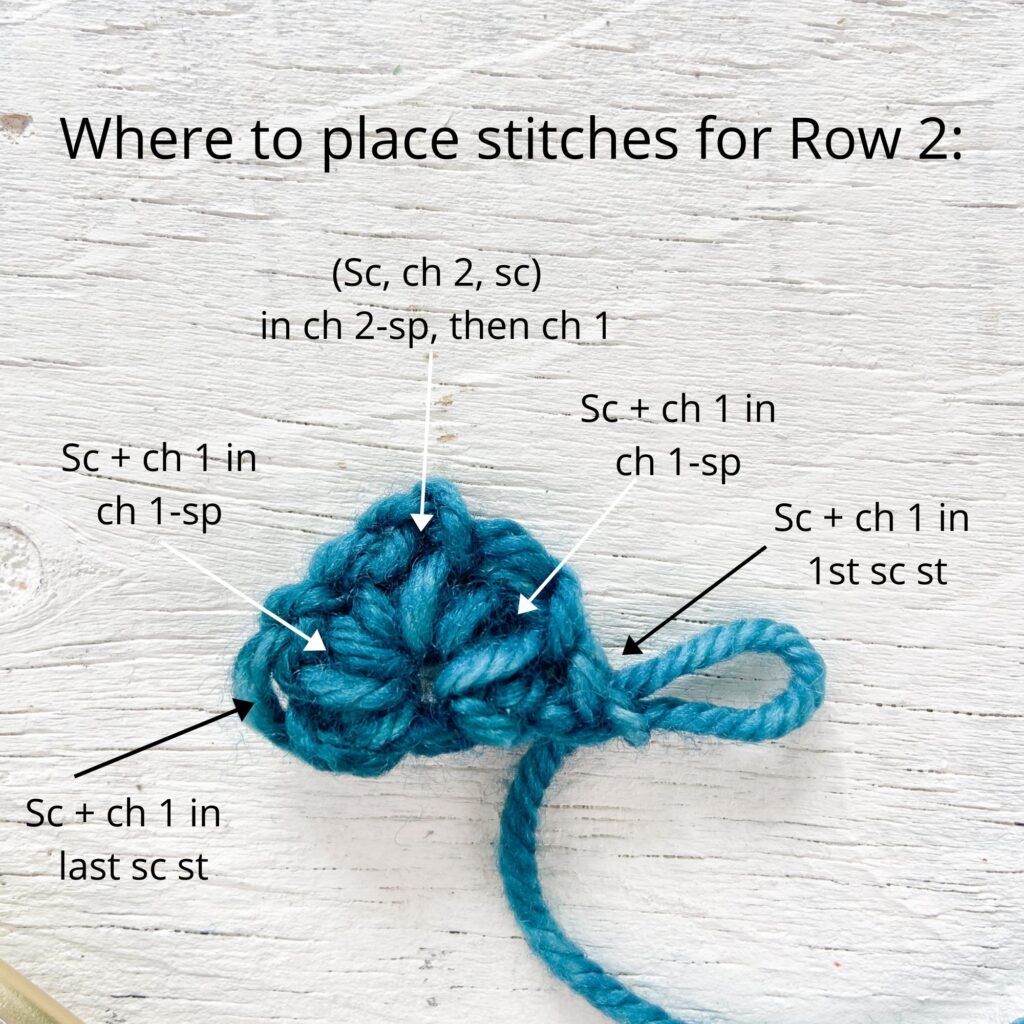
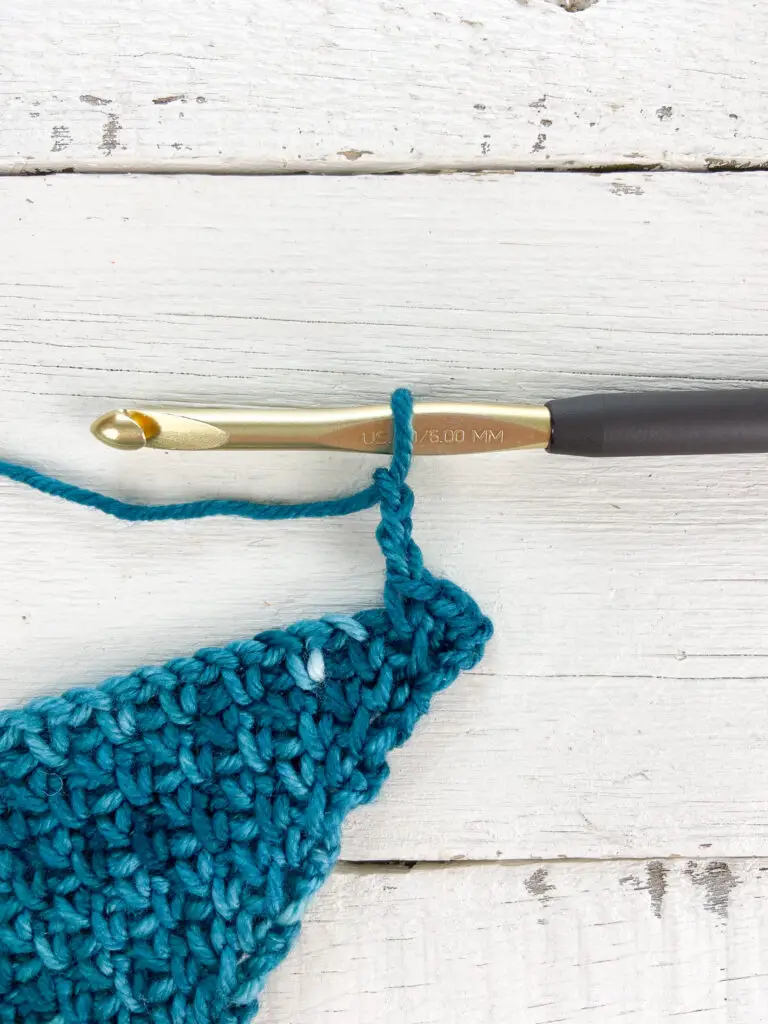
The basic idea is that you start by making a tiny triangle and work back and forth in rows, increasing at each end to expand the sides and grow your triangle. Your starting point will eventually become the middle of the long side of the triangle (aka the hypotenuse, if you remember middle school math, lol). The bottom point is formed by working (sc, ch 2, sc) in the same space for every row. I’ve included pictures to walk you through the first few rows (the semi-tricky part – it’s smooth sailing after you get going!).
If you prefer to print, an inexpensive, ad-free, printable version of this pattern is available on Etsy and Ravelry!
Click here to purchase this pattern on Etsy.
Click here to purchase this pattern on Ravelry.
Click here to Pin this pattern on Pinterest.
Brooklyn Crochet Triangle Scarf Free Pattern
SKILL LEVEL
Easy – Level 2: This pattern uses simple stitches (sc, ch), and requires some increasing and basic color changes.
MATERIALS
- Yarn: A total of 460 yards of DK weight yarn in two colors. I used Sewrella Yarn Classic DK (100% superwash merino wool, 231 yds/100g per hank) in the colors “Shakespeare in the Park” (color A) and “Brooklyn” (color B). Note that these colorways are from a one-time collection and are no longer available, but this pattern works with any DK weight yarn! My recs for substituting yarn are We Crochet’s Kindred yarn and Lion Brand Coboo. Both are soft, lightweight DK cotton blends.
- Size J (6.00mm) crochet hook.
- Scissors, Yarn needle
- (Optional for tassel) 8” tall book or piece of cardboard
DIMENSIONS
One size, adult – Scarf measures 37” x 17” as shown below . Size can be easily adjusted by adding or subtracting the number of rows.

GAUGE
11 sc,11 chs x 22 rows = 4” square using moss stitch.
NOTES
- This crochet triangle scarf is made starting at the top in the center. Then, you’ll work in turned rows to expand the size.
- Pay close attention to the increases at the beginning and end of each row. This is often where the sides become uneven.
- You will always make a sc in the first and last sc stitch of the row (these are your increases). All other stitches will be made in the chain 1 spaces.
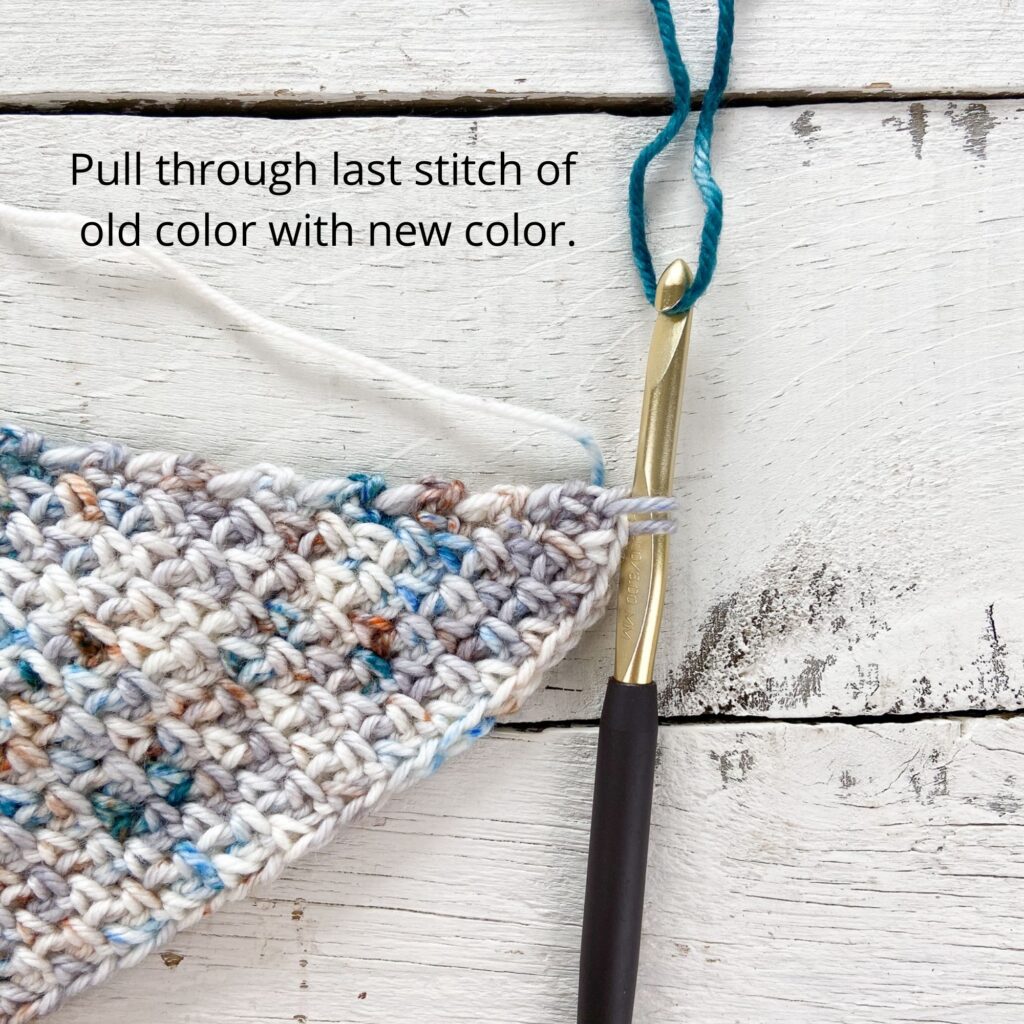
- To change color, work the last yarn over of the last stitch of the row with the new color.
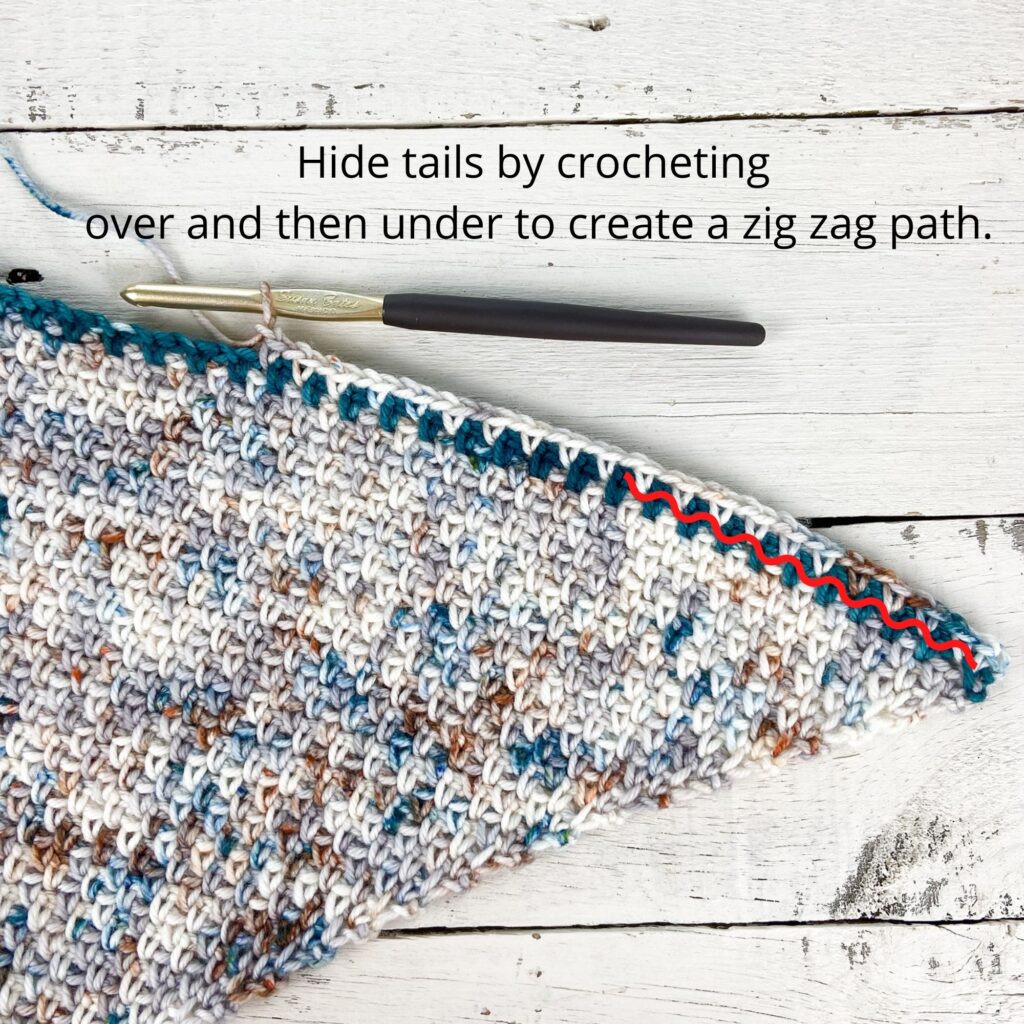
- Optional tip for weaving in color change ends: Wrap the tails of A and B around to the back of your work so that they lay on top of the row you are about to crochet into. Crochet over the tails when working this row. Then, for the NEXT row, when you reach the crocheted-over tails from the color change, insert your hook under the tails to work each SC. This creates a zig-zag path for the tails and should keep them nice and secure without having to weave them in later!
- The Ch 1 turning chain does NOT count as a stitch.
- Tip: if you want to add tassels, make them before you start the pattern so you can be sure you won’t run out of yarn if you choose to adjust your sizing (tassel instructions included).
- Pattern written in US terms.
- Special stitches:
- Moss stitch – a repeat of sc and ch 1, with the scs worked into the ch 1- sp of the previous row. Find a tutorial for the moss stitch here or see the pattern for explanation.
- Picot – in this pattern, a picot is: sc, ch 3, and then sl st back into the sc you just made. I prefer to sl st into the front loop and left leg of the sc, but you can also just sl st into both loops of the sc as usual.
- Abbreviations:
- ch = chain
- sc = single crochet
- sl st = slip stitch
- sp = space
- st =stitch
PATTERN
Ch 3 with color A. Sl st in 1st ch to form a ring. Tip: alternatively, you can start with a magic circle.
Row 1: Ch 1, working in the ring you just formed, work 1 sc, ch 1 (1 sc, ch 2, 1 sc) (<- this will form the “point” of the triangle), ch 1, 1 sc. Turn.

Note: I used my color B for the step-by-step pictures for Rows 1 – 3 (it’s easier to see the stitches in this color), but you should use your color A for these Rows.
Row 2: Ch 1, sc in the very first sc st (this is the increase), ch 1, sc in the next ch 1-sp, ch 1, (sc, ch 2, sc) in ch 2-sp, ch 1, sc in next ch 1-sp, ch 1, sc in the last sc st (this is the other increase). Turn.
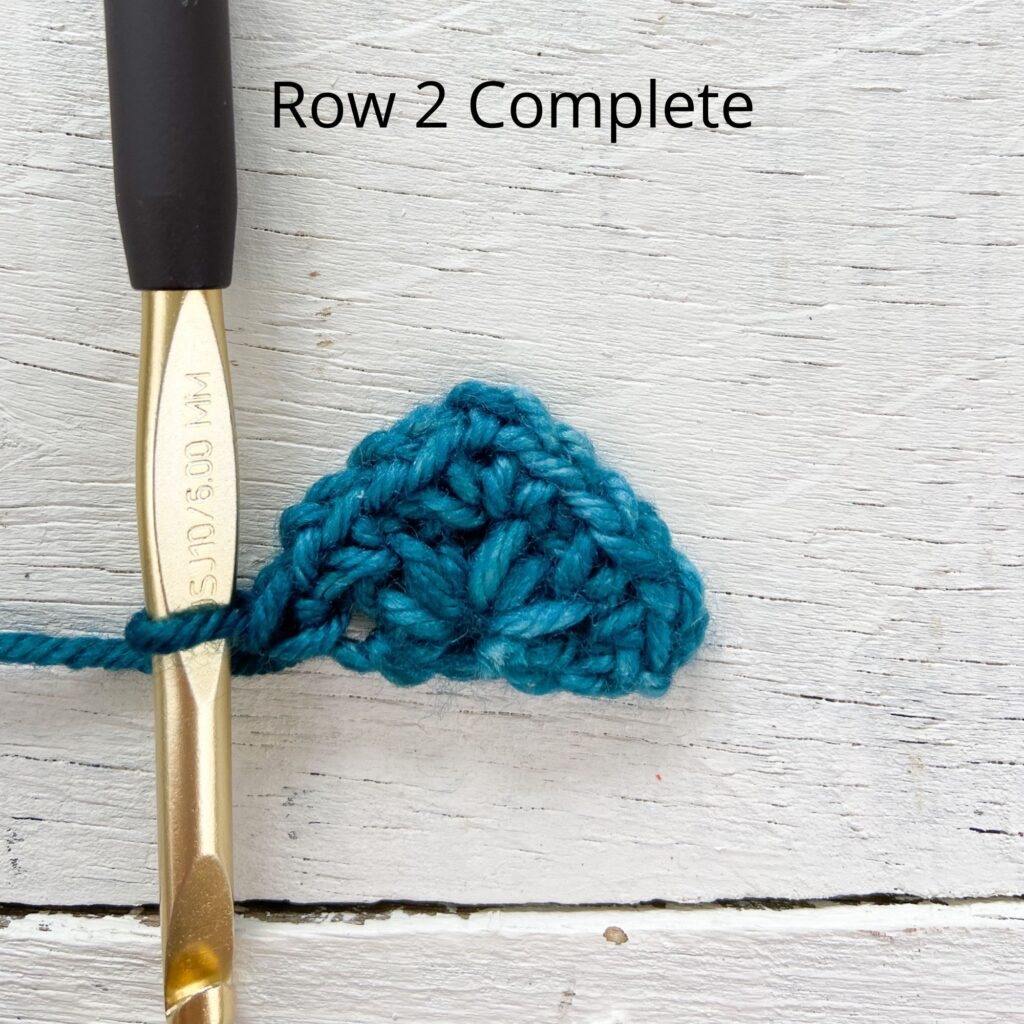
Row 3: Ch 1, sc in first sc st, ch 1, sc + ch 1 in each ch 1-sp until you come to the point, (sc, ch 2, sc) in the ch 2-sp of the point, ch 1, sc + ch 1 in each ch 1-sp until you come to the last st, sc in the last sc st. Turn.
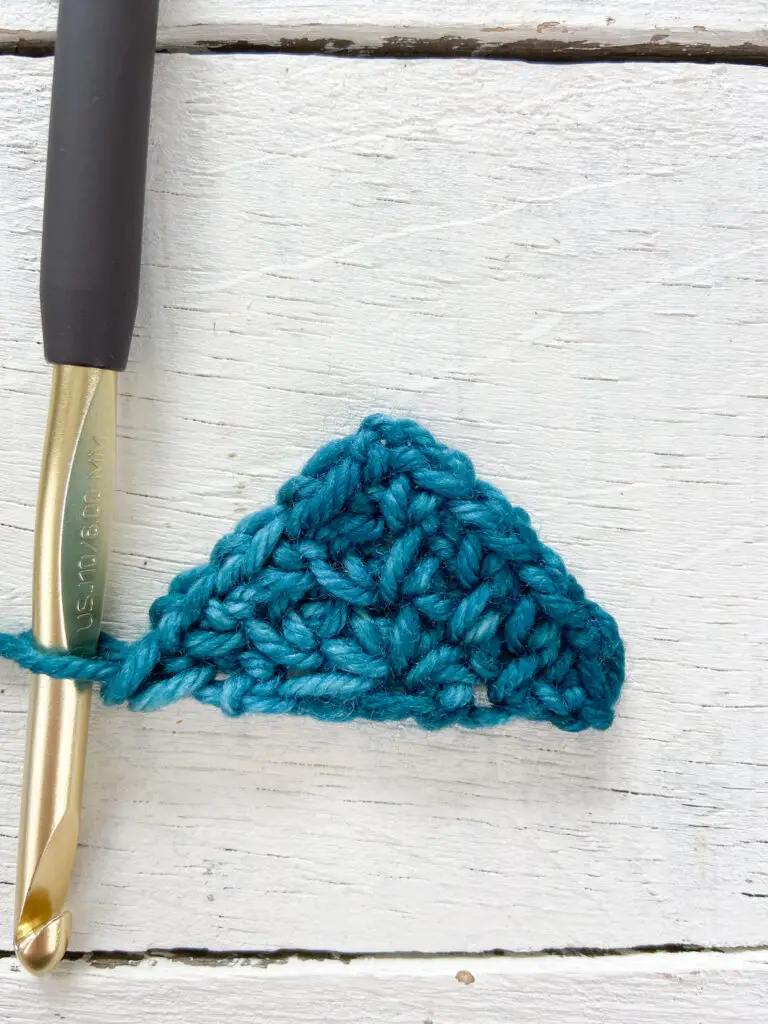
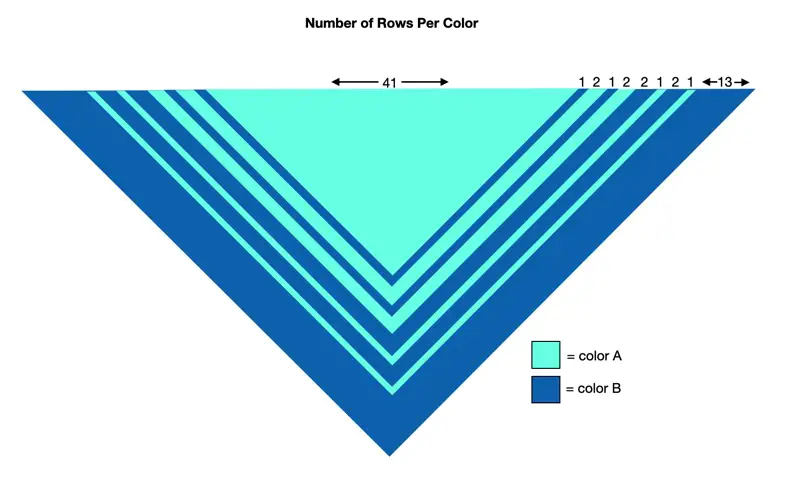
Repeat Row 3, changing colors as follows (also see color change chart below):
Rows 4 – 41: Color A.
Row 42: Color B.
Rows 43 & 44: Color A.
Row 45: Color B.
Rows 46 & 47: Color A.
Rows 48 & 49: Color B.
Row 50: Color A.
Rows 51 & 52: Color B.
Row 53: Color A.
Rows 54 – 65: Color B.
Edging
Row 66: Ch 1, sc in first sc st, ch 1, sc in first ch 1-sp, ch 3 and sl st into the sc you just made (this is a picot), *(do not chain) sc + ch 1 in next ch 1-sp, sc + ch 1 in next ch 1-sp, sc + picot in next ch 1 -sp*,
Ch 3 to make the first picot. 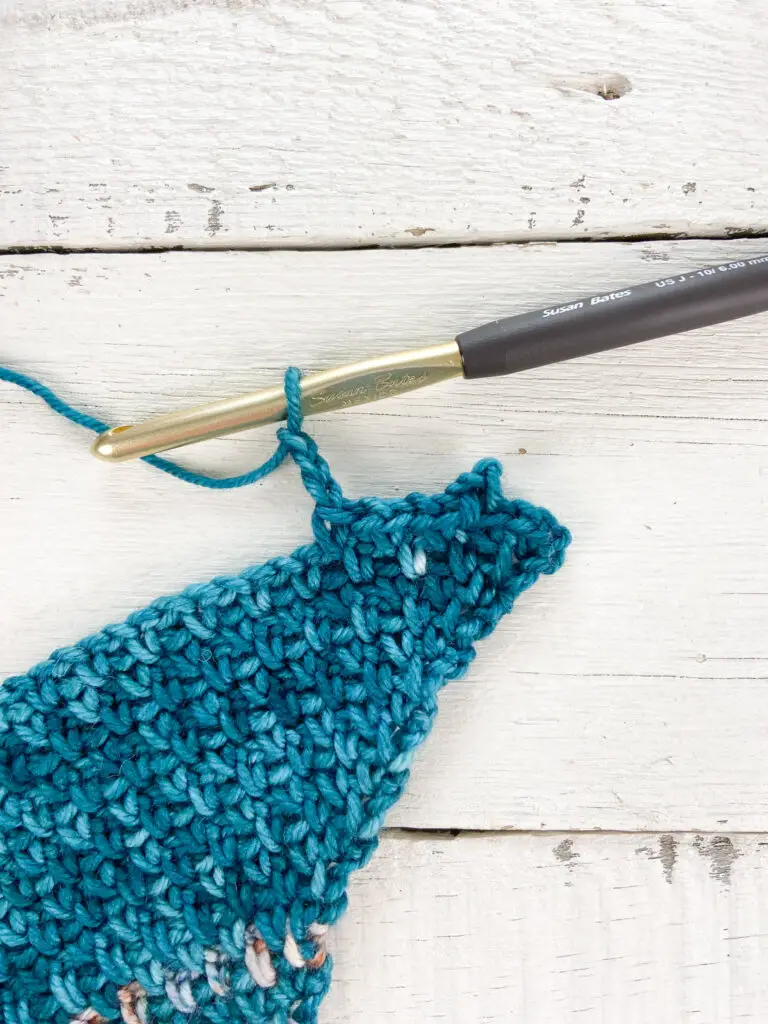
repeat between * * until you reach the ch 2-sp at the bottom point (you should have just made the first sc + ch 1 of the repeat when you reach the ch 2-sp),
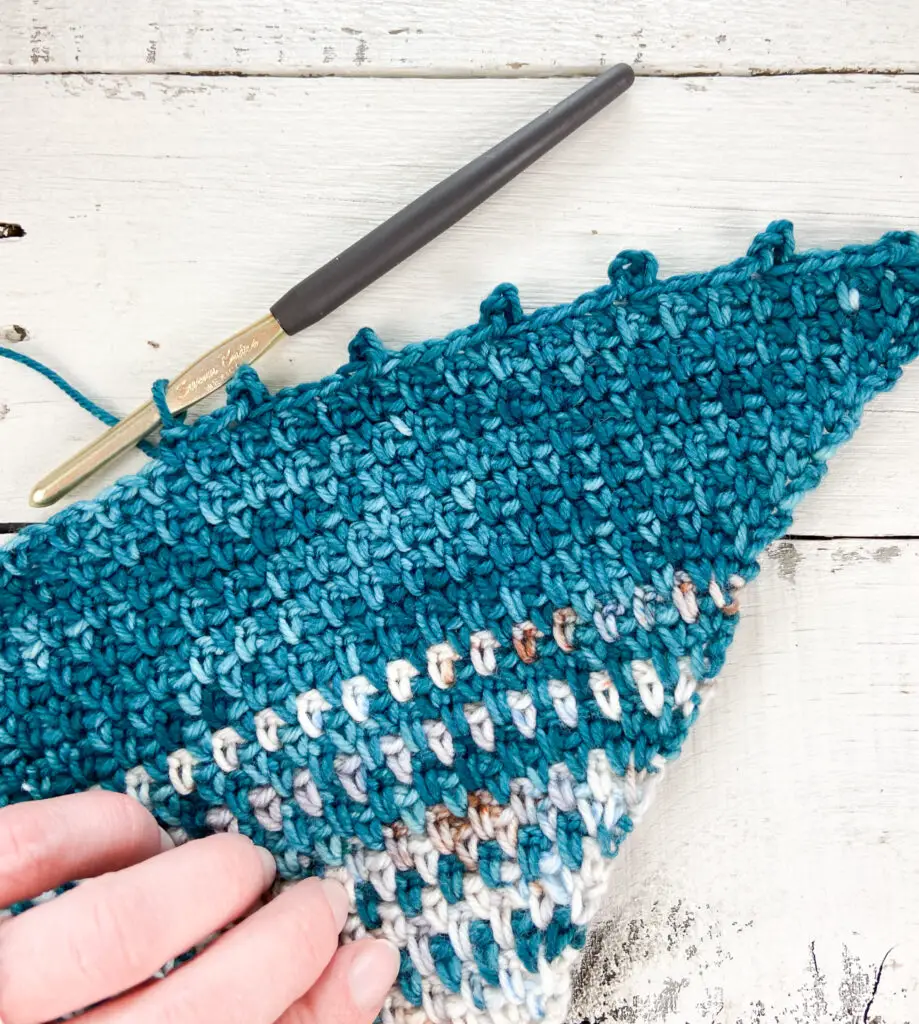
(sc, ch 2, sc) in the ch 2-sp,
ch 1, sc + ch 1 in the next ch 1-sp, sc +picot in the next ch 1-sp, repeat between ** until you reach the end of the second side.
Fasten off and weave in ends and you’re finished! See instructions below for making and attaching tassels.
Making and Attaching Tassels
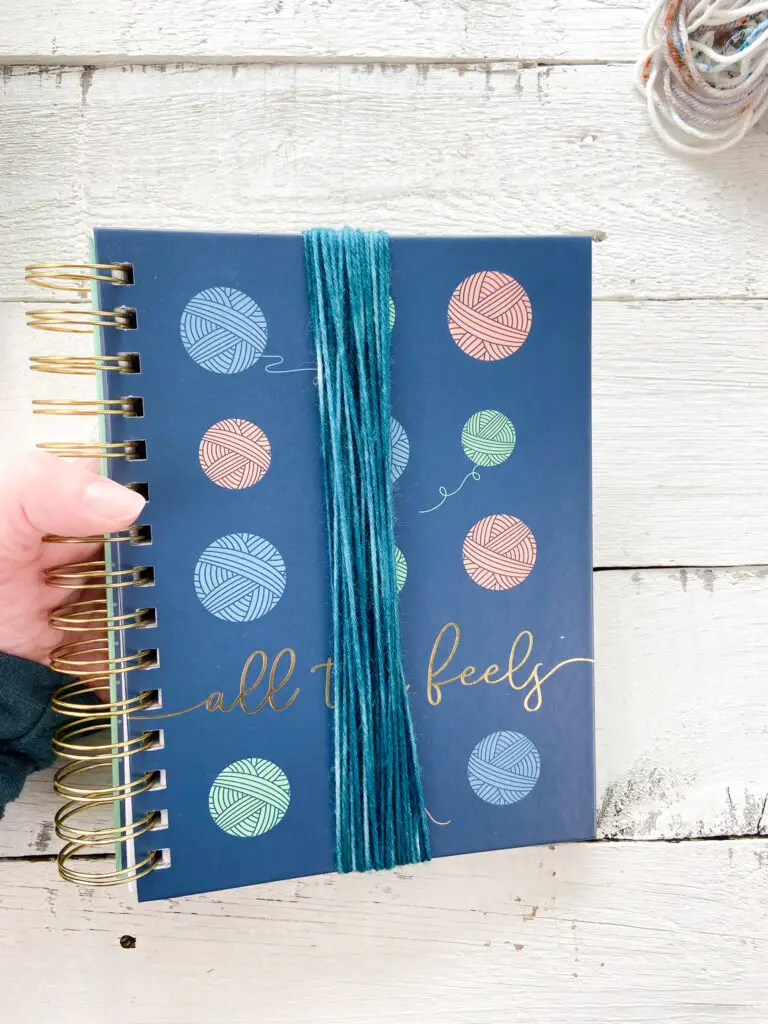
- Wrap color B (or your choice of yarn) around an 8” tall book or piece of cardboard 25 times.
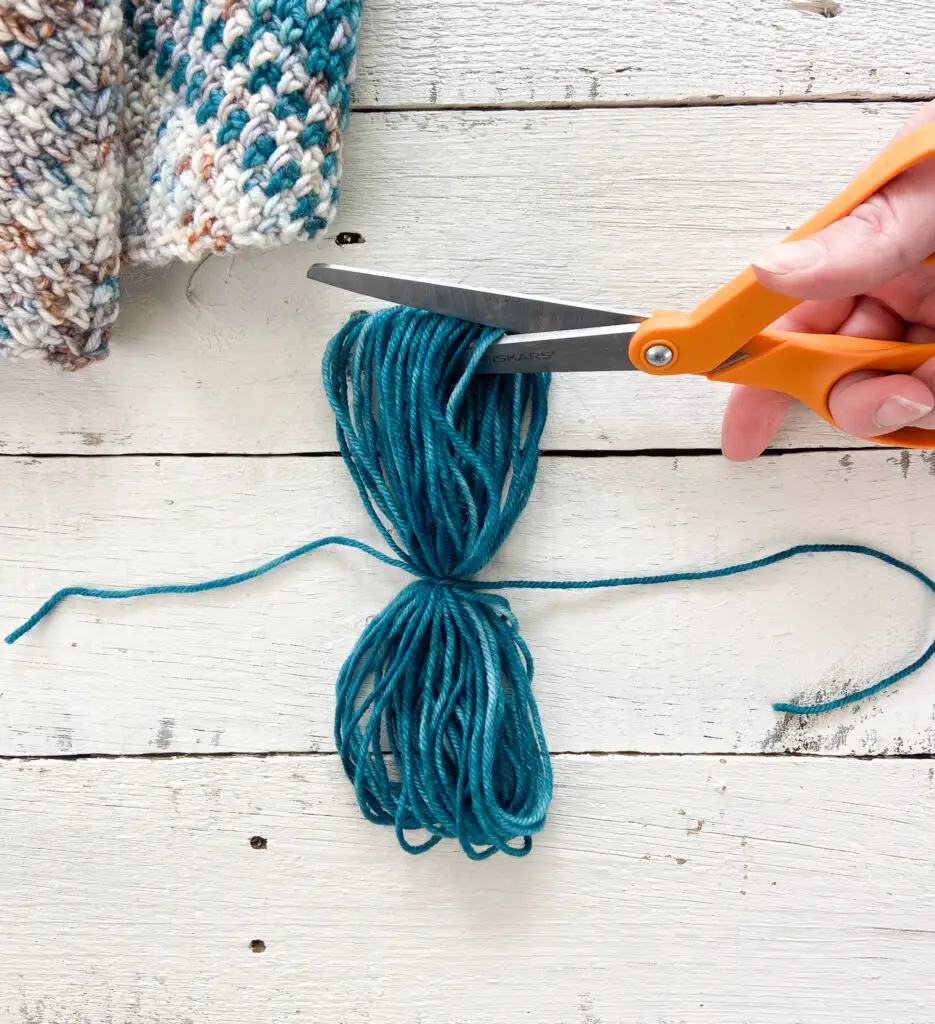
- Slide bundle of yarn off book and secure in the center with a 12” length of yarn (these tails will be what you use to attach the tassel to the scarf so make sure they are long enough). Use scissors to cut the loops of yarn at either end of the bundle.
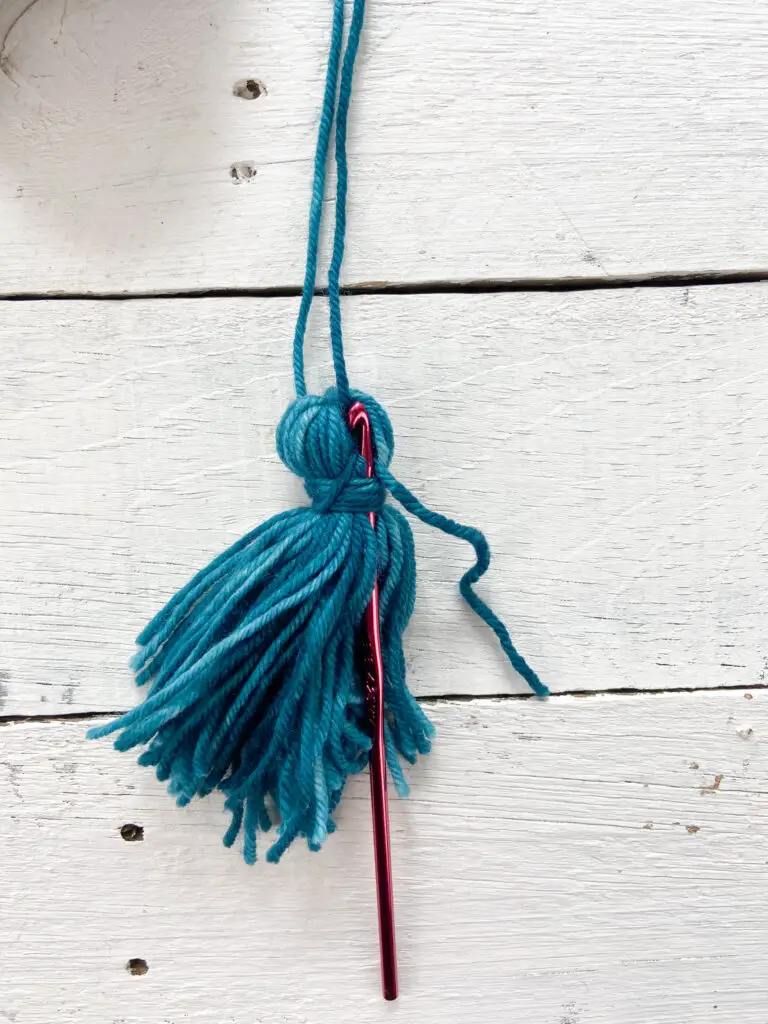
- Fold the bundle in half at the center and use another 12” length of yarn to tie around the folded bundle about ¾” from the top (the “top” is where you tied the first piece of yarn). I like to make the tails uneven on this tie and use the long tail to wrap around the bundle several times.
- You can then use a small crochet hook to reach up under the wraps you just made and pull the remaining tail under the wraps and out the bottom. It should just blend into the rest of the tassel.
- If needed, trim the bottom of the tassel so it’s even.
- Make 3 tassels using the above method and use the tails to tie one at each point of the triangle. Weave in any ends and enjoy your new scarf!

I hope you enjoyed this pattern! Tag me on Instagram @theknottednest and use the hashtag #brooklyntrianglescarf to share your project! If you’re interested in hand dying at home, check out my tutorials for naturally dying yarn with Black Beans and Mint!


Find more project ideas in the Patterns section here on the blog.
Happy making!