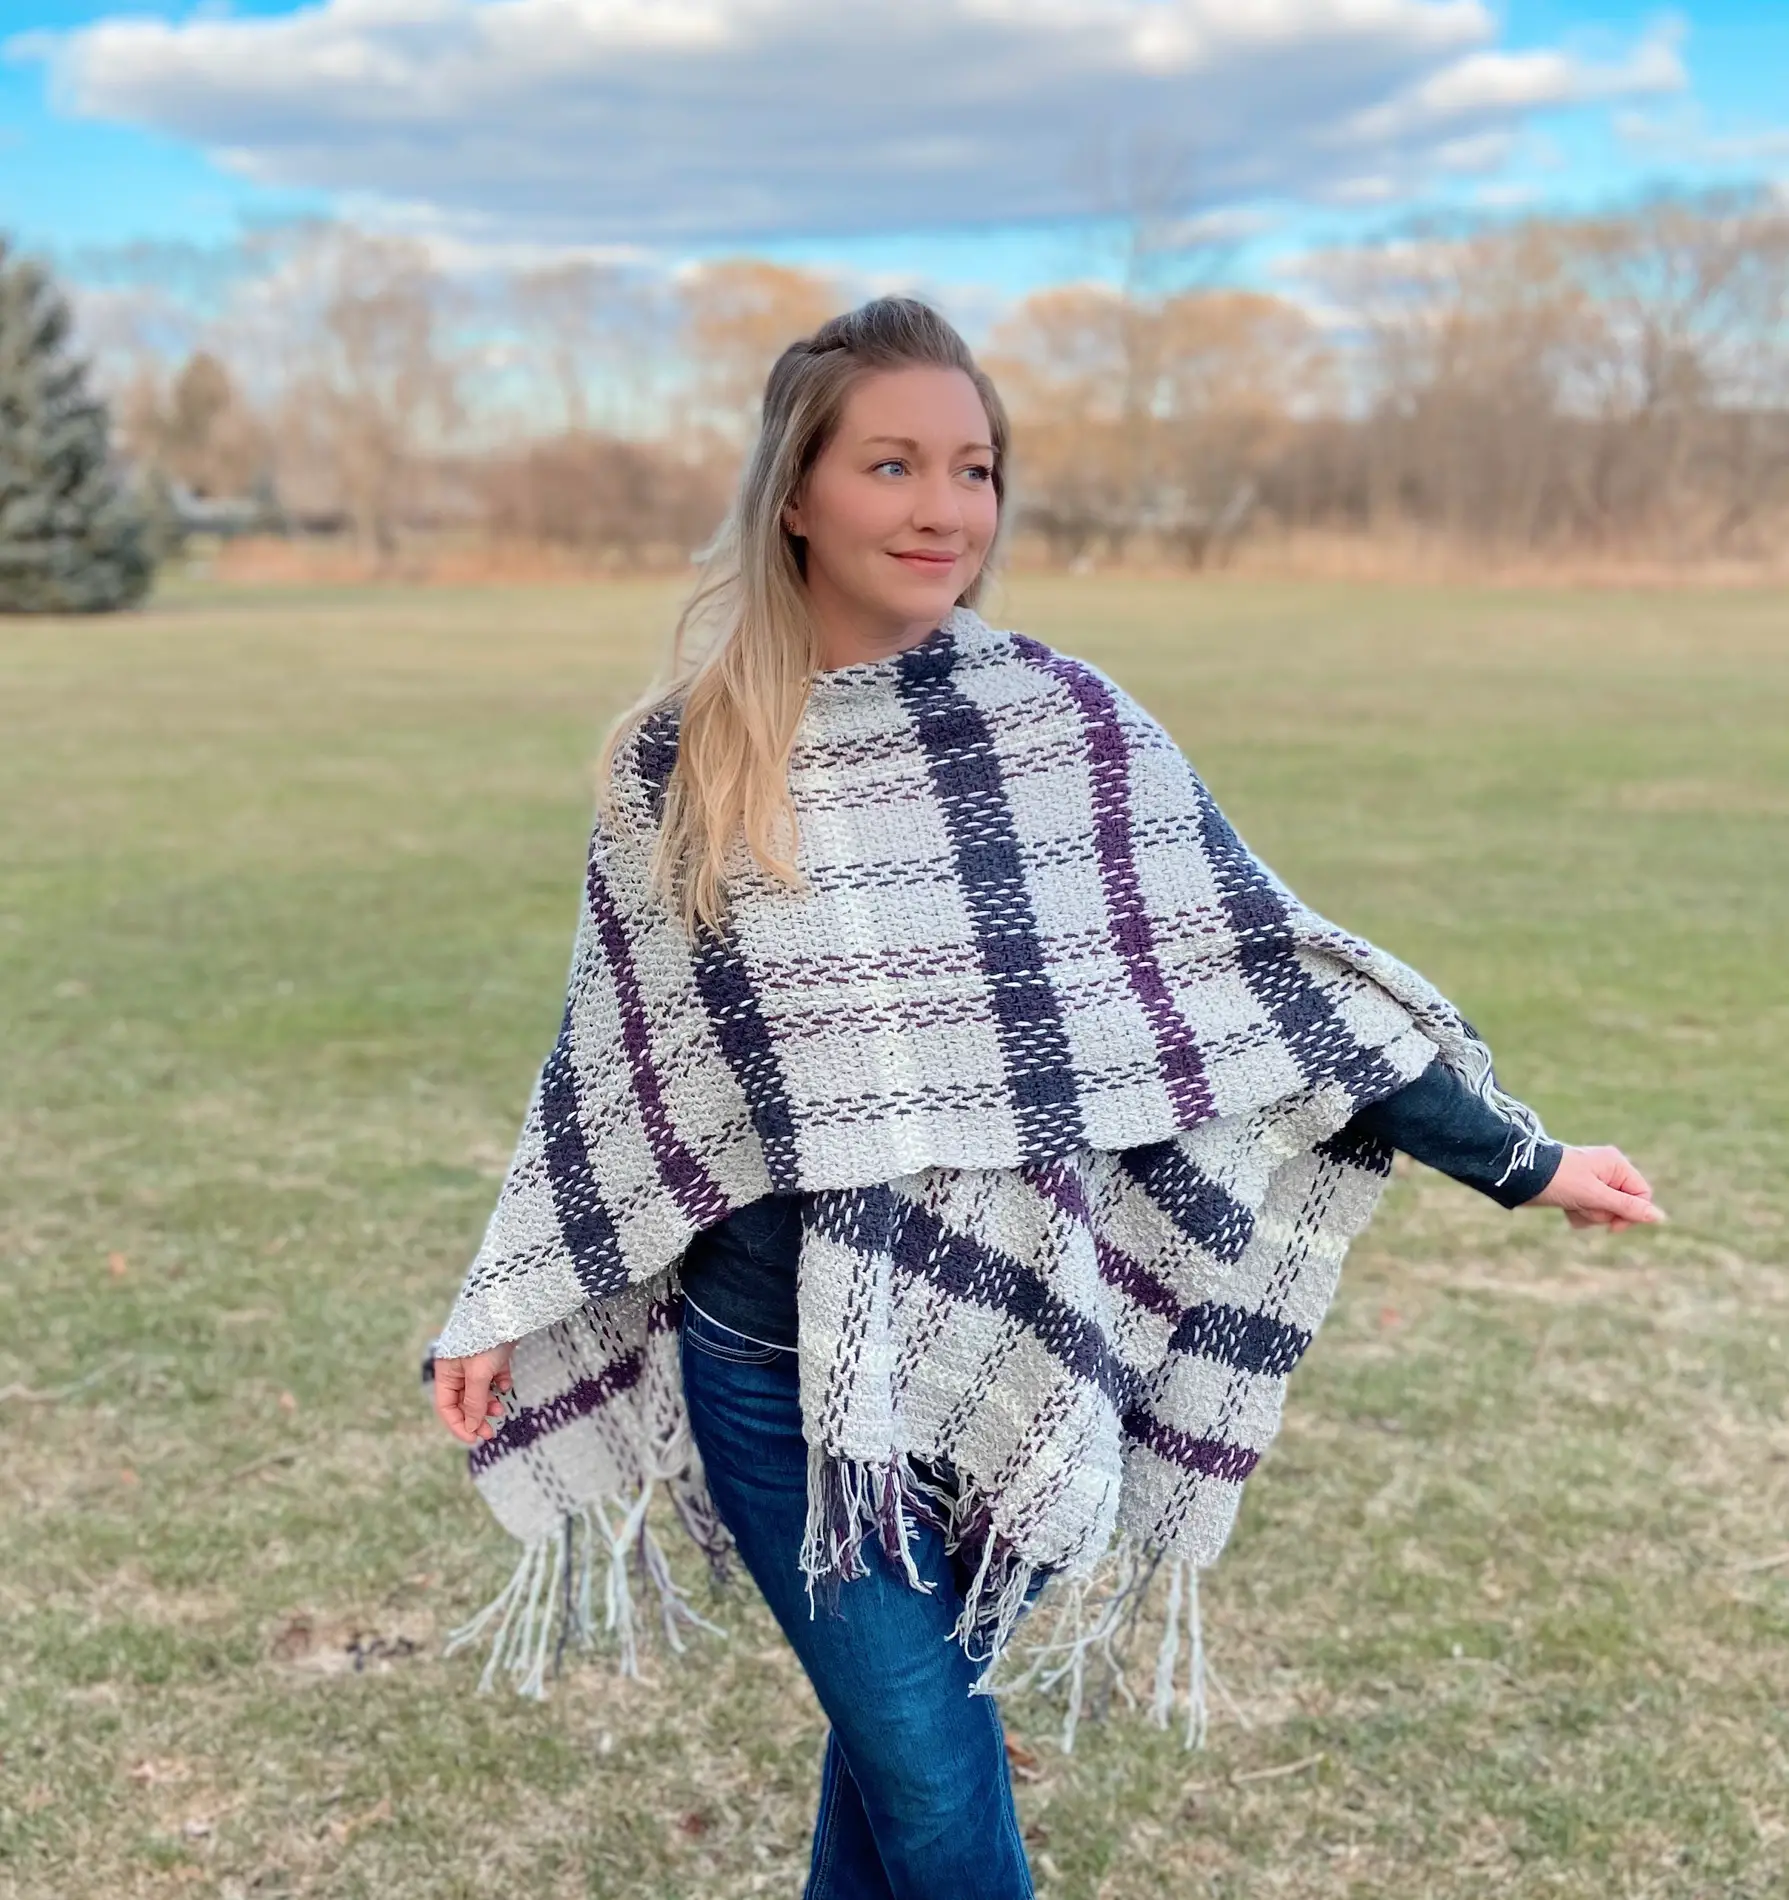
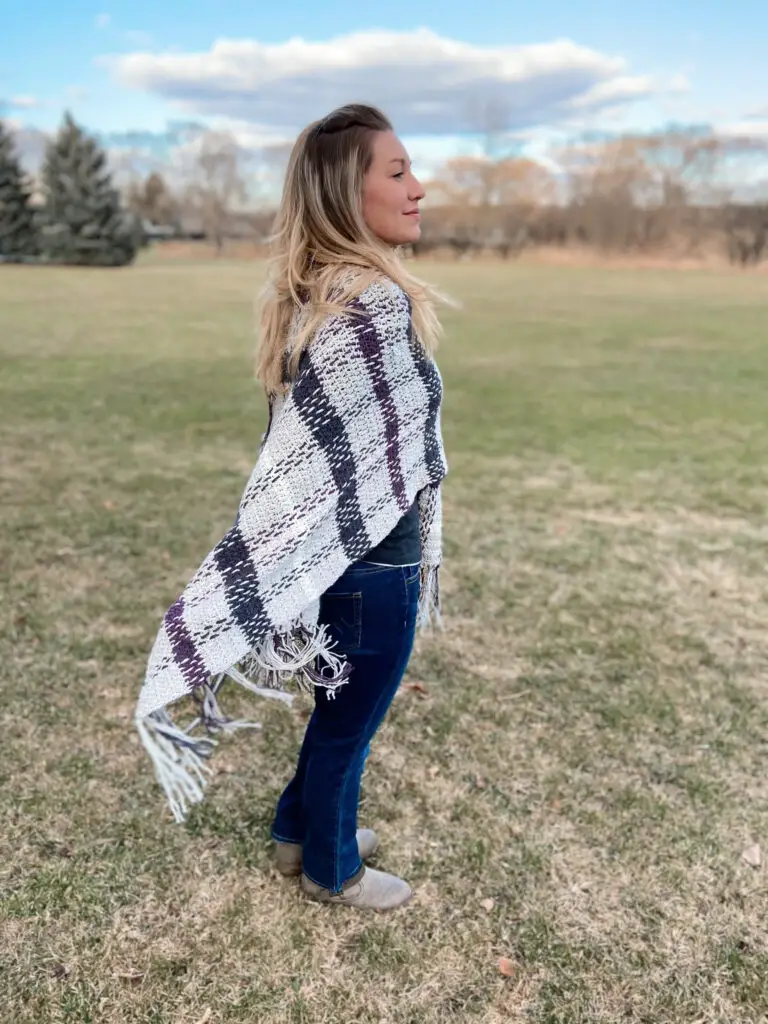
Spring Plaid Crochet Poncho Free Pattern
Crochet a poncho that is the ultimate “looks complicated, but is actually super easy” make!
Hi friends! I am so so excited to share that the Spring Plaid Crochet Poncho is this week’s featured pattern on the Furls Fiberart’s 2021 Blog Hop! If you aren’t familiar, it’s a year-long event highlighting some amazing designers and offering you a weekly free pattern featuring Furl’s unique line of yarn! I am so pumped that I got the opportunity to be a part of it!
This post may contain affiliate links, which means I may receive a small commission, at no extra cost to you, when you make a purchase. Please read my affiliate disclosure for more details.
The Inspiration
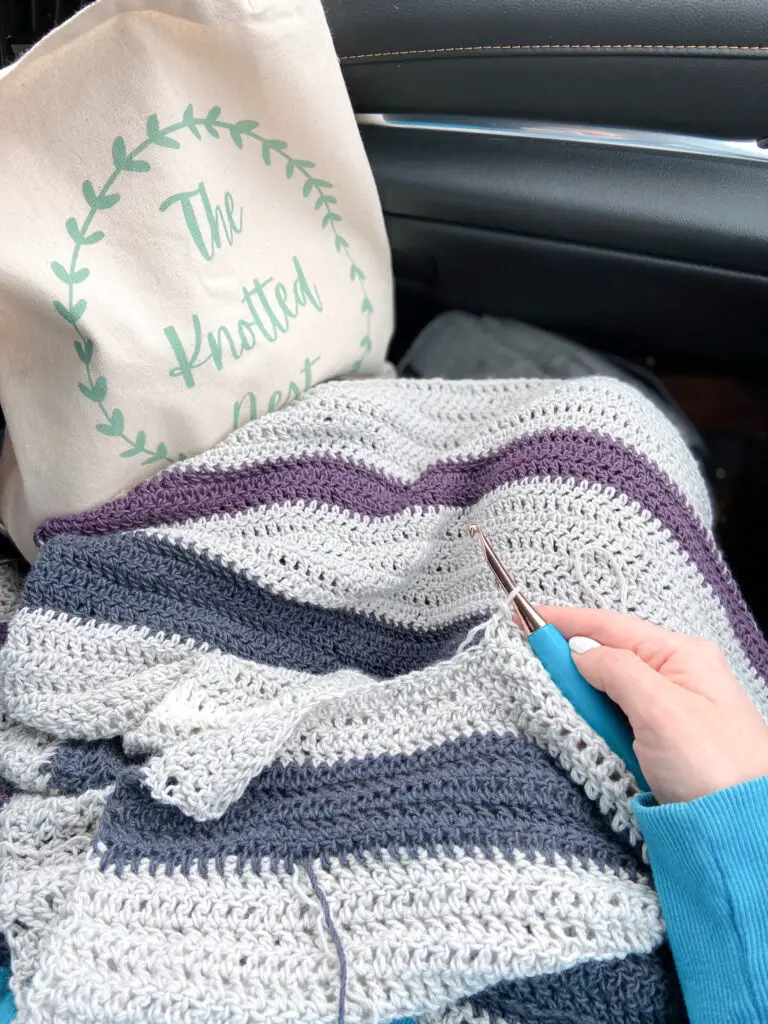
My goal for this design was a lightweight garment that you could easily throw on for an Easter brunch when the mornings are still chilly or while sitting around the first campfire of the year with friends (in my make believe scenarios, the pandemic is gone and social gatherings are a thing again! Everyone also ohhs and ahhs over your amazing creation, lol.)
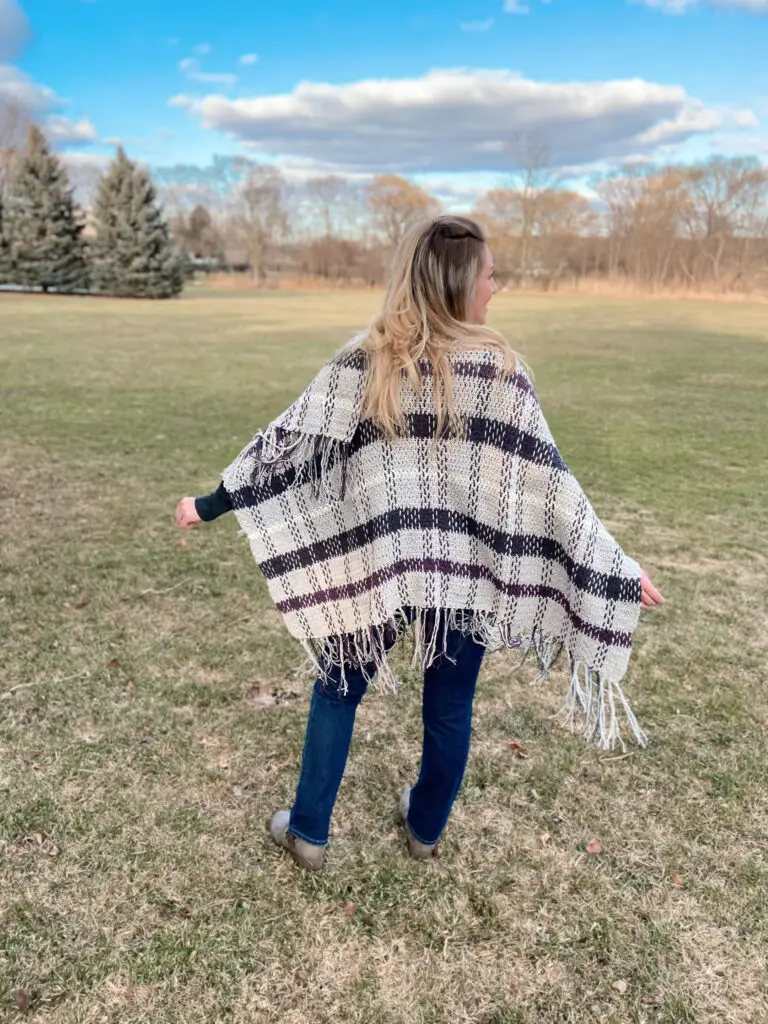
The Construction
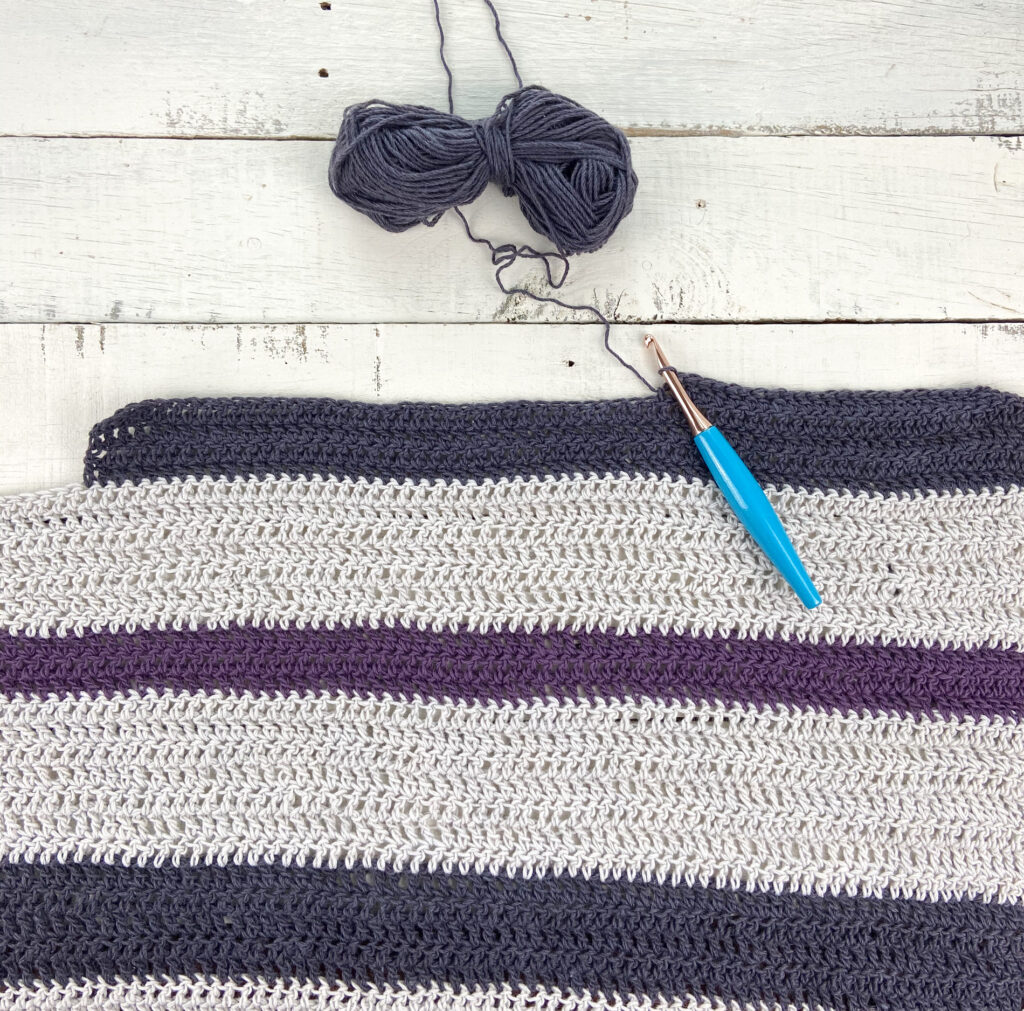
In my humble opinion, the BEST part of this crochet poncho is how simple it is to make! You’ll only need to know one stitch – double crochet! Some basic color changes and an easy weaving technique are all it takes to get a really dramatic result. The base of the poncho (horizontal stripes) is worked first, using just double crochet, and then the vertical stripes are weaved in between the stitches. Easy peasy!
Also check out my Magnolia Summer Cardigan if you’re a fan of super simple garments!
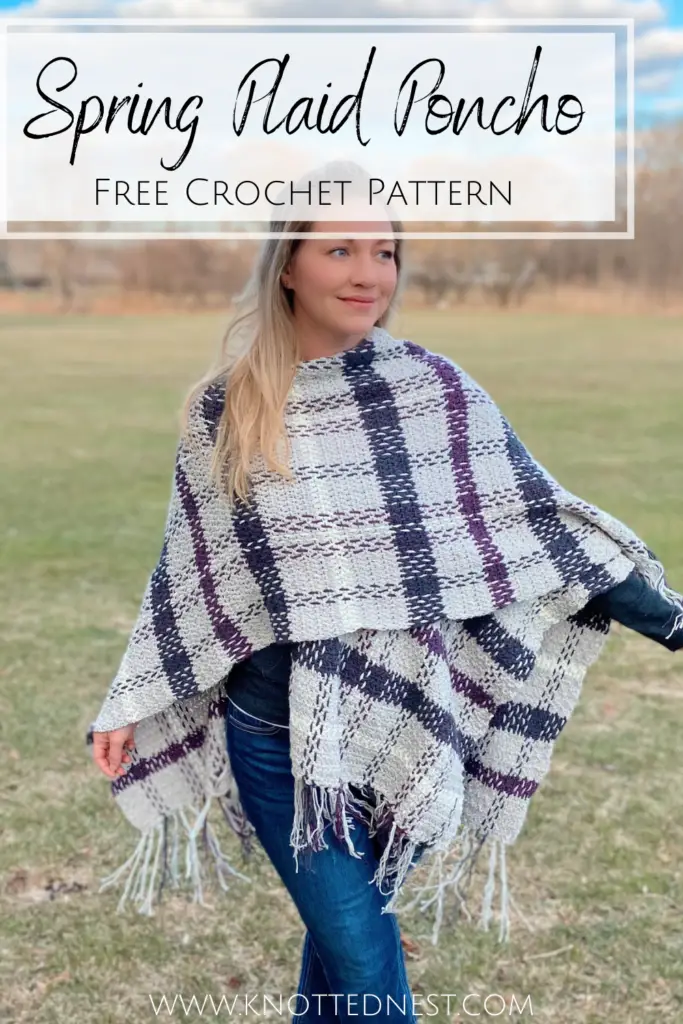
Click here to Pin this pattern for later!
The Materials
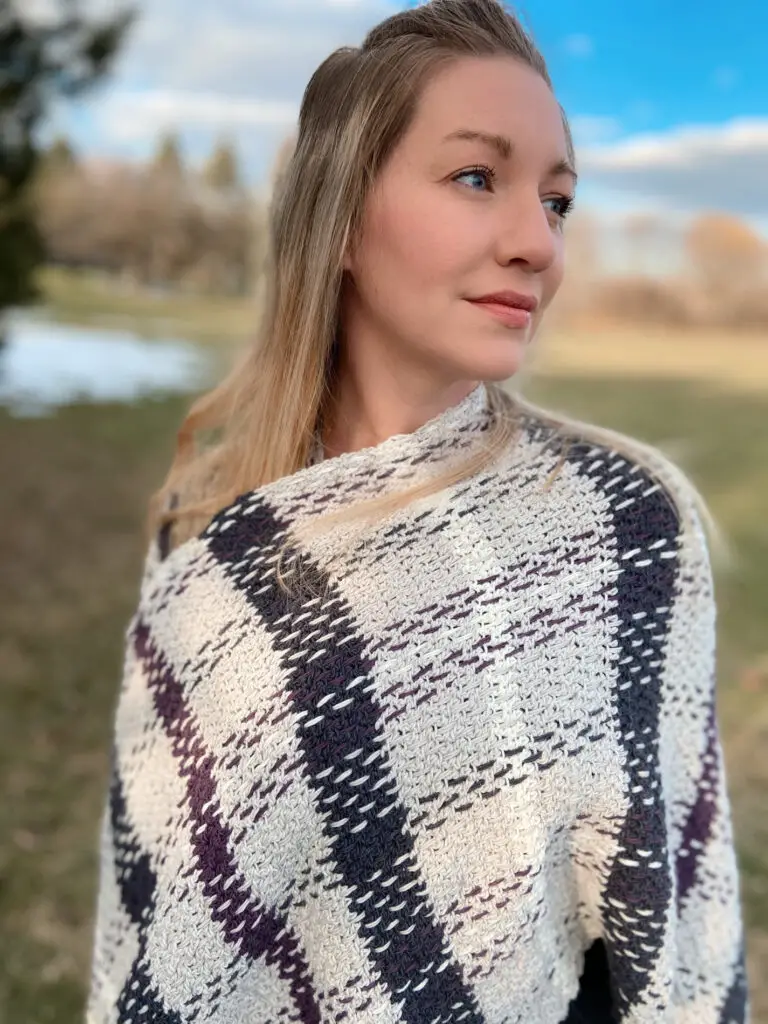
Back when the design for this poncho was just a vague idea rattling around in my brain, I knew I wanted a yarn that would be lightweight and drapey (it is a Spring design after all). So Furl’s Whims Merino DK yarn was a no-brainer!
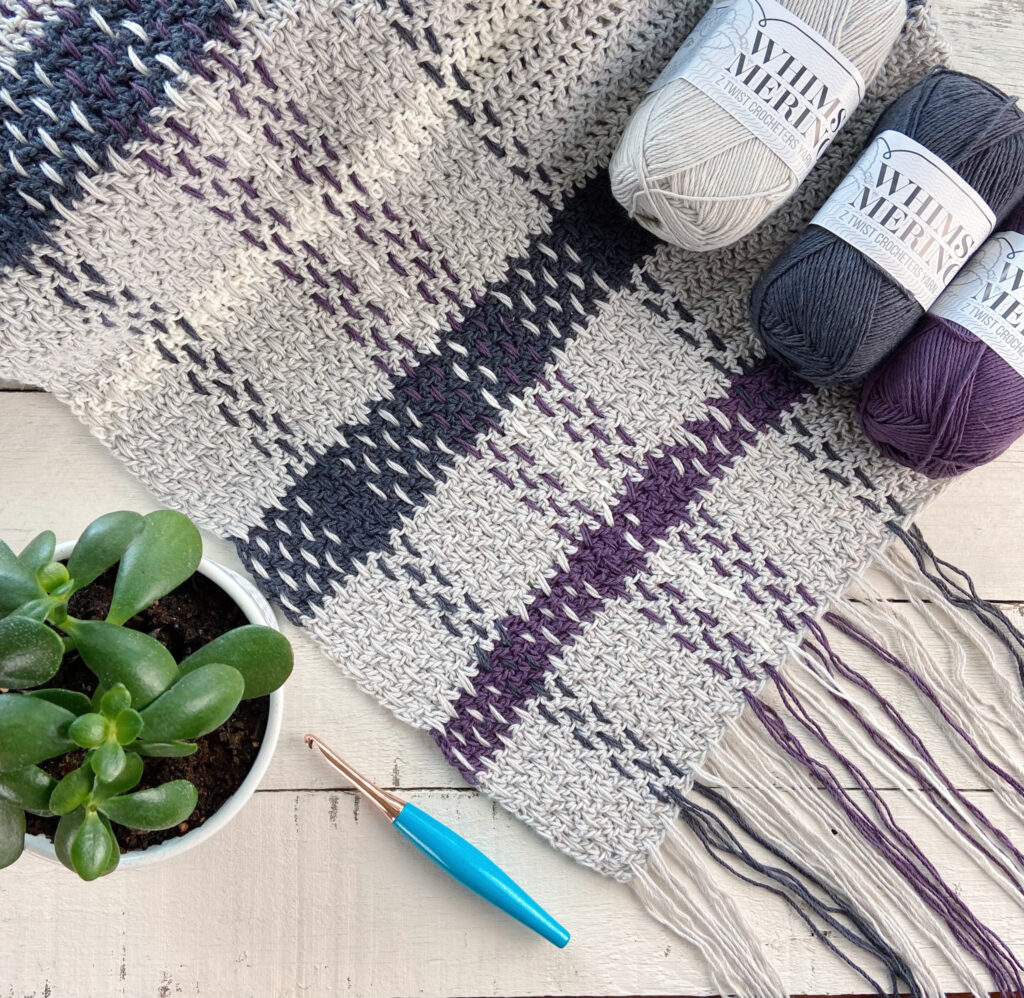
The thing that makes Furl’s Whims yarn so unique is that is was created especially for crocheters. It’s Z-twist construction (as opposed to the traditional S-twist) is designed to flow with a crocheter’s motions, preventing splitting and giving you amazing stitch definition. Because of this, it also works up super fast!
The cherry on top is that the superwash merino wool and nylon blend is incredibly soft and drapey, which is EXACTLY what I wanted for this crochet poncho! You’ll only need 4 colors for this poncho, but there are 10 to choose from in the Whims DK line.
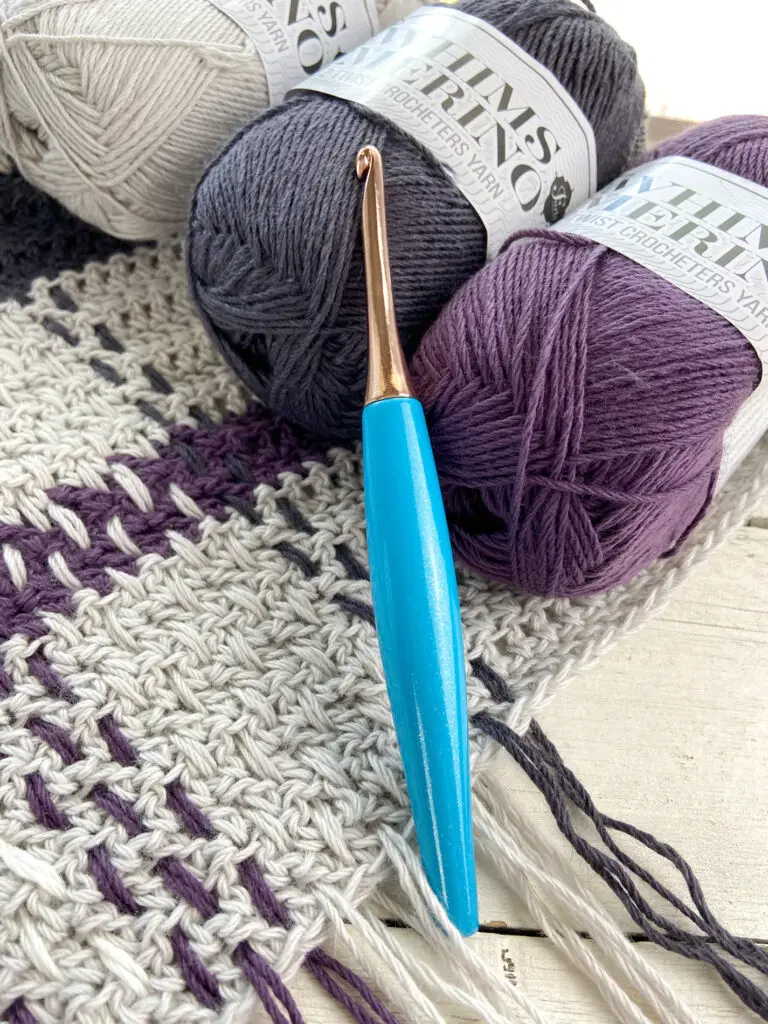
I went big with a size J (6.00mm) Furl’s Odyssey hook to up the drape factor even more. The Furl’s Odyssey hooks are my absolute favorite! For me, they just have the perfect balance and the ergonomic hooks keep my hand from getting sore. The gorgeous colors and finishes aren’t too shabby either (just look at this Turquoise and Rose gold..LOVE IT!!).
Furls Fiberarts generously supplied the materials for this project. 🙂
You can grab an (ad-free) printable version of the Spring Plaid Crochet Poncho pattern in my Etsy or Ravelry shops!

Ok, let’s make a Poncho!
Spring Plaid Crochet Poncho Free Pattern
SKILL LEVEL
Easy – This pattern uses double crochet, simple color changes, and weaving.
MATERIALS
- Yarn: A total of 2,400 yards of DK weight yarn in four colors. I used Whims Merino DK by Furls Crochet (50% fine superwash merino wool, 50% nylon, 182 yds/166m, 3.5oz/100g) in the following quantities:
- 8 skeins in Light Grey for color A
- 3 skeins in Charcoal for color B
- 2 skeins in Purple for color C
- 1 hank in Undyed (white) for color D
- Size J (6.00mm) crochet hook.
- Scissors, Yarn needle
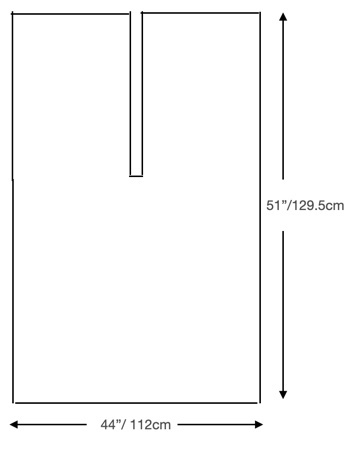
DIMENSIONS
One size, adult – When measured flat, Poncho is 44” (112cm) wide and 51”( 129.5cm) long (not including fringe). PLEASE NOTE: Measurements are taken using the final piece. Since the weaving technique will change the dimensions significantly, don’t worry if your dc poncho base does not match these measurements.
GAUGE
15 sts x 8.5 rows = 4” square using double crochet. NOTE: the gauge is calculated using just dc (without weaving).
NOTES
- Poncho is worked flat in rows. Turn at the end of each row.
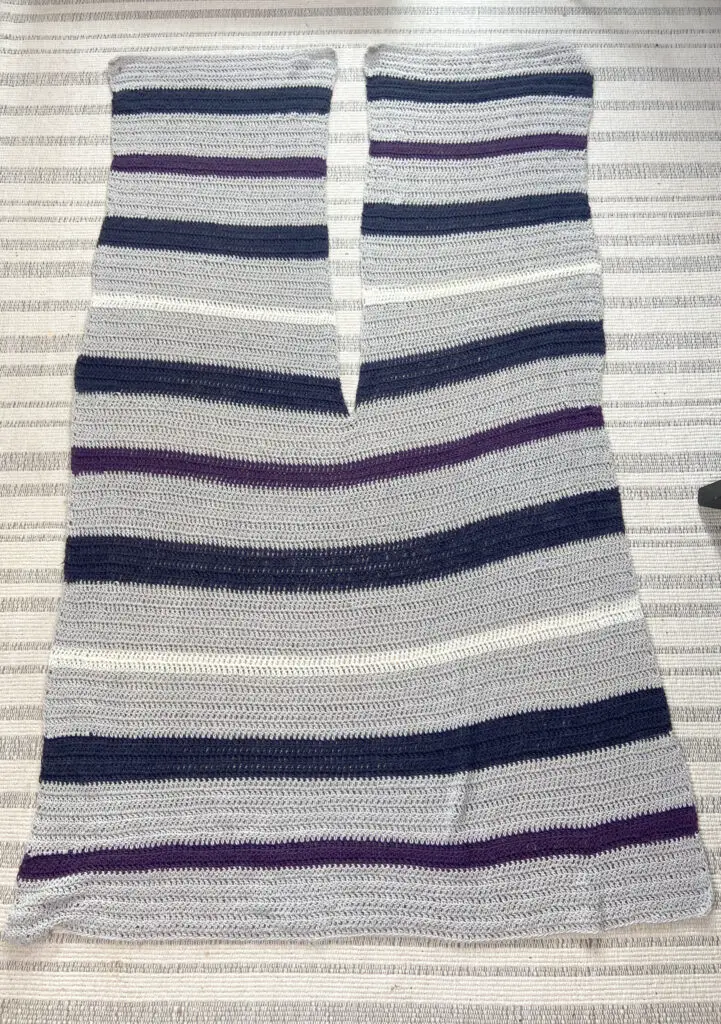
- The back is worked first in a large rectangle, then each front panel is worked one at a time.
- To change color, work the last yarn over of the last stitch of the row with the new color. Note: I like to crochet over the color change tails to reduce weaving in ends, but you can just weave them in with a yarn needle if you prefer.
- The base of the poncho (horizontal stripes) is completed first, then vertical stripes are added using a weaving technique.
- The Ch 3 turning chain COUNTS as a stitch. This means you will skip the first stitch of each row and work the final dc into the turning chain of the previous row.
- Pattern written in US terms.
- Abbreviations:
- ch = chain
- dc = double crochet
- sl st = slip stitch
- st =stitch
PATTERN
Poncho Base
Back Panel
Ch 133 (loosley) with color A.
Row 1: Dc in 4th ch from hook, and in each ch across. Tip: work into the back bumps of the chain for a more finished edge. Turn. <130 dc, with the 3 skipped chs counting as a st>
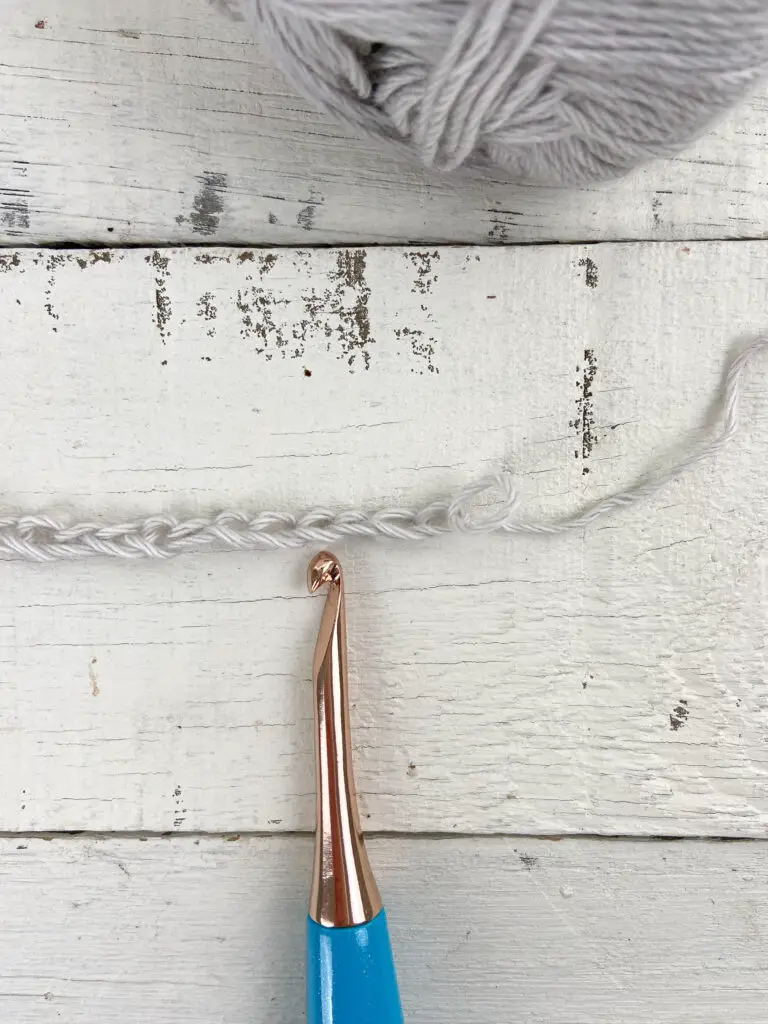
Dc in 4th ch from hook 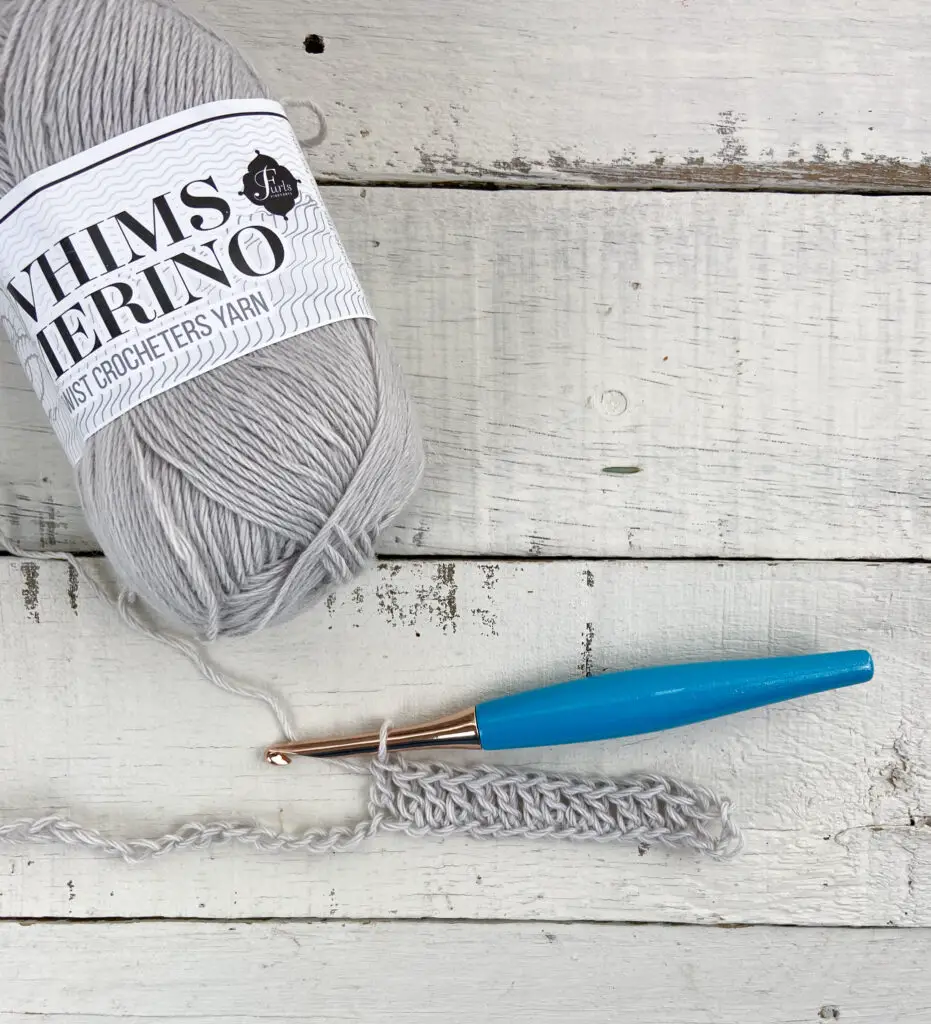
Dc in each ch across.
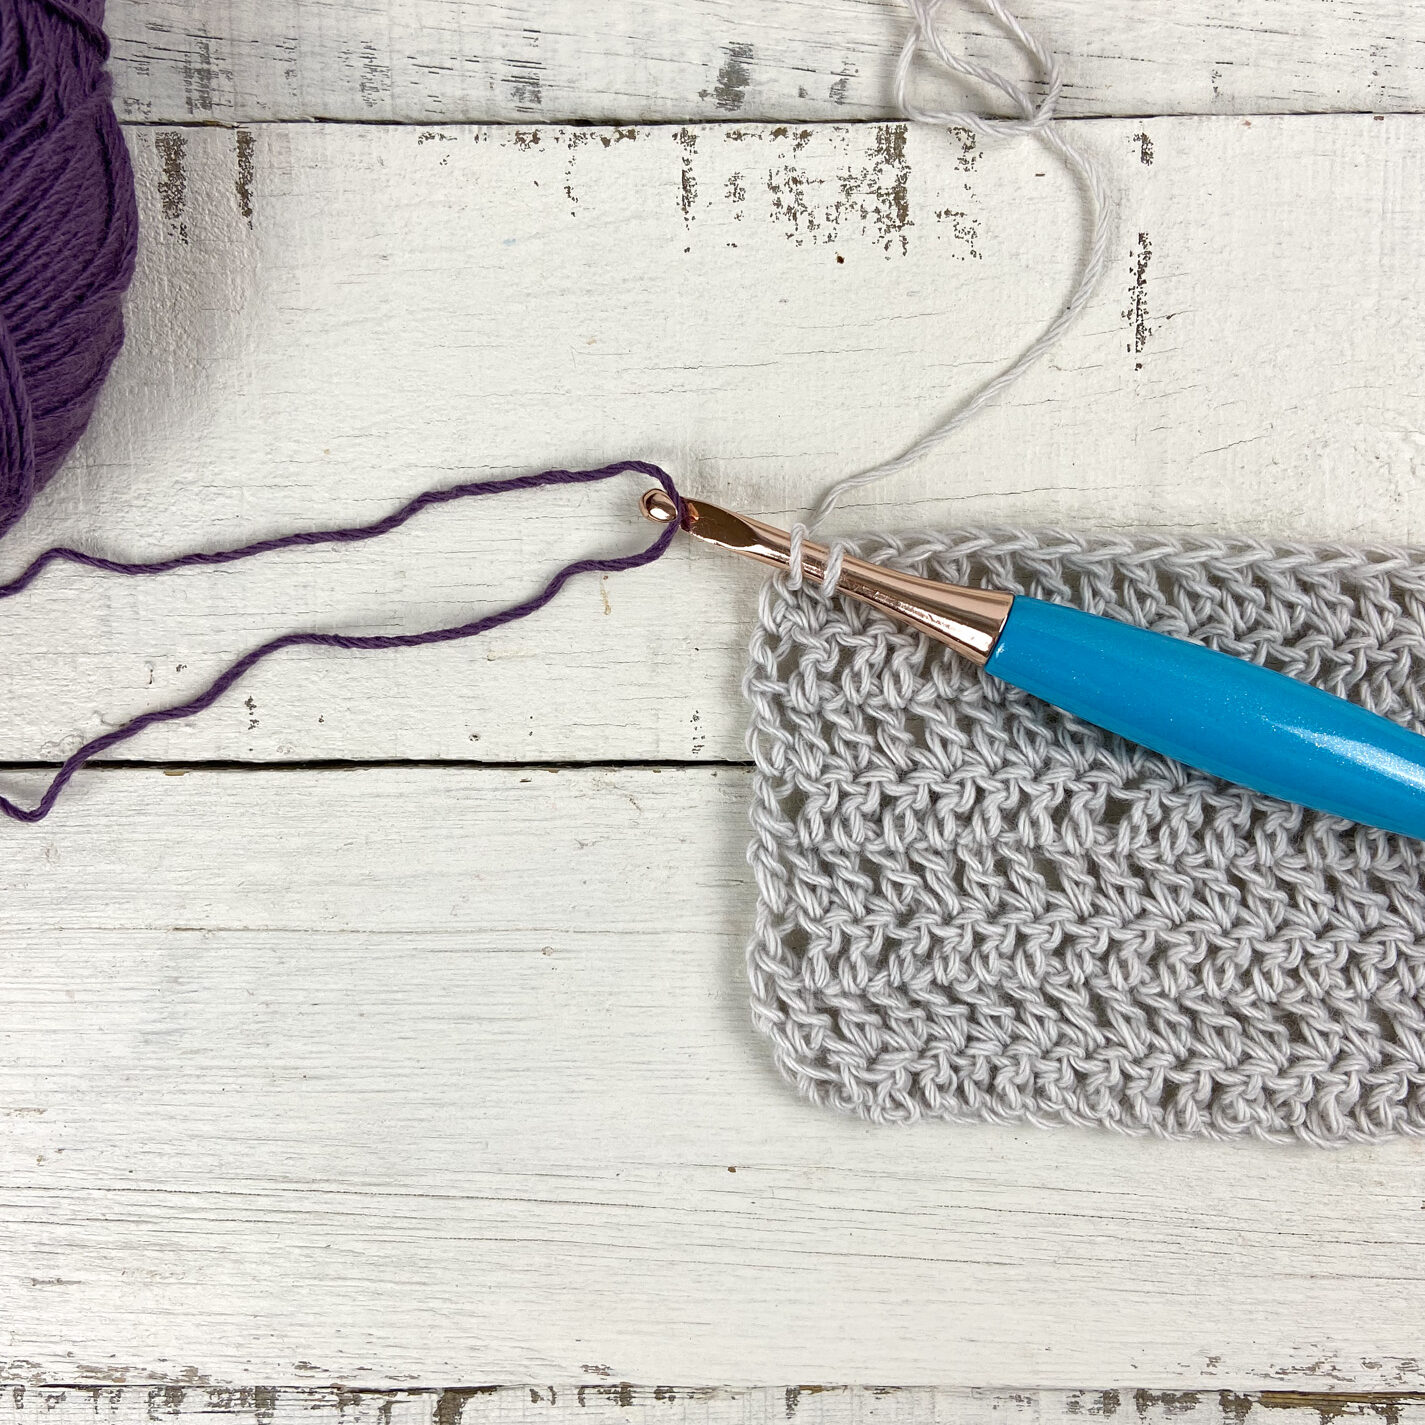
Row 2: Ch 3 (counts as a stitch), dc across row (last st is worked into turning ch from row below). Turn. <130 dc>
Ch 3 counts as a stitch so you will skip the very first st. Dc in the next st (where the hook is pointing). 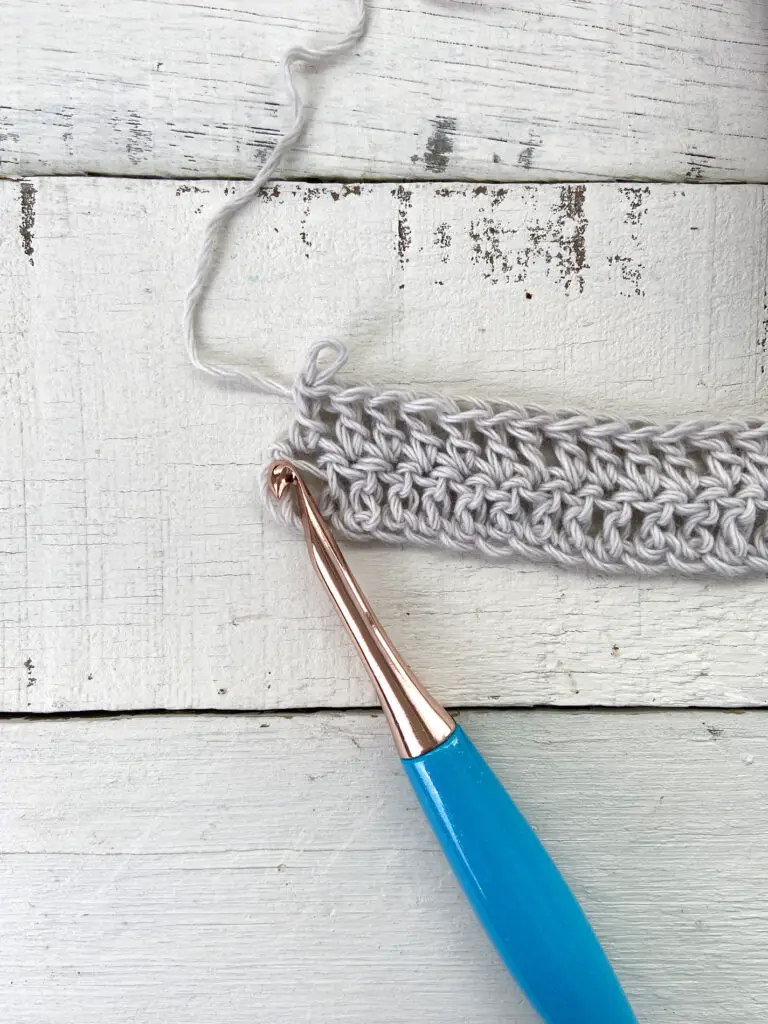
Work the last dc in the turning ch from the row below.
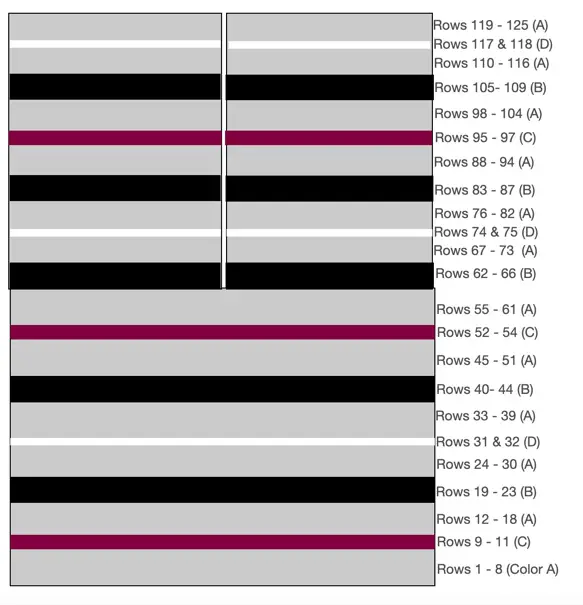
Repeat Row 2, changing colors as follows (see color change chart below for visual):
Rows 3 – 8: Color A.
Rows 9 – 11: Color C.
Rows 12 – 18: Color A.
Rows 19 – 23: Color B.
Rows 24 – 30: Color A.
Rows 31 and 32: Color D.
Rows 33 – 39: Color A.
Rows 40 – 44: Color B.
Rows 45 – 51: Color A.
Rows 52 – 54: Color C.
Rows 55 – 61: Color A.
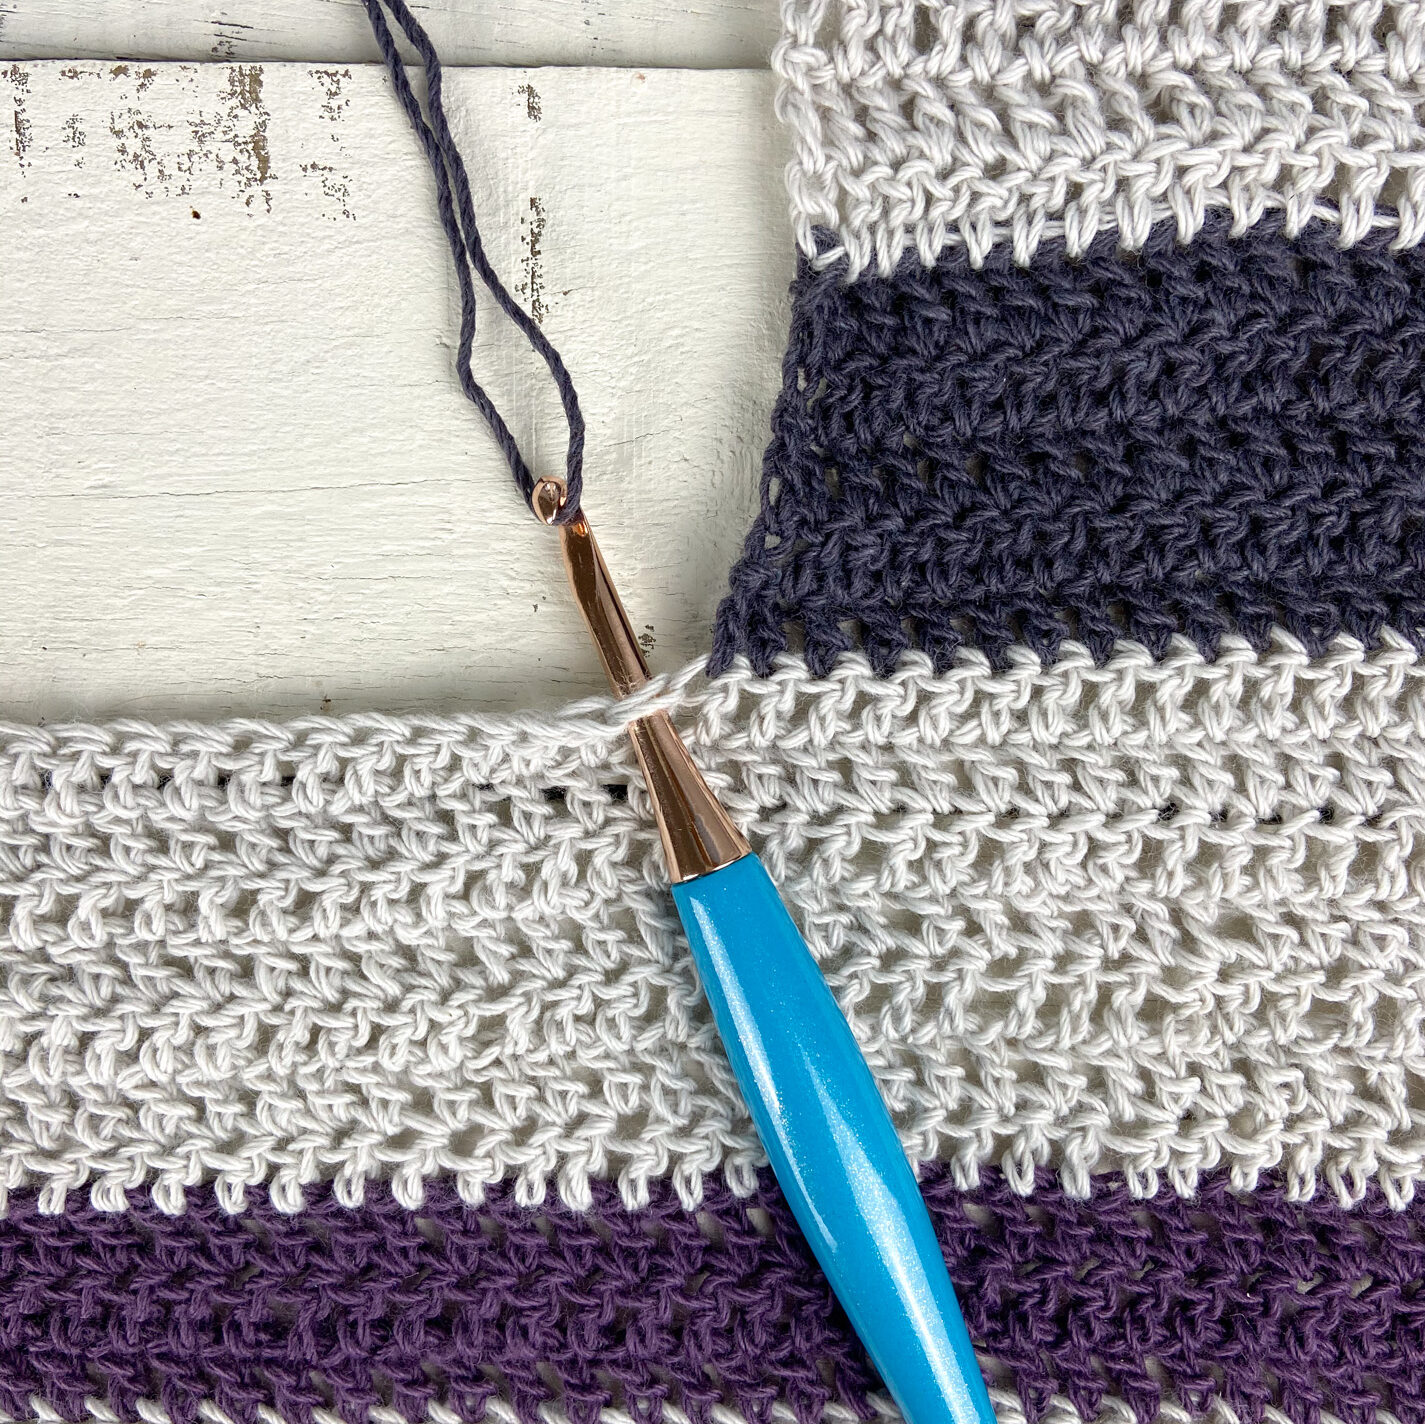
First Front Panel
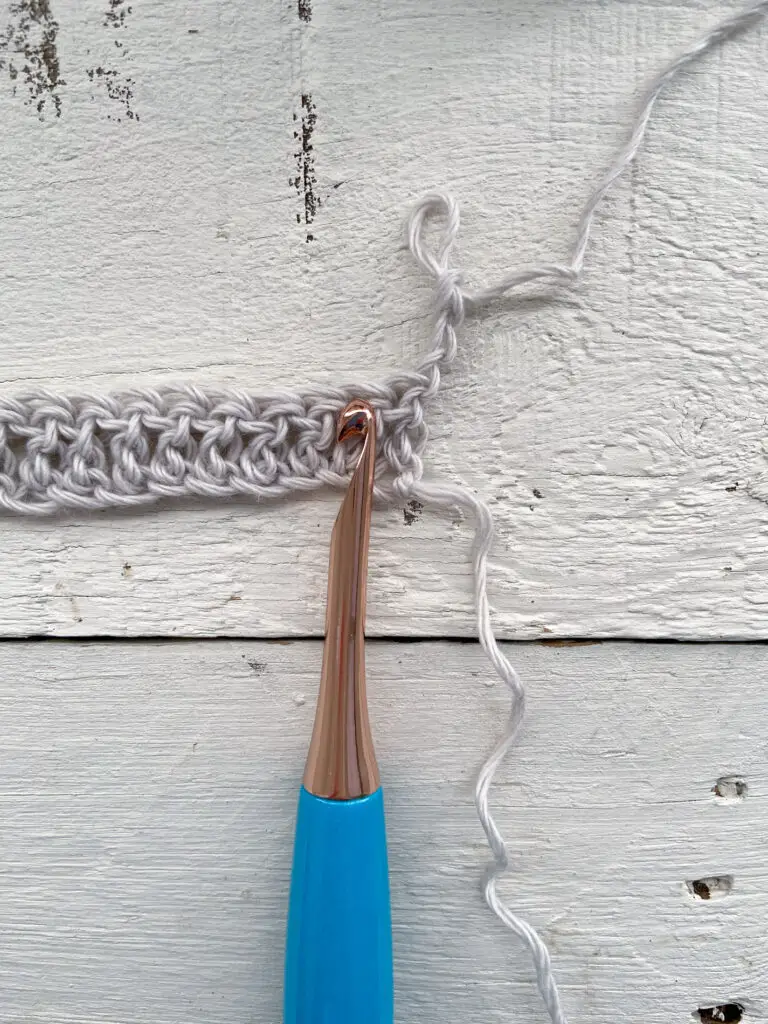
Row 62: (using color B) Ch 3 (counts as a st, so you will skip the very first st, as before), dc in next 64 sts. Leave remaining sts unworked for now. Turn. <65 dc>
Row 63: (still using color B) Ch 3 (counts as a stitch), dc across row (last st is worked into turning ch from row below). Turn. <65 dc>
Repeat Row 63, changing colors as follows:
Rows 64 – 66: Color B.
Rows 67 – 73: Color A.
Rows 74 and 75: Color D.
Rows 76 – 82: Color A.
Rows 83 – 87: Color B.
Rows 88 – 94: Color A.
Rows 95 – 97: Color C.
Rows 98 – 104: Color A.
Rows 105 – 109: Color B.
Rows 110 – 116: Color A.
Rows 117 and 118: Color D.
Rows 119 – 125: Color A.
Fasten off and weave in ends.
Second front panel
Lay your work flat with the first front panel on the right. Use a sl st to attach color B at the first unworked st of Row 62. Ch 3 (counts as a st, but since we are starting in the middle of a row, you will place the next dc in the very next st), dc across row (last st is worked into turning ch from row below). Turn. <65 dc>
Repeat Rows 63 – 125.
Fasten off and weave in ends.
Color Change Chart for poncho base (horizontal stripes):
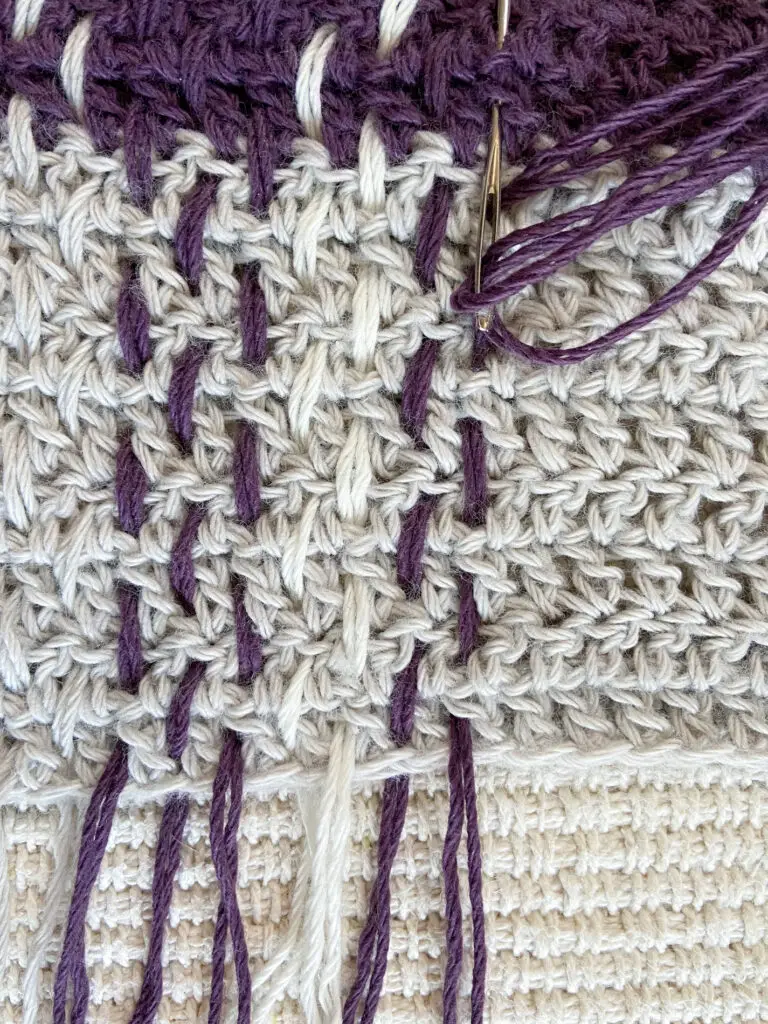
Weaving:
Long strands are now woven in between the crochet stitches to create the plaid effect. You can find a video tutorial for this technique here.
- Each vertical stripe is made of two strands of yarn held together. The easiest way to do this is to pull the center end out of the skein and hold it together with the outer end.
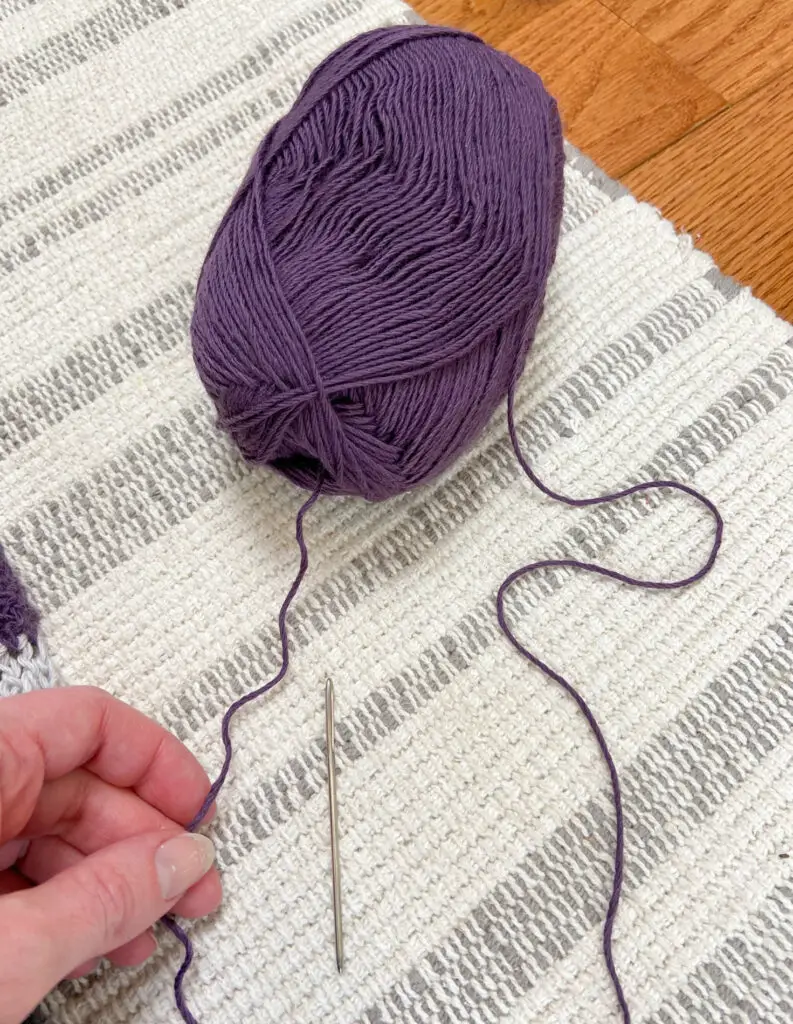
- I preferred to just cut the strands as I went (to avoid a tangled pile of strings), but you can also precut the following (double stranded) 70” lengths:
- 71 color A
- 18 color B,
- 30 color C
- 10 color D
- Lay the poncho base out flat on a table or floor. You will start weaving at the bottom left corner on the back panel.
- Repeat the following color pattern across the poncho base. (Note that the pattern should repeat 5 times, plus the start of a 6th repeat).
Color pattern for weaving (vertical stripes):

- Thread two strands of color A on a tapestry needle. Begin weaving over and under each row in between the edge and second sts along the left side. Continue threading over and under the rows until you reach the end (the “bottom” of the front panel). Pull the yarn so that the overhang is even at both ends.

- Thread the next double strand of color A on the needle and weave between the 2nd and 3rd stitches of the base, this time going under and over opposite rows to create a woven effect. Continue with double strands of each color, following the chart above and weaving under and over opposite rows each time. Tip: the double crochet poncho base may start to pucker as you weave, but this will even out in the end.
- When you reach the midline of the poncho (where the two front panels split), begin weaving this strand as usual, but fasten off at the point where the two panels split. Weave in this end. Continue to the next strand as usual.
- Continue weaving across the base, repeating the pattern given in the weaving color chart above.
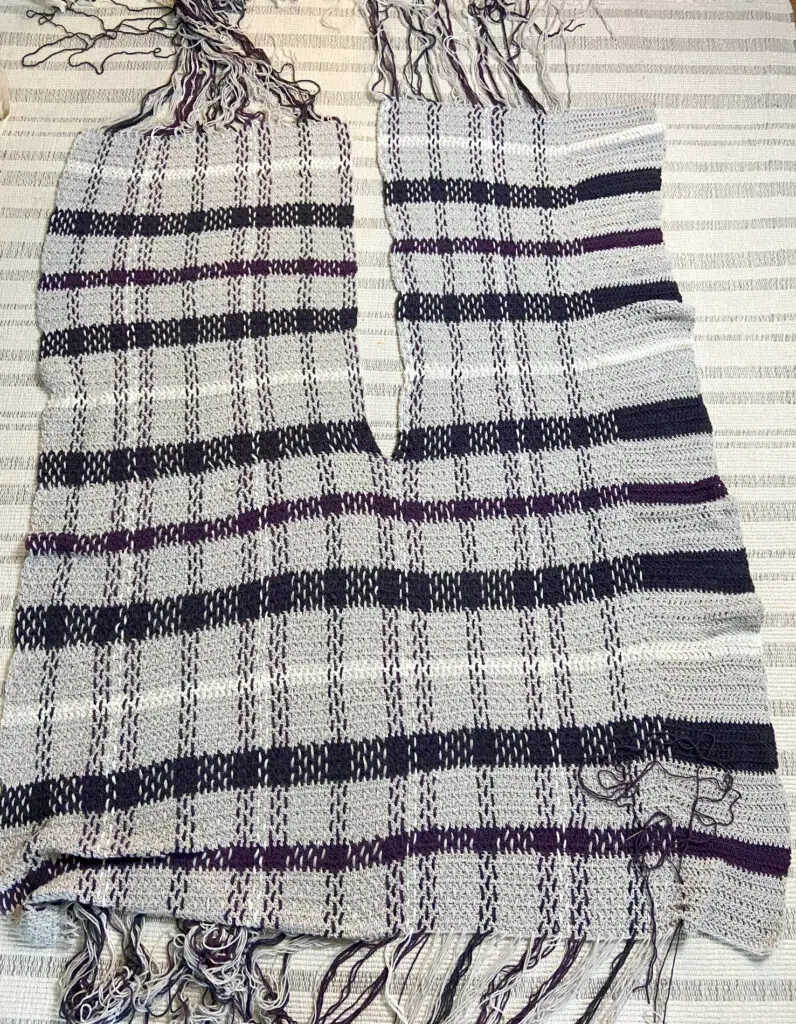
Fringe:
Holding two double strands together (four individual strands), tie a knot just below the edge of the poncho base. Repeat across fringe. (Note: You will have one extra double strand, either knot this by itself or tie it in with the last two double strands).
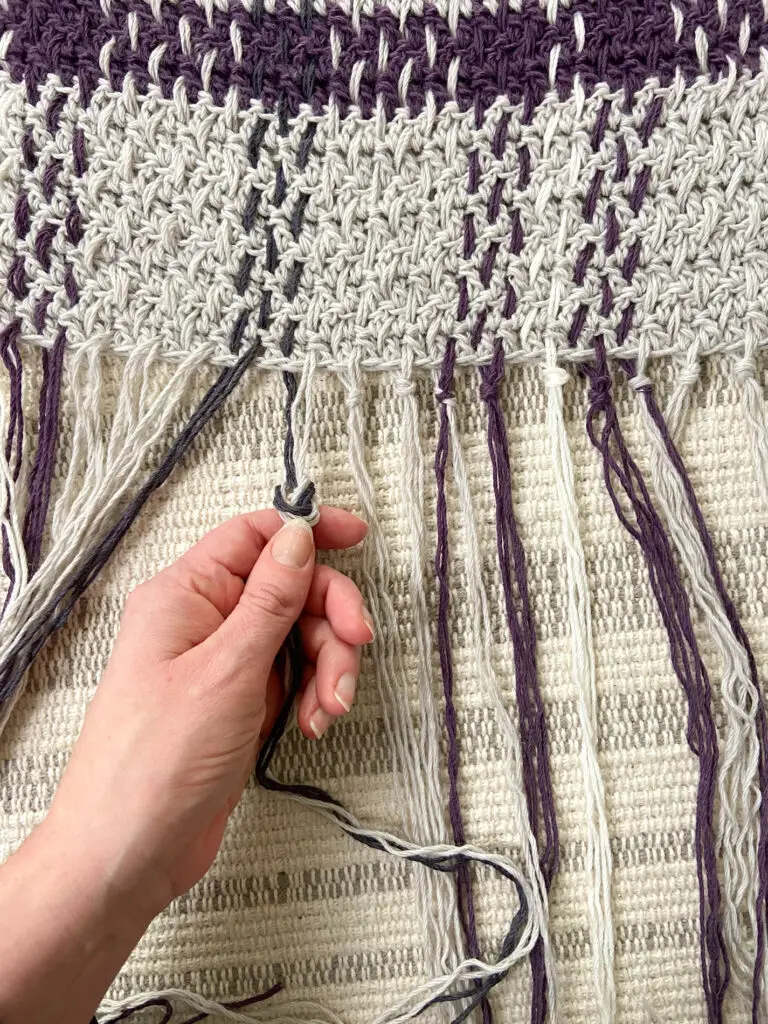
Repeat on the other end of the poncho. Trim ends for a clean edge. You’re finished!
I hope you enjoyed this pattern! Tag me on Instagram @theknottednest and use the hashtag #springplaidponcho to share your project! Find more project ideas in the Patterns section here on the blog!
Happy making!

COPYRIGHT
The Spring Plaid Poncho pattern and photographs are property of The Knotted Nest and are for personal, non-commercial use only. You may not alter, share, or sell this pattern in any way. However you are welcome to sell the finished product you produce using this pattern. Please credit The Knotted Nest by including a link to the pattern listing if selling the finished piece online.


One Comment
Pingback: