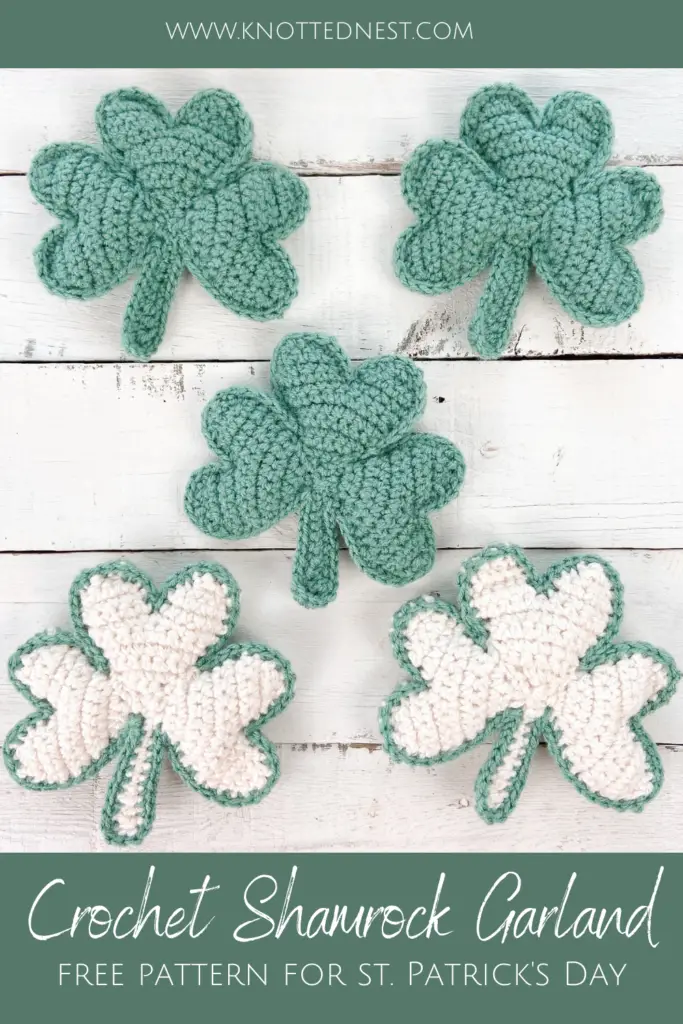
Crochet Shamrock Garland Free Pattern
Make this Crochet Shamrock Garland and add some handmade love to your St. Patrick’s Day decor!
Scroll down for the free pattern or read on for more about the inspiration, construction, and materials.
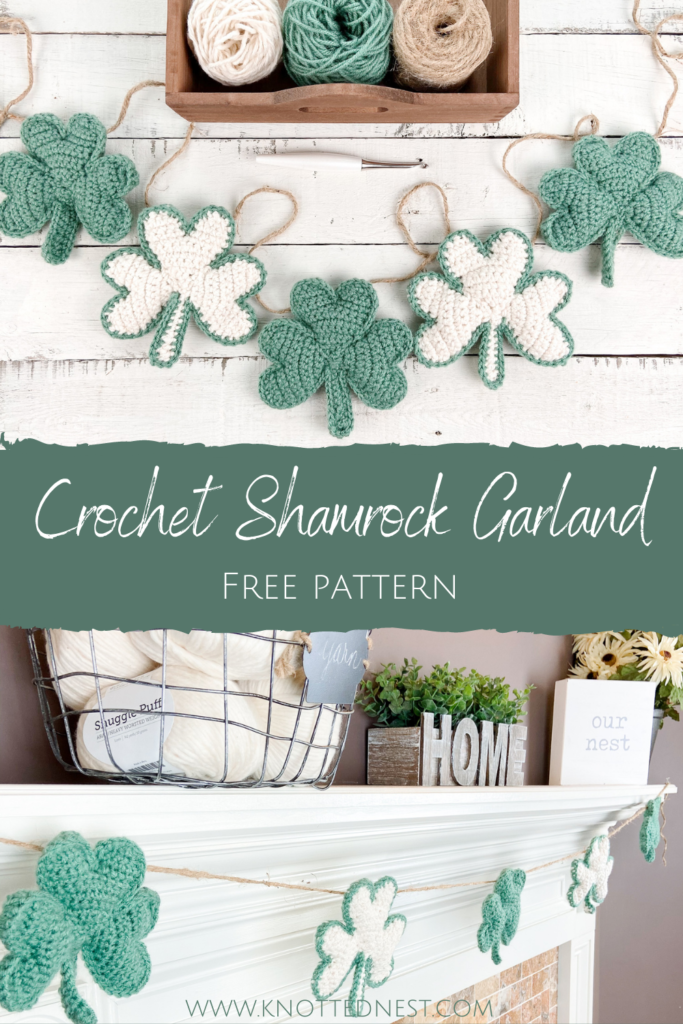
Pin this post for later!
Crochet Shamrock Inspiration
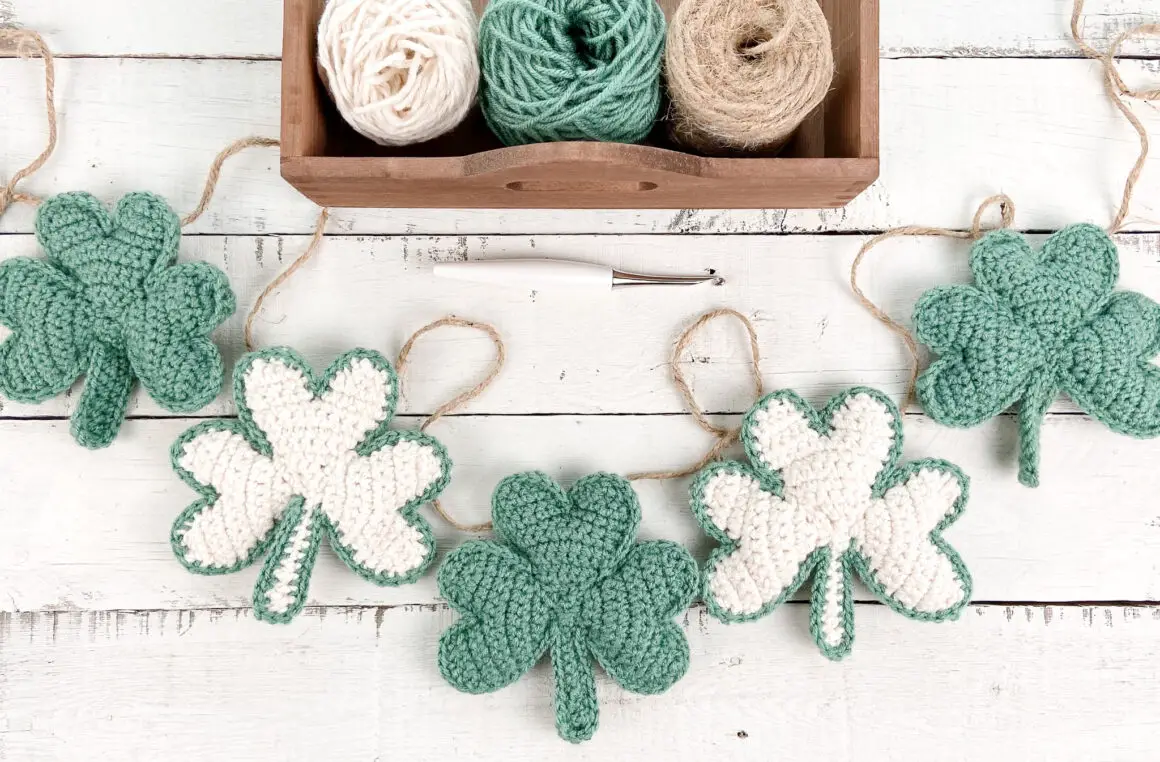
You all know I love crochet garlands and this St. Patrick’s Day version has been one of my most requested designs since I started sharing my patterns. Everybody loves a shamrock! This garland is made in the same style as my others (2D style – 2 flat panels joined together and lightly stuffed) but with a wee bit more sewing involved (it’s not that bad – I’ll walk you through it!).
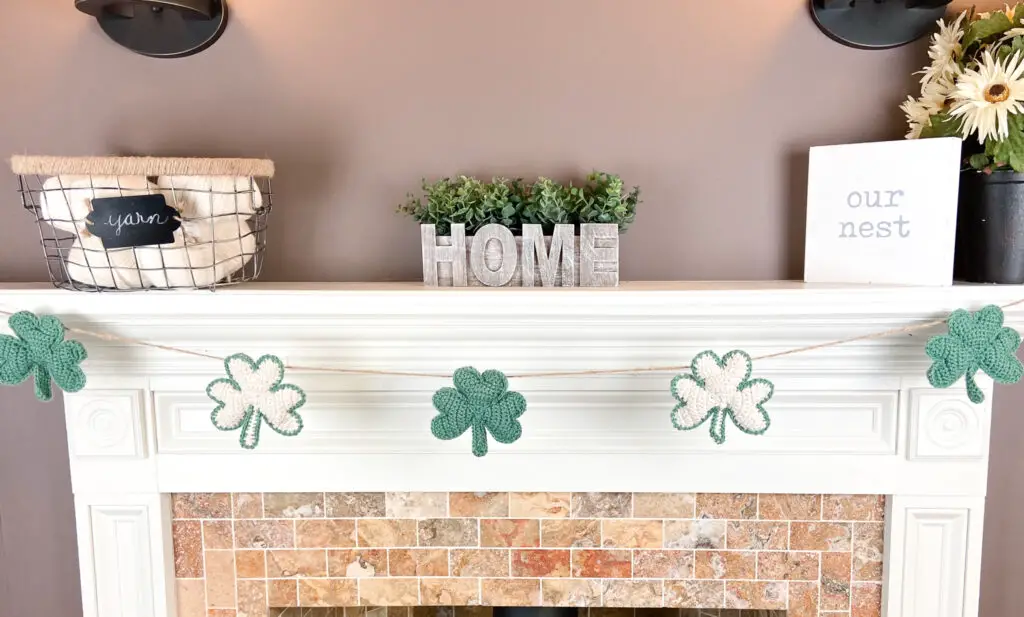
I love how these crochet shamrocks look strung together on a length of twine as a garland, but you could totally use them individually as table decor, or as window decoration. As a former teacher, I also love the idea of using them as a fun handmade classroom decoration!
Construction
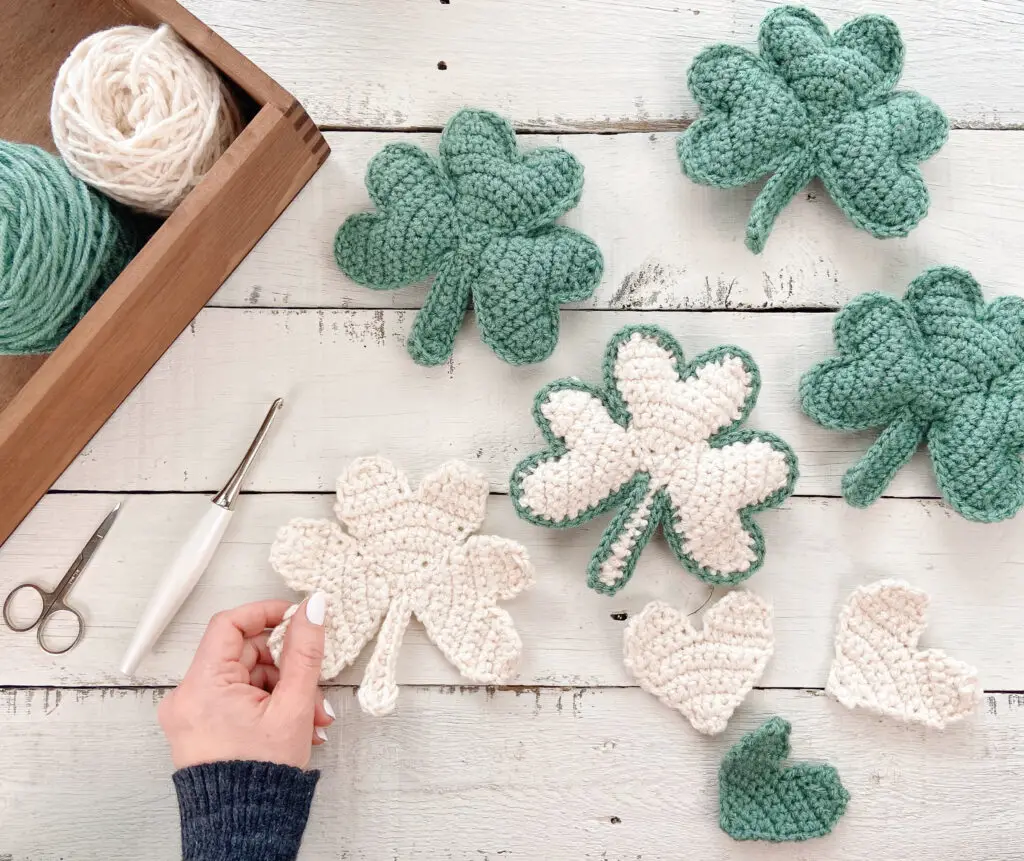
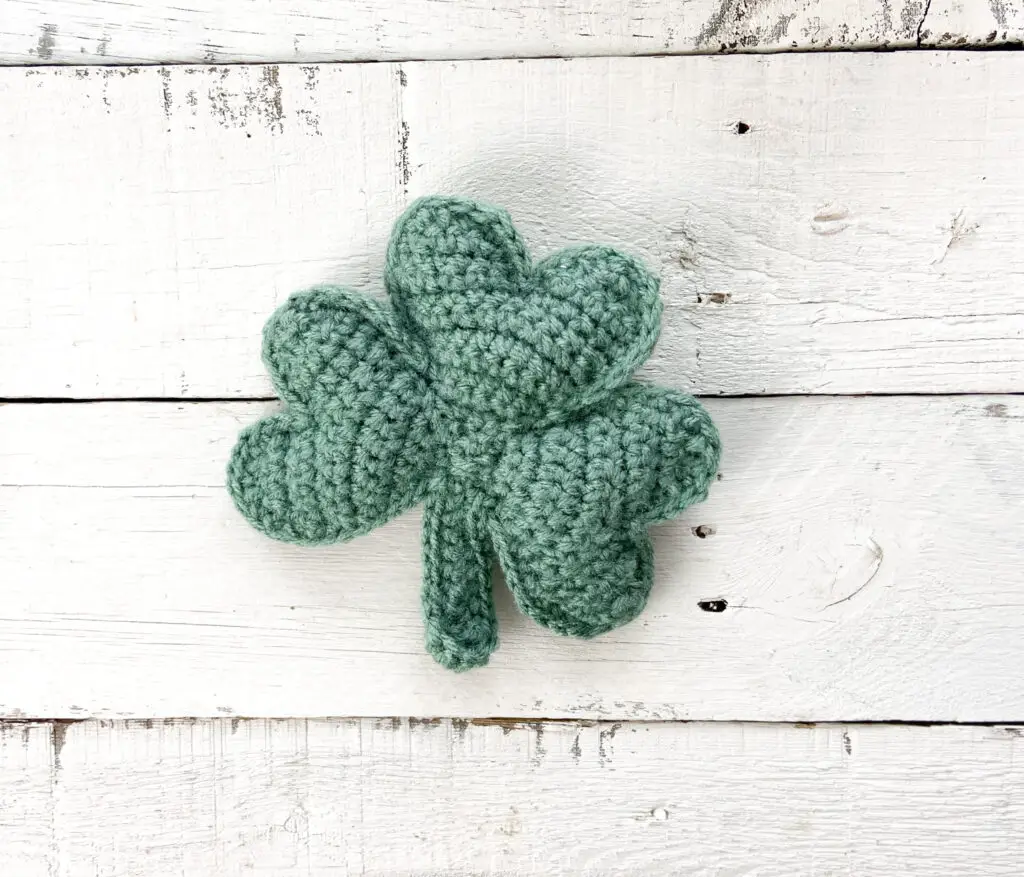
If you’ve ever tried to draw a shamrock, you’ve probably realized that it’s just a few heart shapes arranged with the points touching in the center (Note: during my research for this pattern, I learned that a “Shamrock” has 3 leaves, not 4, so 3 leaves it is! Only factually correct garlands available here at TKN, lol.)
To make the shamrock panels, I adapted the heart panel from my Valentine Hearts Garland to be sized down and sewed 3 of them together with a mattress stitch. I added a quick “stem” and – voila – shamrock panel done.
As with my other garland designs, the final piece is made by single crocheting two panels together, lightly stuffing as you go.
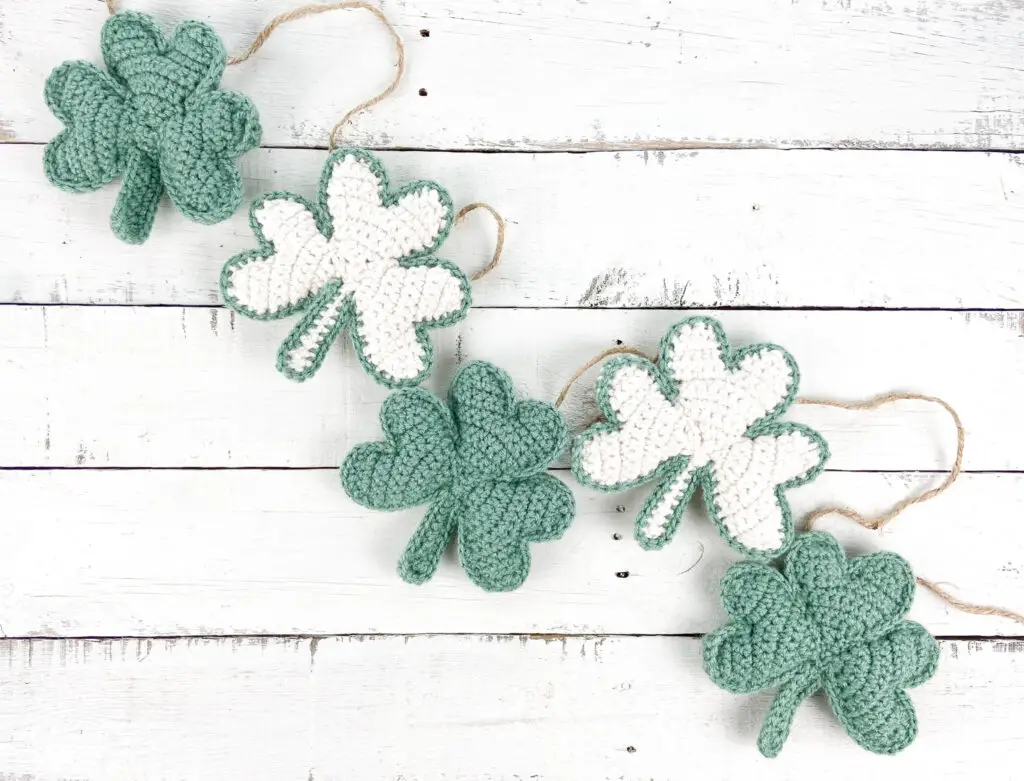
I had a lot of ideas for how to string these crochet shamrocks into a garland, but I decided to go with some simple twine to give it a bit of a farmhouse vibe.
Materials
This is a great project for using up scrap yarn or stash busting. Each shamrock uses about 40-50 yards of worsted weight yarn, so depending on the yarn you’re using, you can get quite a few out of one skein.
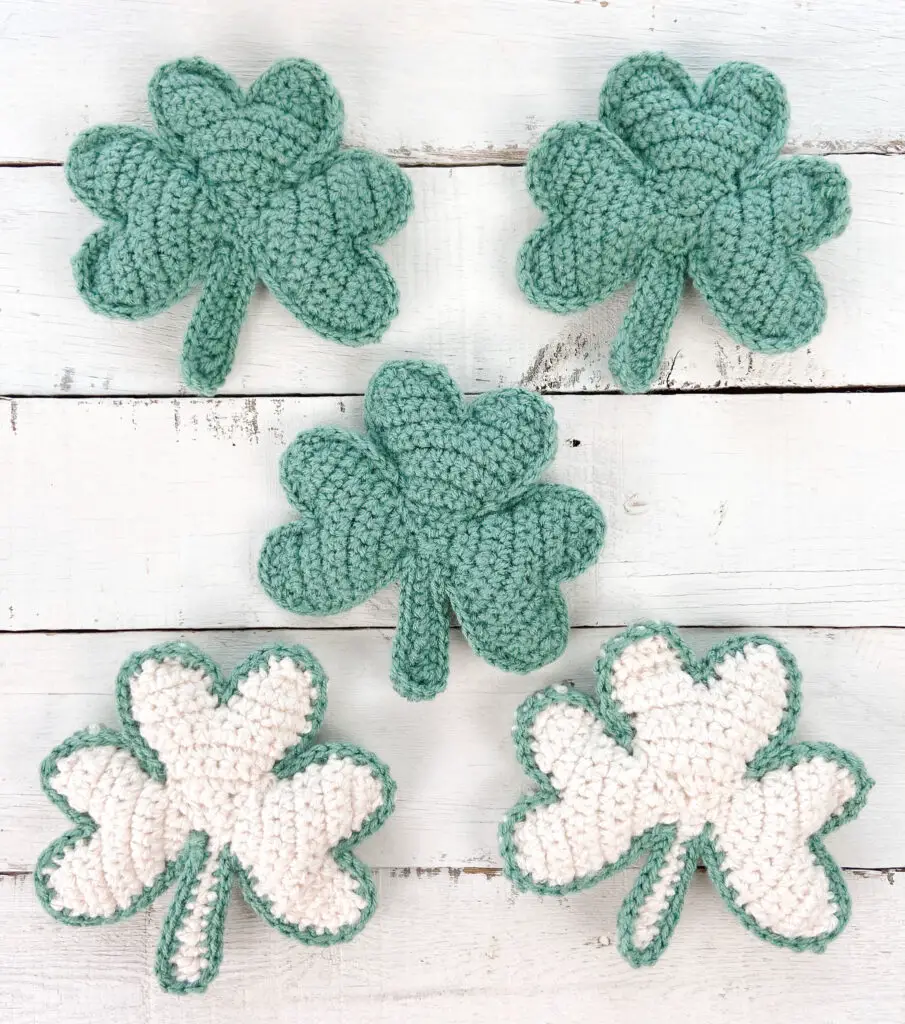
As for colors, I went with the traditional green, but mixed it up a little with a few cream colored panels trimmed with the same green. You could do all neutrals for an even more rustic feel or go to the other end of the spectrum and do a rainbow of shamrocks (that would be my 9 year old’s suggestion!).
For the green shamrocks, I used Red Heart Super Saver in Light Sage.

For the cream, I used a yarn that I had in my stash, but I just discovered it has been discontinued. Noooooooo! Ugh, that always happens to me! It was Yarn Bee’s Denim in Color in Ivory if you happen to have some laying around (seriously the BEST cotton blend yarn I have ever used. I am heartbroken they discontinued it). If not, I would suggest Red Heart’s SS in the color Aran as a substitute.
You’ll also need some stuffing material, a size G hook, and jute twine, if that’s what you’d like to use for stringing the garland.
Ok, who’s ready to crochet some shamrocks?!
You can grab an ad-free, printable version of this pattern on Etsy or Ravelry!
Crochet Shamrock Garland Free Pattern
SKILL LEVEL
Easy – Level 2: this pattern requires some increasing/decreasing and sewing panels together.
MATERIALS
- Yarn: About 40 yards of worsted weight yarn per shamrock in your choice of color. I used Red Heart Super Saver in the color Light Sage and Yarn Bee Denim in Color in the color Ivory (unfortunately this yarn has been discontinued, but Red Heart Super Saver in the color Aran would be a good substitute). You will also need about 30 yards for the garland chain if you would like to use yarn.
- Size G (4.00mm) crochet hook.
- Polyfil or other stuffing material.
- Jute Twine , optional
- Scissors, Yarn needle
DIMENSIONS
Each shamrock is about 5.5” x 5.5”. The finished garland is about 70” long.
GAUGE
9 sts x 9 rows = 2” square using single crochet
NOTES
- Each crochet shamrock is made of two flat panels that are joined together with sc and lightly stuffed.
- Each panel is made of three “hearts” sewn together in a shamrock shape and then a crocheted “stem” is added.
- Yarn, colors, and layout for this project are all easily customizable.
- The Ch 1 turning chain used throughout does NOT count as a stitch.
- Pattern written in US terms.
- Abbreviations:
- ch = chain
- dec = decrease
- dc = double crochet
- hdc = half double crochet
- inc = increase
- sc =single crochet
- sl st = slip stitch
- st =stitch
- yo = yarn over
- Special Stitches:
- Single Crochet Increase (Inc) = work 2 sc in one stitch.
- Single Crochet Decrease (Dec) = insert hook into first st, yo and pull up a loop (2 loops on hook), insert hook into next st, yo and pull up a loop (3 loops on hook), yo and pull through all 3 loops.
- Sewing Technique used:
- Mattress stitch – Line up the rows/stitches of the two pieces to be seamed. Using a yarn needle and corresponding color of yarn, insert needle into the first stitch/space from the inside/bottom of the seam out. Pull through. Then insert into the corresponding stitch/space on the 2nd piece from the inside out. Continue sewing in this way as if you were lacing a shoe. Give your yarn a tug every inch or so to keep the seam tight. See a video of this technique here.
PATTERN
Shamrock Panel (make 2 per Shamrock)
Heart “Leaves” (make 3 per panel)
Ch 3.
Row 1: Sc in 2nd ch from hook and in next ch. Ch 1, turn. <2 sc>
Row 2: Inc in each st. Ch 1, turn <4 sc >
Row 3: Inc, sc in next 2 sts, inc. Ch 1, turn. <6 sc>
Row 4: Inc, sc in next 4 sts, inc. Ch 1, turn <8 sc>
Row 5: Inc, sc in next 6 sts, inc. Ch 1, turn <10 sc>
Row 6: Sc in each st. Ch 1, turn. <10 sc>
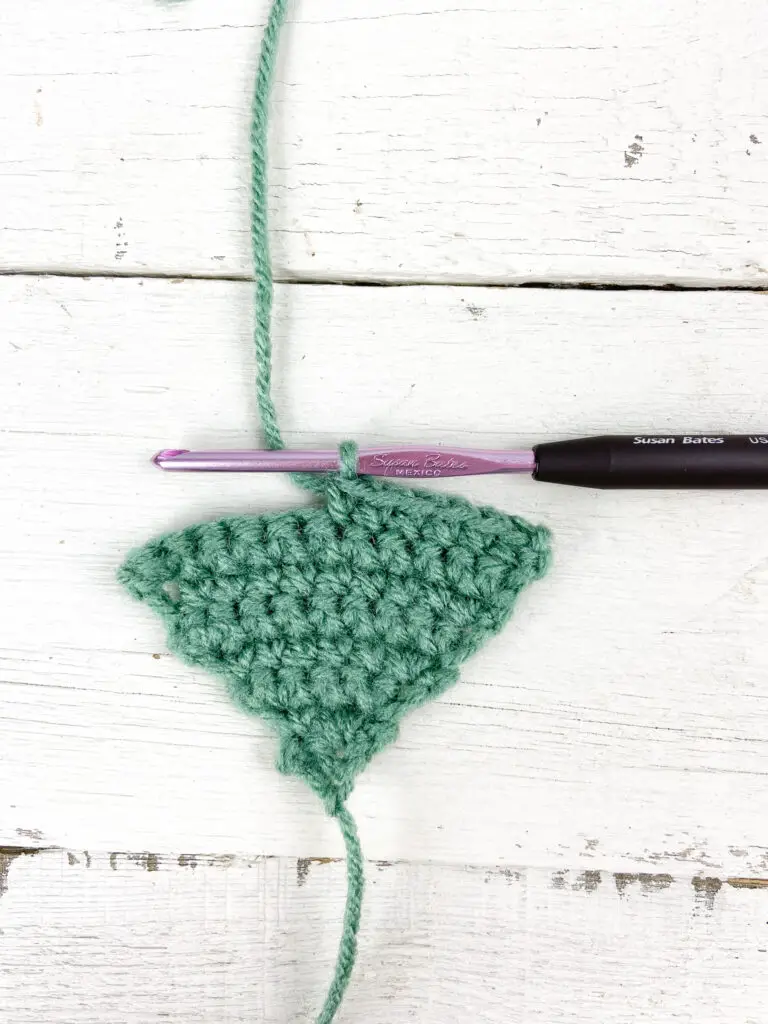
Row 7: Inc, sc in next 8 sts, inc. <12 sc>
1st “bump” of heart
Row 8: Sc in next 6 sts (leave remaining sts unworked for now). Ch 1, turn. <6sc>
Row 9: Sc in each st. Ch 1, turn. <6 sc >
Row 10: Dec, sc in next 2 sts, dec. Ch 1, turn <4 sc>
Row 11: Dec, dec. <2 sc>
Fasten off.
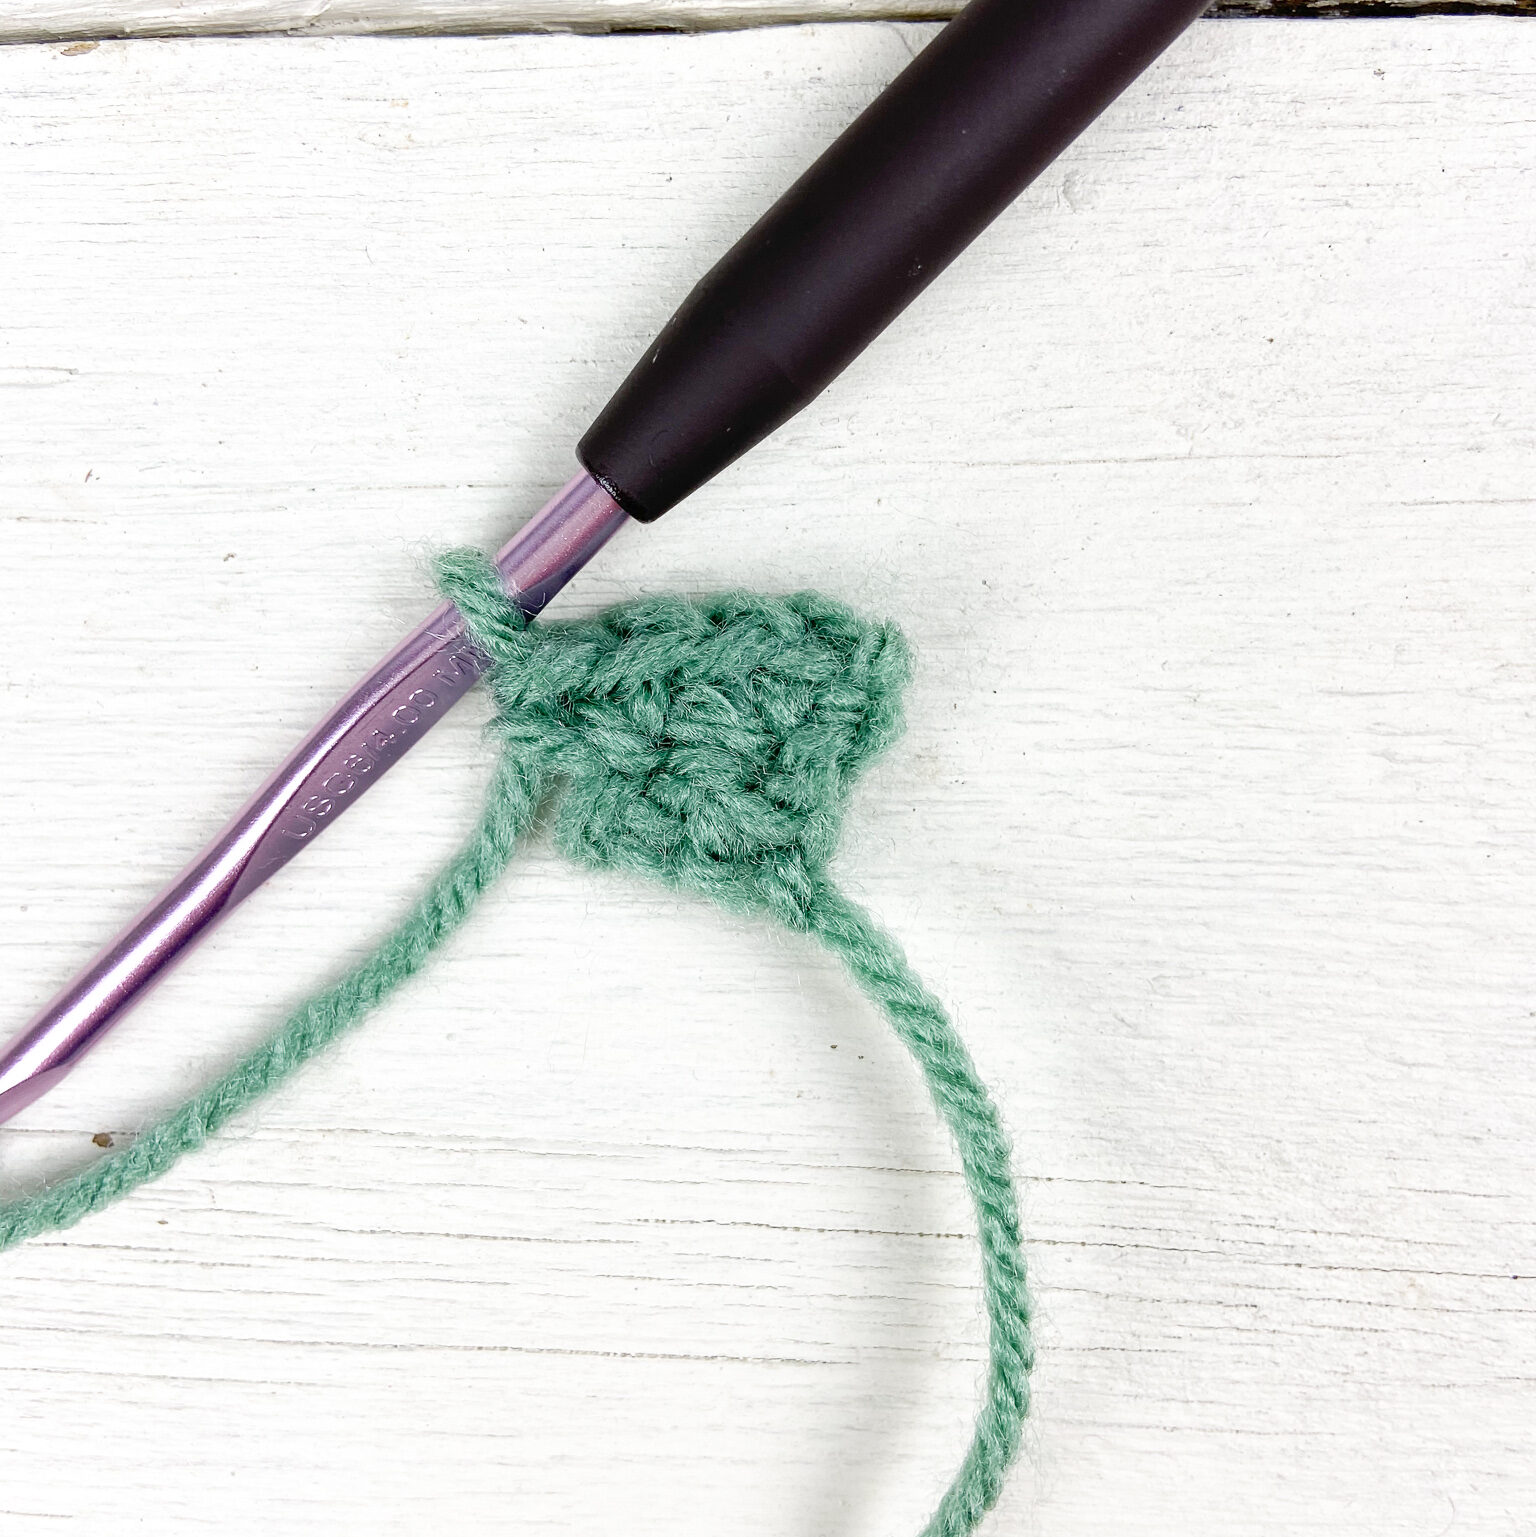
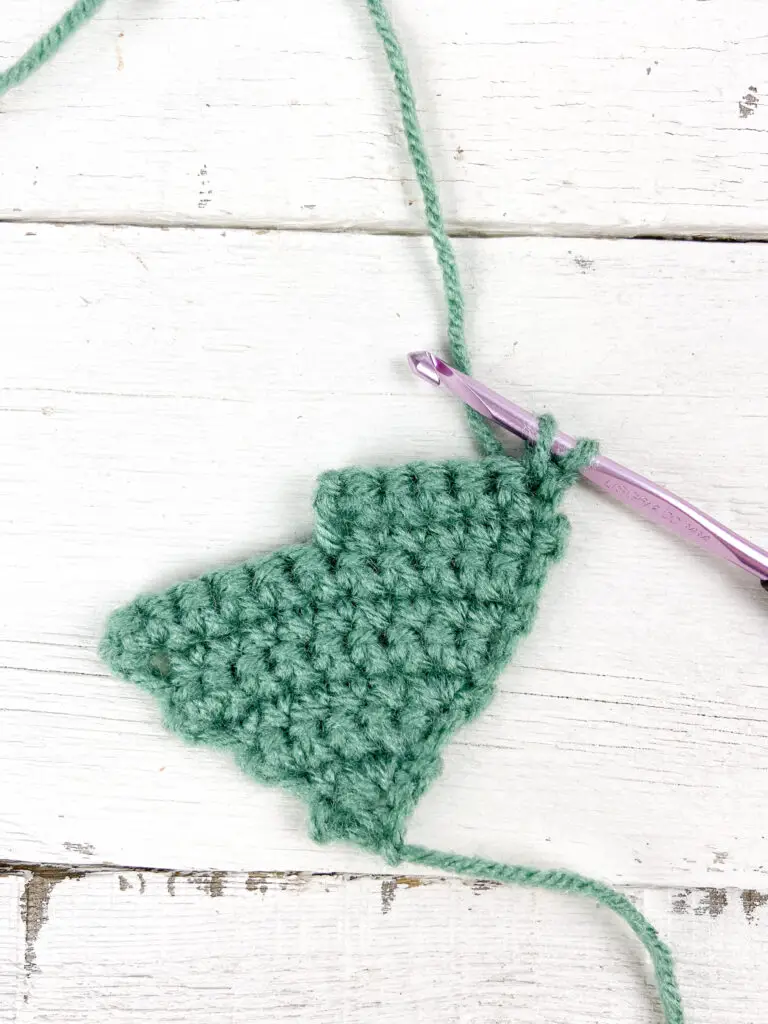
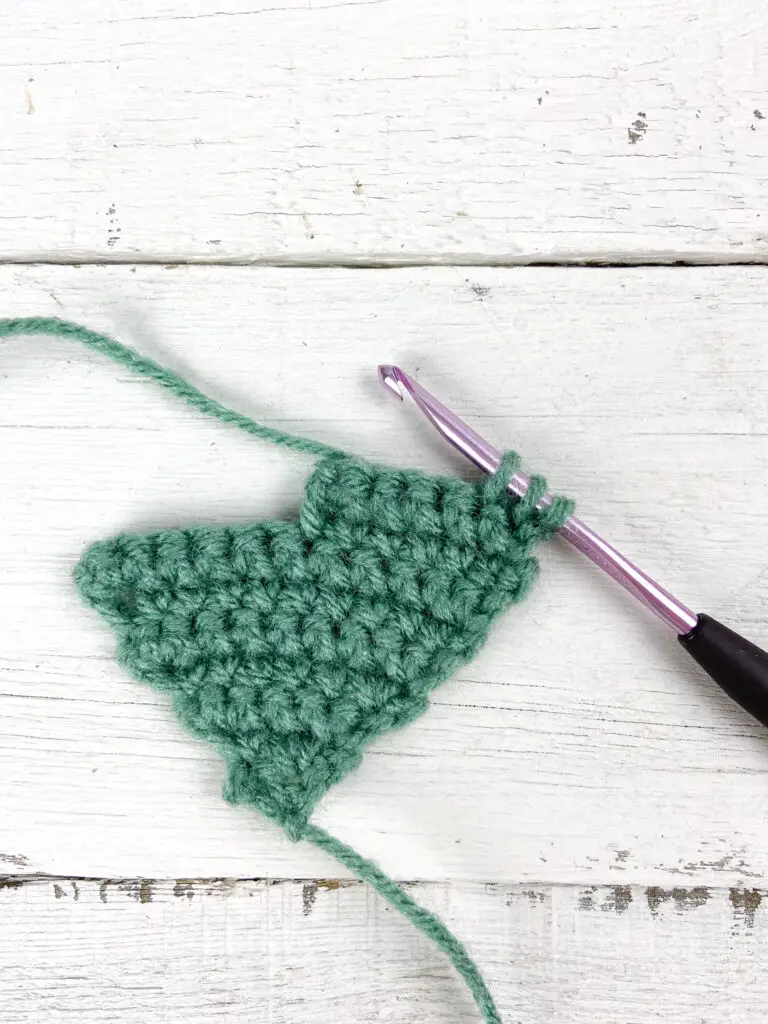
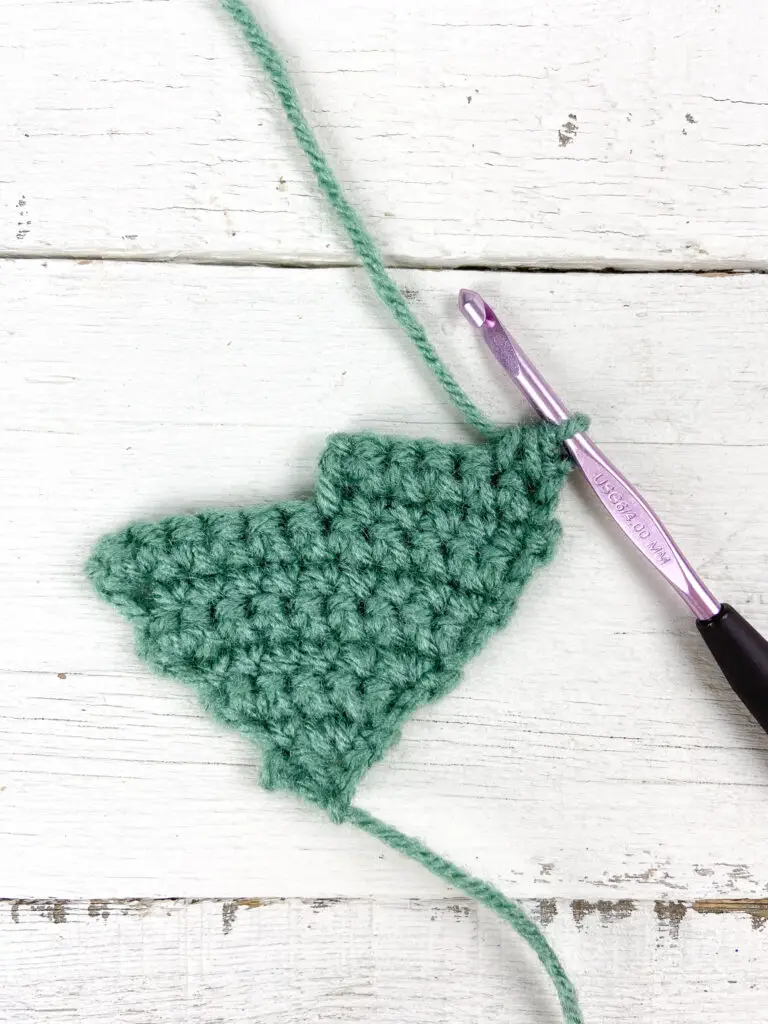
2nd “bump” of heart
*Turn panel so that 1st bump is on the left. Attach yarn with a slip stitch at the top right of Row 7 (See pic)*
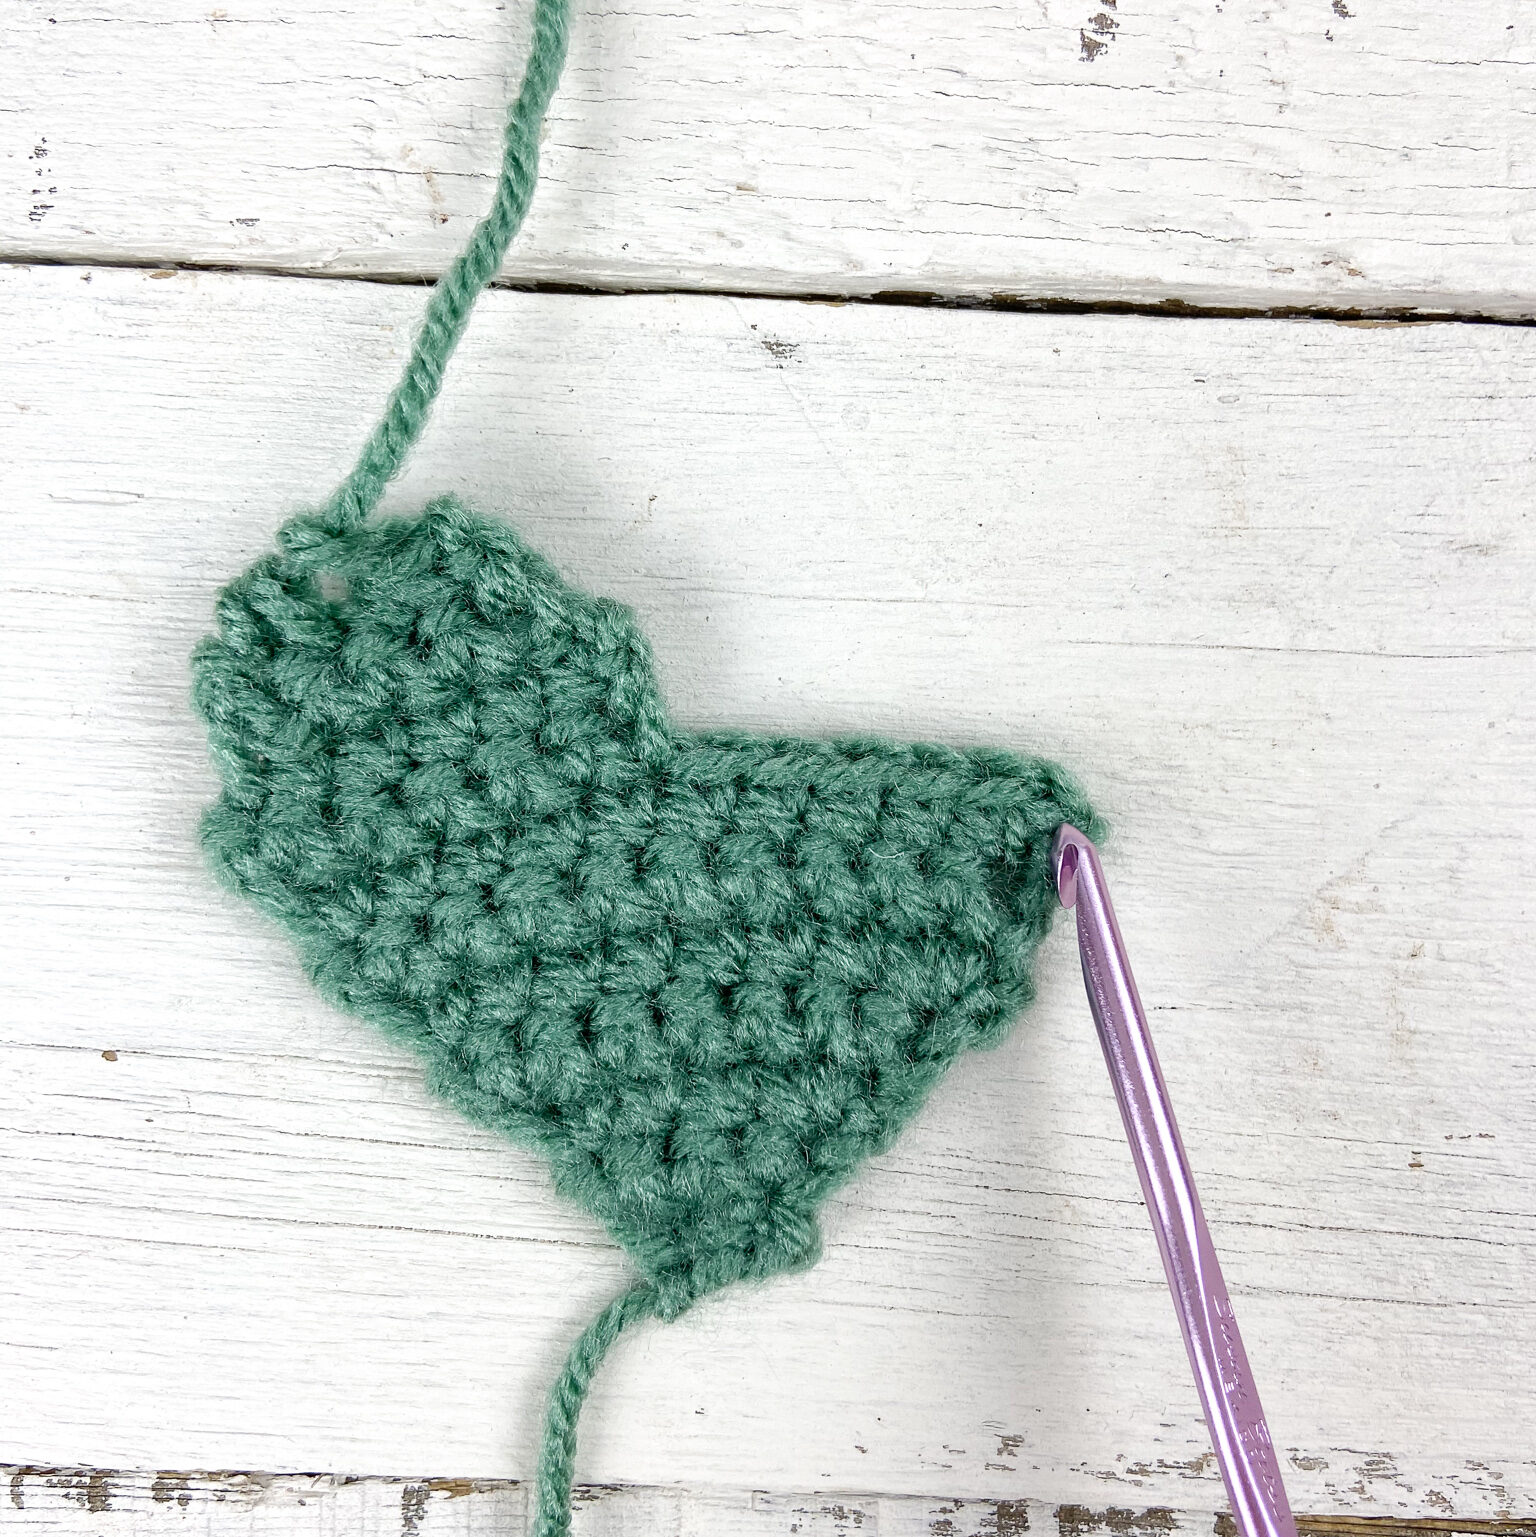
Repeat Rows 8 – 11, fasten off and weave in ends.
Assembling Shamrock Leaves
- Align the three hearts with the points touching in the center to form a shamrock shape.
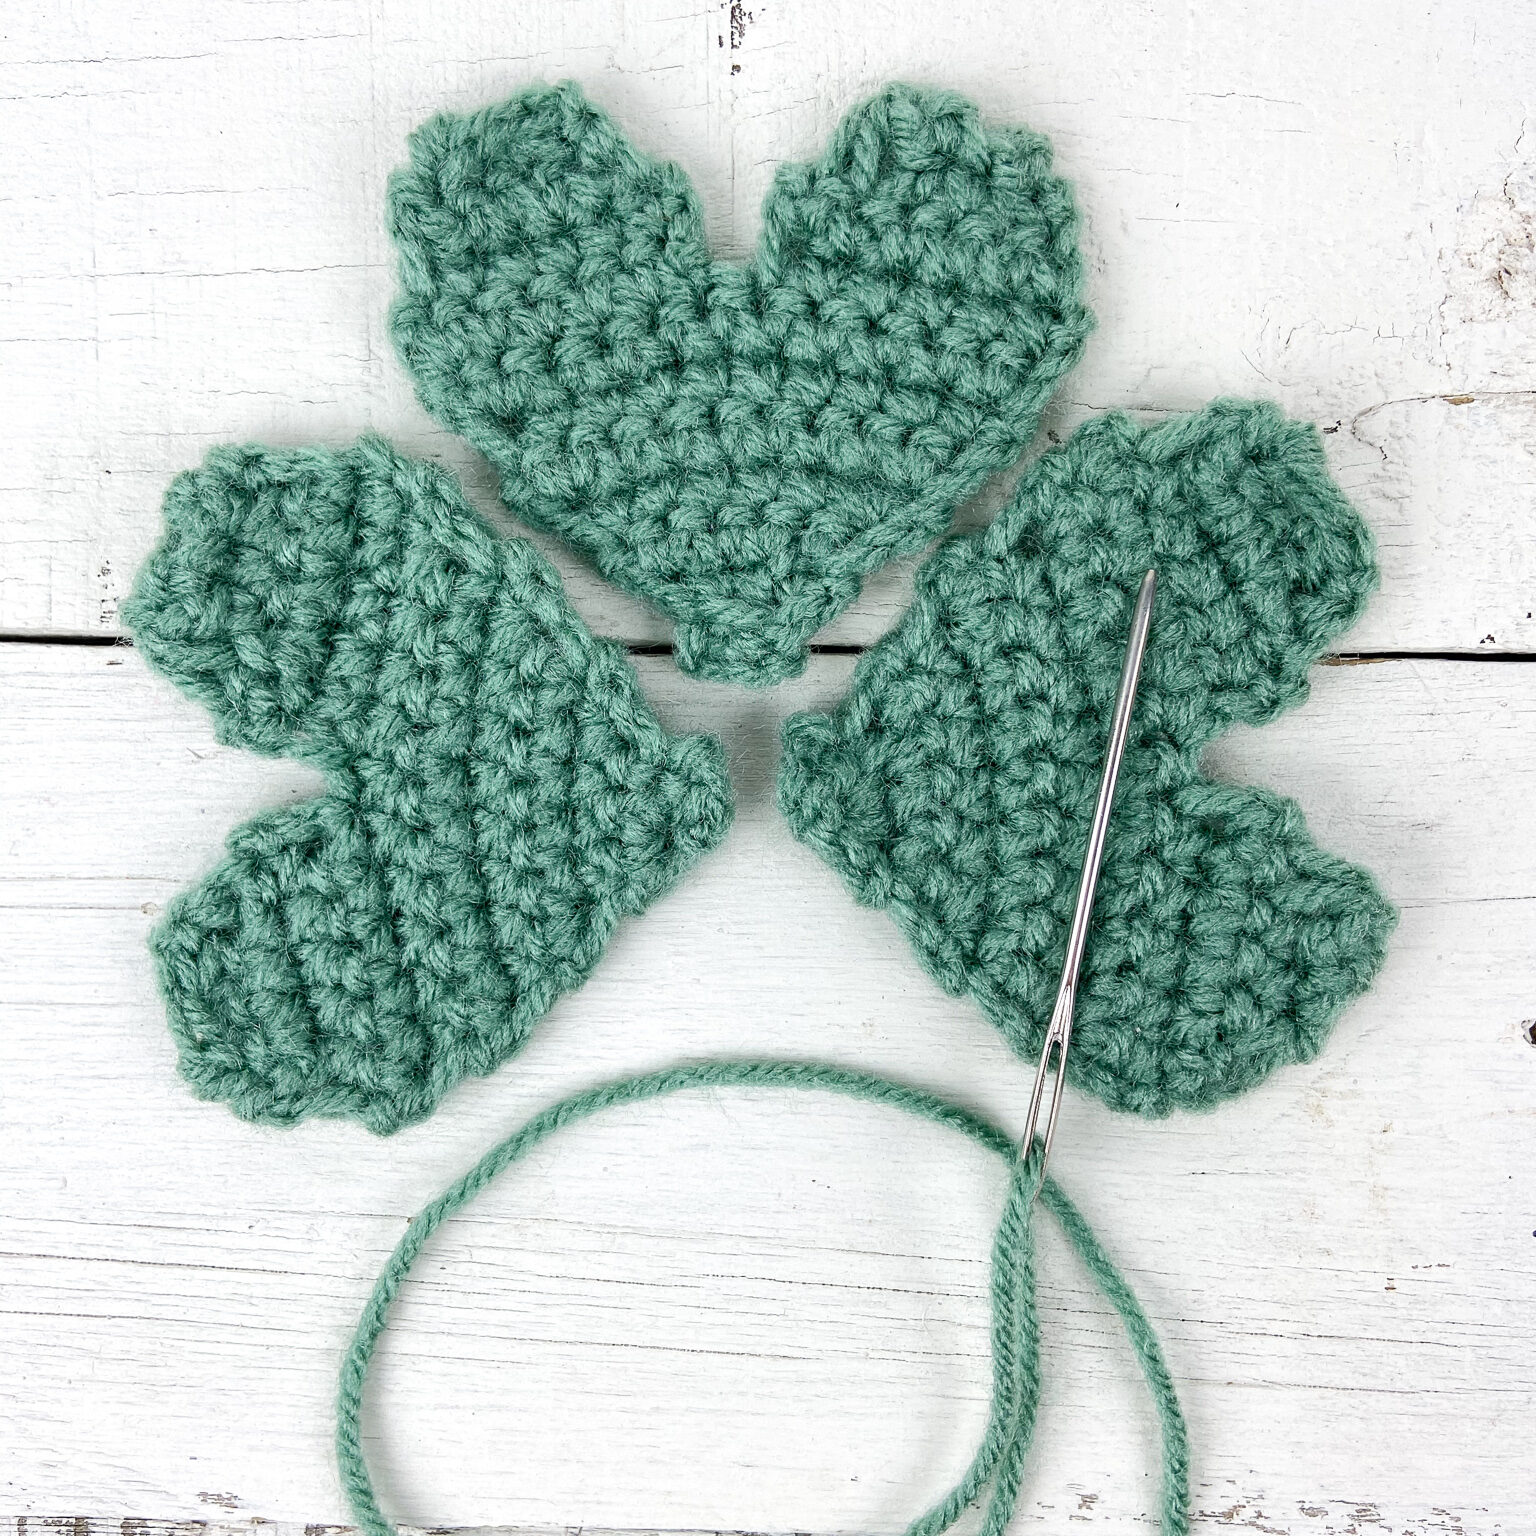
- Thread a yarn needle with a 15” length of corresponding color yarn and use a mattress stitch to sew the three hearts together where they touch. I sewed from the point of the heart up until about Row 4.
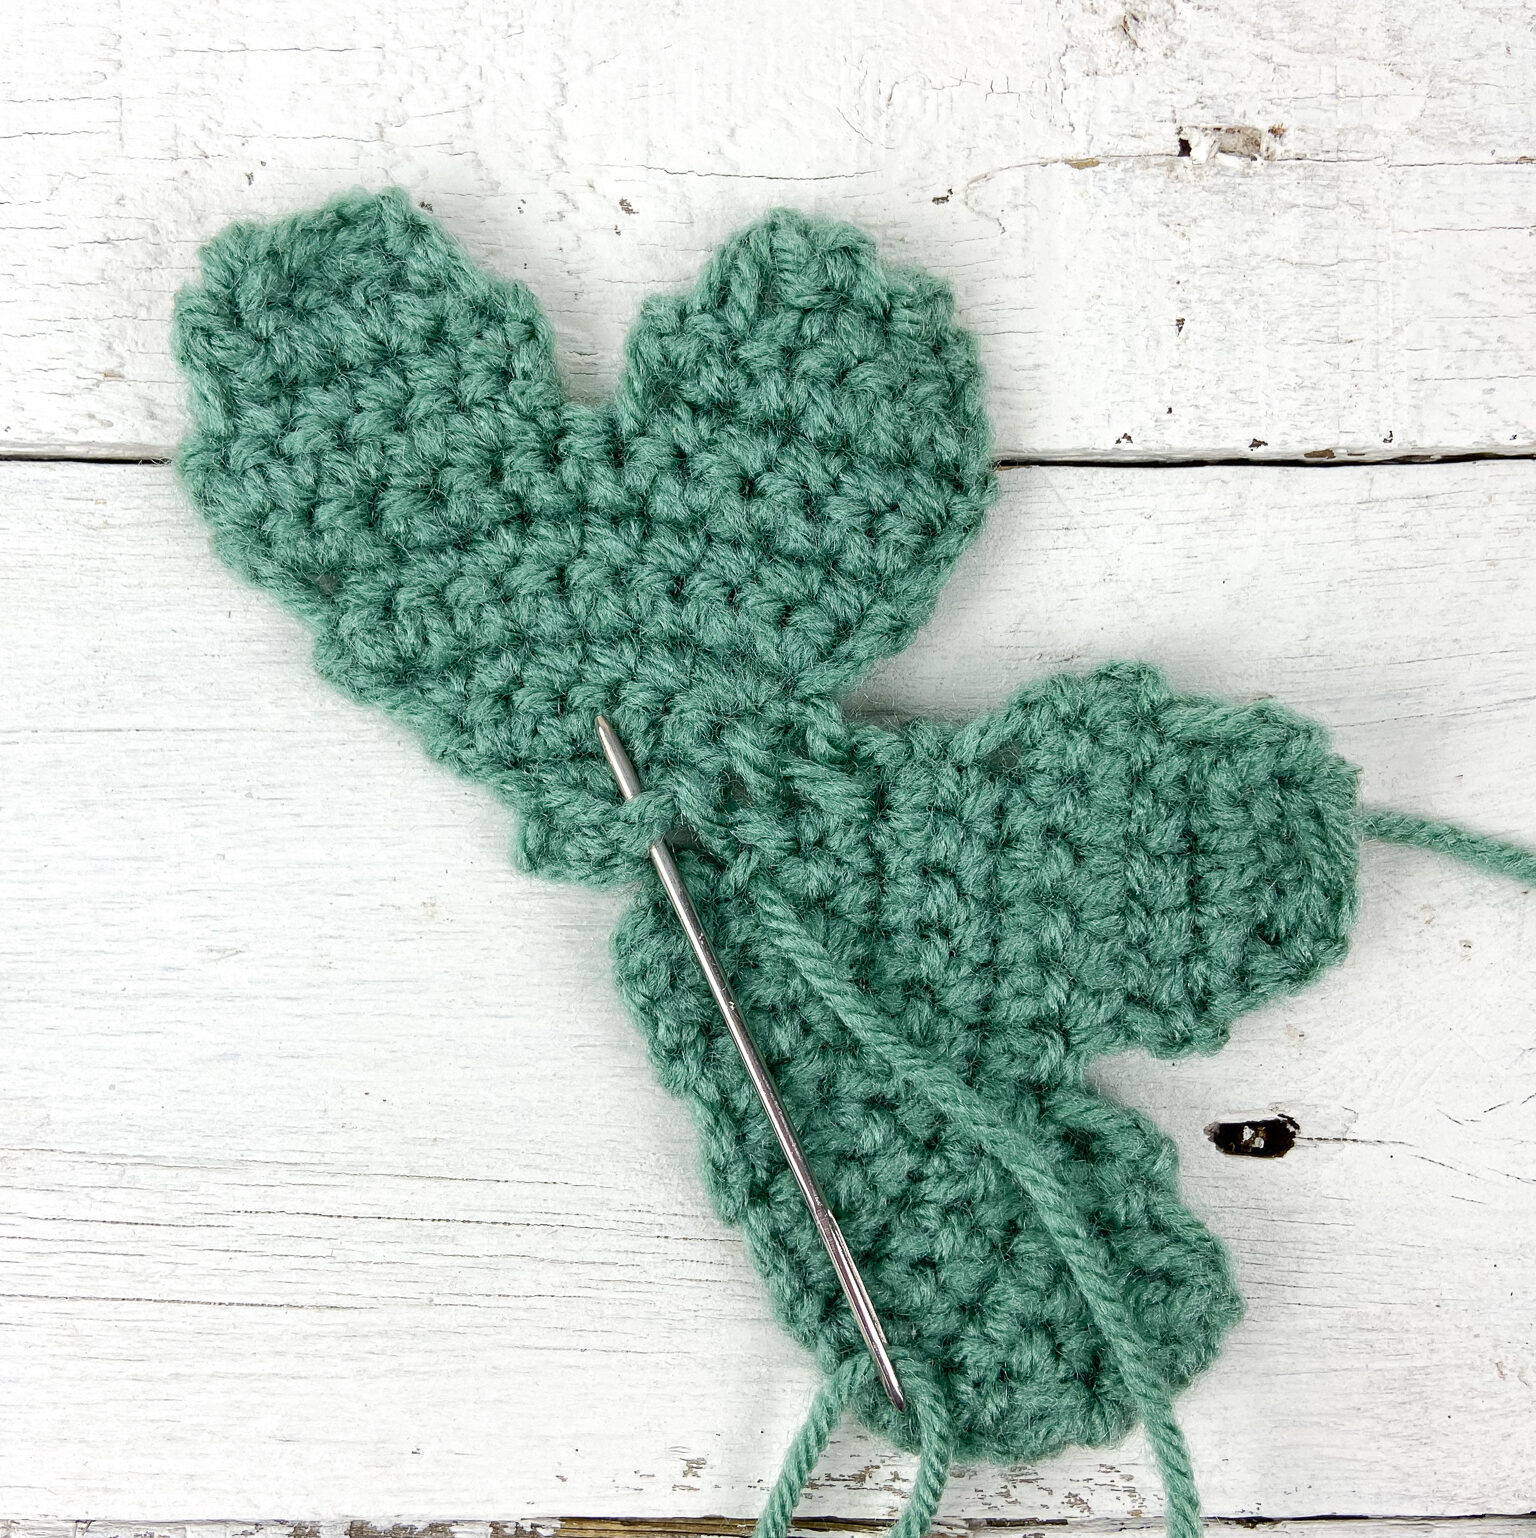
- Be sure to sew the three points together as well, this is where you will be attaching the “stem.” Fasten off and weave in ends.
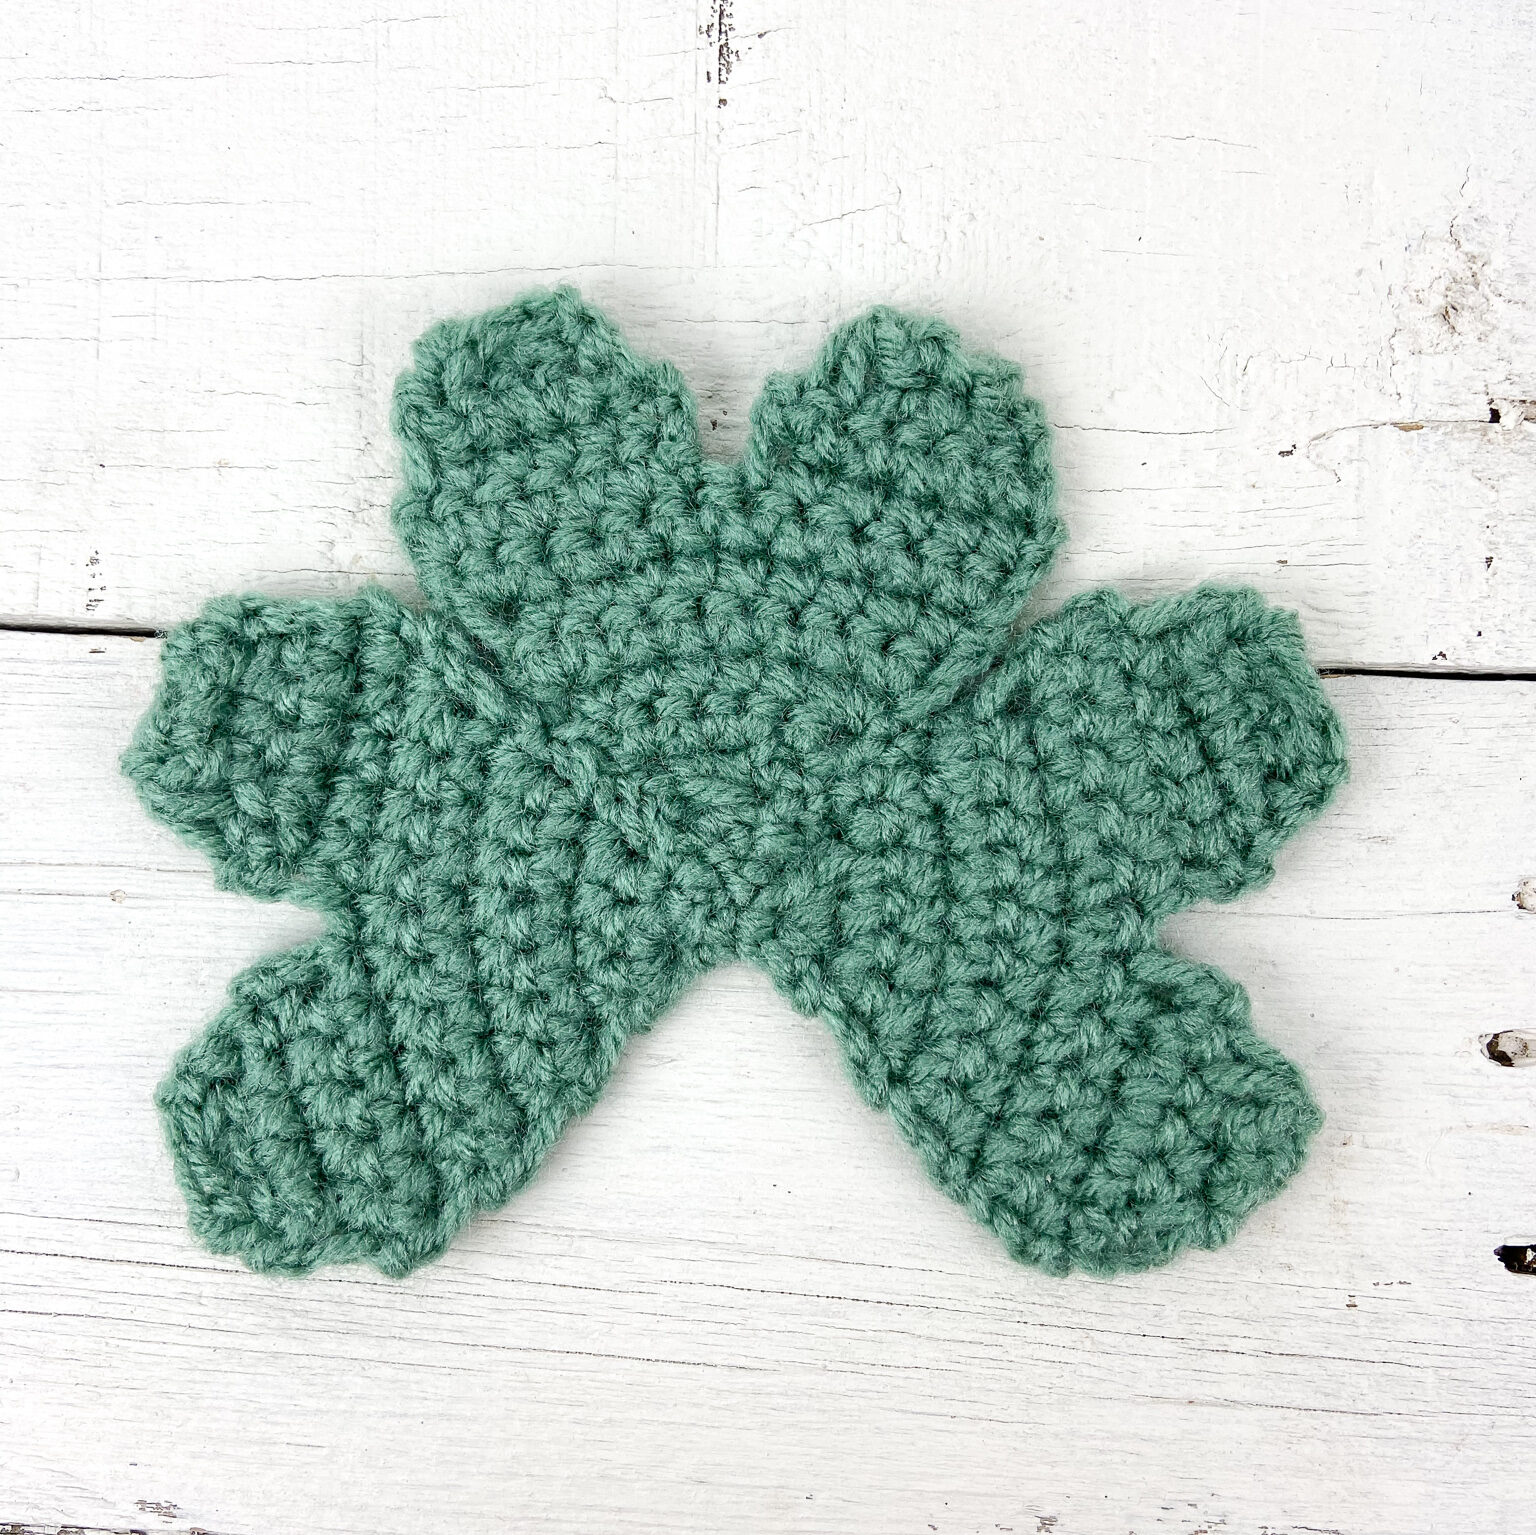
Shamrock Stem
- Insert your hook directly into the panel where the three points come together from the front side to the back (the “front side” can be whichever side looks the best).
- Pull up a loop and sl st to attach yarn.
- Ch 12
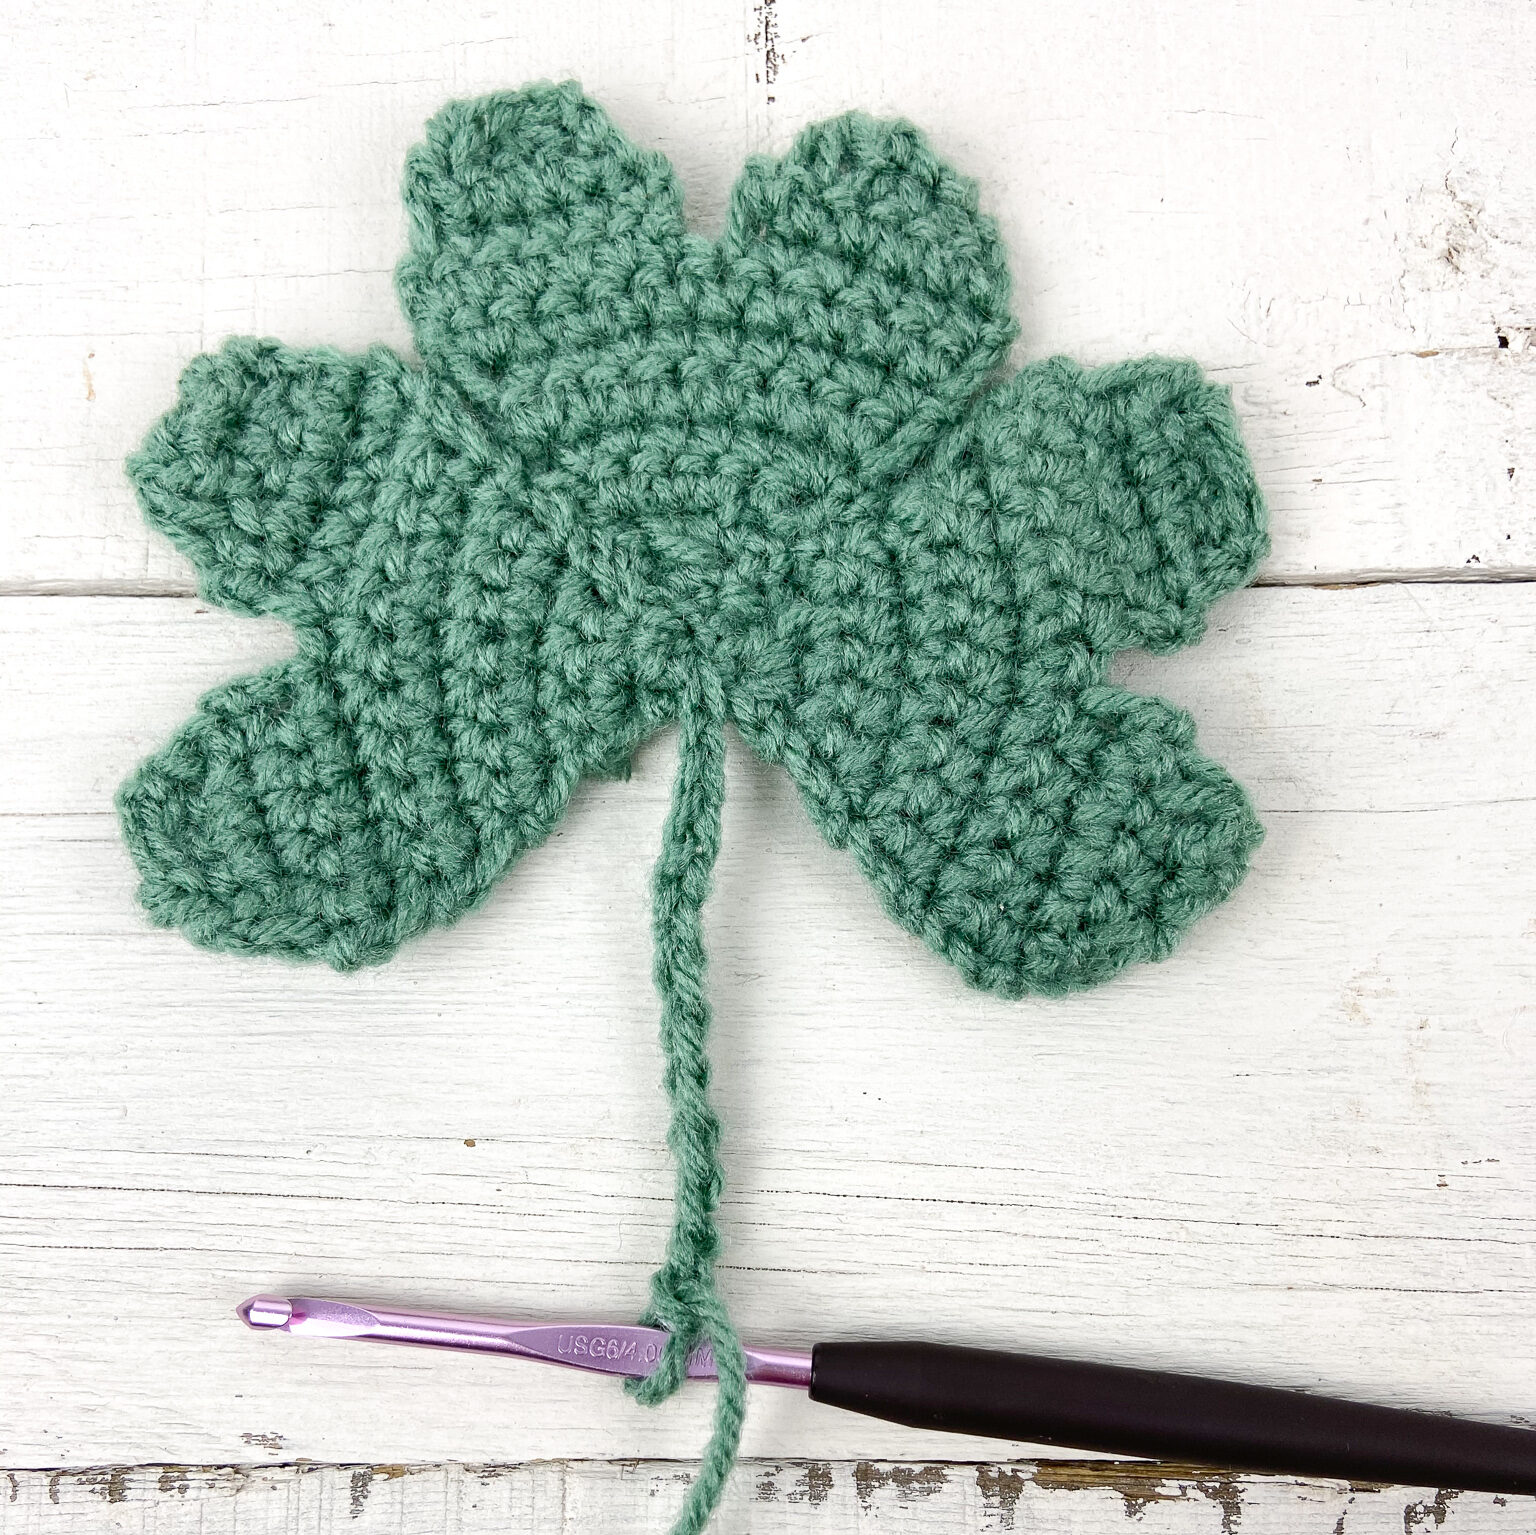
- Row 1: Dc in 4th ch from hook, hdc in next 2 sts, sc in last 5 sts. Sl st again at starting point to secure. Weave in any ends.
*Repeat from beginning for second panel.
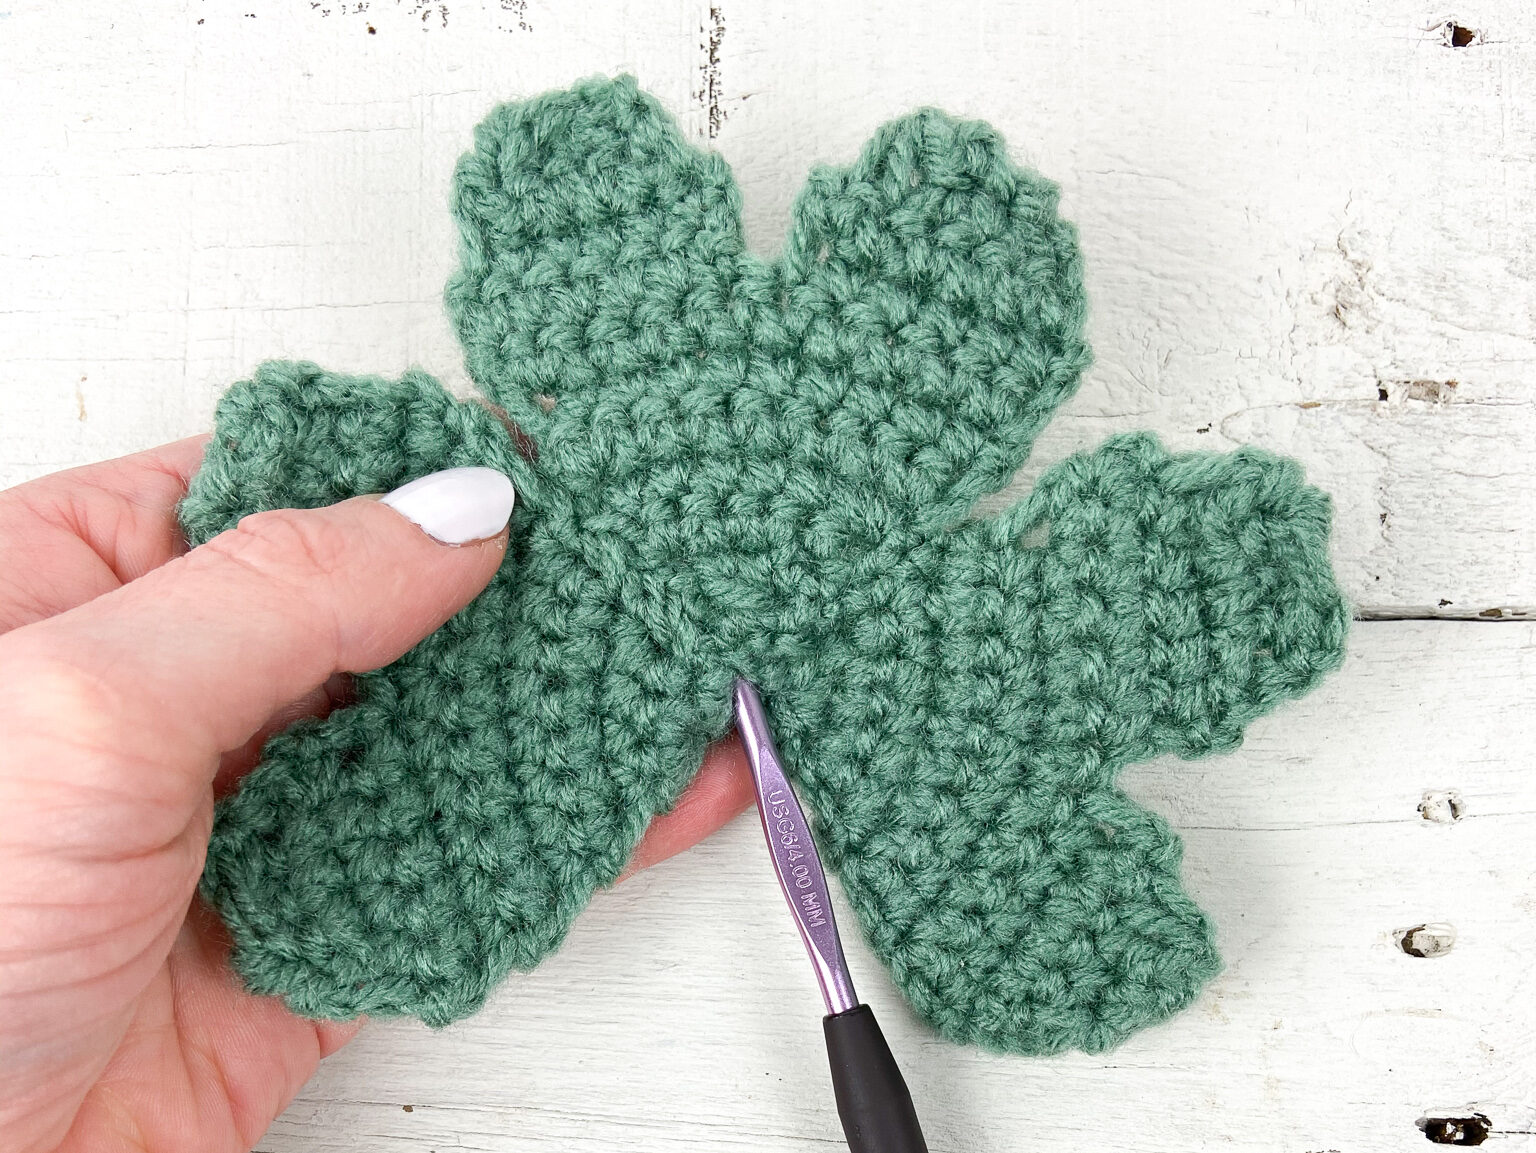
Shamrock Assembly
- Align two shamrock panels (the panel facing you will become the “front” of your shamrock so choose whichever looks the best).
- Still using G hook and corresponding OR contrasting yarn, sl st to attach yarn to the panels where the stem meets the leaf.
- Ch 1 and begin single crocheting through both panels to join the two together. Try to place your scs evenly as you work around the panels.
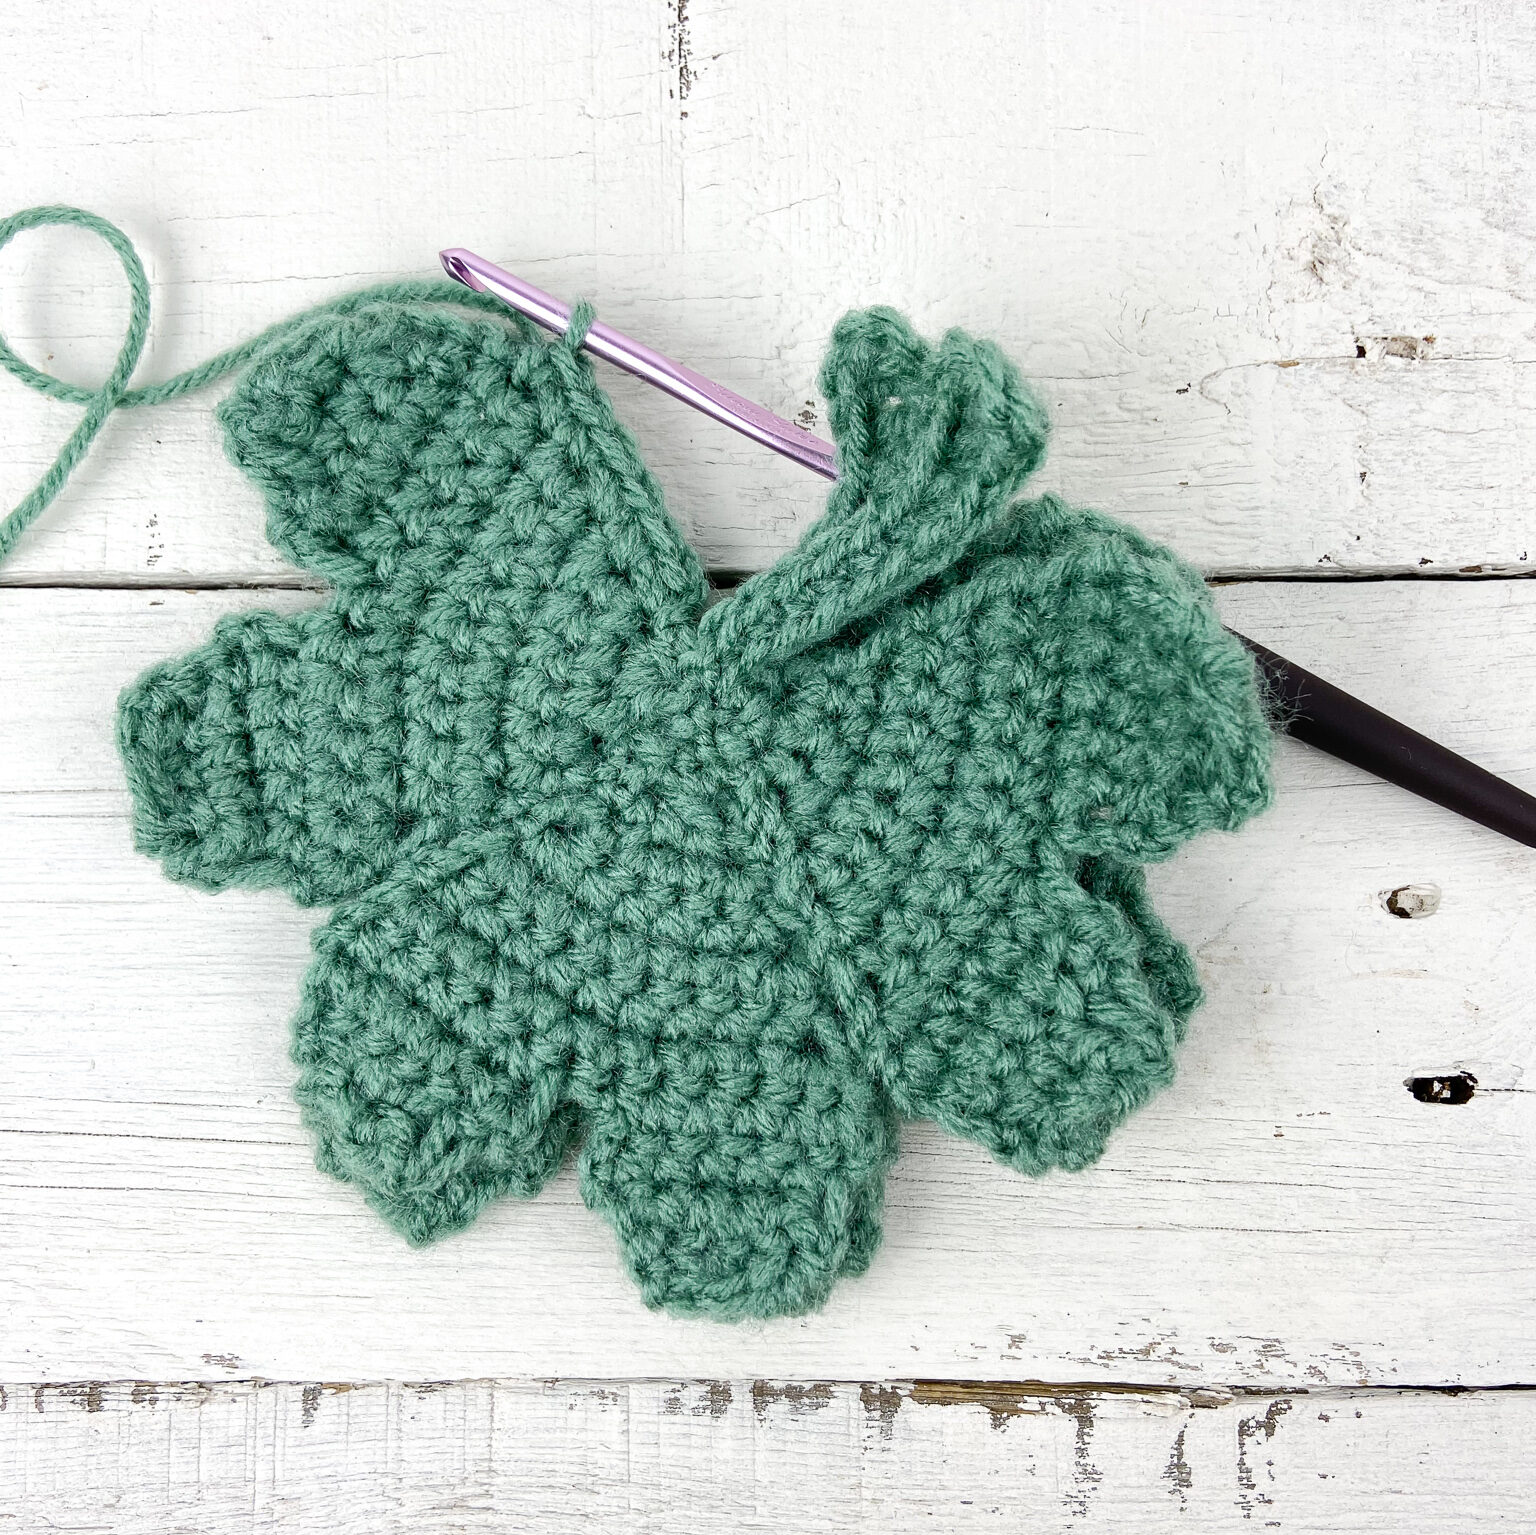
- At each “indent” (i.e. between the bumps of the hearts and where the leaves touch), work a sl st instead of a sc for a more defined look.
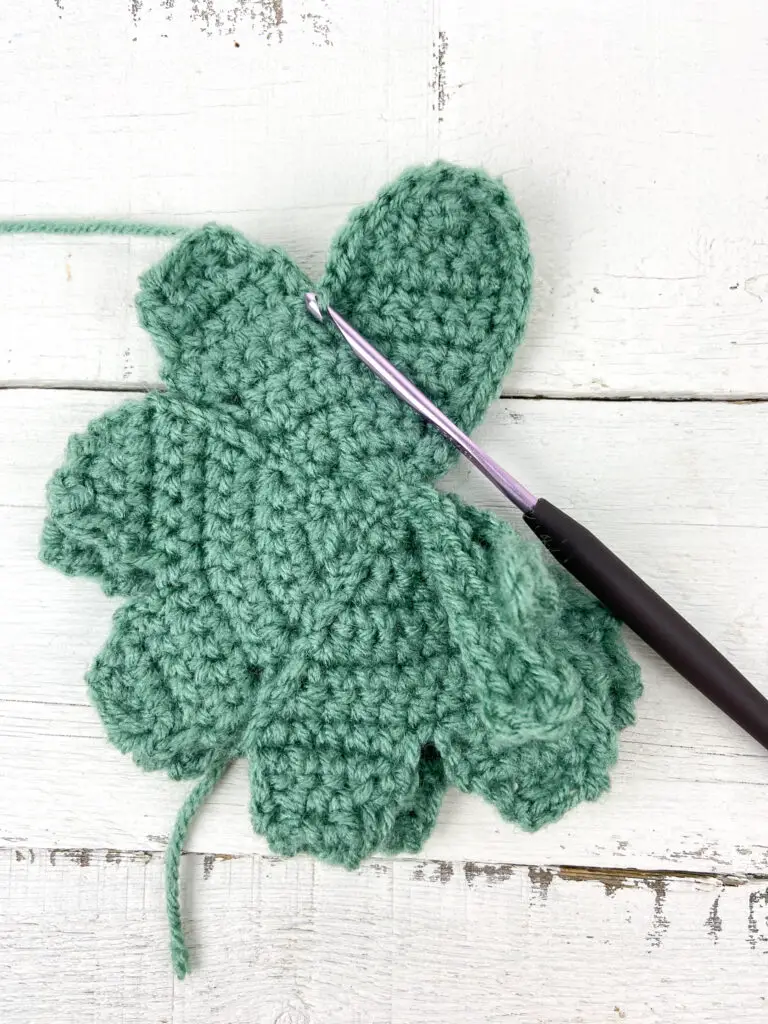
- Continue sc-ing around the leaves and stem. When you get back around to your first sc, sl st to join. Fasten off and weave in ends.
- Crochet shamrock complete!
Garland Assembly
Option A – twine
- Cut a 6’ length of jute twine.
- Lay the twine flat and space shamrocks evenly along the twine where you would like to place them.
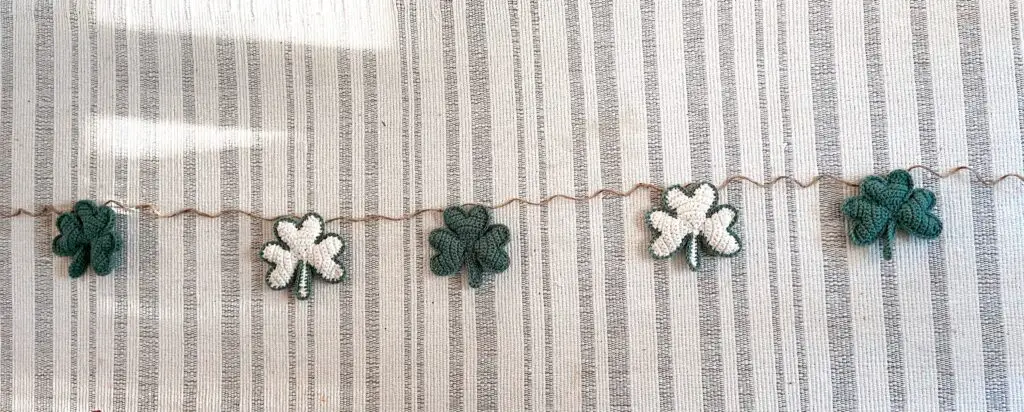
Note: I made 3 green and 2 white and green but the layout is up to you!
- Thread a yarn needle with the twine and pass the needle through the back panel of each shamrock to string. I found it to be sturdiest if I threaded it through two points on the top leaf.
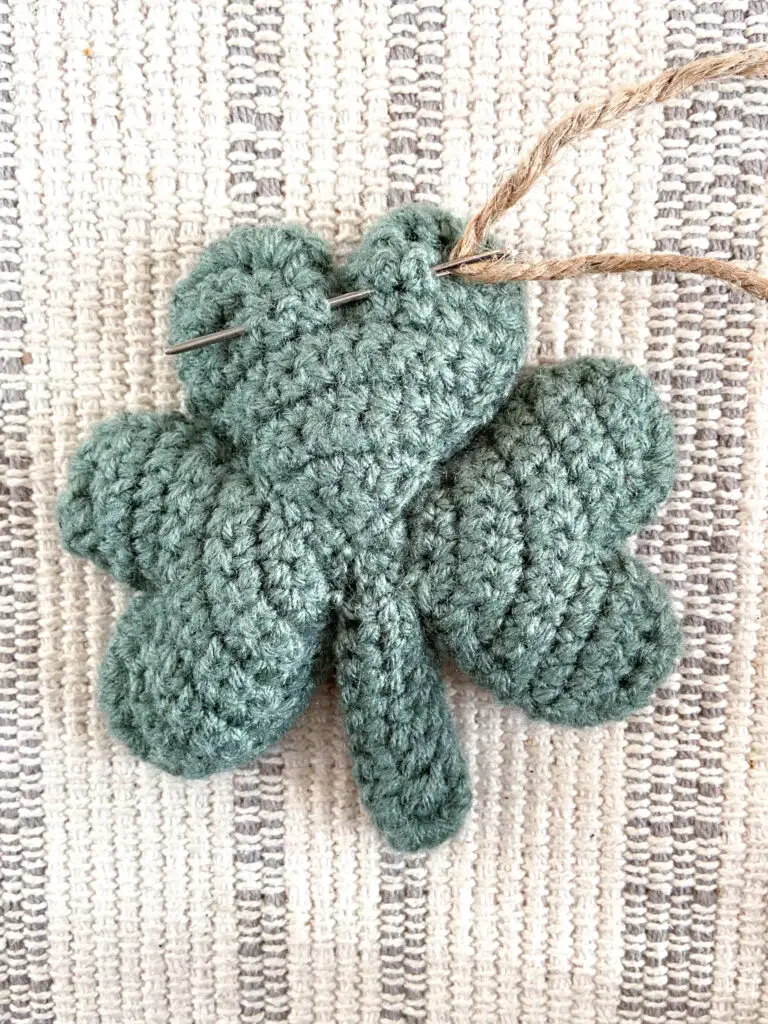
- My shamrocks seemed pretty secure with this method, but you may need to tie a knot at each point to keep them from sliding.
Option B – yarn
- Ch 250 with your color of choice. Fasten off.
- Lay chain out flat and evenly space shamrocks along chain.
- Then, using a small length of corresponding color yarn and a yarn needle, thread through the back side of the shamrock near the top.
- Next thread through the chain and tie tightly to secure. Repeat for each shamrock. Trim or weave in to hide any ends and you’re done!
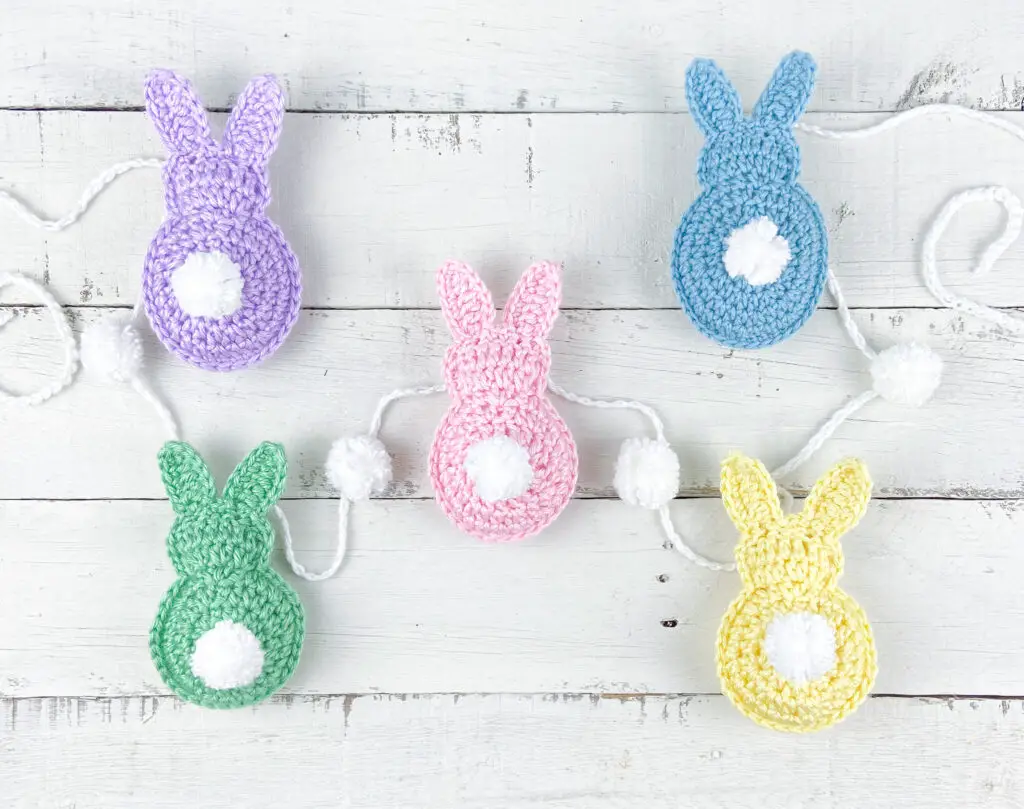
I hope you love this Crochet Shamrock Garland pattern! If you did, check out my other Garland Patterns and make one for every season!
Don’t forget to tag me on Instagram @theknottednest and use the hashtag #crochetshamrocks to share your project!
For more free project ideas, check out the Patterns section here on the blog!
Happy making!


2 Comments
Joyce
I would live a copy of the planner and patterns you offer!
Pingback: