Crochet Valentine Envelope – Free Pattern
Crochet this valentine envelope for some quick Valentine’s Day decor or use them as an adorable handmade Valentine treat delivery system for classroom parties! Scroll down for the free pattern or read on for some inspiration for how to use these crocheted valentines!
I have a bad (or good?) habit of thinking that I can make my own DIY version of nearly every piece of decor I see in the store. So when my daughter wanted to buy a cute valentine envelope garland at Hobby Lobby, I said, “we have yarn for that at home.” And so I locked myself into coming up with a crochet version. Fortunately, it was a pretty fast afternoon project and I thought I would share the results!
Ways to Use the Crocheted Valentine Envelopes
My original plan for these envelopes was to string several of them to make a garland or bunting for our fireplace. But as I was stitching them together, I realized they would be a cute way to package a treat for a classroom Valentine’s Day party! You could slip a paper valentine inside and/or a small piece of candy, stickers, or other small toy. I know my kids would love to get a little bouncy ball, fidget, or temporary tattoo!

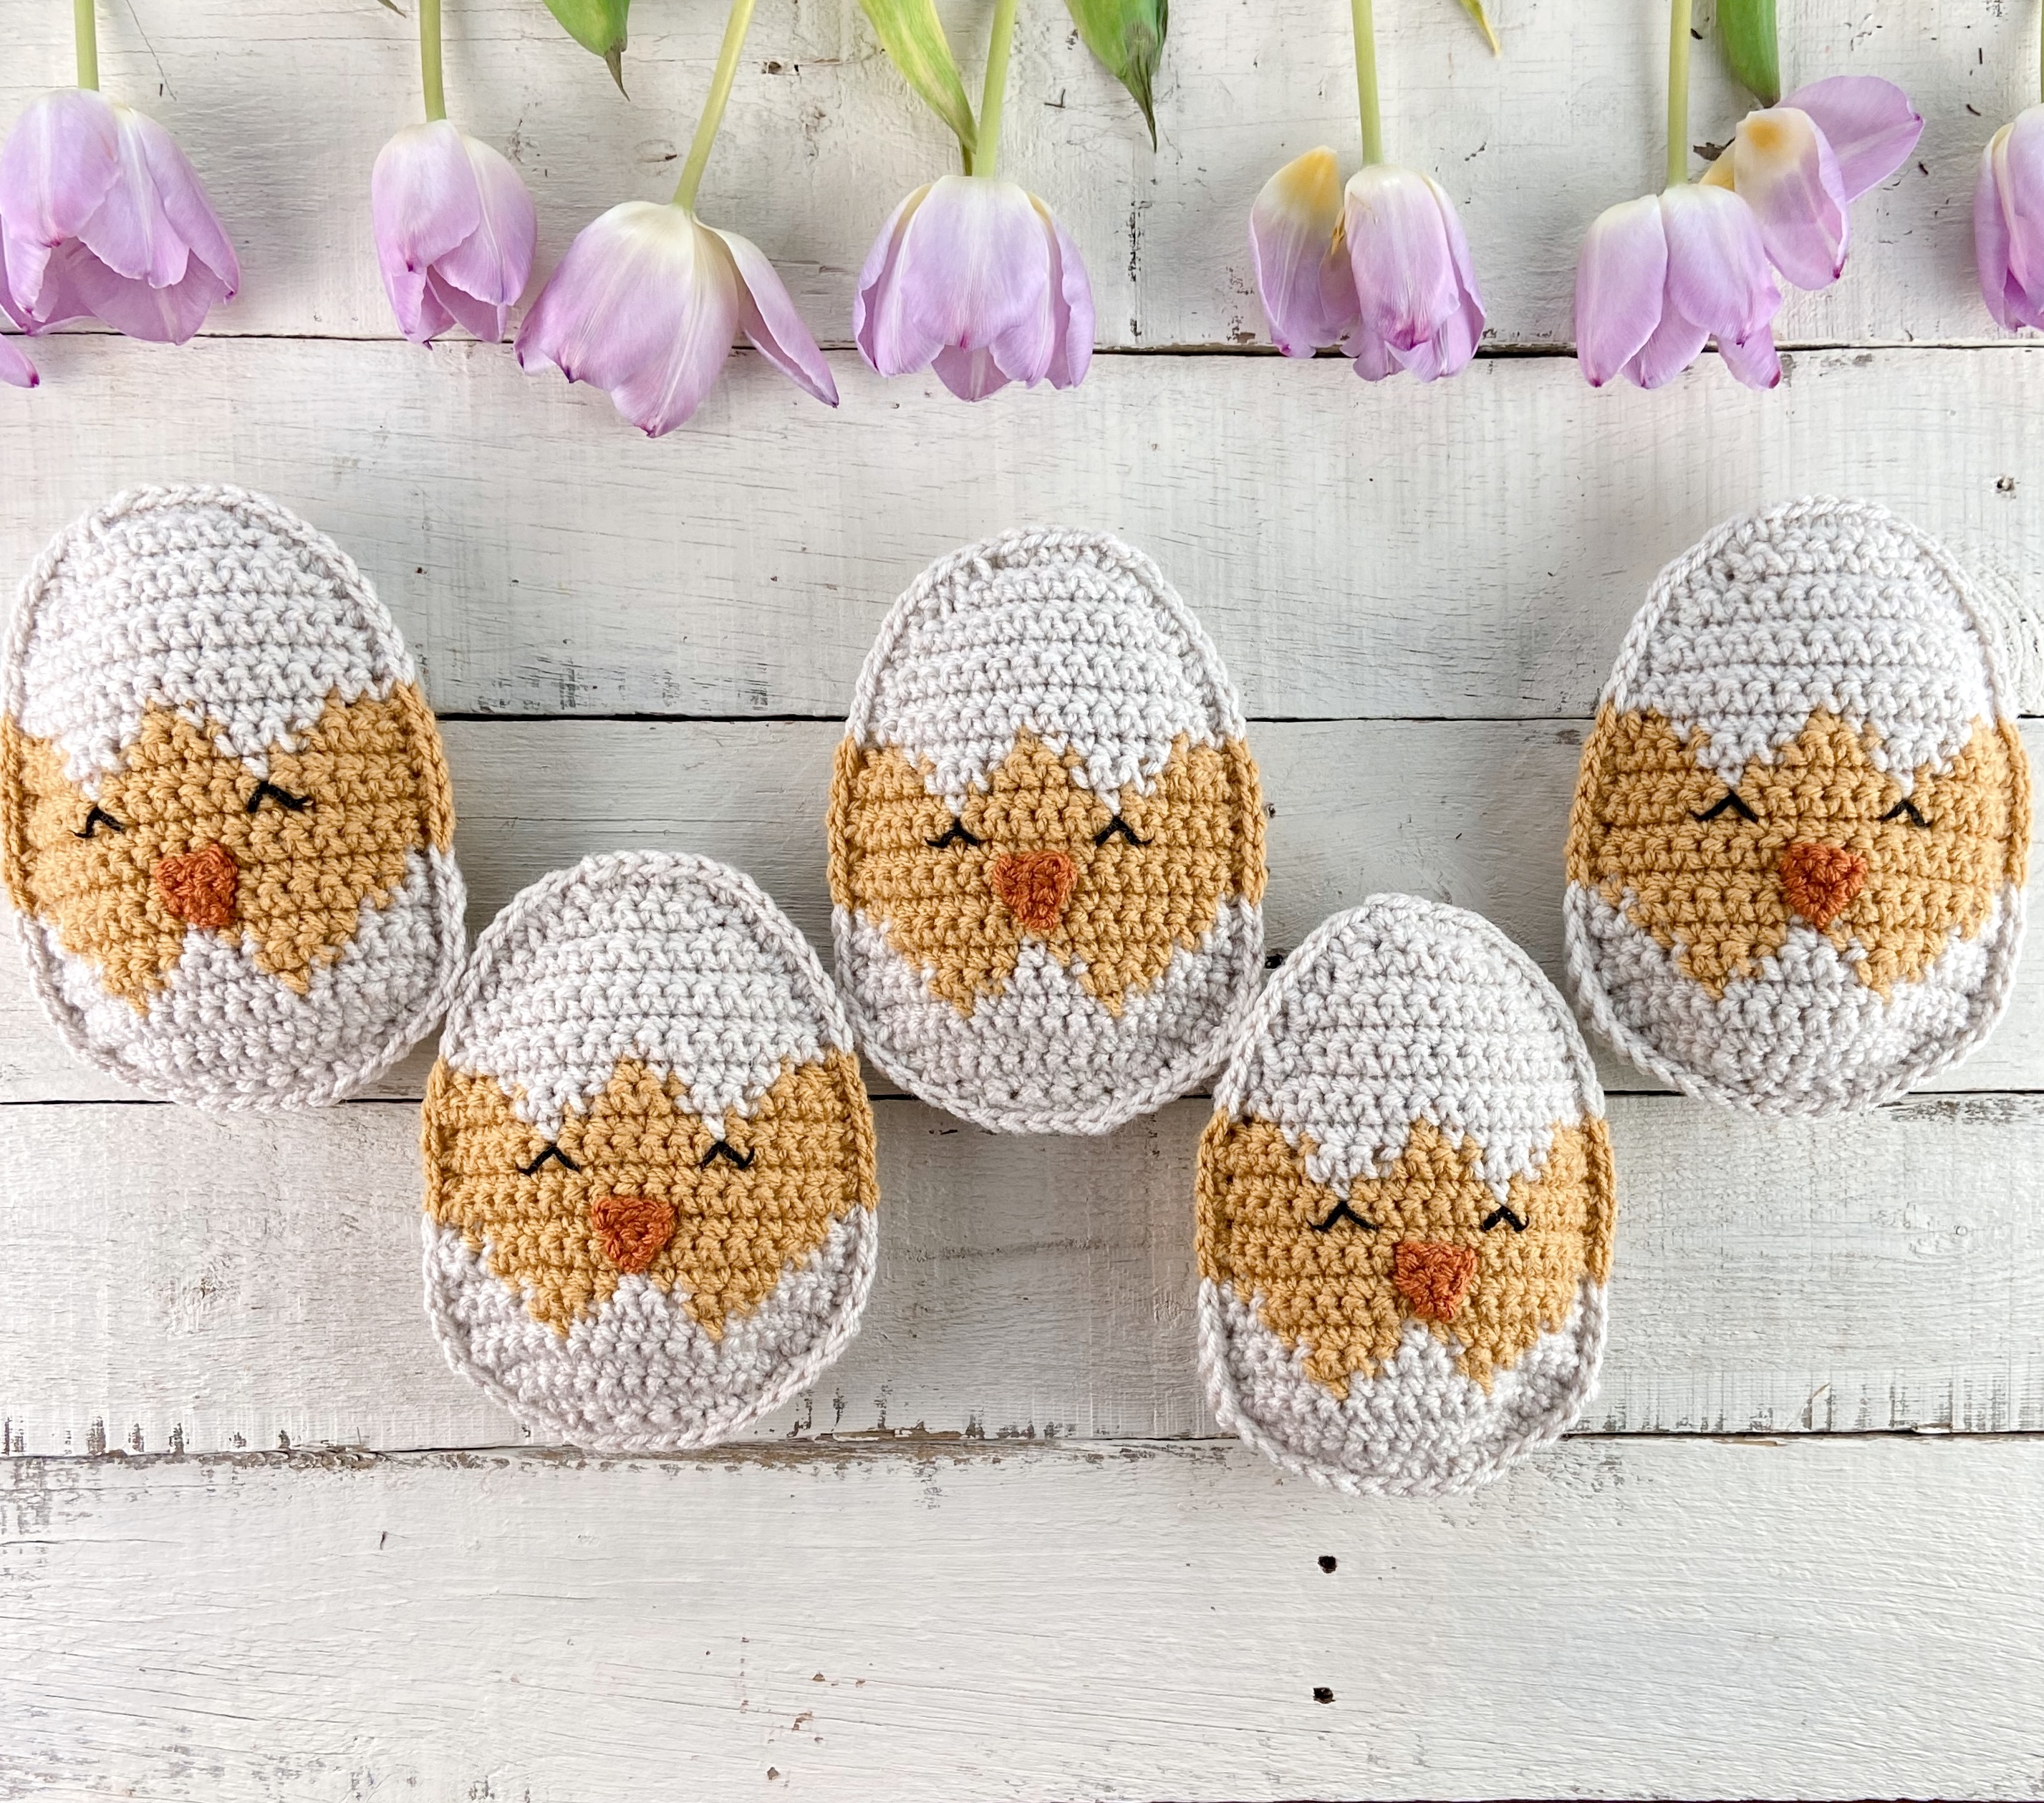
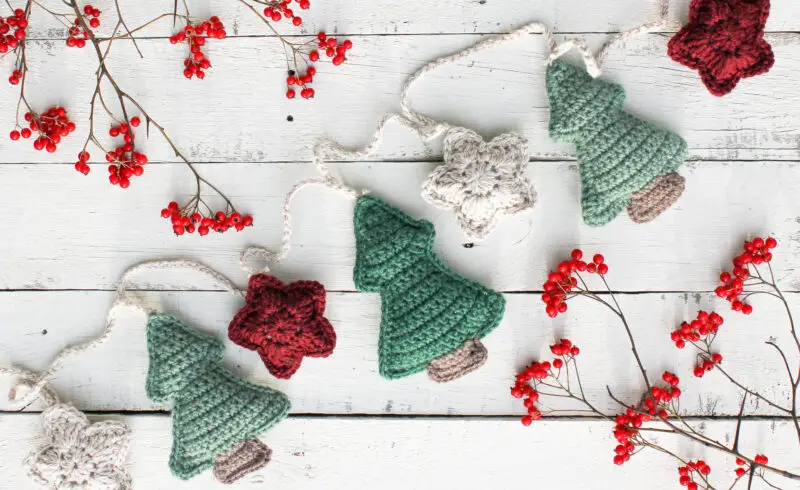
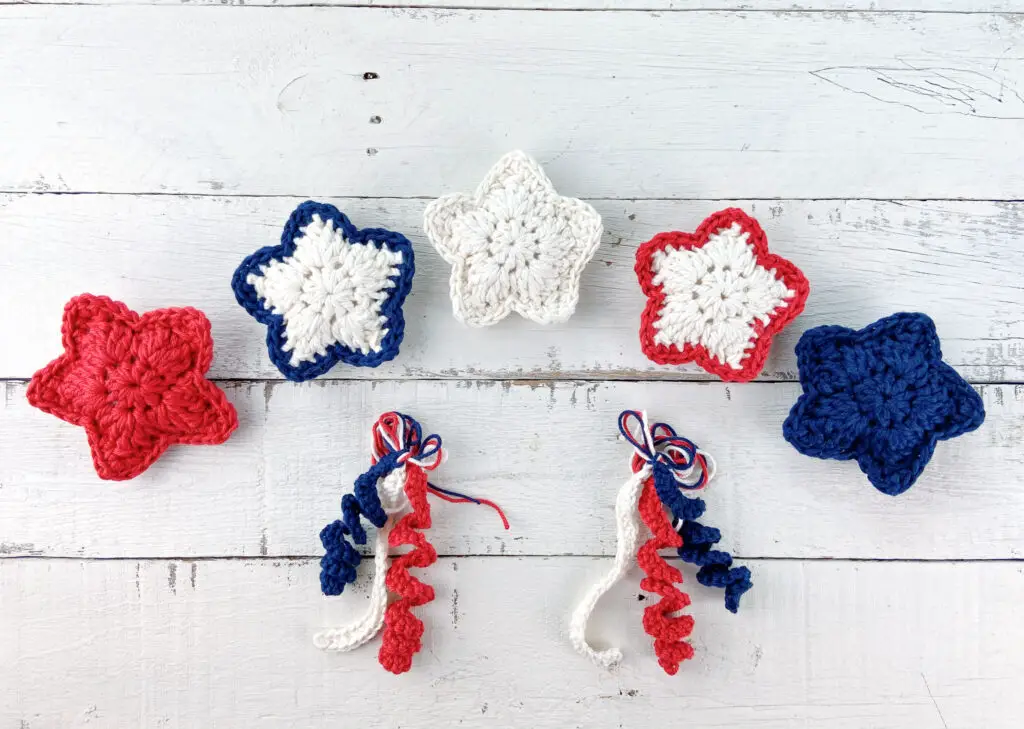
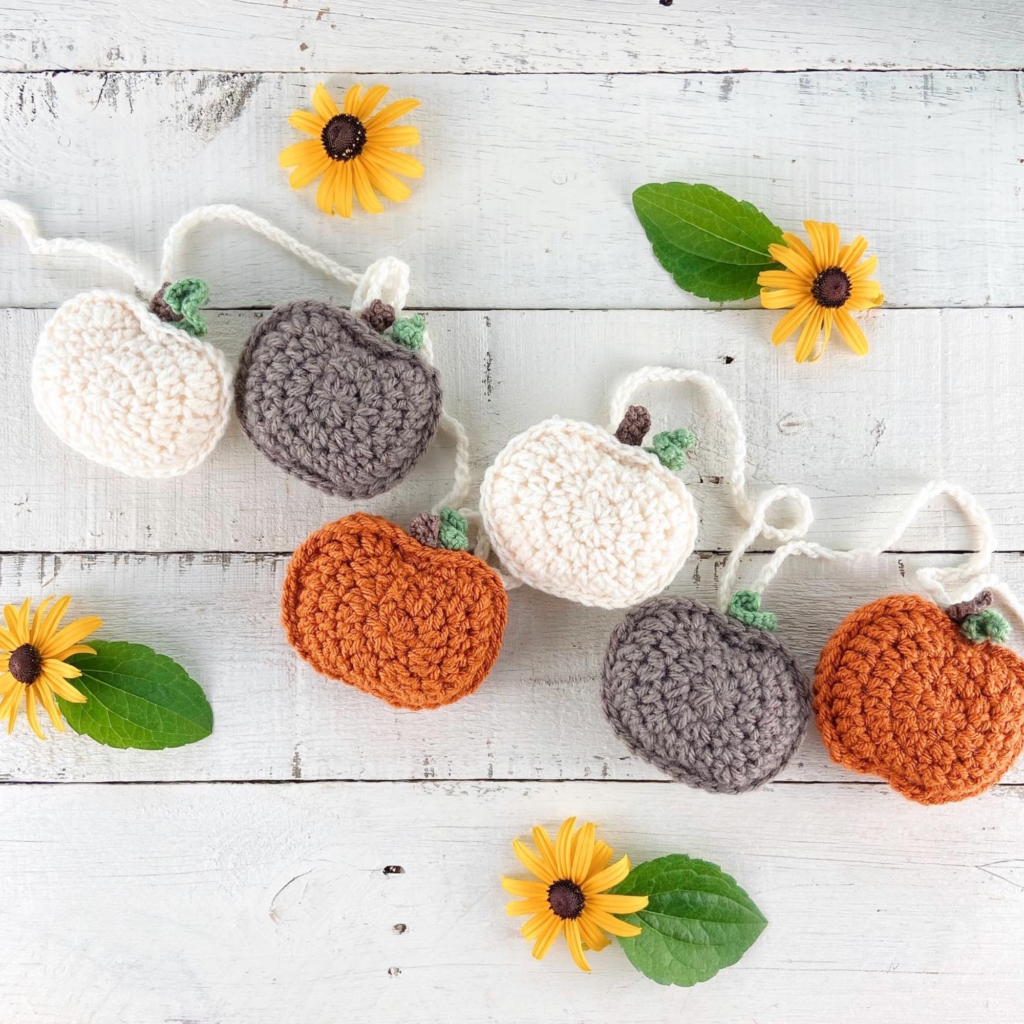
This isn’t my first rodeo with crocheted holiday decor…you can check out all my other seasonal and holiday patterns here! I even have another one for Valentine’s Day. Because, ya know, we like a little variety around here!
Materials
The materials for this project are fairly minimal. It’s a great stash buster. For each envelope, you’ll need about 20 yards of worsted weight yarn for the main envelope and about 6 yards of contrasting color yarn for the outline detail and the heart.
You will also need a size G hook, a yarn needle and scissors.
Ok! Lets make some valentines!

Follow along with the video tutorial here:
Crochet Valentine Envelope Garland Free Pattern
Skill Level
Easy – Level 2: this pattern is mainly worked in single crochet, with some decreasing. Surface slip stitch is used to join the sides of the envelope. The heart is made separately and sewn on.
Materials
- Yarn (For each envelope):
- About 20 yards of worsted weight (size 4) yarn for the main color.
- About 6 yards contrasting worsted weight yarn for the outline and for the heart.
- Hook: size G/6 (4.00mm)
- Yarn needle, scissors.
Dimensions
The envelope is approximately 4″ x 3″.
Gauge
8 sc x 8 rows = 2” square using single crochet.
Notes
- Working in the Back Bump – For Row 1 of the envelope, the instructions say to “work in the back bump of the chain.” To do this, make your initial chain as instructed. You will see the two loops of each chain in a V-shape. Turn the chain over and on the back of each “V” you should see another loop or “bump.” This is what you will work your Row 1 stitches into. This make a cleaner looking starting edge. See this blog post for more info on this technique.
- The outline detail is added using surface slip stitch. Detailed instructions for this technique are included in the pattern.
- The ch 1 at the beginning of each row does not count as a stitch.
- Pattern is written in US crochet terms.
Special Stitches
Decrease (dec) – Insert hook into the first stitch, yarn over and pull up a loop, insert hook into next stitch, yarn over and pull up a loop (3 loops on hook), yarn over and pull through all 3 loops on the hook.
Abbreviations
- ch = chain
- dec = decrease
- sc = single crochet
- St(s) = stitch(es)
Crochet Valentine Pattern
Envelope
Using white (or main color), chain 15.
Row 1: (Working in the back bump of the chain) Sc in 2nd chain from hook and in each chain across. Ch 1, turn. (14 sc)
Rows 2 – 24: Sc in each stitch. Ch 1, turn. (14 sc)

Row 25: Decrease over the first two stitches, sc in each of the next 10 sts, dec over the last two stitches. Ch 1, turn. (12 sts)

Row 26: Dec over the first two stitches, sc in each of the next 8 sts, dec over the last two stitches. Ch 1, turn. (10 sts)
Row 27: Dec over the first two stitches, sc in each of the next 6 sts, dec over the last two stitches. Ch 1, turn. (8 sts)
Row 28: Dec over the first two stitches, sc in each of the next 4 sts, dec over the last two stitches. Ch 1, turn. (6 sts)
Row 29: Dec over the first two stitches, sc in each of the next 2 sts, dec over the last two stitches. Ch 1, turn. (4 sts)
Row 30: Dec over the first two stitches, dec over the last two stitches. (2 sts)
Fasten off and weave in ends.

Folding the Envelope
Fold the envelope panel in thirds as shown below. The bottom edge should line up with Row 24 once folded. (Optional) Use straight pins or a yarn needle to hold the envelope in place while you secure the sides.


Securing the Sides and Adding the Outline
The sides are joined and the outline detail is added using surface slip stitch. This section will walk you through how to do the surface slip stitch. With contrasting color yarn and the front side of the envelope facing you (the side with the triangle flap),
- Insert empty hook through both layers at the very bottom right of the envelope, about 1/4 inch in from the edge.
- Lay the contrasting yarn over your hook and pull back through both layers of the the envelope.

3. Insert your hook into the next space (where ever looks good to you, see schematic below for the direction you should work), yarn over and pull through your work…
4. …and pull through the loop on the hook.
5. Repeat Steps 3 and 4 until you reach the the top of where the two sides of the envelope need to be joined. Fasten off and weave in ends.


Repeat Steps 1 – 5 for the other side of the envelope.

For the V-shaped flap detail, attach the contrasting yarn at the top right of the triangle. You will only be working through the one layer for the flap. When you get to the point of the triangle, do not fasten off. Rotate your work and continue surface slip stitching to the top left of the flap. Fasten off and weave in ends.

Heart
Using contrasting color, yarn, make a magic circle.
Round 1: Ch 2, working into the magic circle:
2 hdc,
2 sc,
1 hdc,
2 sc,
2 hdc,
ch 3,
pull magic circle closed and slip stitch into the center to secure. Fasten off leaving a tail. Tie the starting tail and finishing tail together. Use these tails to secure the heart to the envelope.

Assembly Options:
Option 1 – Use the envelope for gifting: Attach the heart at the point of the flap by sewing the tails through just the flap of the envelope and leave the flap open. Tie off on the underside of the flap and weave in ends. Fill the envelope with treats or a valentine note.

Option 2 – Use the envelope for decor: Attach the heart at the point of the flap by sewing the tails through the flap and both layers of the envelope. Tie off at the back and weave in ends. You could attach a hanging loop and use the crochet valentine envelopes as ornaments, or make several and string them as a garland.

I hope you enjoyed this crochet valentine pattern! Tag me on Instagram @theknottednest to share your project. You can find more project ideas and patterns in the Patterns Section here on the blog.
Happy making!
