Modern Farmhouse Crochet Dish Towel
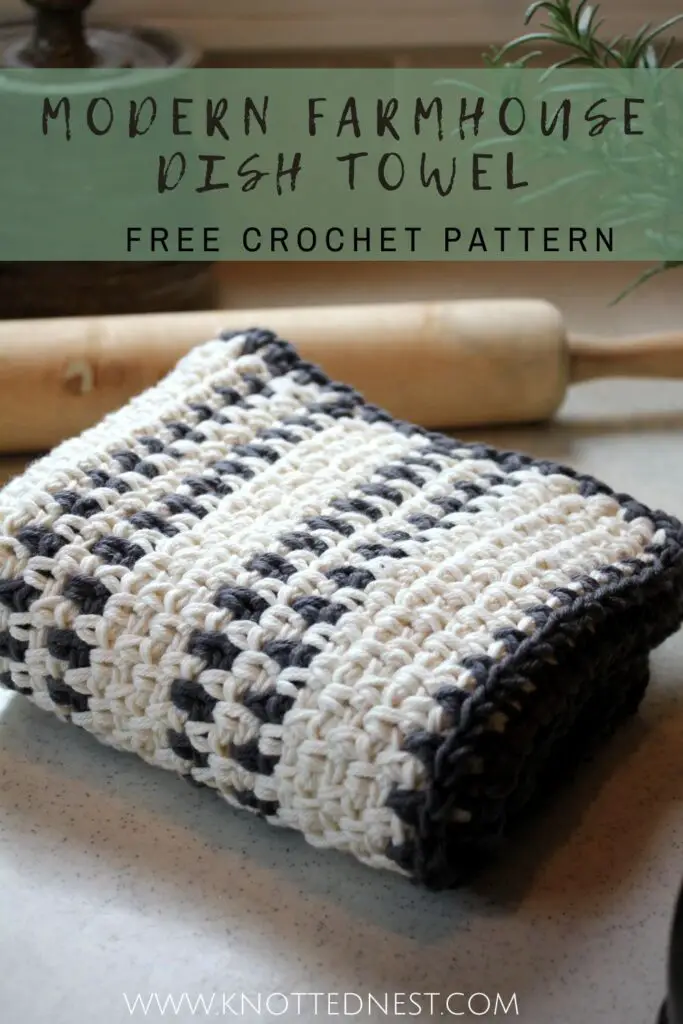
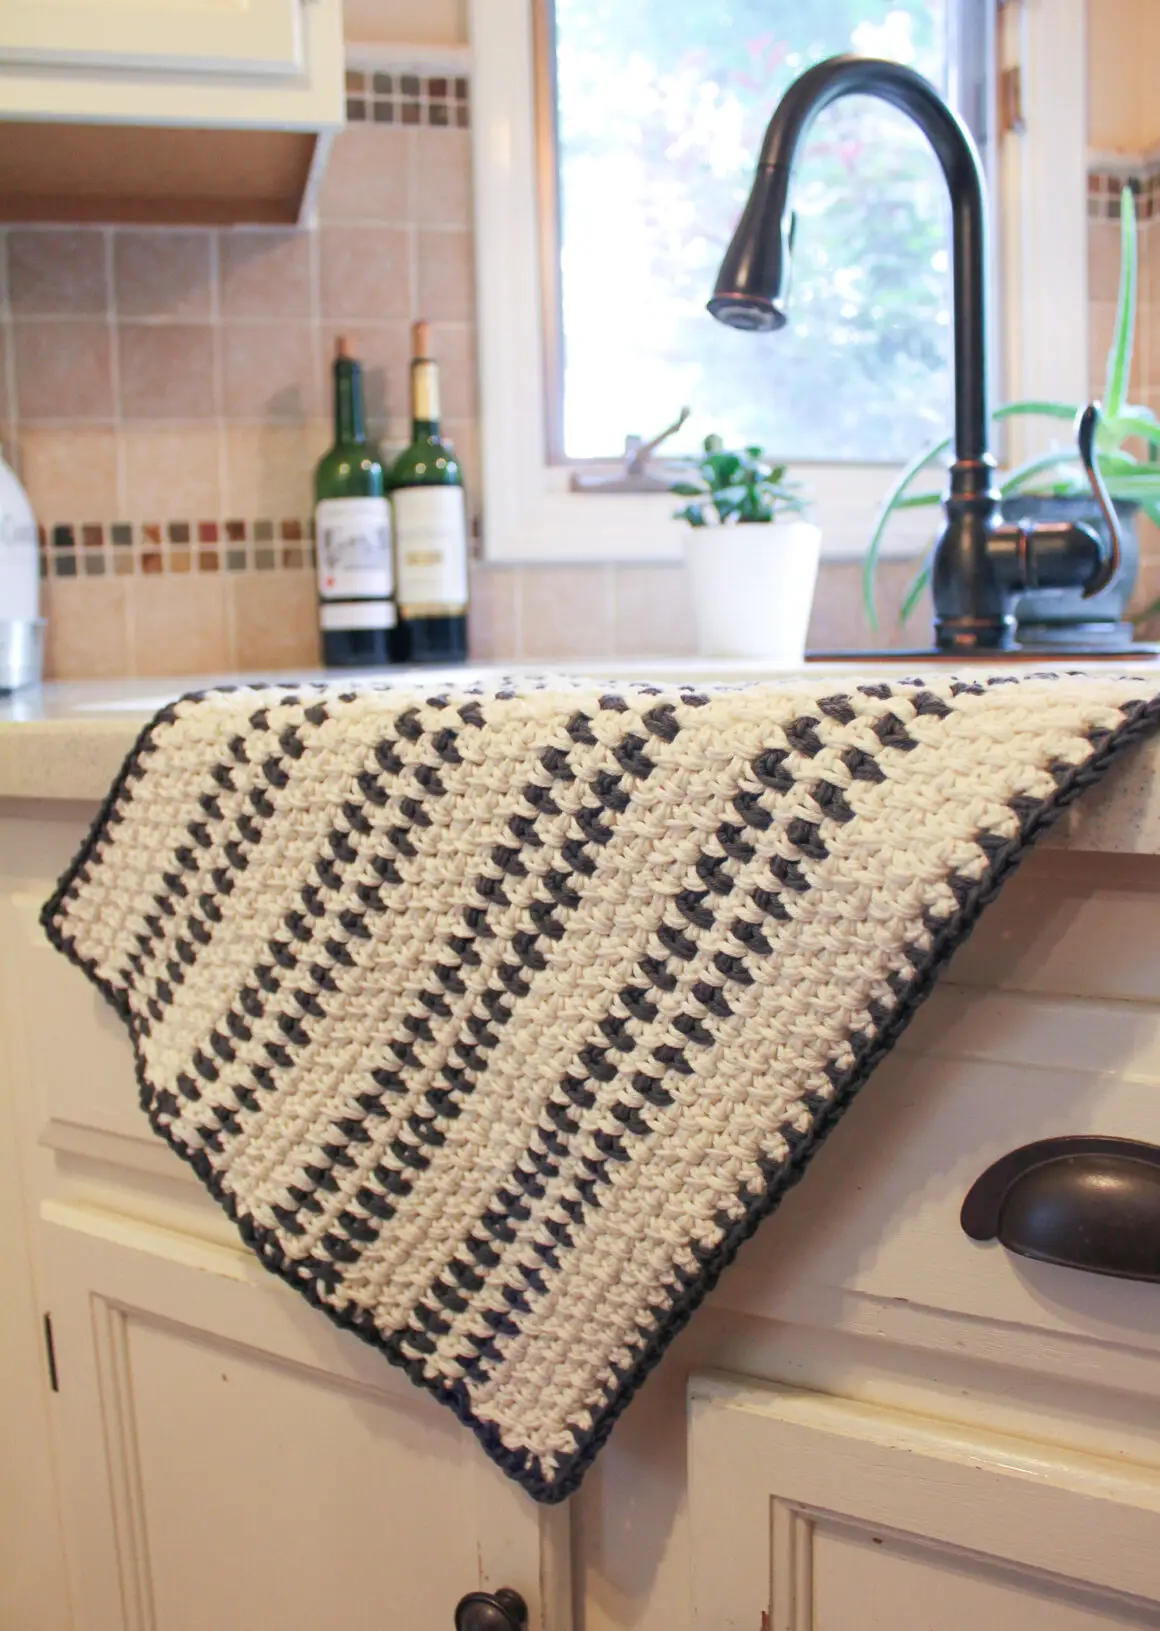
This crochet dish towel pattern is totally beginner friendly and is a fast and easy way to add a handmade touch to your modern farmhouse kitchen!
Hey guys! I am so excited to share my latest pattern with you! This Modern Farmhouse Crochet Dish Towel is actually an updated version of a design I came up with a few years ago as part of a bridal shower gift. I loved the original design, but life happened (baby #4 arrived!) and I never got around to writing up the pattern. Now that the little guy is a bit more independent, it felt like a good time revisit this dish towel – and I couldn’t be more thrilled with the result!
Part of the reason I’m so obsessed with this revamp is the yarn I used for the new version of this kitchen towel. You guys, Dishie yarn from WeCrochet totally lives up to the hype! Hands down one of the best cotton yarns I’ve ever used.
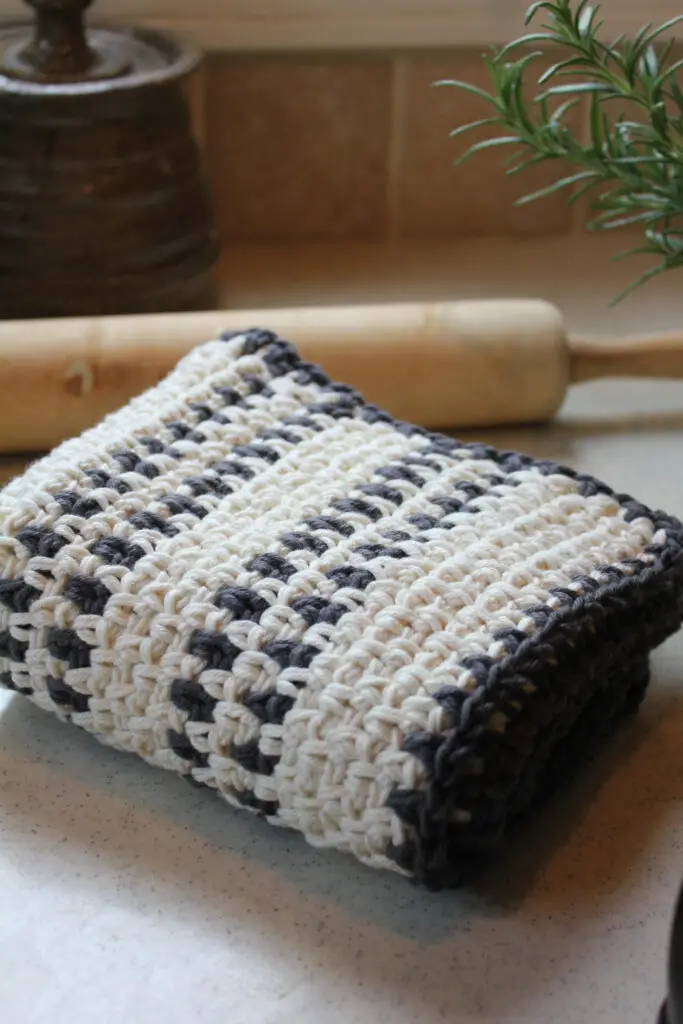
Read on to learn more about the yarn and stitch I used or scroll down to get the FREE pattern!
You can also get a printable PDF of this pattern on Etsy or Ravelry!
The Yarn
I know I can get a little unnaturally excited about yarn (please tell me I’m not alone! lol), but this one is completely justified! I have seen crocheters on Instagram rave about Dishie yarn for a while now, but I hadn’t gotten around to trying it until recently. And I. Am. In. Love!
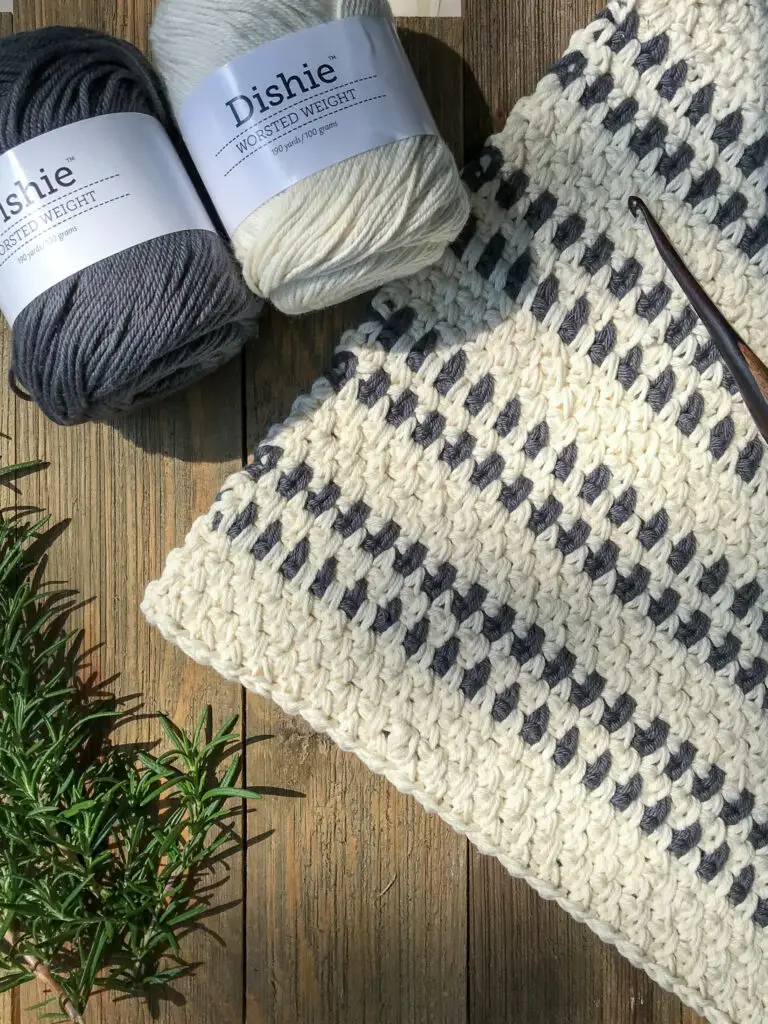
When I first checked out Dishie online and saw how affordable it is, I figured it must be similar to some of the other popular budget cottons out there – stiff and scratchy. I couldn’t have been more wrong! I was so happy to see how soft and absorbent this yarn is, I immediately placed another order for more (side note: WeCrochet’s customer service is top notch and their shipping is super fast, even during covid times, just FYI.)!
I went with a neutral color pallet to keep with the farmhouse theme, but Dishie comes in THIRTY colors (check them out here) so I’m already dreaming up other color combos for this hand towel! If you want to add even more pizazz, Dishie also comes in Multi and Twist colors. AND you can buy many of the colors as a cone which has 4x more yardage than regular skeins!
The Design
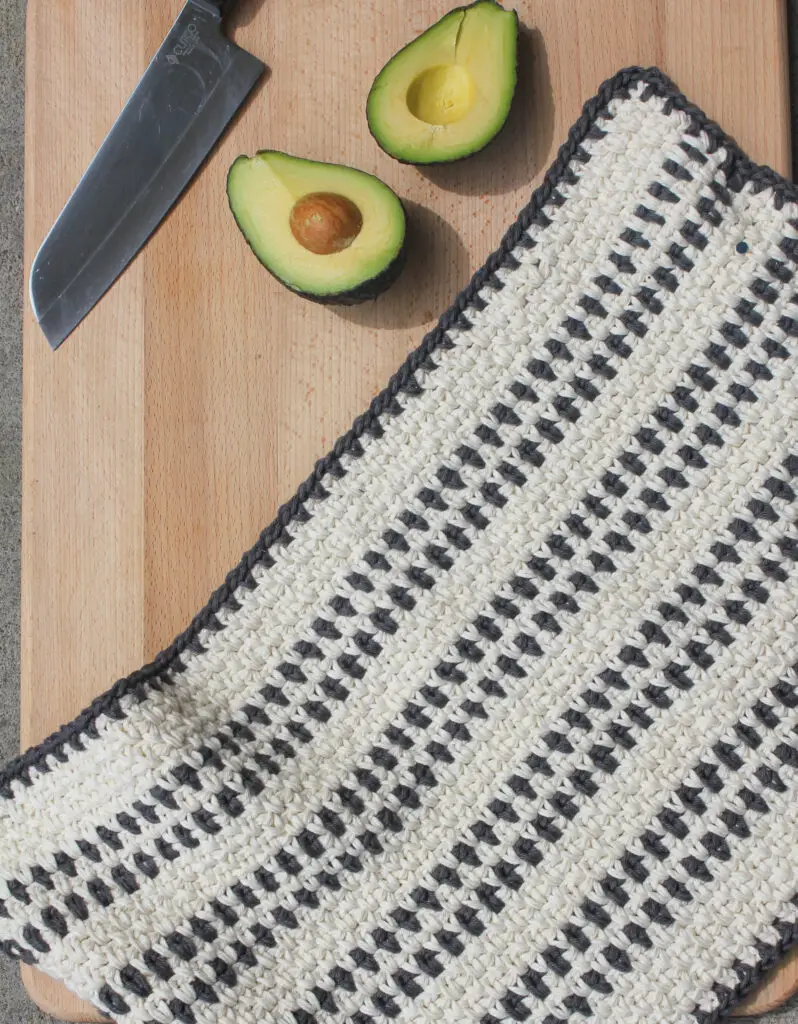
The Modern Farmhouse Crochet Dish Towel uses one of my all time favorite stitch patterns: the moss stitch (aka the linen stitch). I love this stitch because it is a super simple *sc, sk 1, ch 1* repeat that creates the best texture! Plus, it’s a great stitch for making effortless, but interesting stripe patterns in your work (check out my Striped Pom Pom Scarf for another pattern that uses this stitch).

Pin this post for later!
This pattern includes a schematic to make the stripe pattern easy to follow as well as instructions for a simple technique to avoid weaving in all the color change ends.
I couldn’t decide if I wanted this dish towel to have a contrasting boarder so I asked what you all thought in an Instagram poll. It was nearly an even split, but the boarder option squeaked by with the win – so boarder instructions are included! It’s totally optional though, just go where your heart takes you! Haha!
I hope you love this pattern as much as I do!
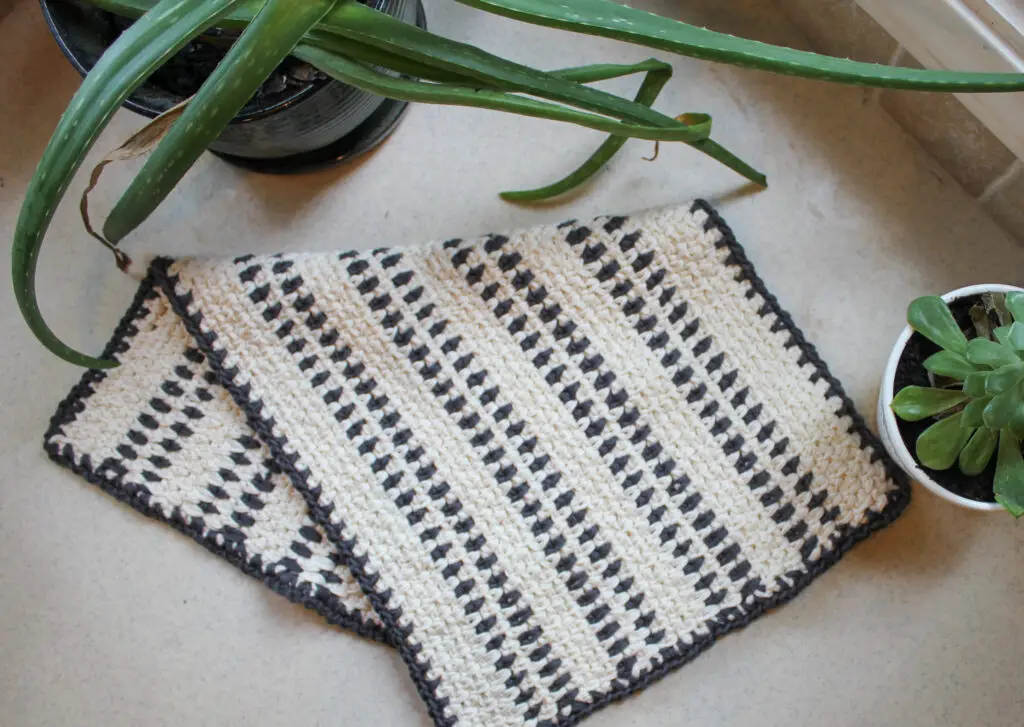
Modern Farmhouse Crochet Dish Towel Pattern
SKILL LEVEL
Easy
MATERIALS
- About 550 yards worsted weight cotton yarn. I used Dishie yarn from WeCrochet, 3 skeins in the color Swan (color A), and 1 in Ash (color B).
- Size I (5.5 mm) hook
- Scissors, yarn needle
DIMENSIONS
23” x 13”
GAUGE
8 sc (7 chs) and 14 rows in 4” square using moss stitch.
NOTES
- This pattern is worked holding two strands of yarn together throughout.
- Pattern uses the moss stitch: a repeat of *sc, sk 1, ch 1*.
- Pattern is worked lengthwise to create vertical stripes.
- Pattern written in US terms.
- The ch 2 at the beginning of each row counts as a sc and a chain.
- Stripe Pattern Chart:

- Abbreviations
- ch = chain
- sc = single crochet
- sk = skip
- sl st = slip stitch
- st = stitch
PATTERN
* Holding two strands of yarn together throughout *
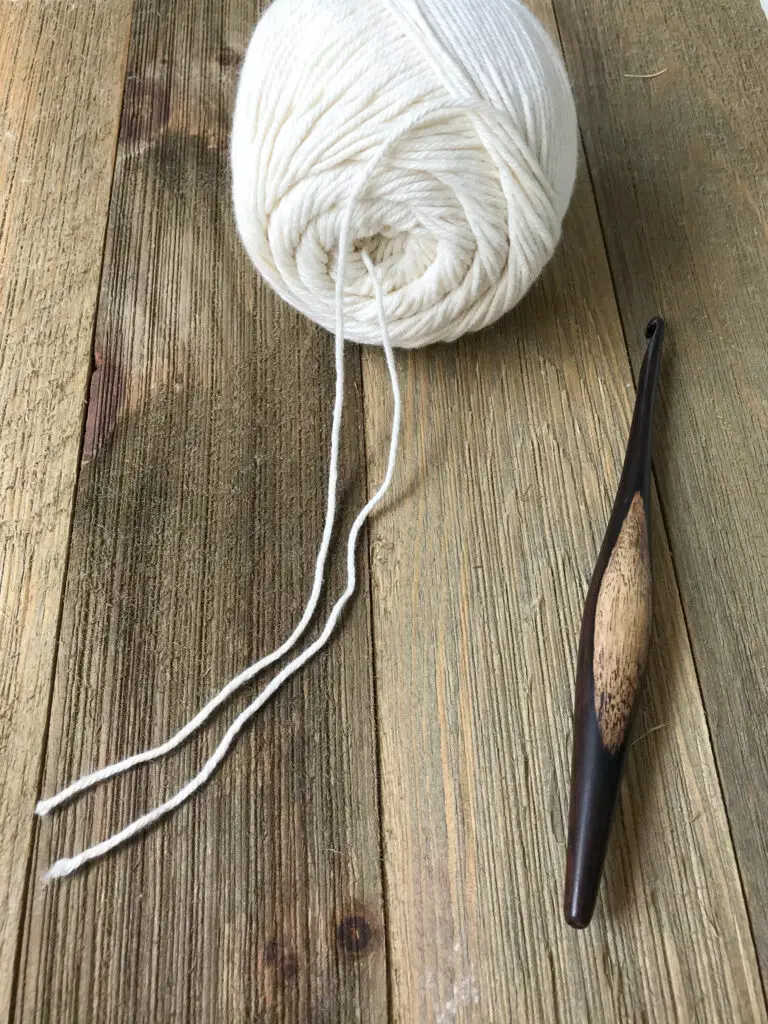
Ch 84 with color A. (Or any even number if you would like to modify the length of your towel.)
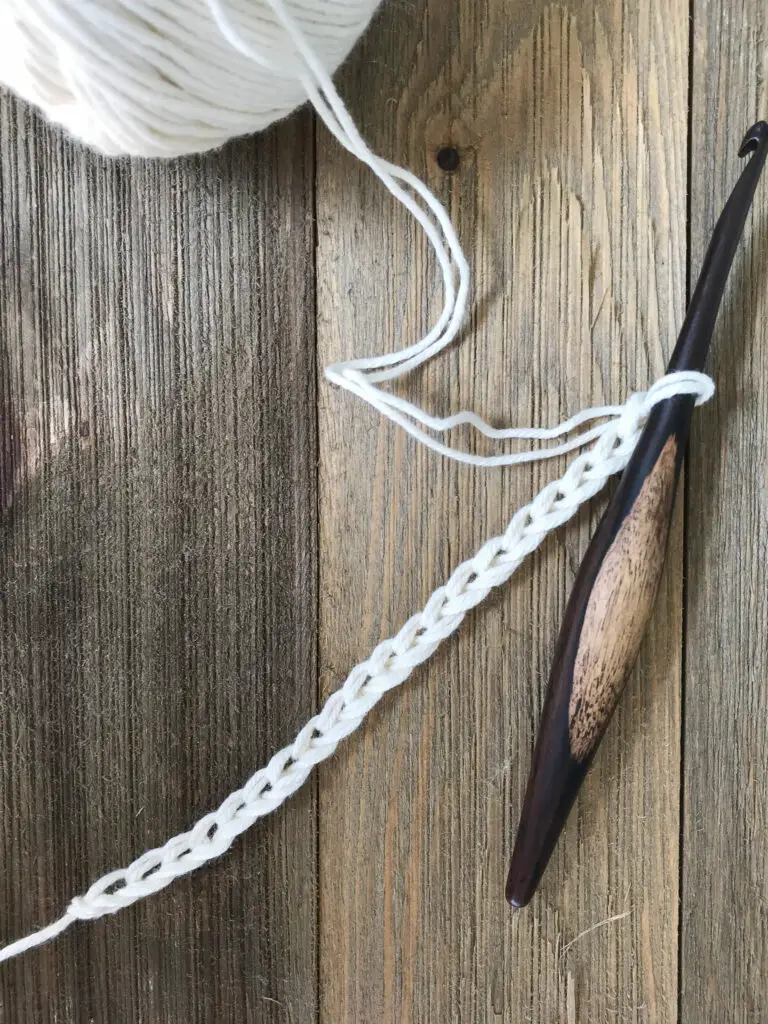
Row 1: Sc in 4th ch from hook. [Ch 1, sk 1 chain, sc in the next chain].
Tip: Sc in the back bump of the chain to get a more finished looking edge
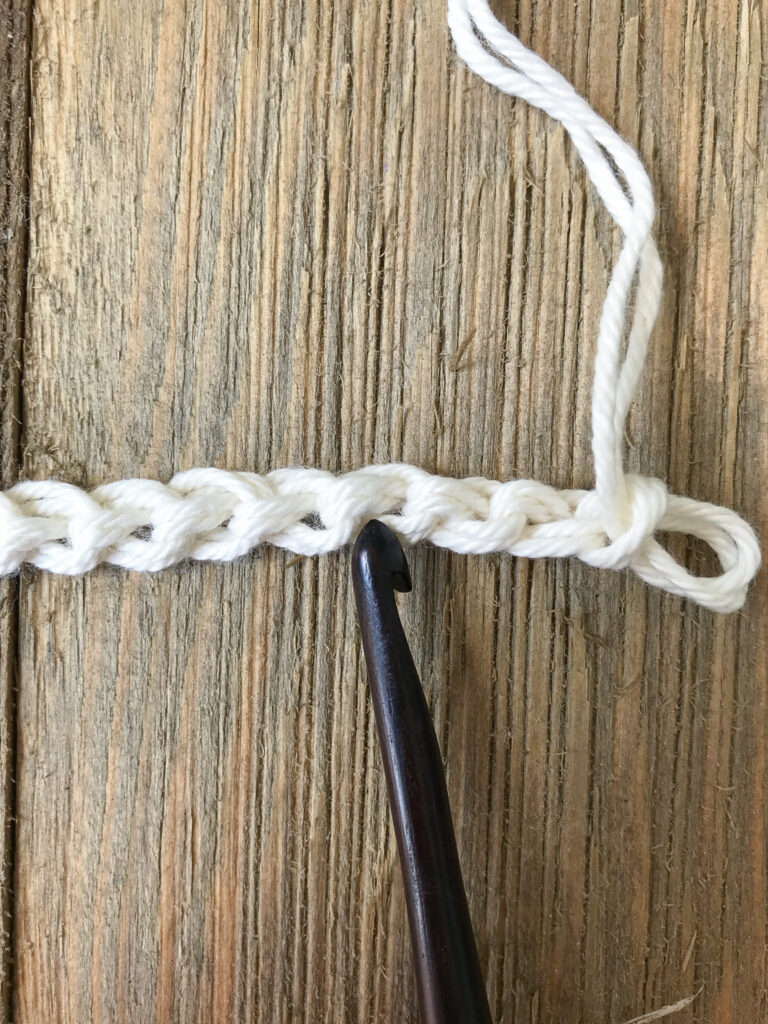
Repeat [ ] to the end of the chain. The last stitch should be a sc in the last chain. <42sc, 41chs >
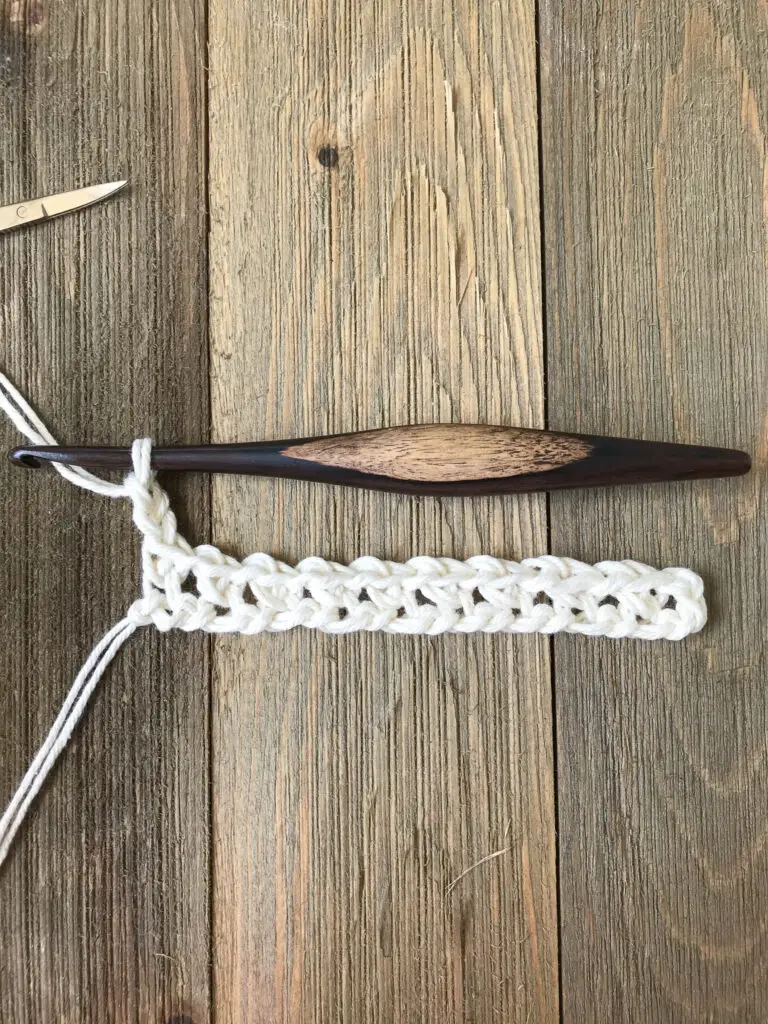
Rows 2 – 6: Ch 2, turn. Sc in the first ch-1 space from the previous row, [ch 1, sk over the next sc, sc in next ch-1 space]. Repeat [ ] to the end of the row. The last sc should be worked into the space between the turning ch 2 and the sc from the previous row. <42sc, 41chs>
Color changes
At the end of Row 6, begin the final sc with color A, but stop with two loops remaining on the hook. Pull through with color B. Cut color A, leaving about a 6” tail.
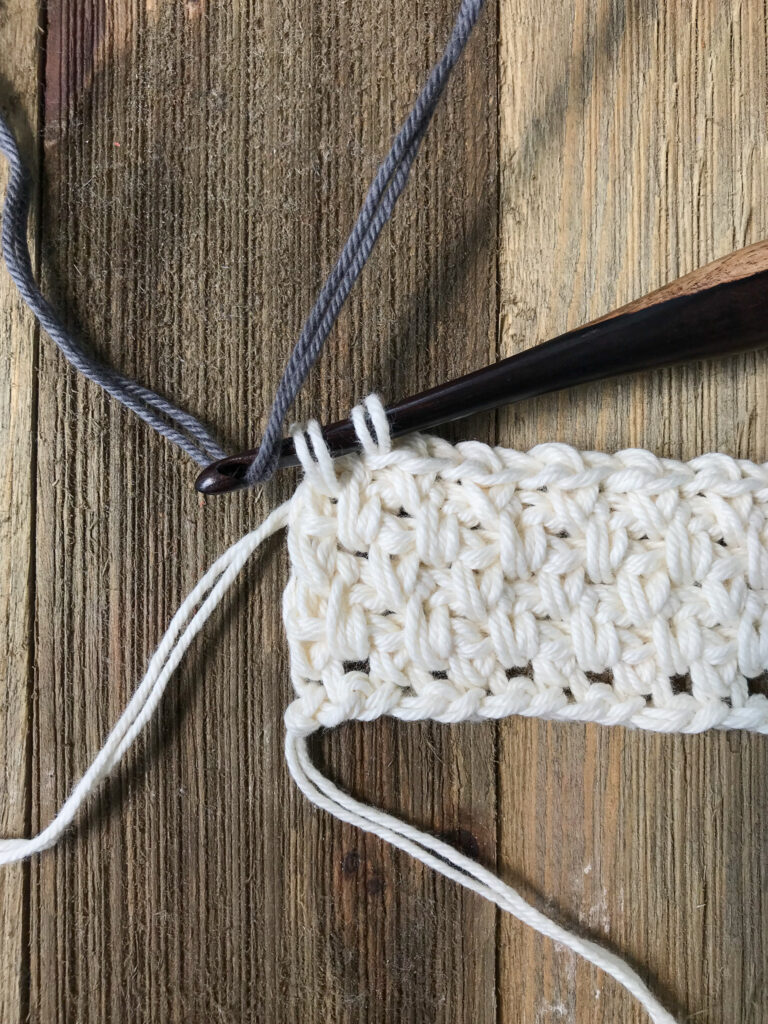
Tip for weaving in ends: Wrap the tails of A and B around to the back of your work so that they lay on top of the row you are about to crochet into. Crochet over the tails when working this row. Then, for the NEXT row, when you reach the crocheted-over tails from the color change, insert your hook under the tails to work each SC. This creates a zig-zag path for the tails and should keep them nice and secure without having to weave them in later!
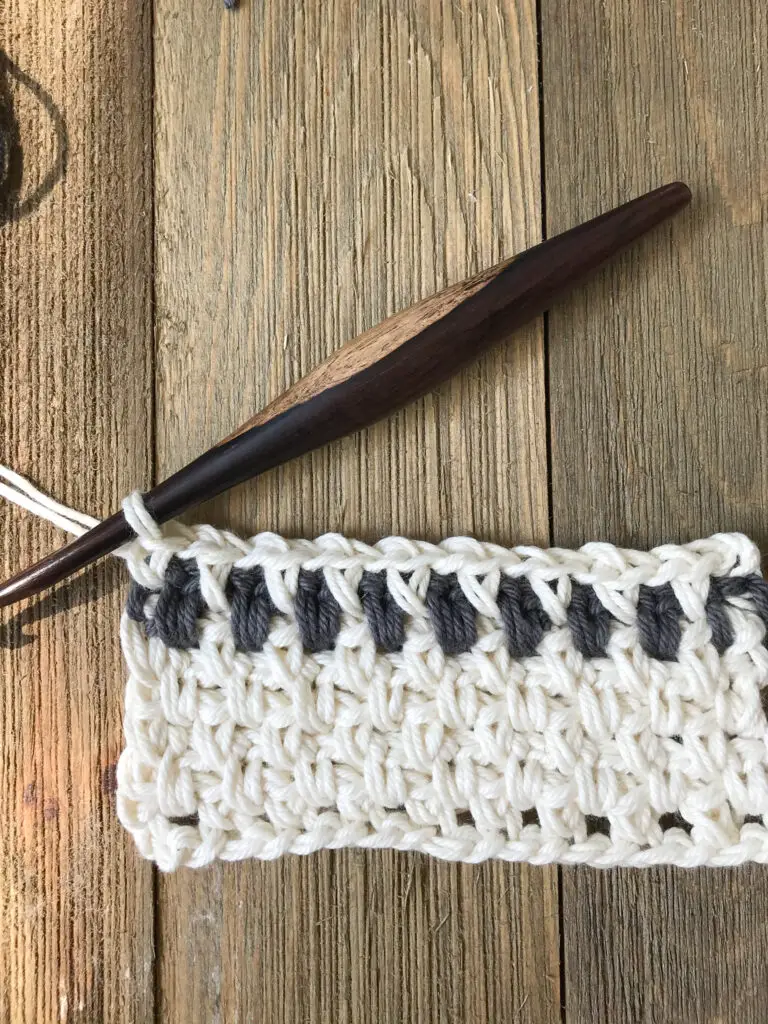
Row 7: (With color B) Repeat Row 2. Change to Color A at the end of the Row.
Rows 8 – 9: (With color A) Repeat Row 2. Change to color B at the end of Row 8.
Row 10: (With color B) Repeat Row 2. Change to color A at the end of the Row.
Continue repeating Row 2 with the following color pattern (See stripe pattern chart above):
Rows 11 – 15: Color A
Row 16: Color B
Rows 17 – 18: Color A
Row 19: Color B
Rows 20 – 24: Color A
Row 25: Color B
Rows 26 – 27: Color A
Row 28: Color B
Rows 29 – 33: Color A
Row 34: Color B
Rows 35 – 36: Color A
Row 37: Color B
Rows 38 – 43: Color A. Fasten off at the end of Row 43 and weave in any ends.
Boarder
(With Color B)
Attach yarn with a slip stitch at beginning corner of foundation row. Ch 2. Use the moss stitch (ch 1, sk 1, sc in next ch-1 space) to work down the long side of the towel. Ch 2 at corner. Continue using moss stitch across the short side of the towel, being careful to place your stitches evenly along the sides of the rows. Continue moss stitching around (ch 2 in each corner). Slip stitch to join and weave in any ends.

I hope you enjoyed this pattern! Tag me on Instagram @theknottednest and use the hashtag #farmhousedishtowel to share your project! Find more patterns from The Knotted Nest at www.knottednest.com.
Happy making!
Nikki
