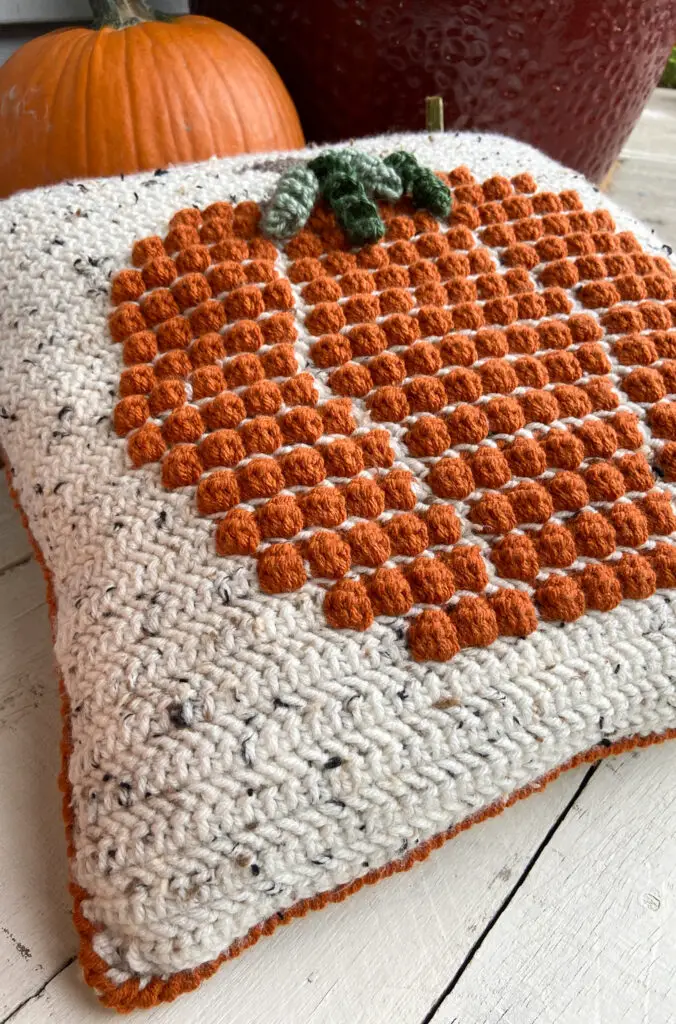
Bobble Crochet Pumpkin Pillow Free Pattern
The Bobble Crochet Pumpkin Pillow pattern will show you how to make the PERFECT cozy, handmade addition to your fall decor! Read thorough my inspiration for this pattern and a bit about the construction or scroll on down to get the free pattern and dive right in!
This post may contain affiliate links, which means I may receive a small commission, at no extra cost to you, when you make a purchase. Please read my affiliate disclosure for more details.

Click here to Pin this Pattern and save it for later!
Crochet Pumpkin Pillow Inspiration
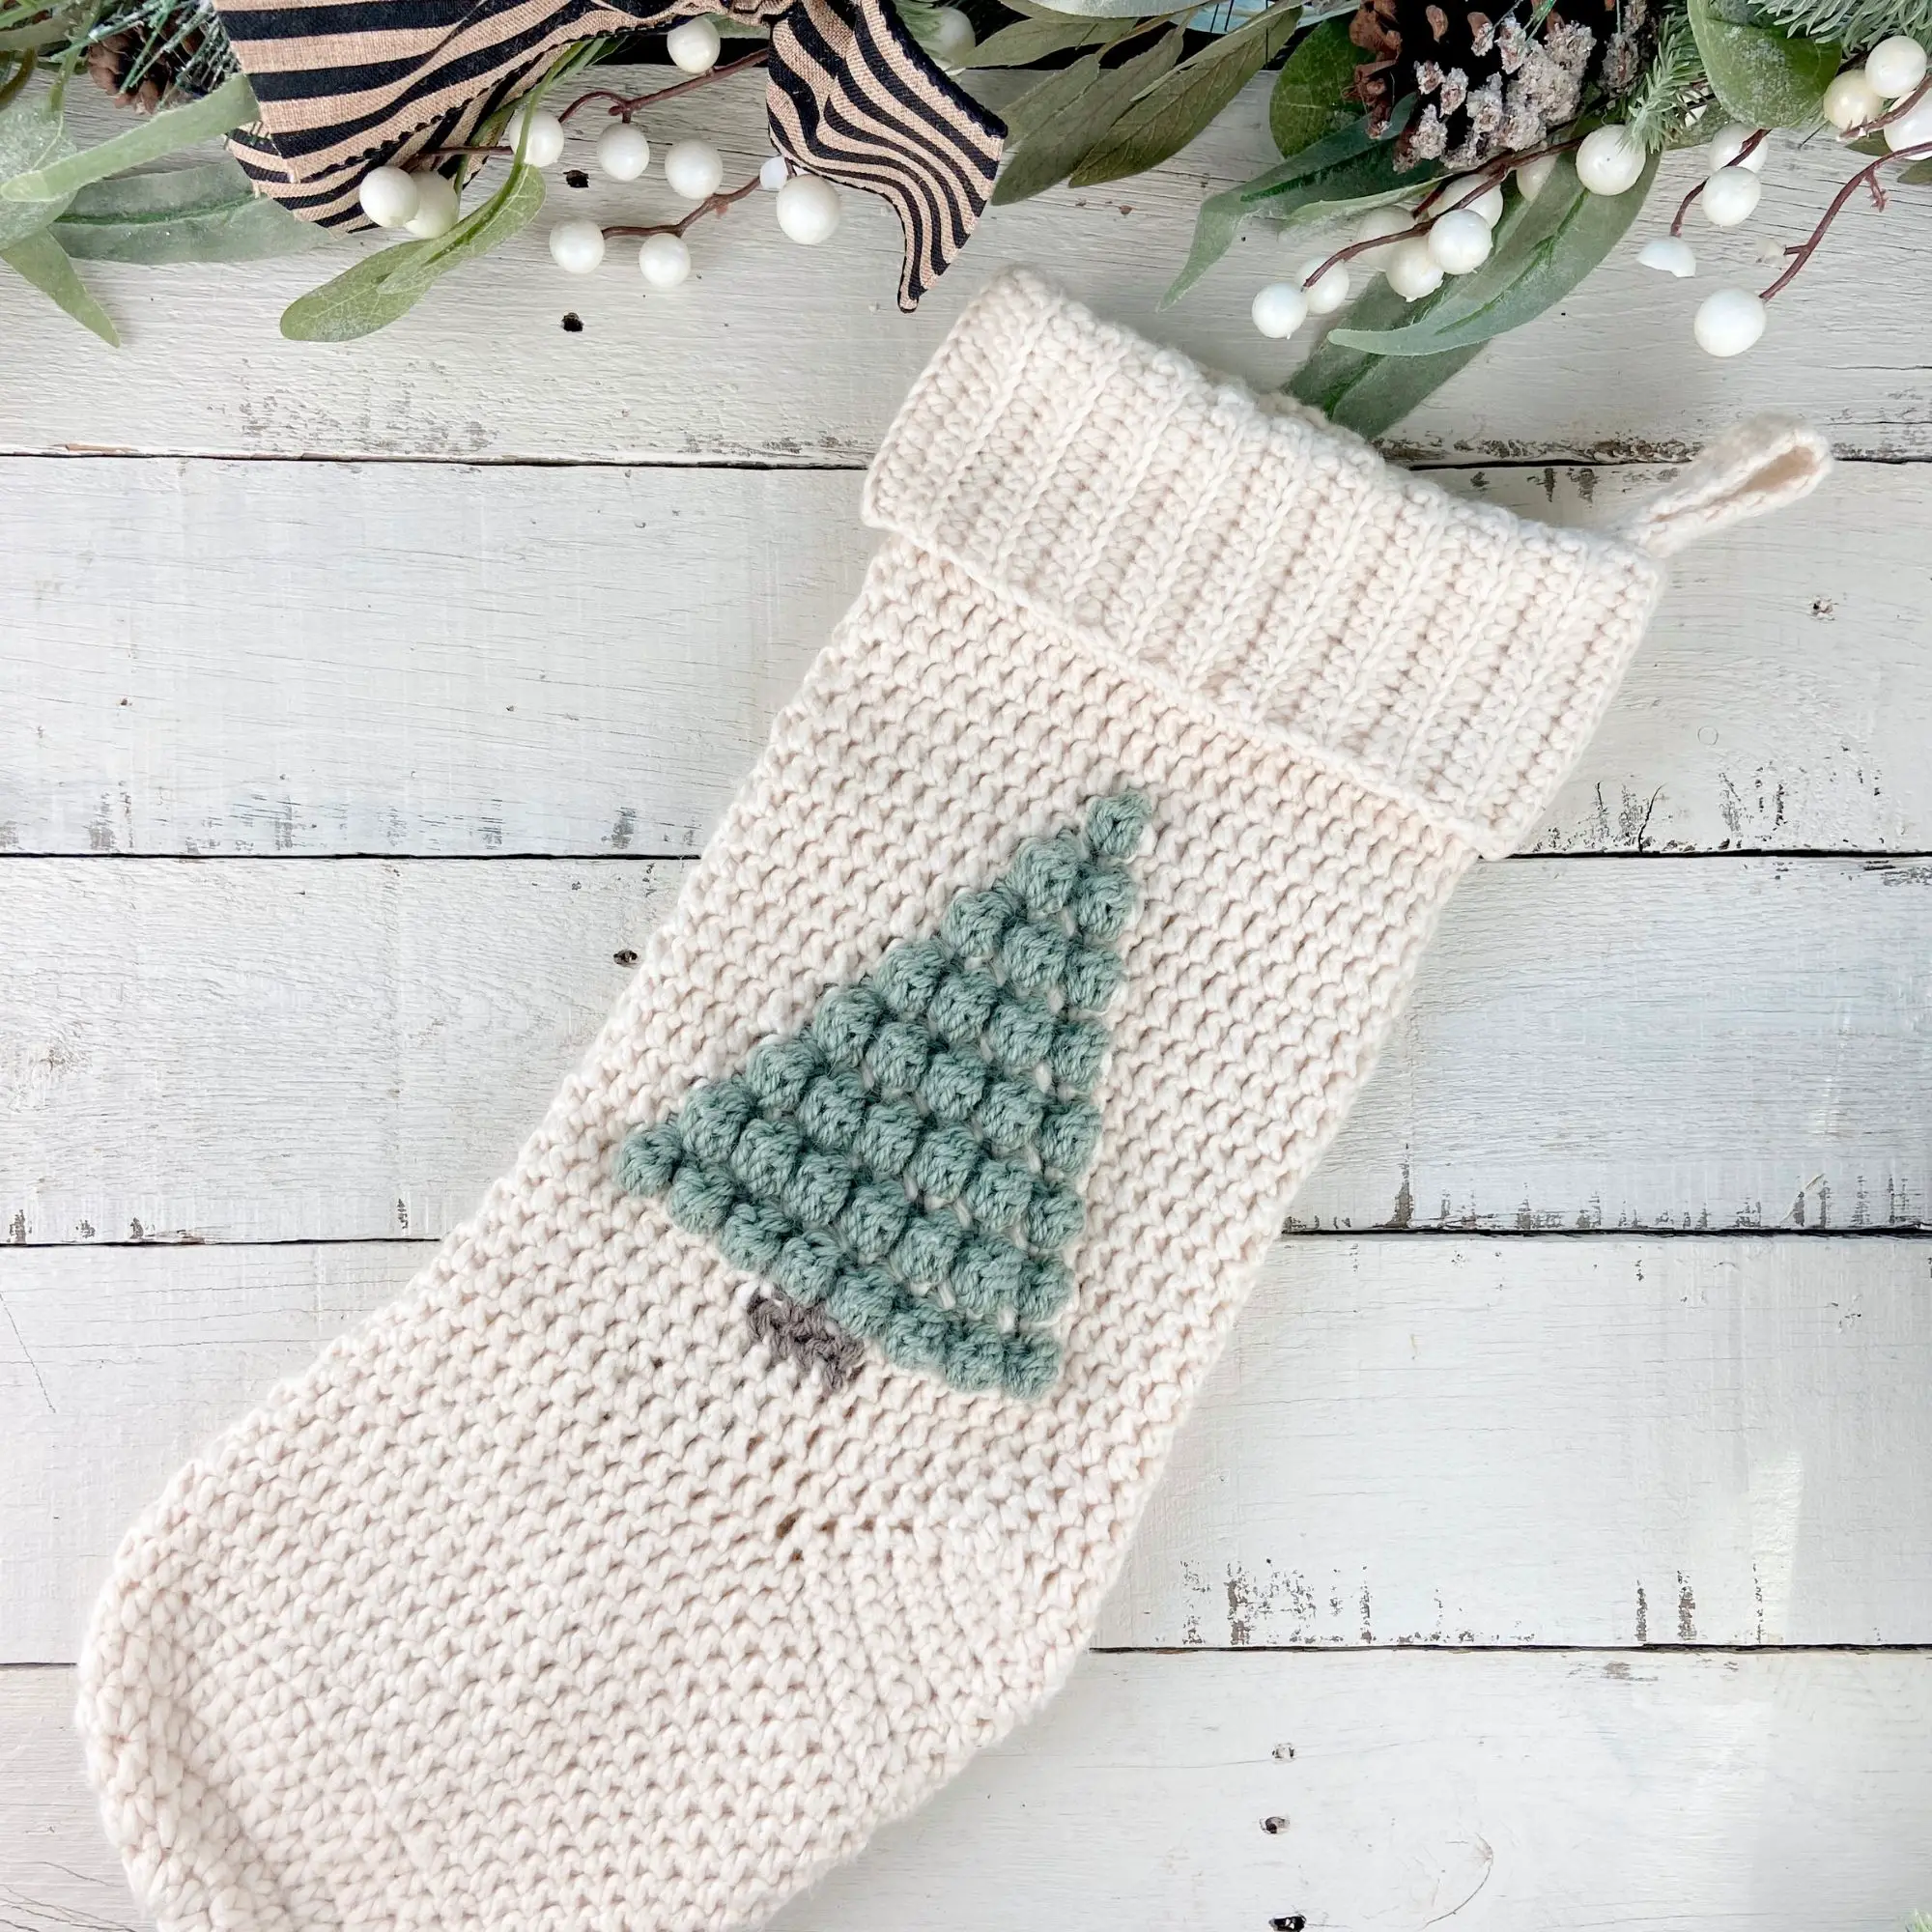
I have to say that I am very happy with how this pattern turned out. This was one of the few project ideas I have had that actually ended up very similar to what was originally in my head (my Christmas Tree Garland was another, in case you were wondering :-p )!
Typically for me, a project undergoes quite a few transformations between the “light bulb moment” and the time I hit Publish. Some projects don’t end up resembling the original idea at all (for example, my Crochet Plaid Poncho started life as a striped blanket, haha!).
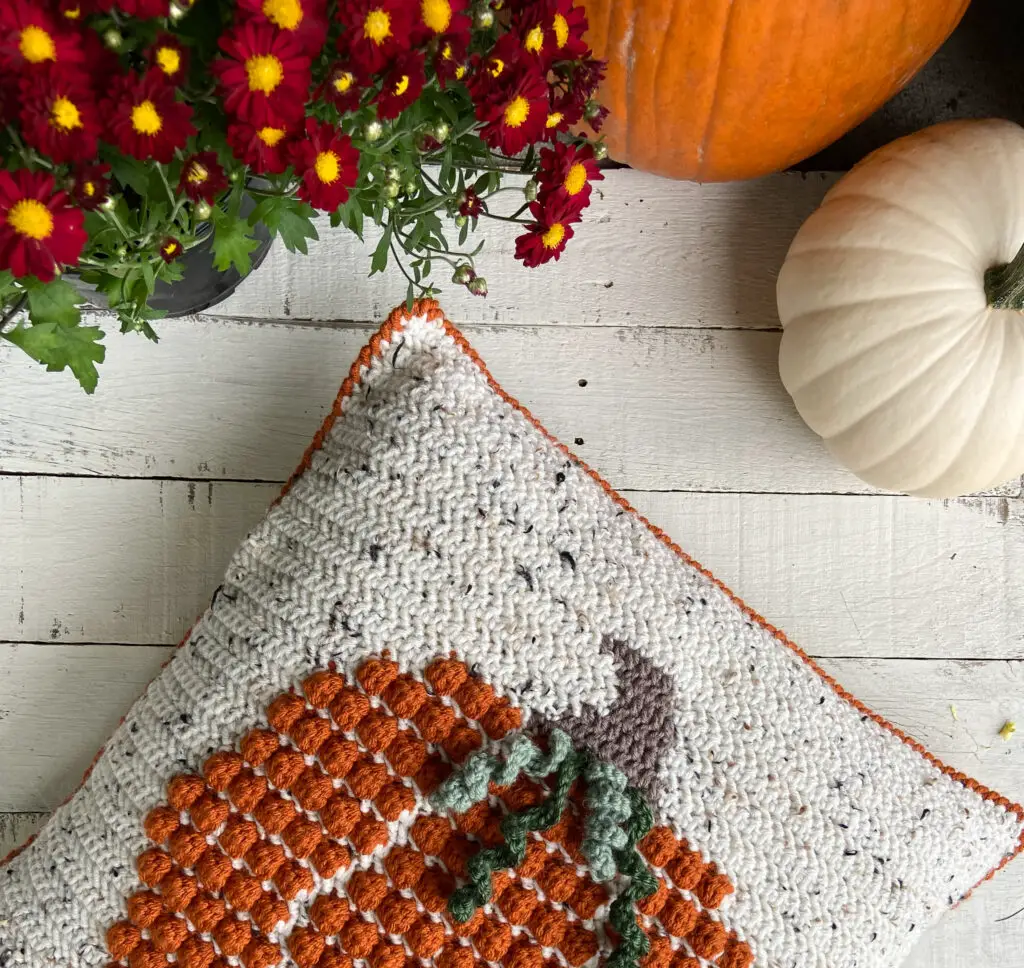
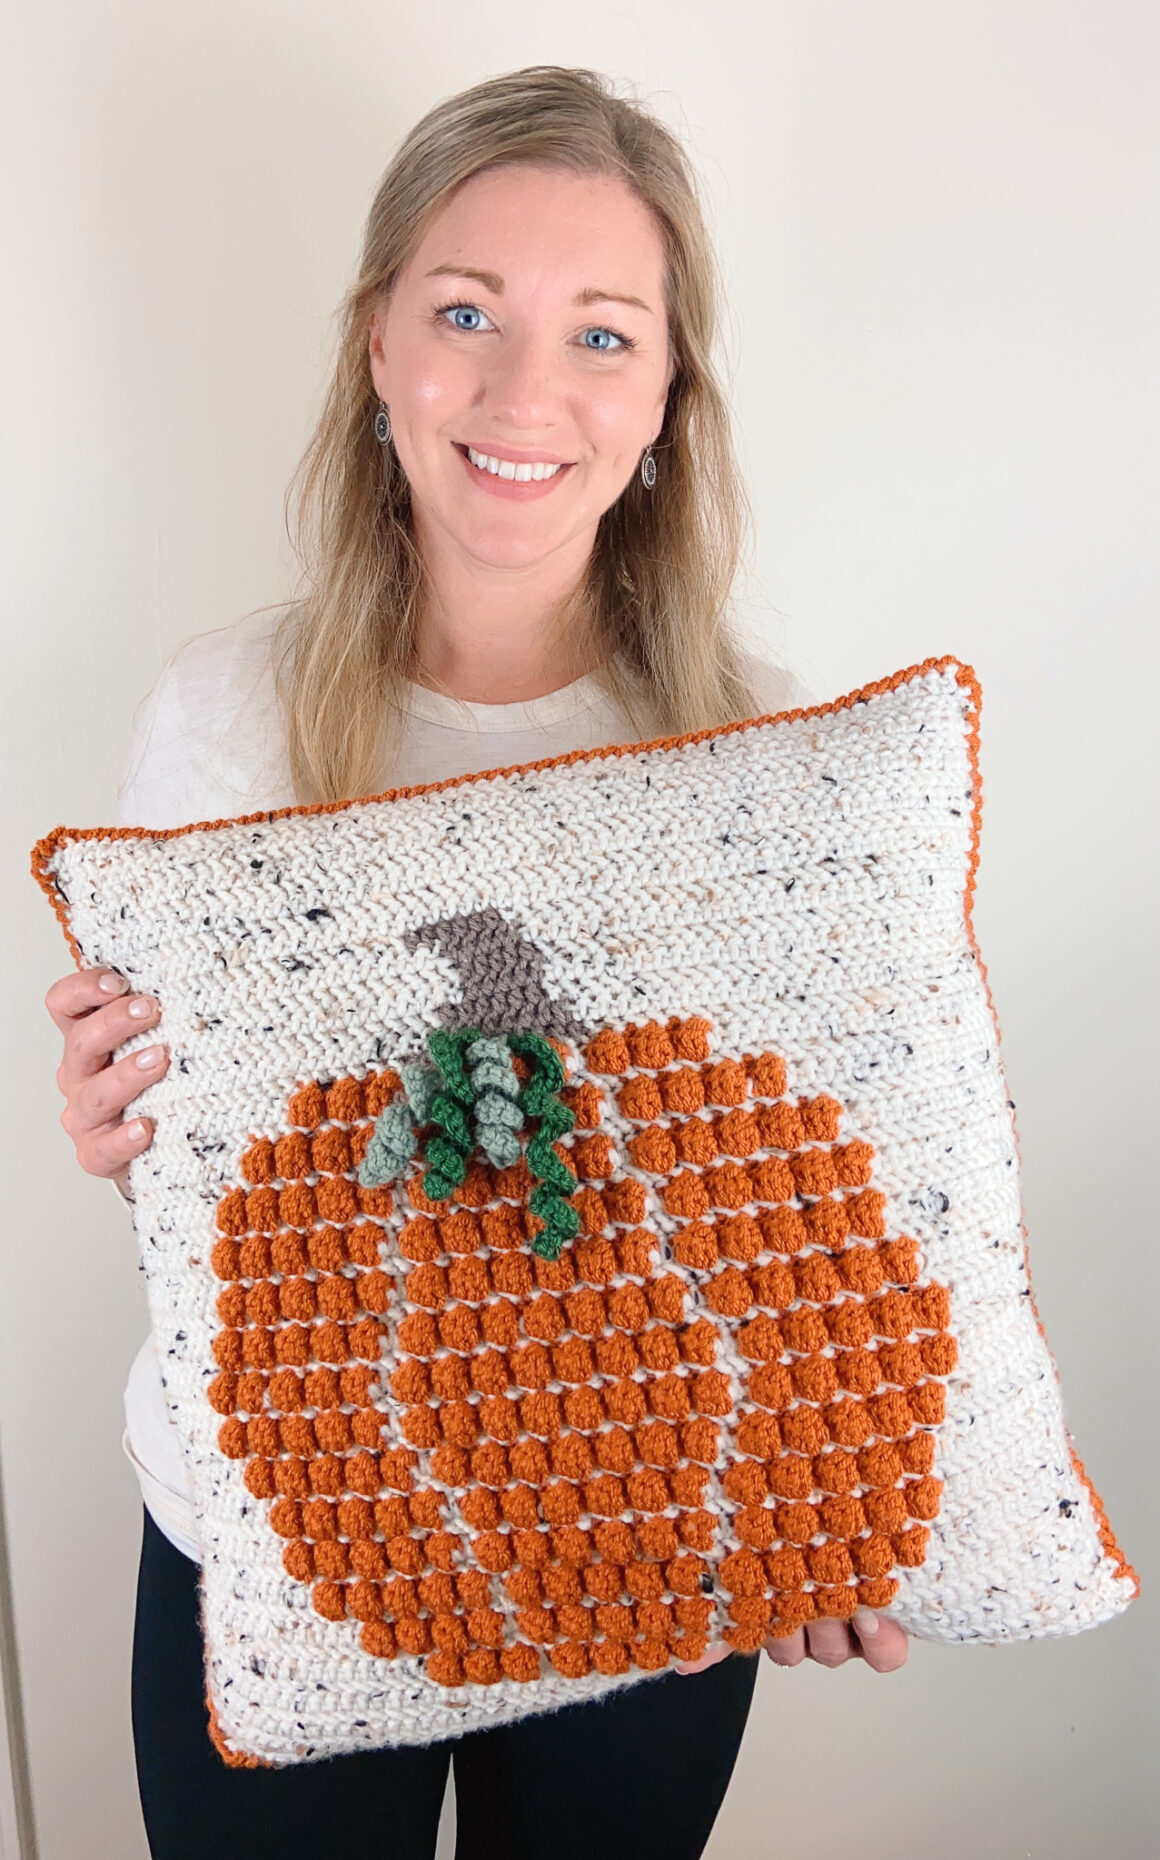
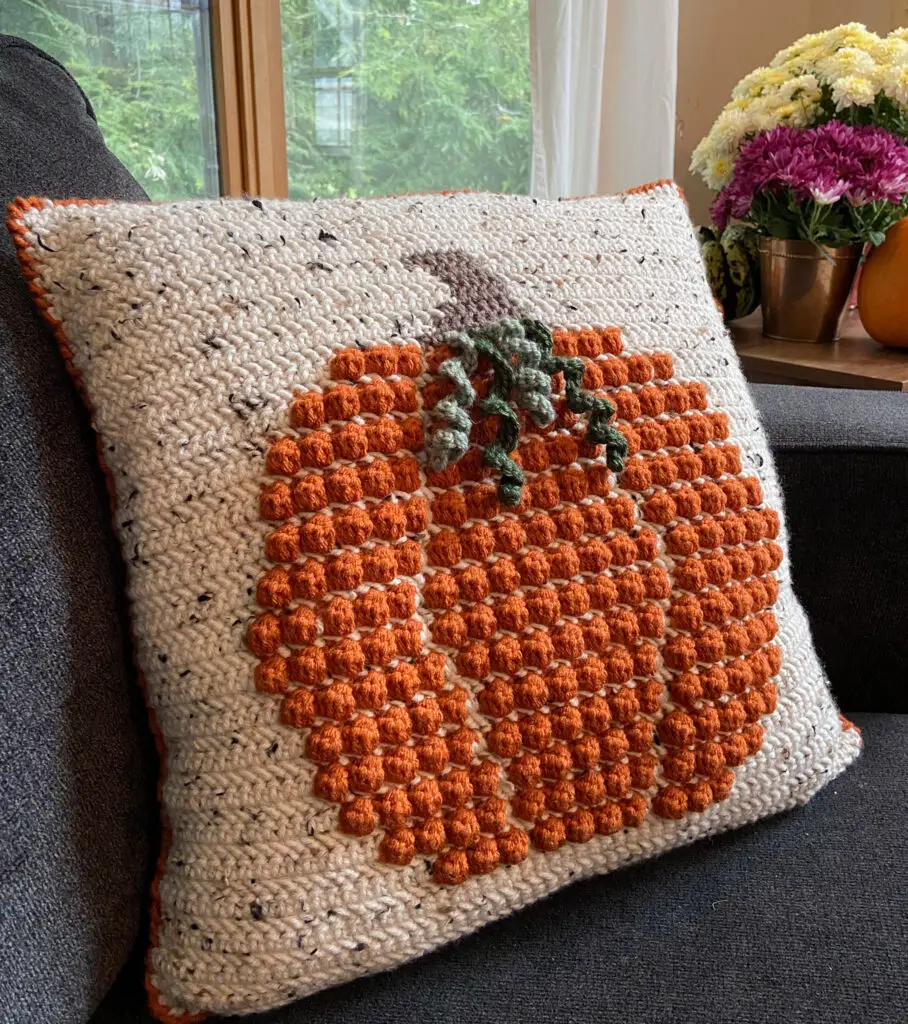
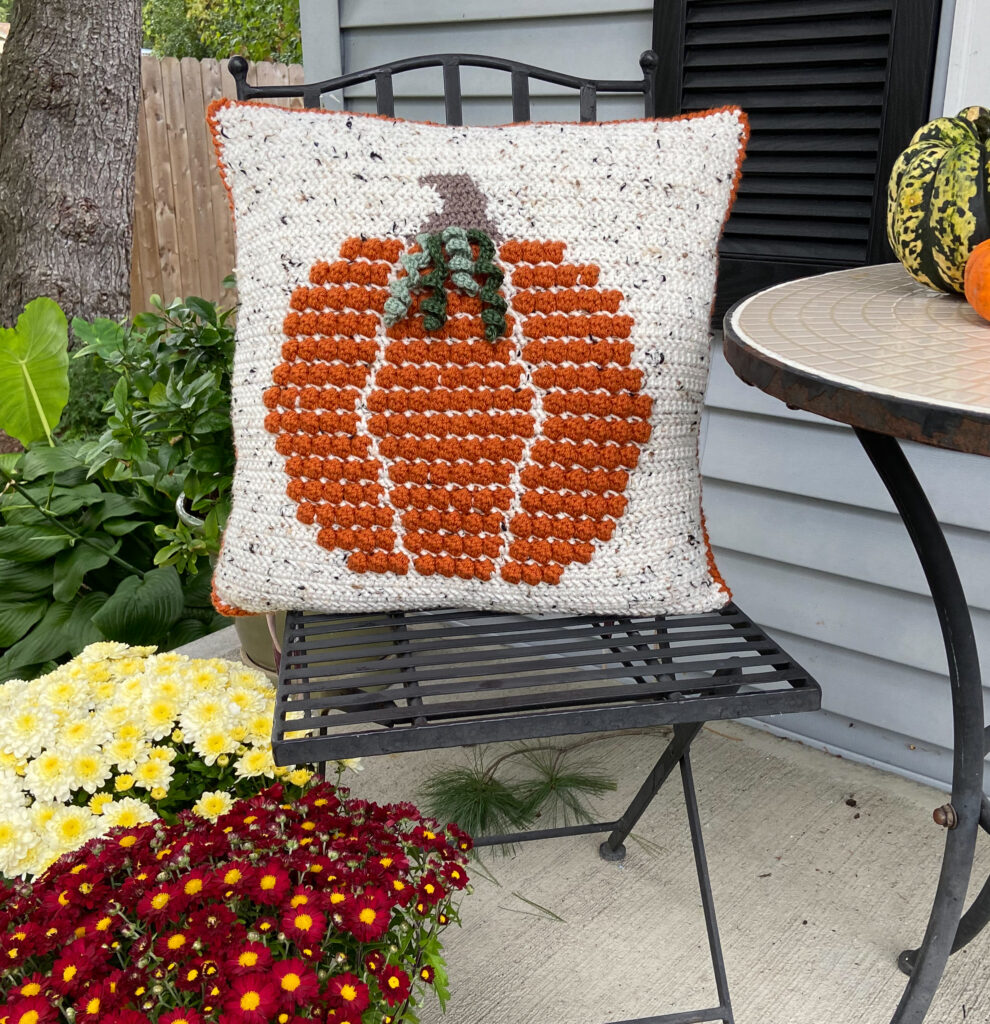
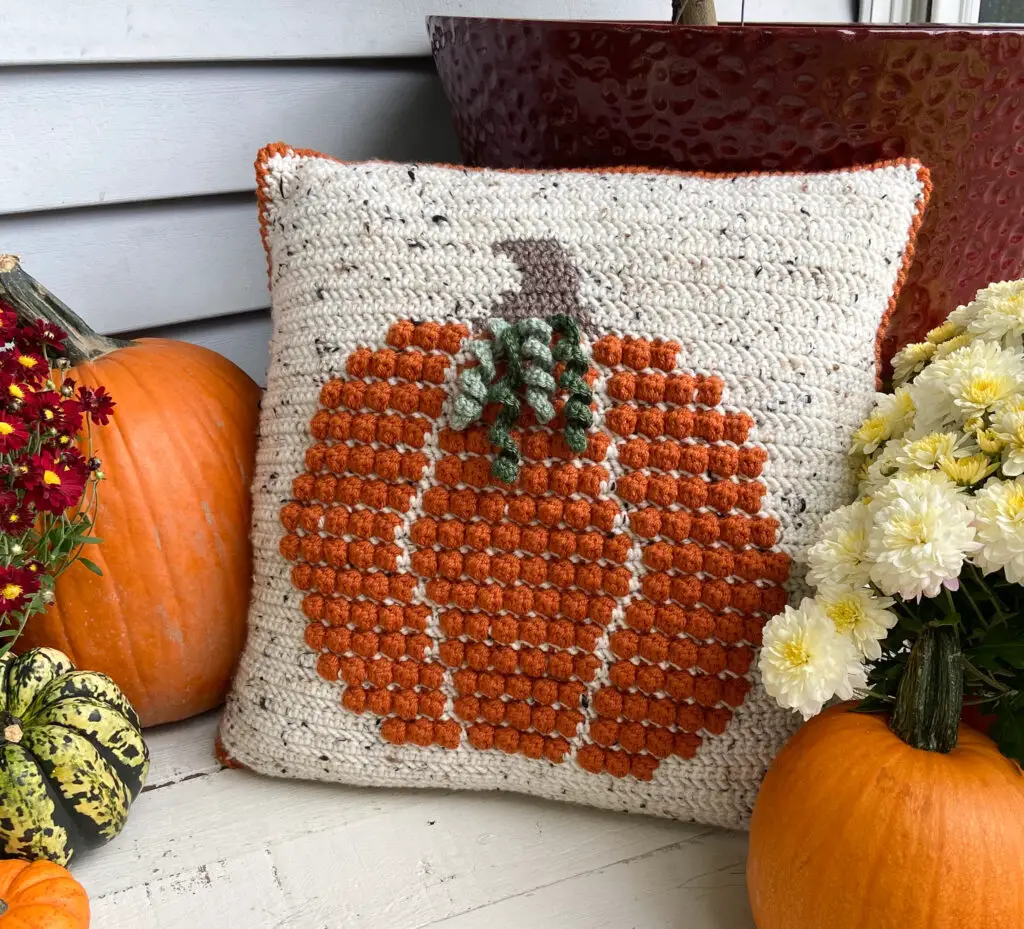
The idea for this fall themed crochet pumpkin pillow hit me as a fully formed project. I knew I wanted a raised bobble pumpkin on a contrasting (preferably tweed) background done in the herringbone half double crochet stitch (hhdc), with 3D vines attached to the stem, and the whole pillow bordered in orange – and that is exactly what I present to you today, right down to the tweed background!
As for how easily I got from idea to pattern…well let’s just say figuring out bobble math isn’t easy, but it was worth it! Fortunately for you, the math is all done, the kinks are worked out, and all you have to do is grab your yarn and hook and make yourself a cozy crochet pumpkin pillow!
Construction and Materials
You might think all that texture would be complicated to achieve, but once you get going, this pillow is actually a fairly fast and easy autumn make. The pillow cover is constructed of two flat panels, worked in rows, then joined around an 18″ x 18″ pillow insert.
The back panel is just a square made entirely of hhdc. The front pumpkin panel is where the “intermediate” skill level rating comes in (but I think an advanced beginner could totally tackle it!).
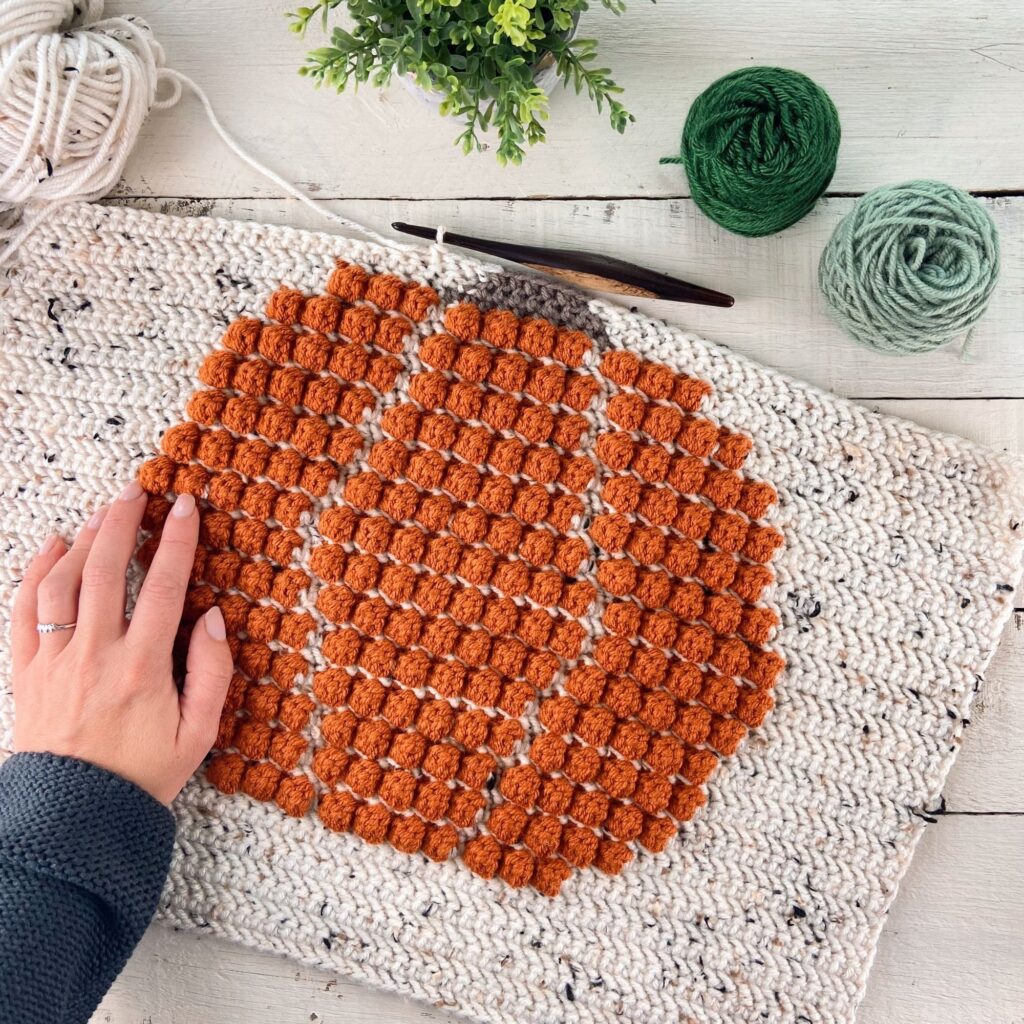
The crochet pumpkin panel requires changing colors and stitch patterns within the same row, but I’ve included a handy graph (along with written directions) to help you keep things straight!
To make this bobbly crochet pumpkin pillow, you’ll need about 550 yards of ivory yarn for the background, about 100 yards of orange for the pumpkin and border, and a small amount of brown and green for the details. You’ll also need a size H (5.00mm) crochet hook and a 18″ x 18″ pillow insert.
Bobble Crochet Pumpkin Pillow Free Pattern
SKILL LEVEL
Intermediate: this pattern requires color changes and uses a variety of intermediate level stitches (herringbone half double crochet, bobble stitch, and reverse single crochet. Instructions are included for all stitches as well as links to video tutorials).
MATERIALS
- Yarn:
- About 700 yards of worsted weight (4) yarn in total. I used three skeins of “I Love This Yarn Tweed” (5oz (142g)/252yds(230m) per skein) in Ivory Tweed and one skein of “ILTY” (7oz (199g)/355yds (325m) per skein) in Burnt Pumpkin .
- You will also need a small amount of yarn for the pumpkin details: about 10 yards of brown worsted weight yarn for the pumpkin stem (I used Lion Brand Pound of Love in Taupe) and 15 – 20 yards of green worsted weight yarn (I used a combo of scrap yarn).
- Size H (5.00mm) crochet hook.
- 18″ Pillow Insert or other stuffing material.
- Scissors, Yarn needle
DIMENSIONS
Each panel is approximately 18” square (back panel may be slightly smaller) and should fit over an 18” pillow insert.
GAUGE
14 sts x 12 rows = 4” square using herringbone half double crochet
NOTES
- This pillow is constructed of two flat panels worked in rows then joined around a pillow insert.
- The pattern includes a chart for the front (pumpkin) panel of the pillow.
- For all color changes: when working the last stitch of the “old” color, stop before the last “pull through” of the stitch (for hhdc and sc there will be two loops left on the hook; for bobble you will have five loops left on the hook), pull through with the “new” color and continue with the pattern. When instructed to “carry” the unused yarn, you will lay the unused color on top of the row you are working into and crochet over it.
- Note that you will be looking at the “wrong side” of the bobbles when you are making them.
- A row of hhdc is worked after each bobble row so that the bobbles will all be on the same side.
- Since the “wrong side” of the panels will be on the inside of the pillow, you do not need to cut/weave in the yarn when changing color. I just dropped the yarn when not in use and crossed it over the back of the panel to pick up the next time I needed it.
- As noted in the chart, the stem of the pumpkin is worked using regular hdc NOT hhdc.
- The ch 1 used for turning does NOT count as a stitch.
- Special Stitches:
- Herringbone half double crochet (hhdc) – Yarn over (YO) and insert your hook into the stitch. YO and pull through stitch AND also pull through the next loop on your hook. Then YO and pull through the remaining two loops on your hook. Watch a video tutorial of this stitch here (note that the video uses a ch 2 for turning whereas this pattern uses ch 1).
- Bobble (bo) aka: dc4tog cluster – [Yarn over (YO) and insert hook into desired stitch, YO and pull through the stitch, now YO and pull through two] 4 times in same stitch. With 5 loops on hook, YO and pull through all 5 loops. Stitch is complete. Your next stitch will be a SC. Watch a video tutorial of this stitch here.
- Reverse Single Crochet (rsc) aka: crab stitch – This stitch is made exactly the same as a regular sc, but worked in the reverse direction. So (for right handed crocheters), insert hook into the stitch to your RIGHT (would normally be the stitch to your left), yarn over and pull up a (tall) loop, yarn over and pull through both loops. See a more detailed tutorial of this stitch here.
- Pattern written in US terms.
- Abbreviations:
- bo = bobble
- ch = chain
- hdc = half double crochet
- hhdc = herringbone half double crochet
- rsc = reverse single crochet
- sc =single crochet
- st =stitch
- yo = yarn over
PATTERN
Front Panel:
With Ivory Tweed (or your background color of choice), chain 63.
Row 1: Hhdc in 2nd chain from hook and in each chain across. Ch 1, turn. <62 hhdc>
Rows 2 – 9: Hhdc in each stitch. Ch 1, turn. <62 hhdc>
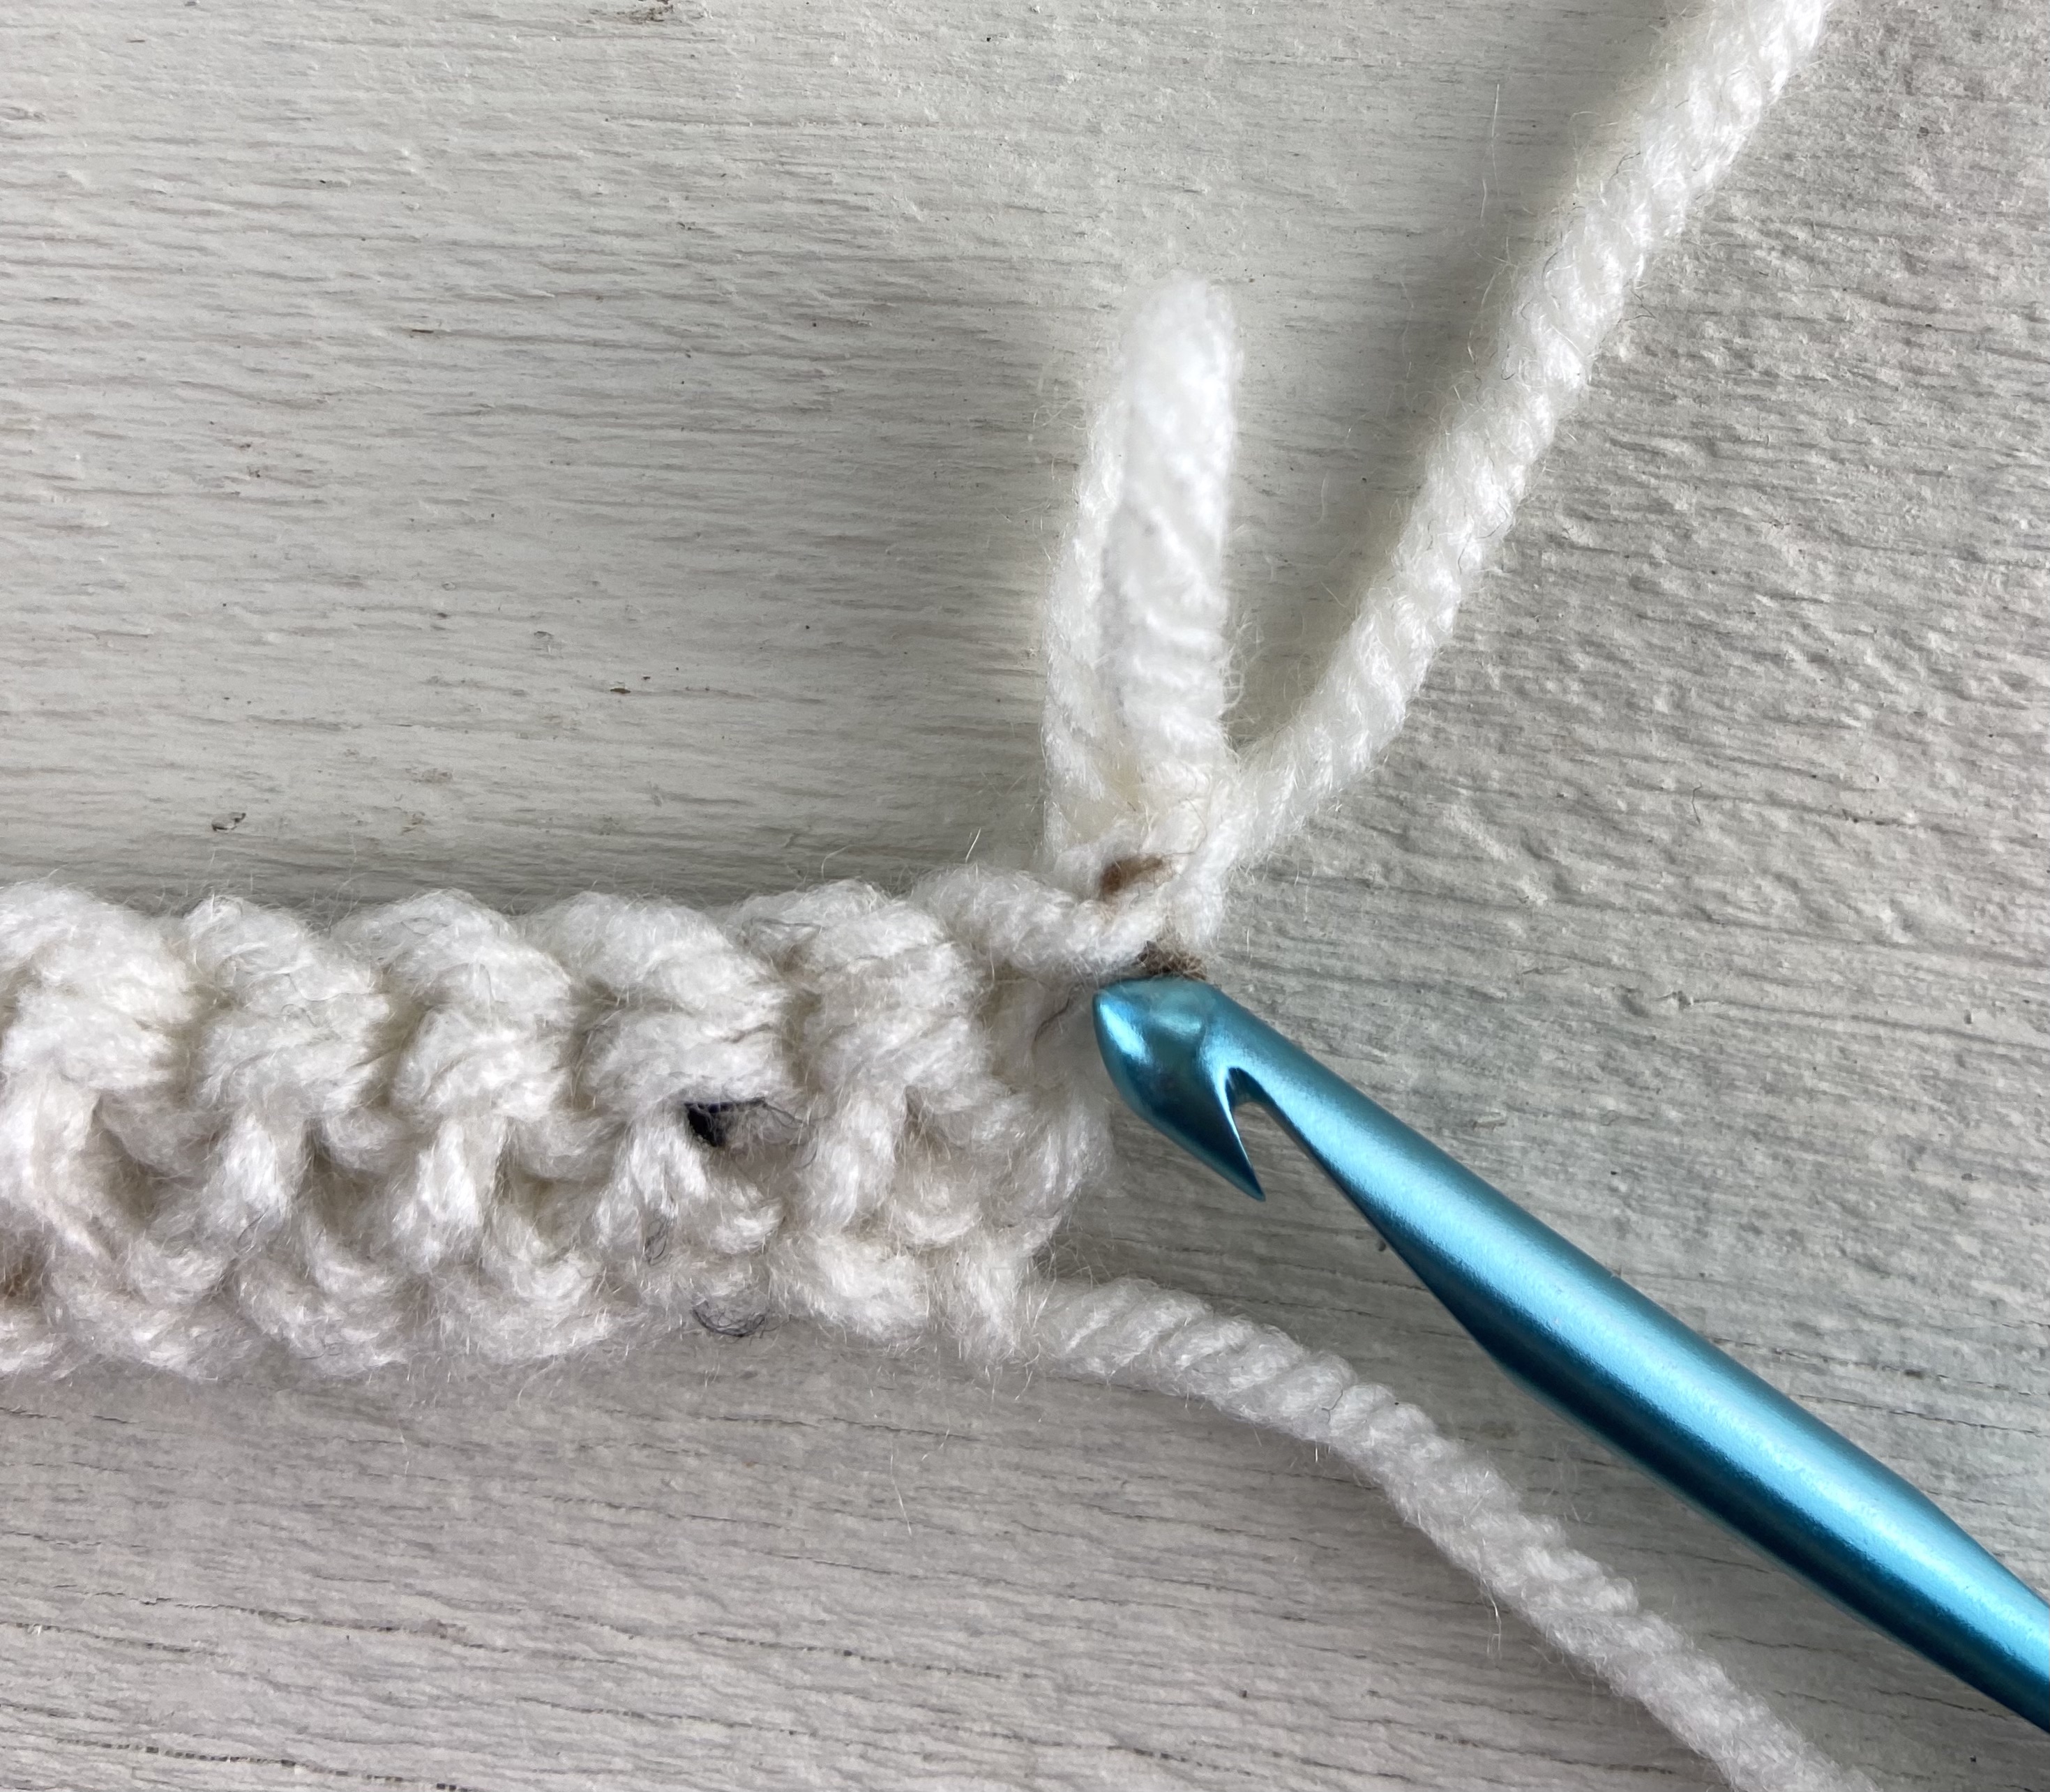
Ch 1 does NOT count as a stitch, so your first hhdc goes here. 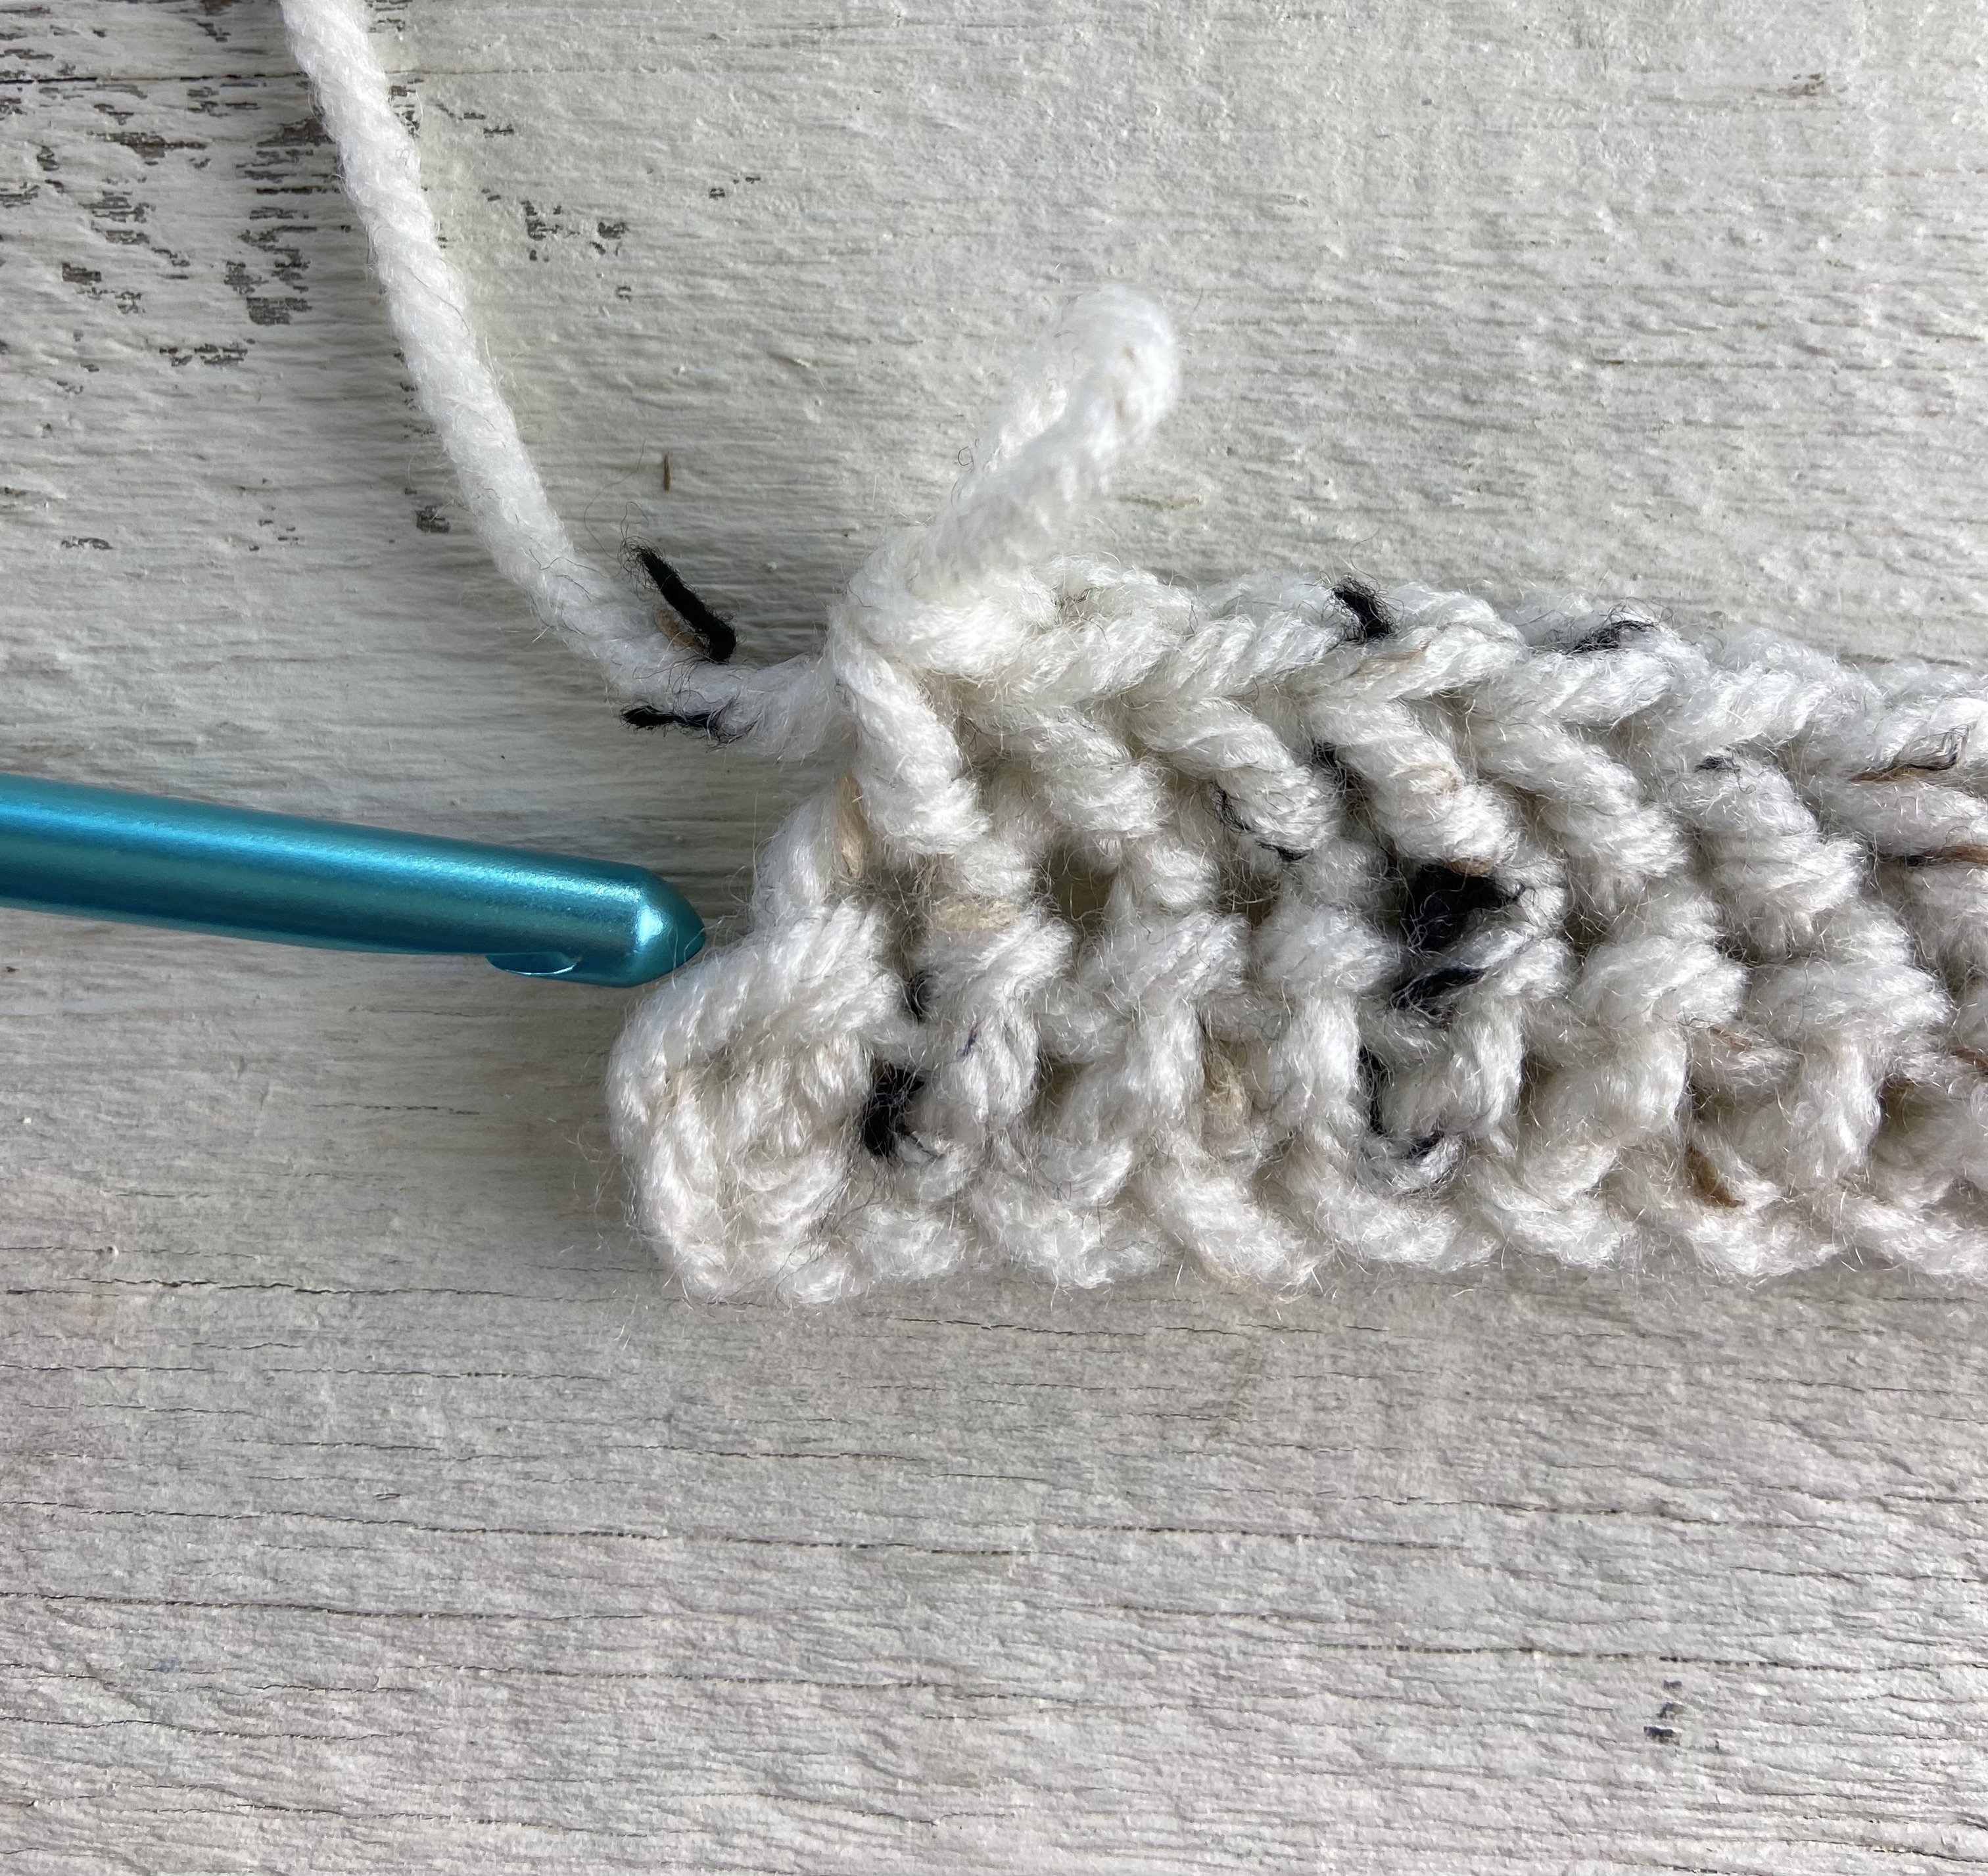
Work the last hhdc here.
From this point you will follow the chart provided to make the pumpkin. Row 10 starts where the black arrow is pointing on the chart. Rows 10 and 11 are written out in words below as an example for following the chart.

Row 10: Hhdc in the first 20 sts with ivory (when completing the 20th hhdc, change to orange, see notes for color change technique, carry unused yarn until instructed to drop it),
Work [bo in next st, sc in next] two times, bo in next st (change to ivory when completing the bo st), 1 sc in next two sts using ivory (change back to orange),
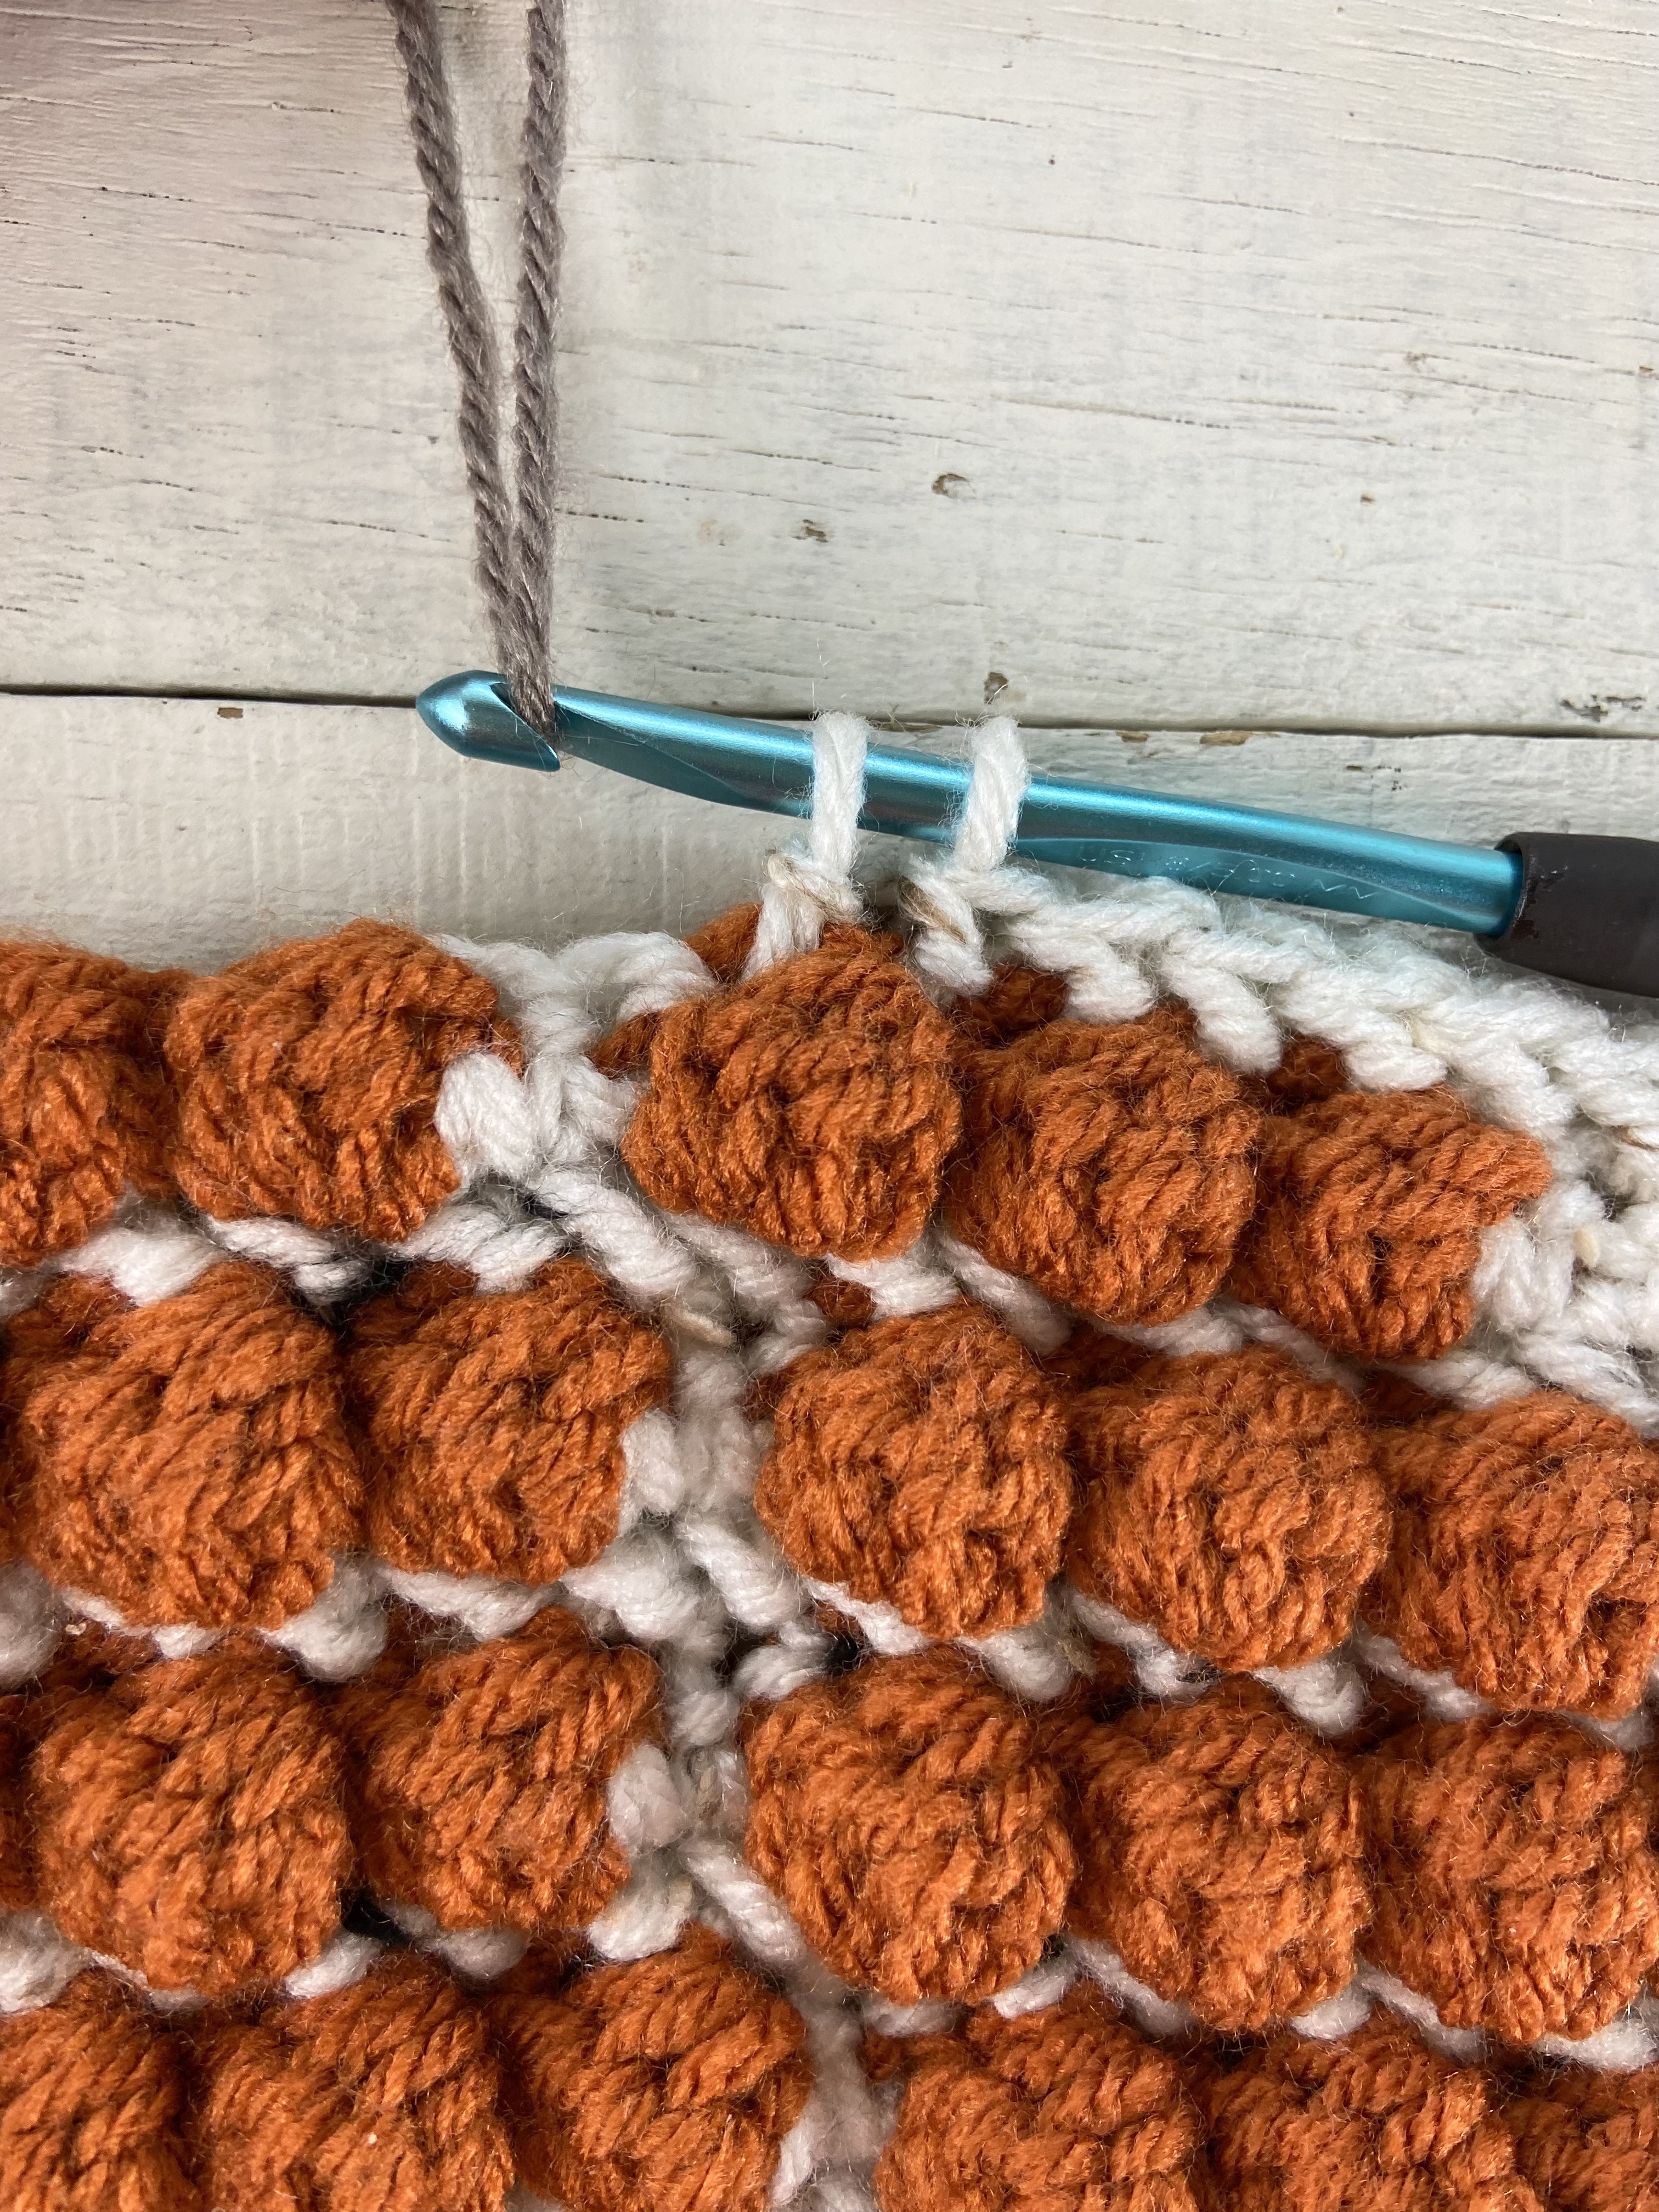
Start of bobble (half a dc, 4 times in the same st). 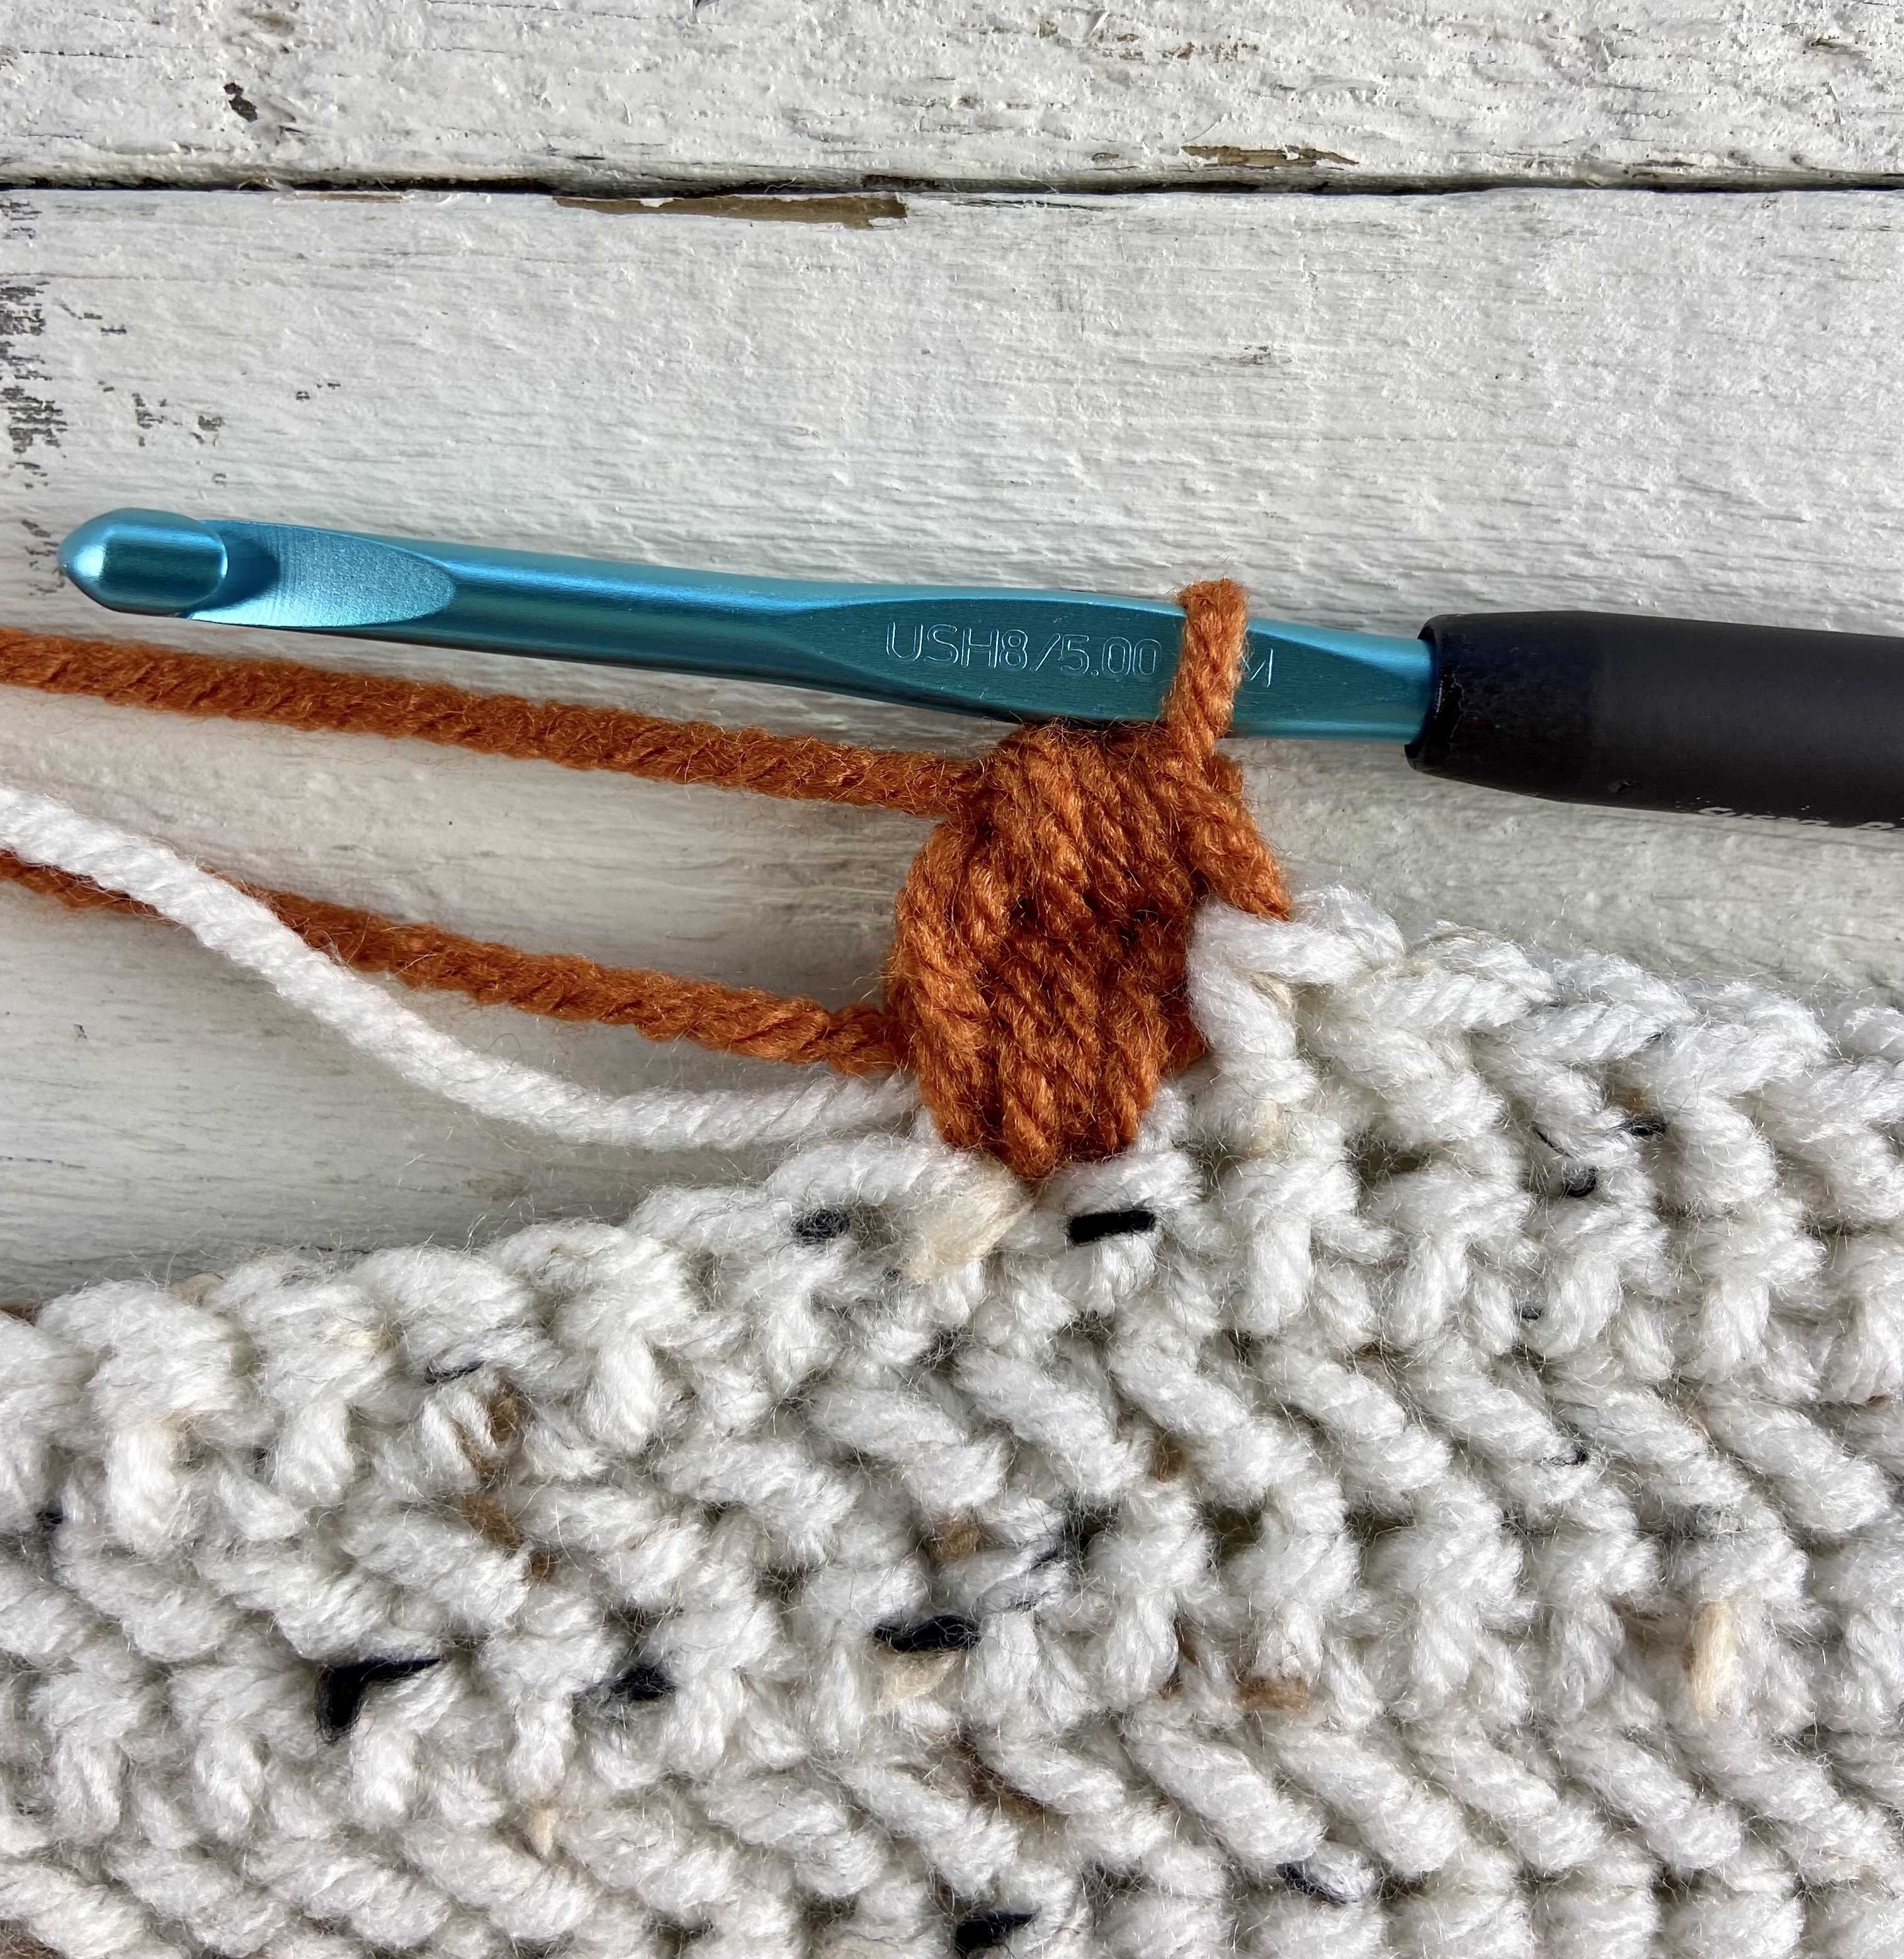
Yo and pull through all 5 loops. Bobble made. 
Sc in the next st.
Work [bo in next st, sc in next] three times, bo in next st (change to ivory when completing the bo st), 1 sc in next two sts using ivory (change back to orange),
Work [bo in next st, sc in next] two times, bo in next st (change to ivory when completing the bo st, drop orange yarn here), 1 sc in next st,
Hhdc in next 20 sts. Ch 1, turn. <62 sts (40 hhdc, 10 bo, 12 sc)>
First bobble row, wrong side view 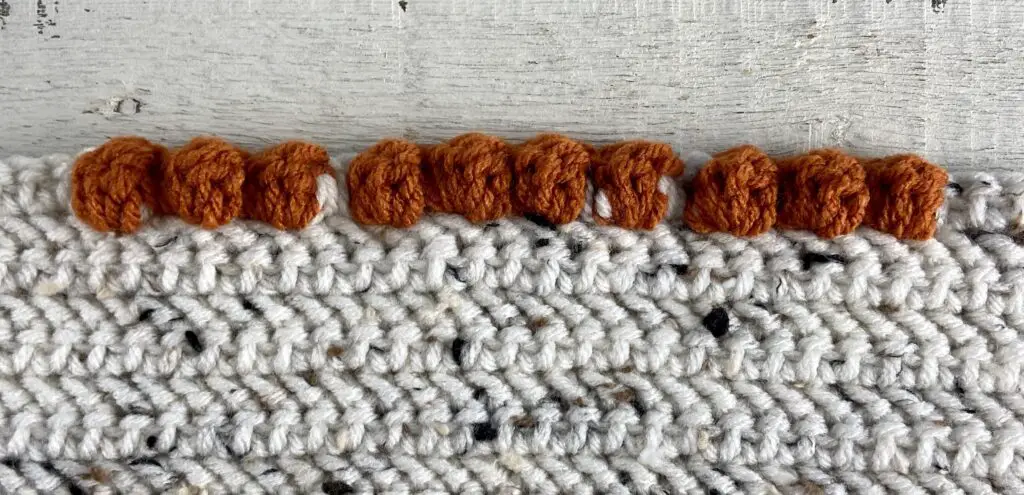
First bobble row, right side view.
Row 11: Using Ivory, hhdc in each st. Ch 1, turn. <62 hhdc>
Note that you will not “carry” any unused yarn through this row.
Rows 12 – 52: Continue following the chart (see special note below about the pumpkin stem).
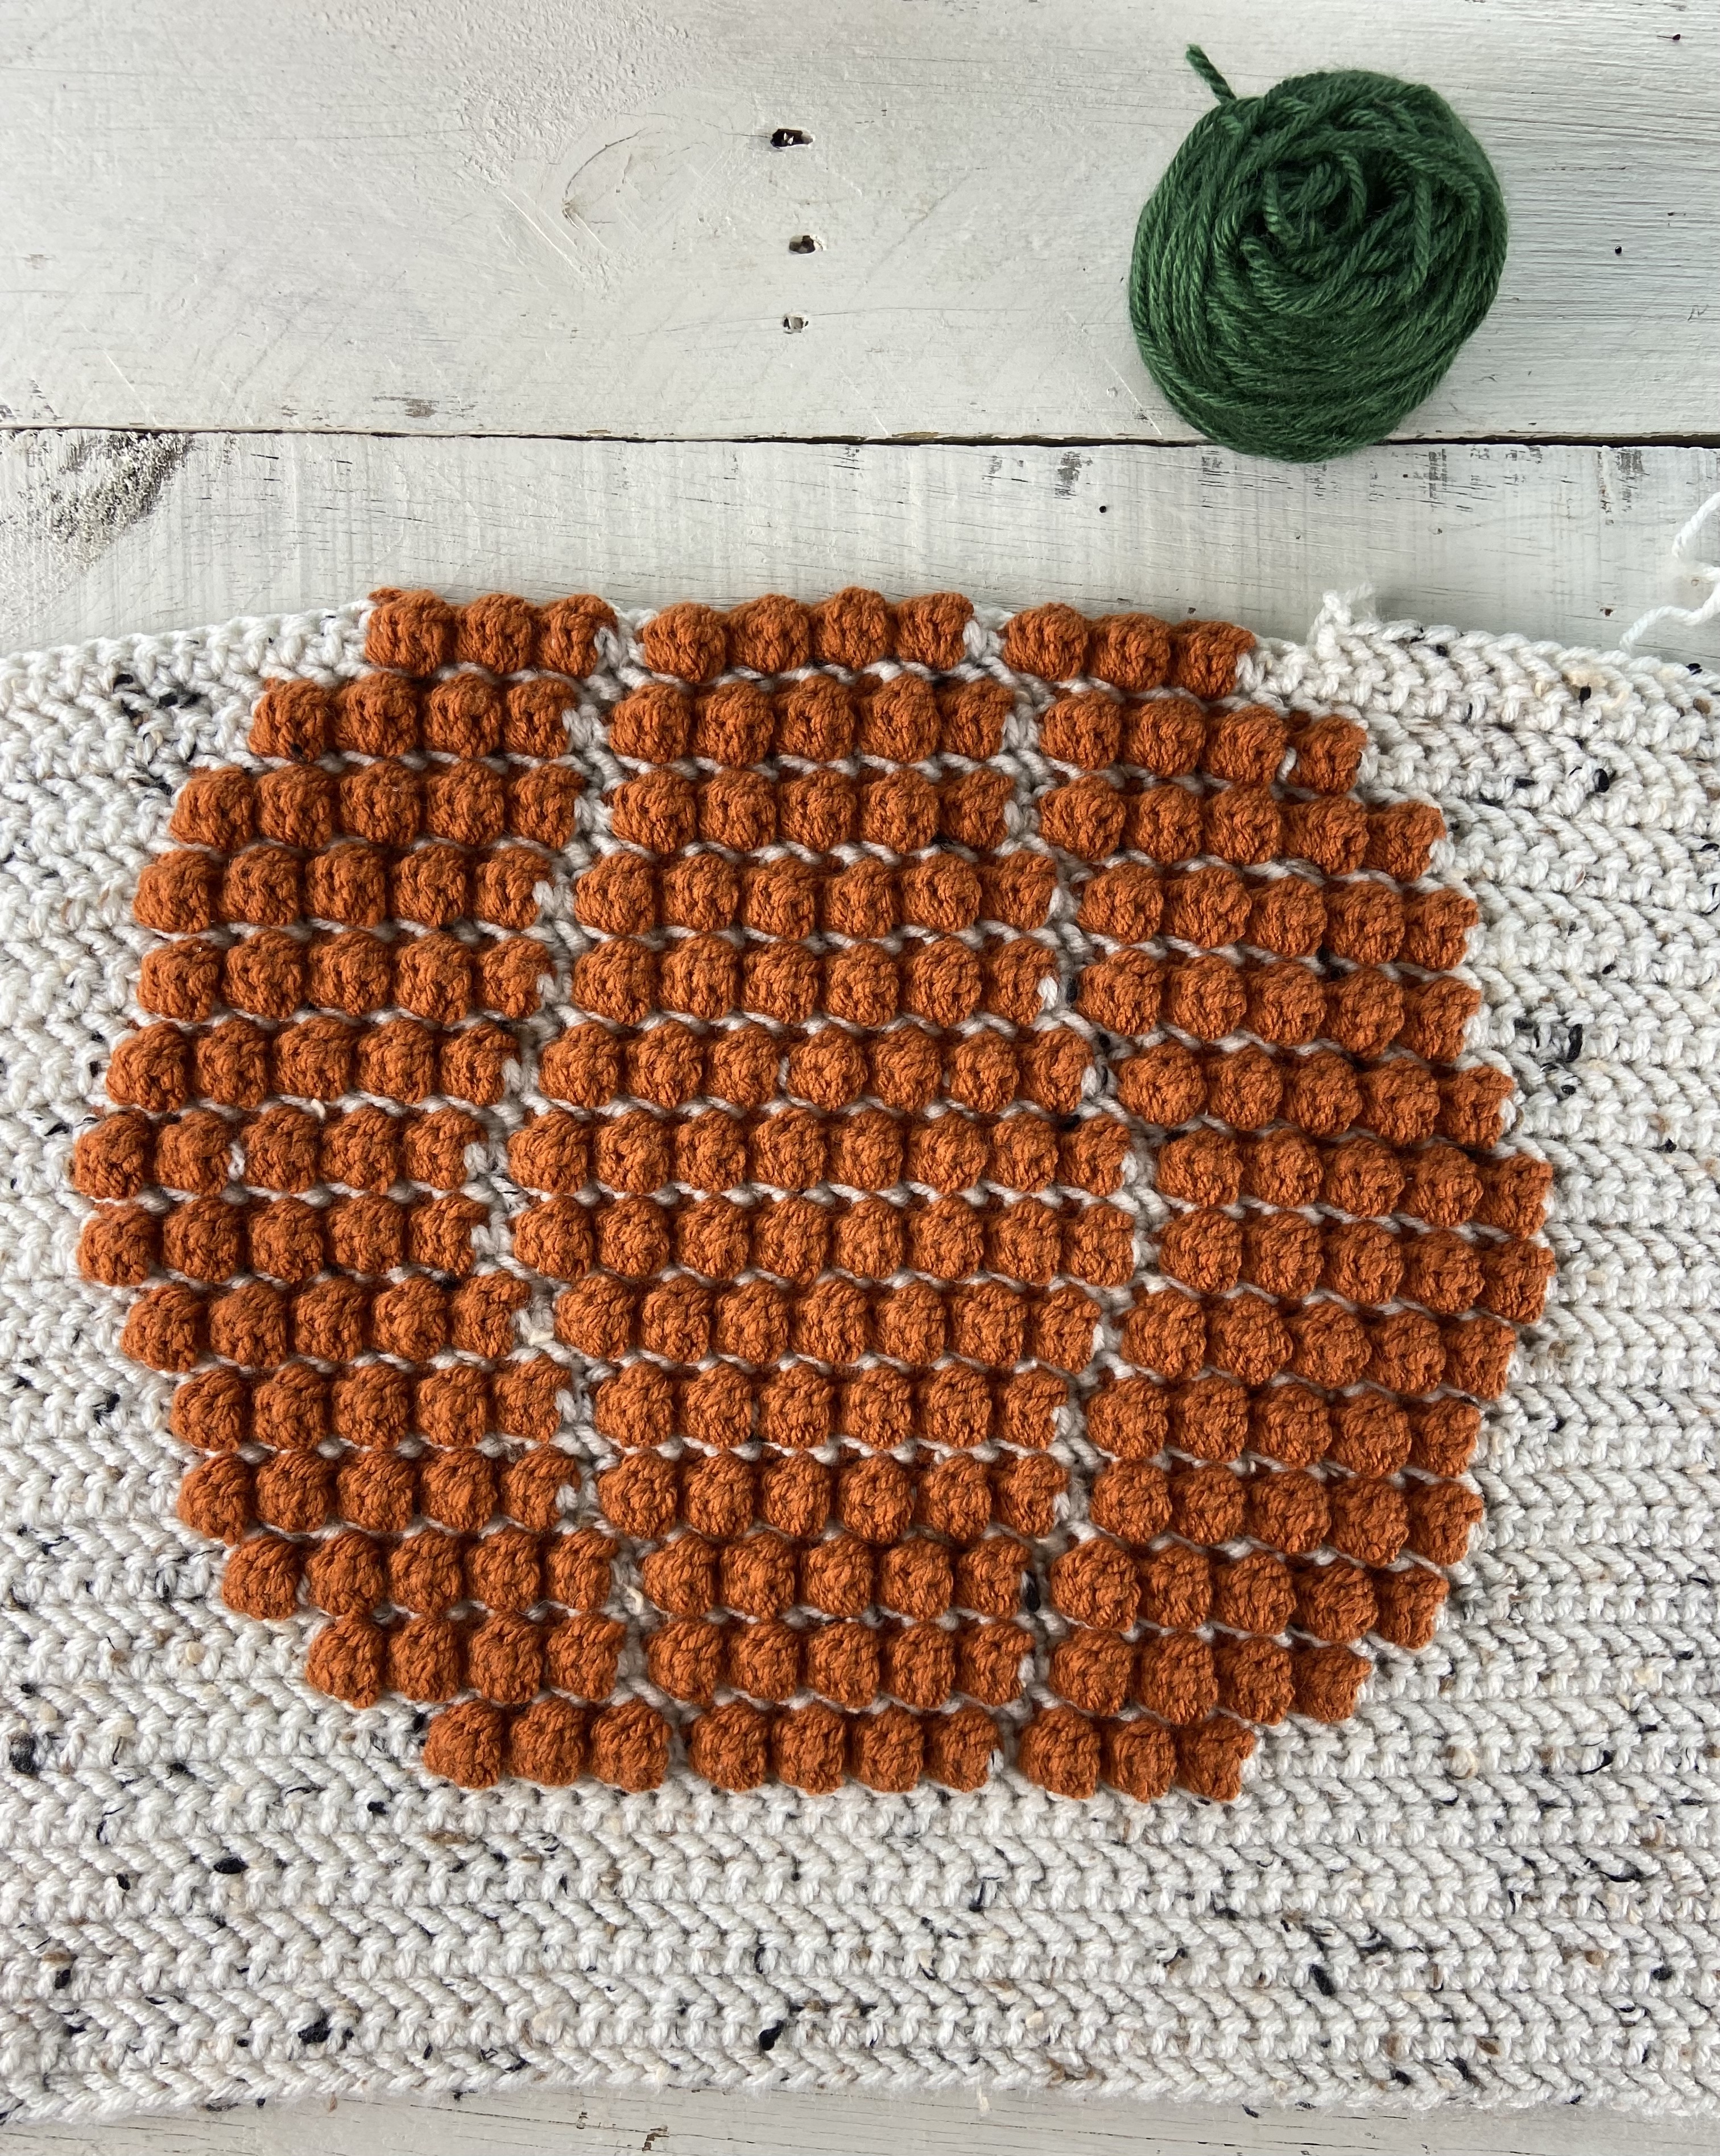
Bobble rows complete. 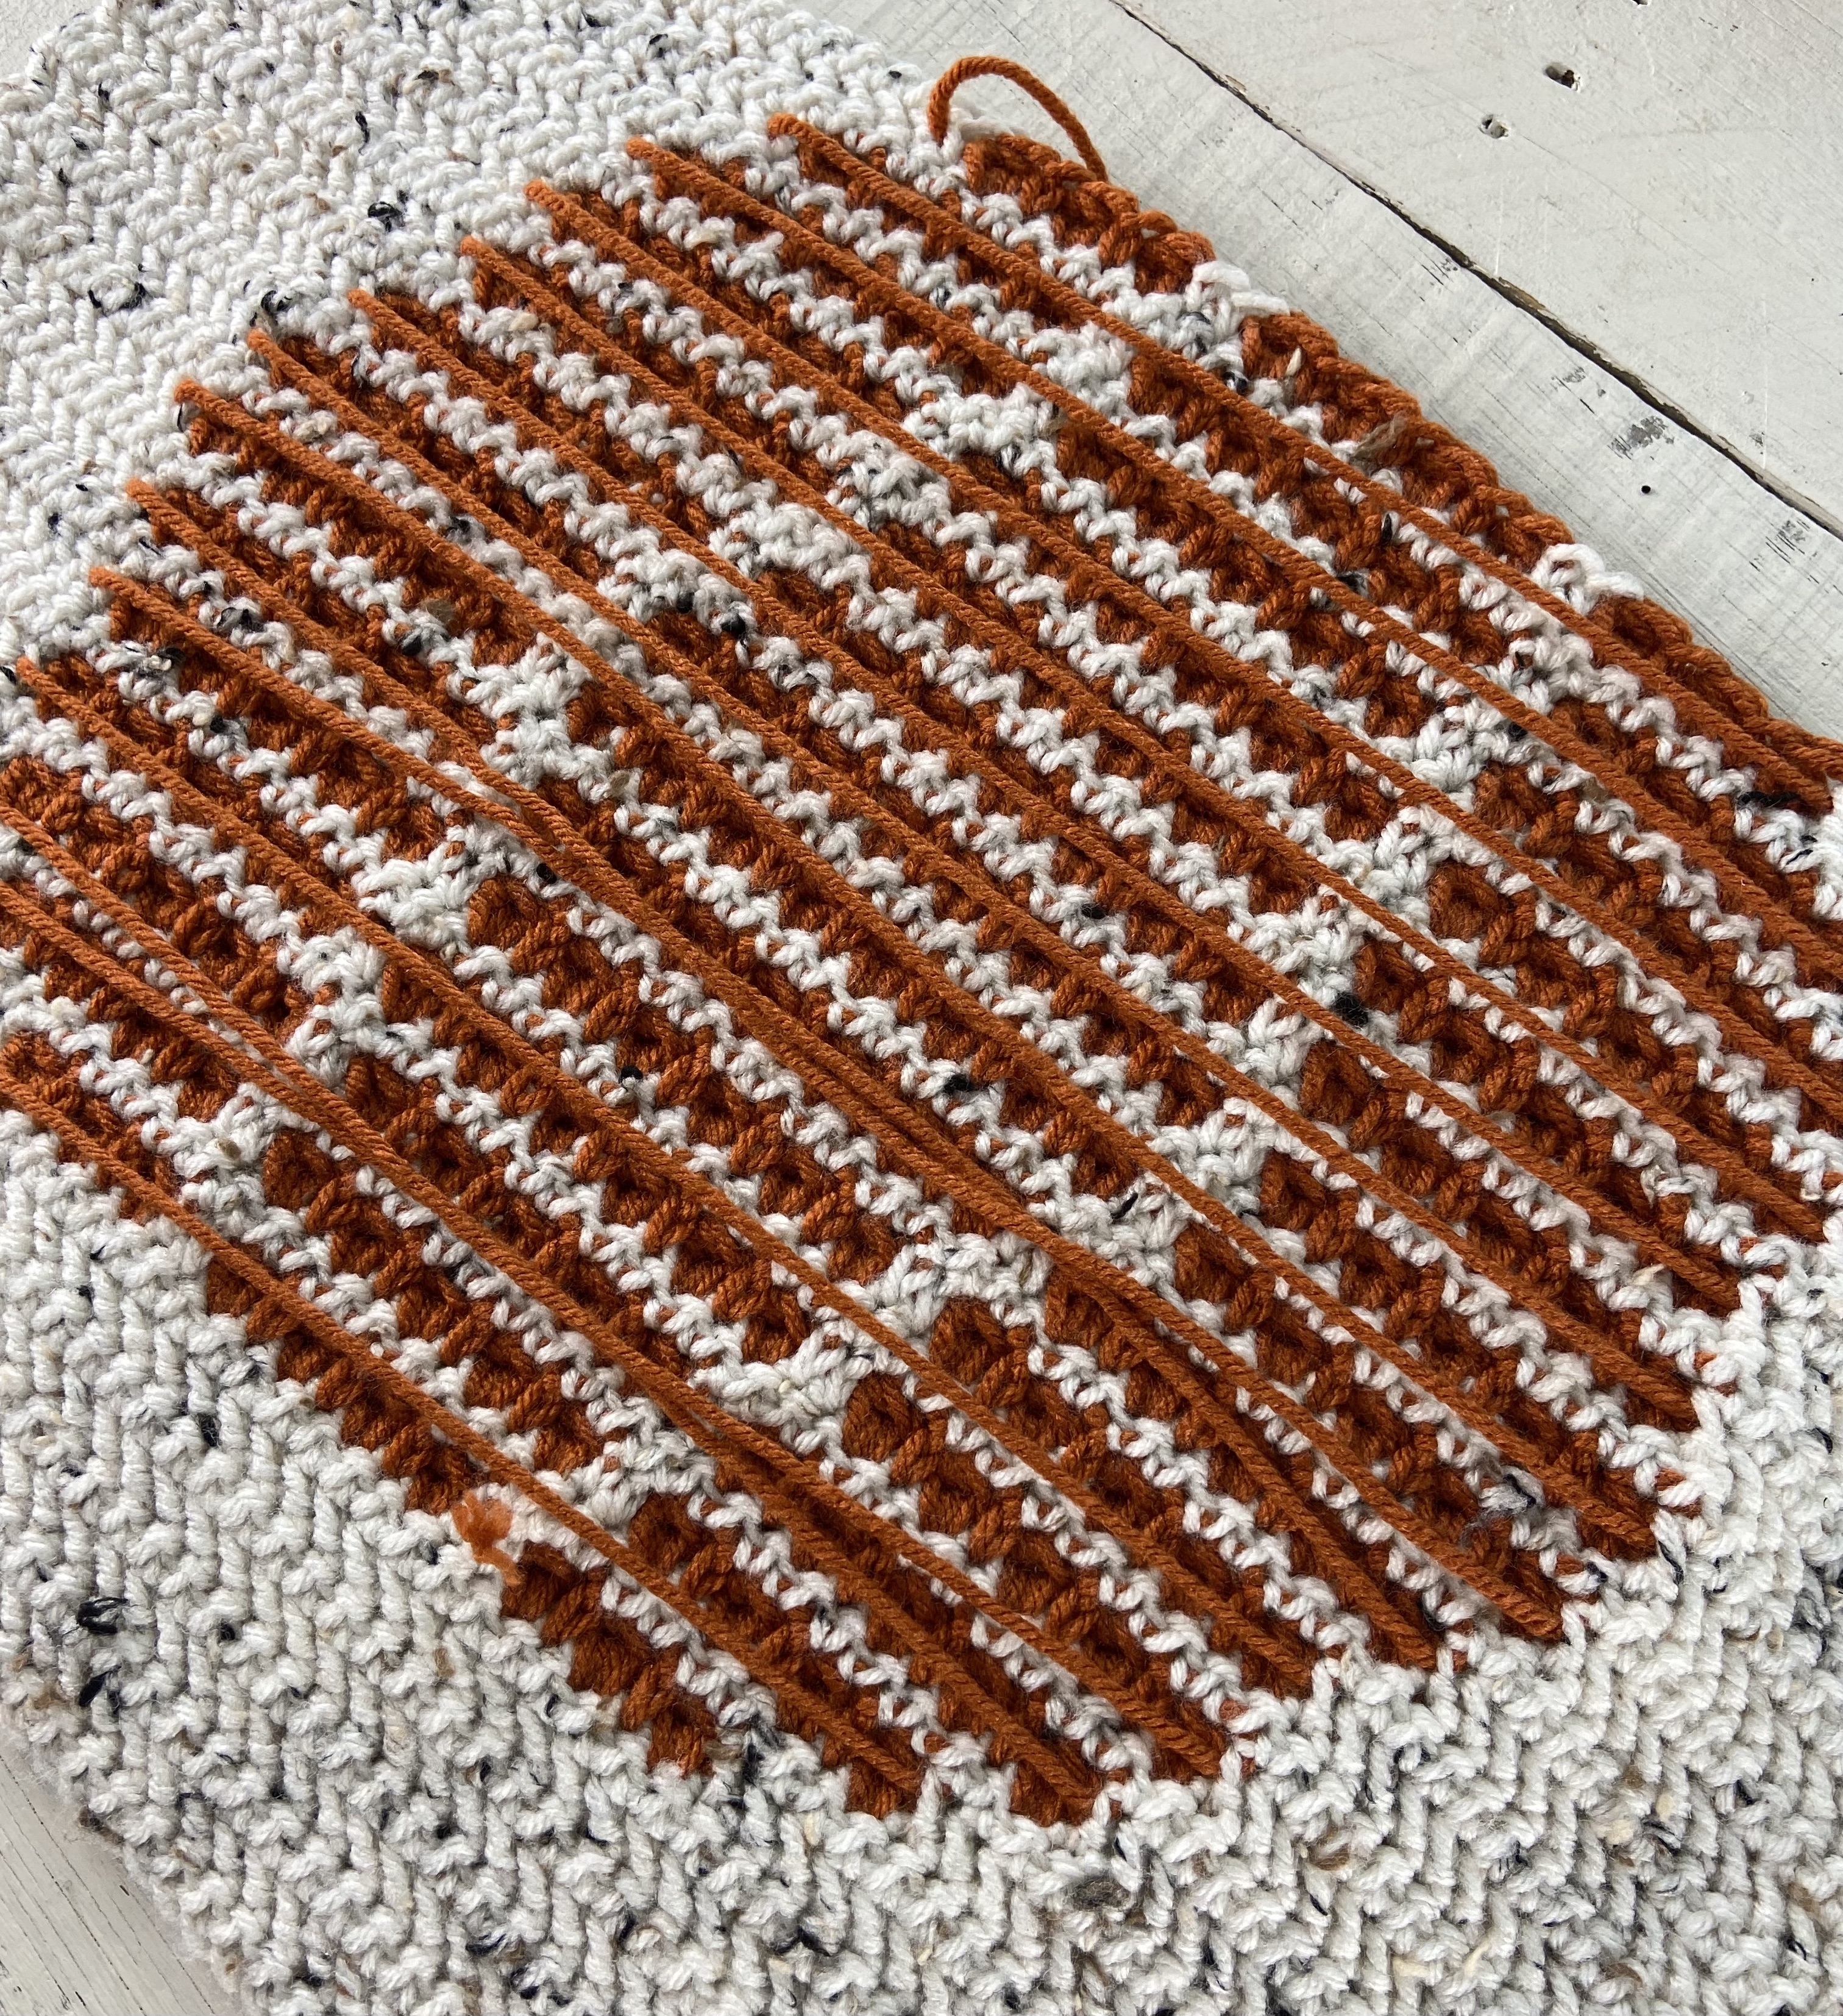
“Wrong side” view.
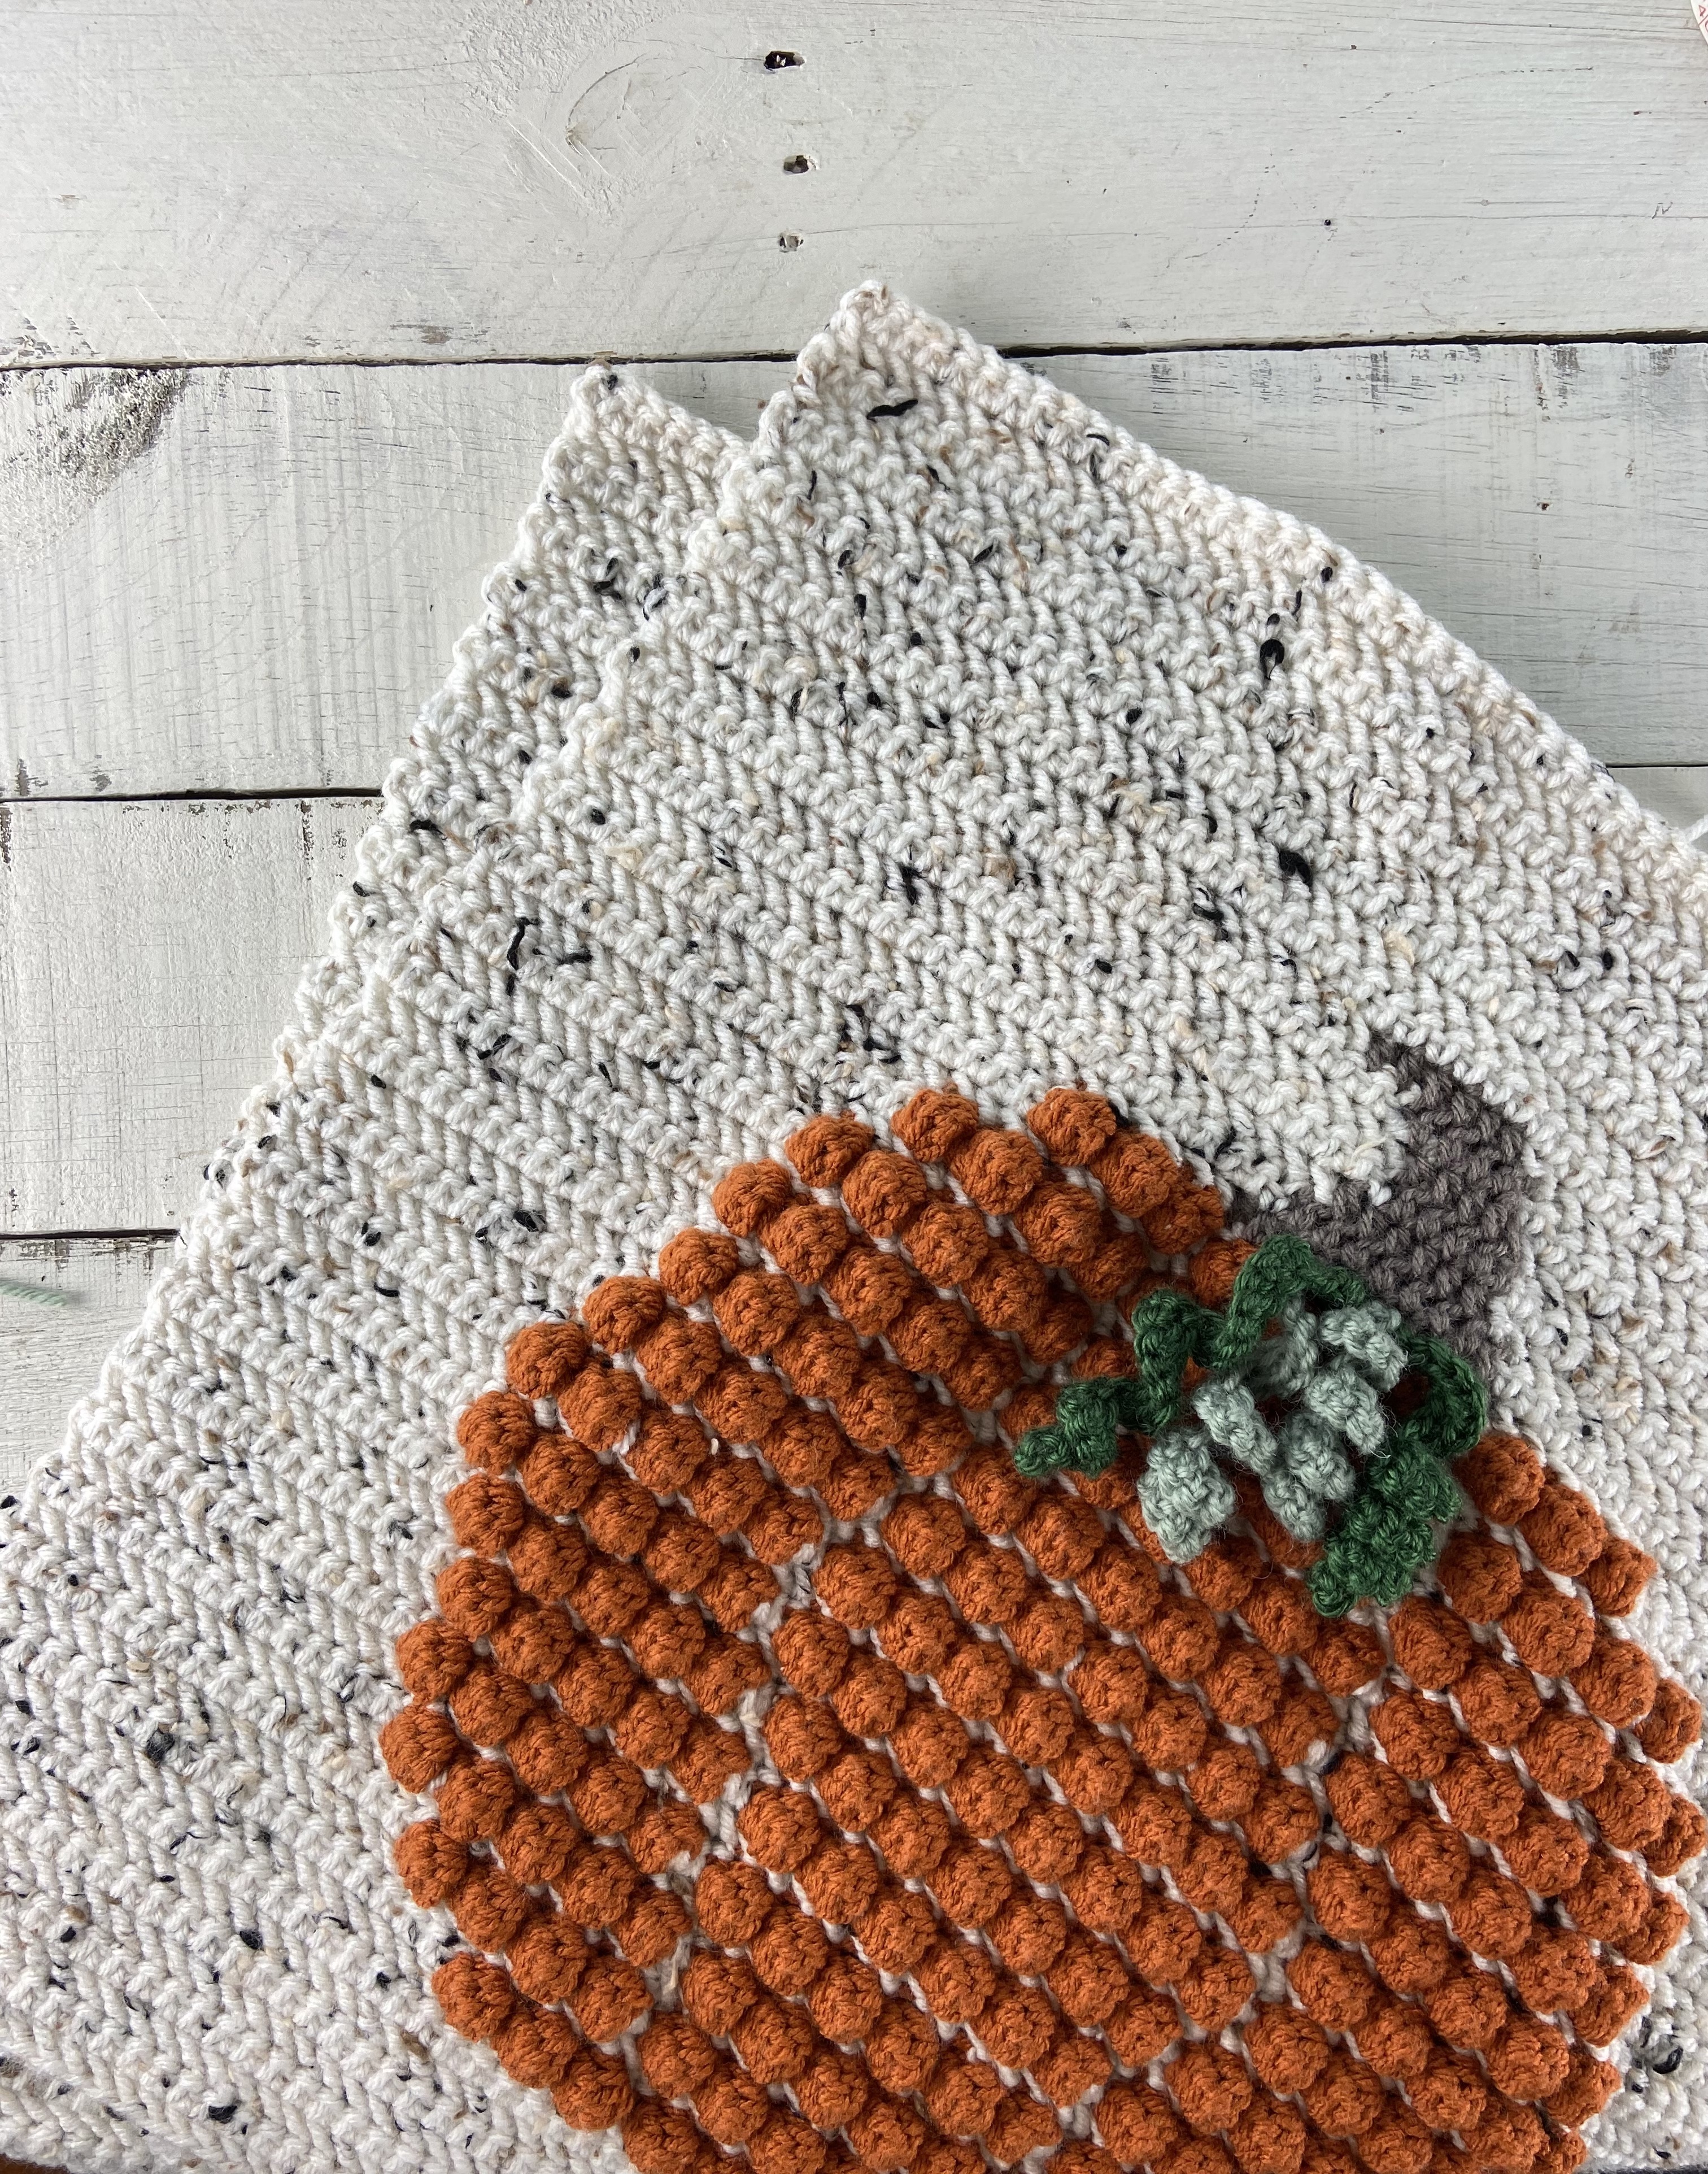
Pumpkin Stem Rows
Continue following the chart for the stem rows, changing to brown yarn when indicated. Please note that the stem itself is done using regular half double crochet, NOT herringbone half double crochet.
Switch to brown yarn for the stem. 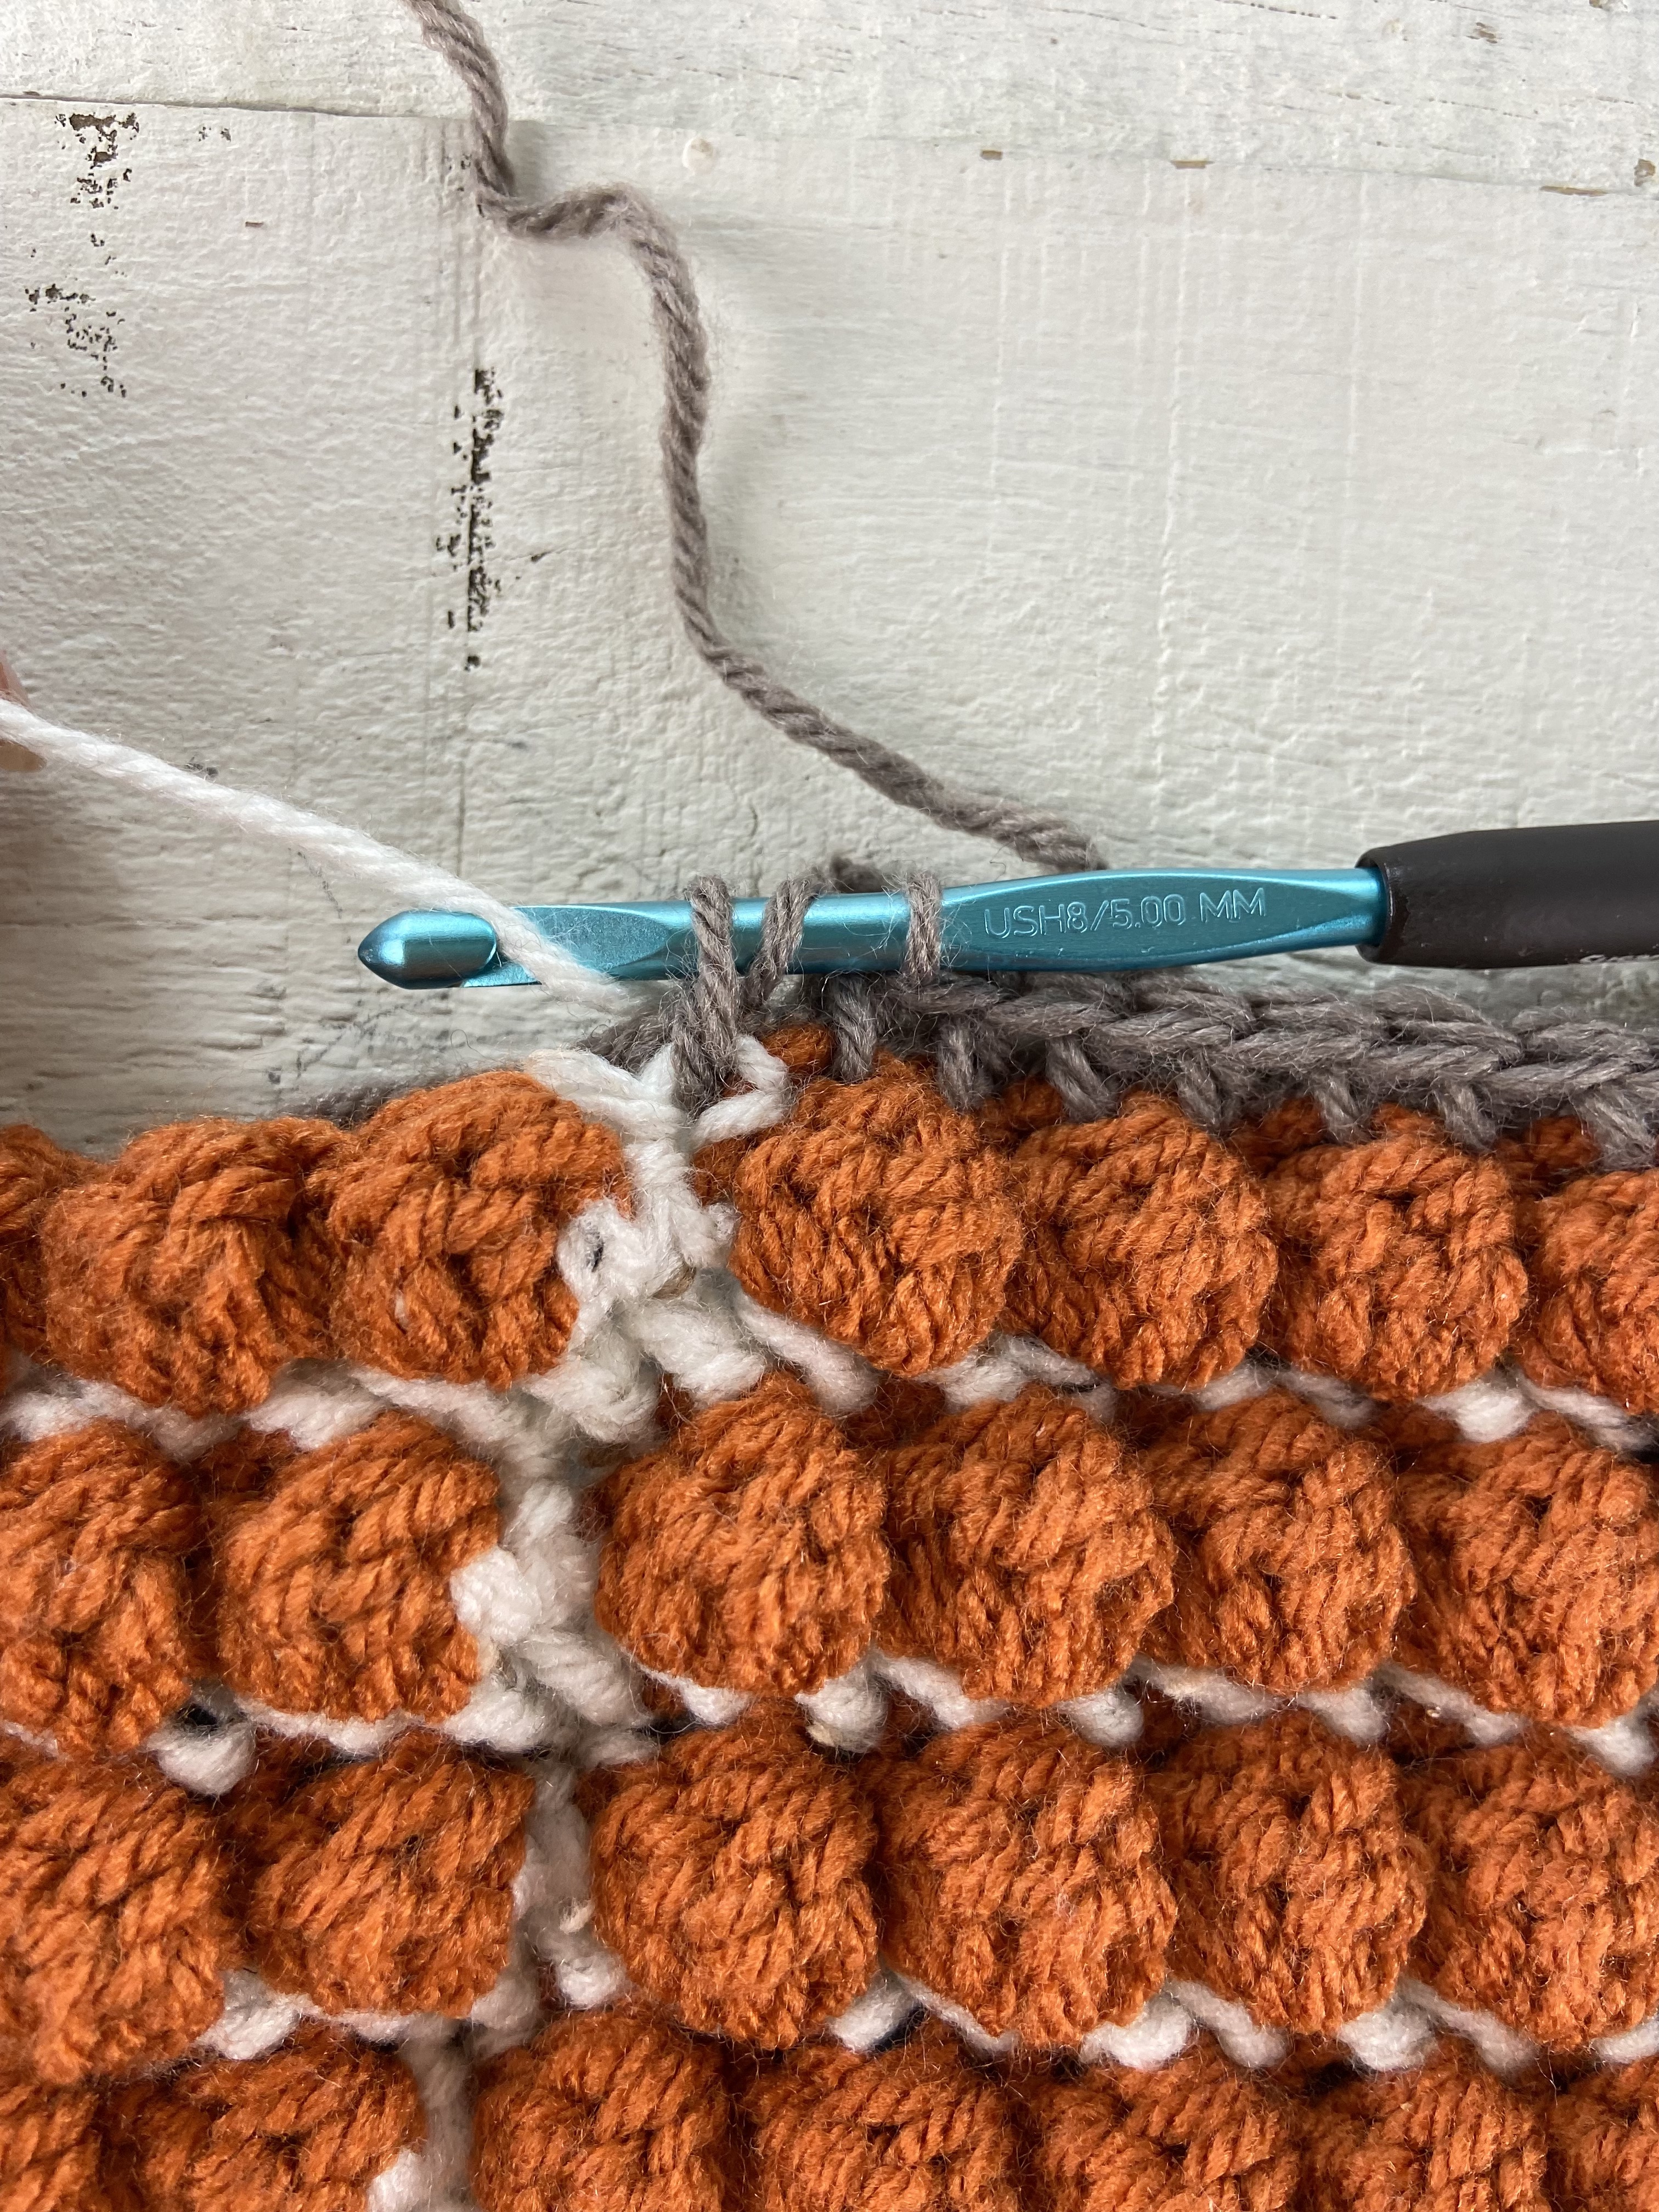
Use regular hdc for the stem. Use hhdc for the Ivory stitches on either side of the stem.
Fasten off at the end of Row 52 and weave in ends (or you can just tuck them to the side that will be facing in when you join the panels).
Vines (make 4)
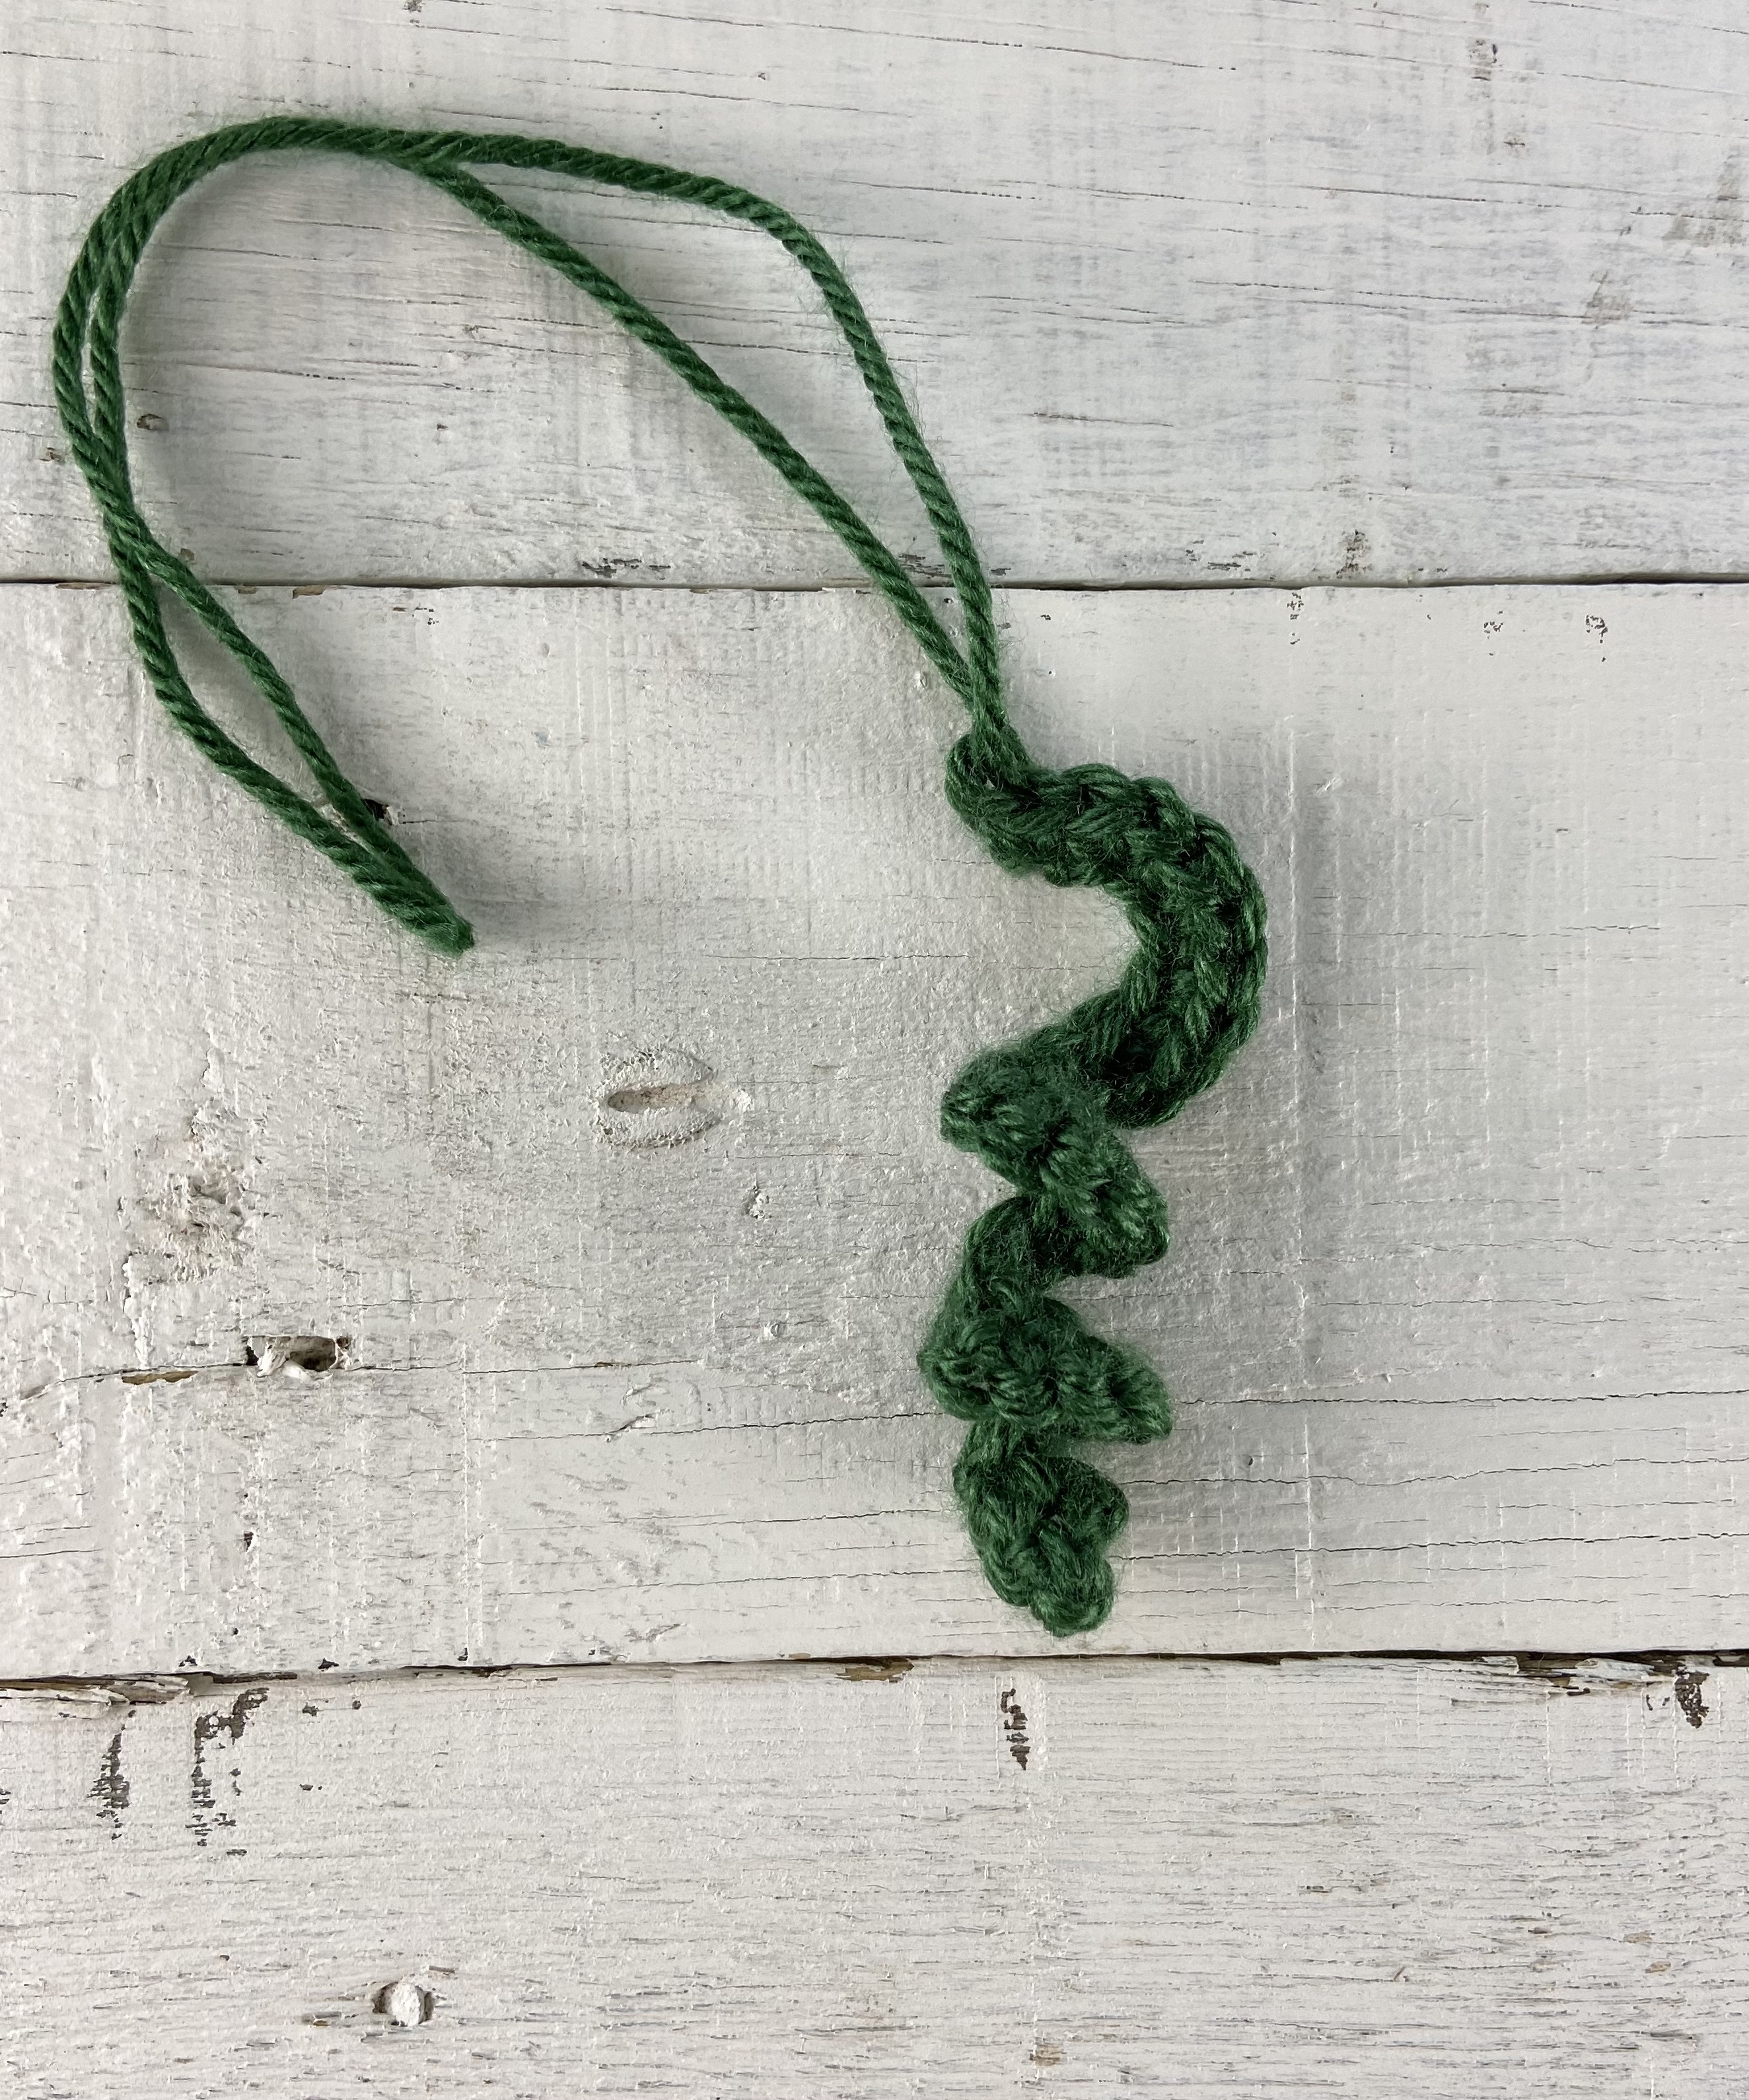
Using green yarn, chain 20.
Row 1: Work 2 sc in 2nd chain from hook and in each ch. Fasten off and use tail ends to tie each vine to the base of the pumpkin stem. Tip: attach the vines to the front panel before assembly.

Back Panel
With Ivory Tweed (or your background color of choice), chain 63.
Row 1: Hhdc in 2nd chain from hook and in each chain across. Ch 1, turn. <62 hhdc>
Rows 2 – 52: Hhdc in each stitch. Ch 1, turn. <62 hhdc>
Fasten off and weave in ends.
Assembly
- Align the two panels with the “wrong sides” facing in. Try to line up the stitches and row ends as much as possible.
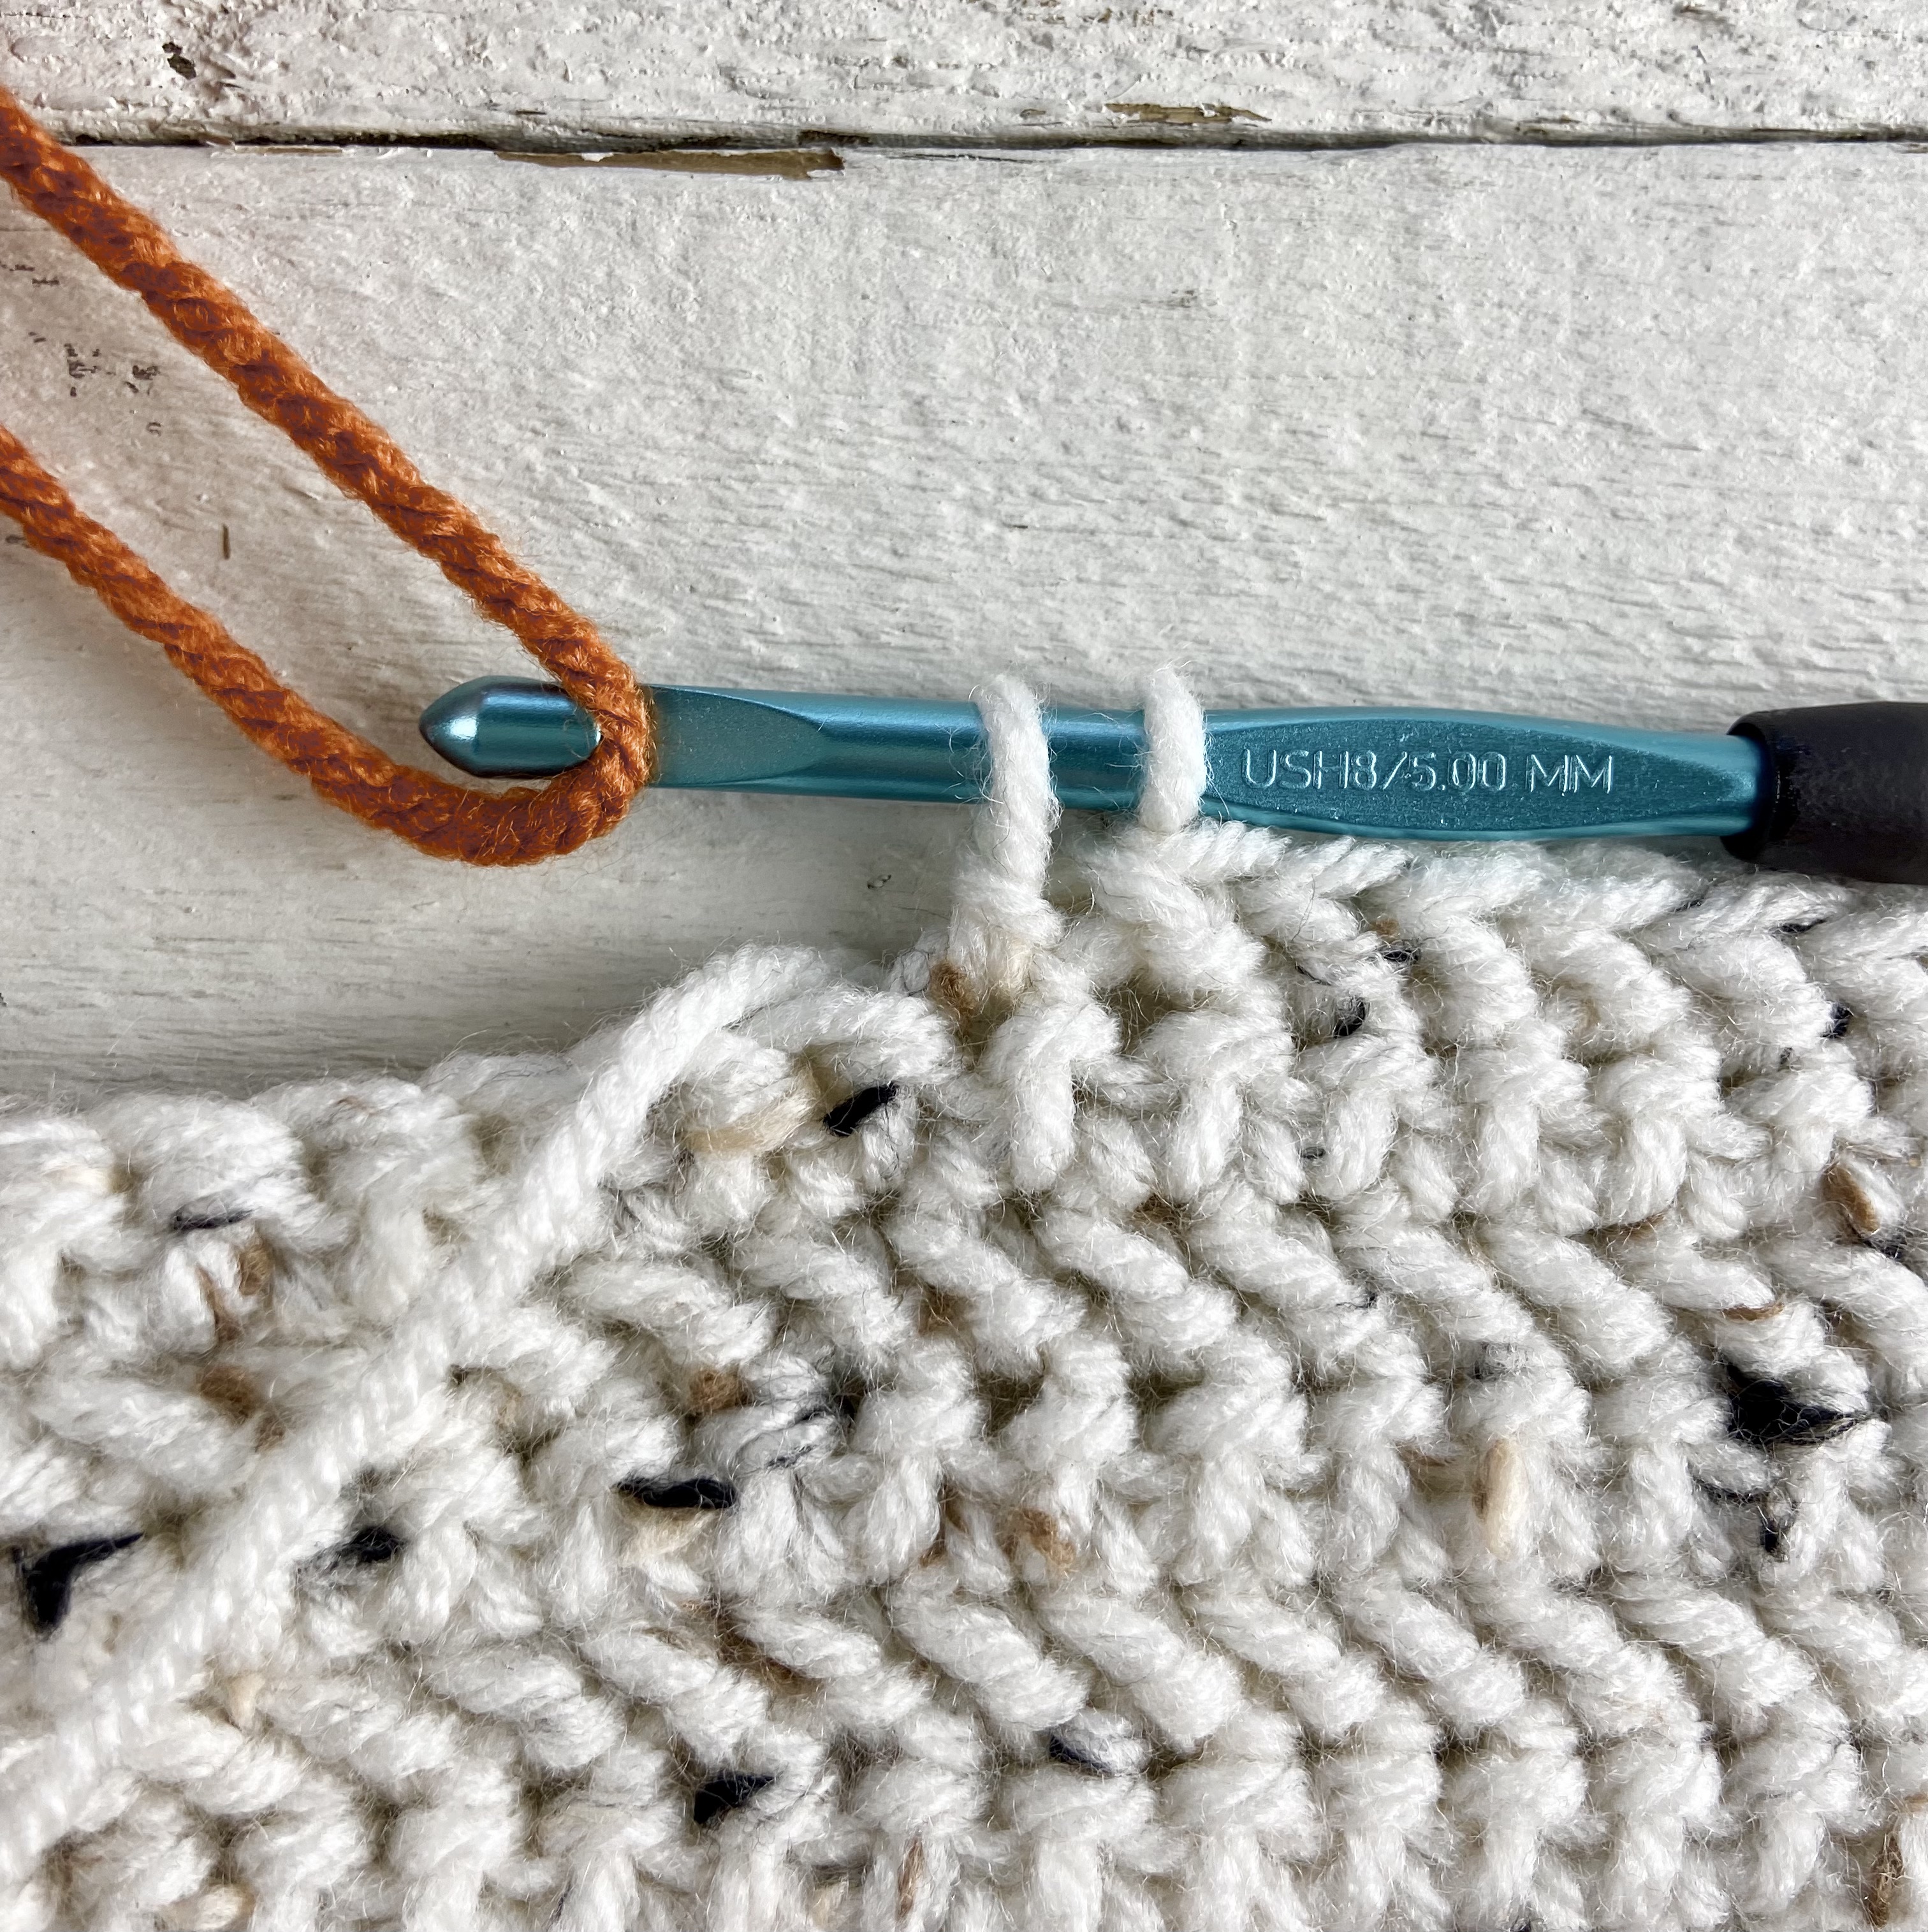
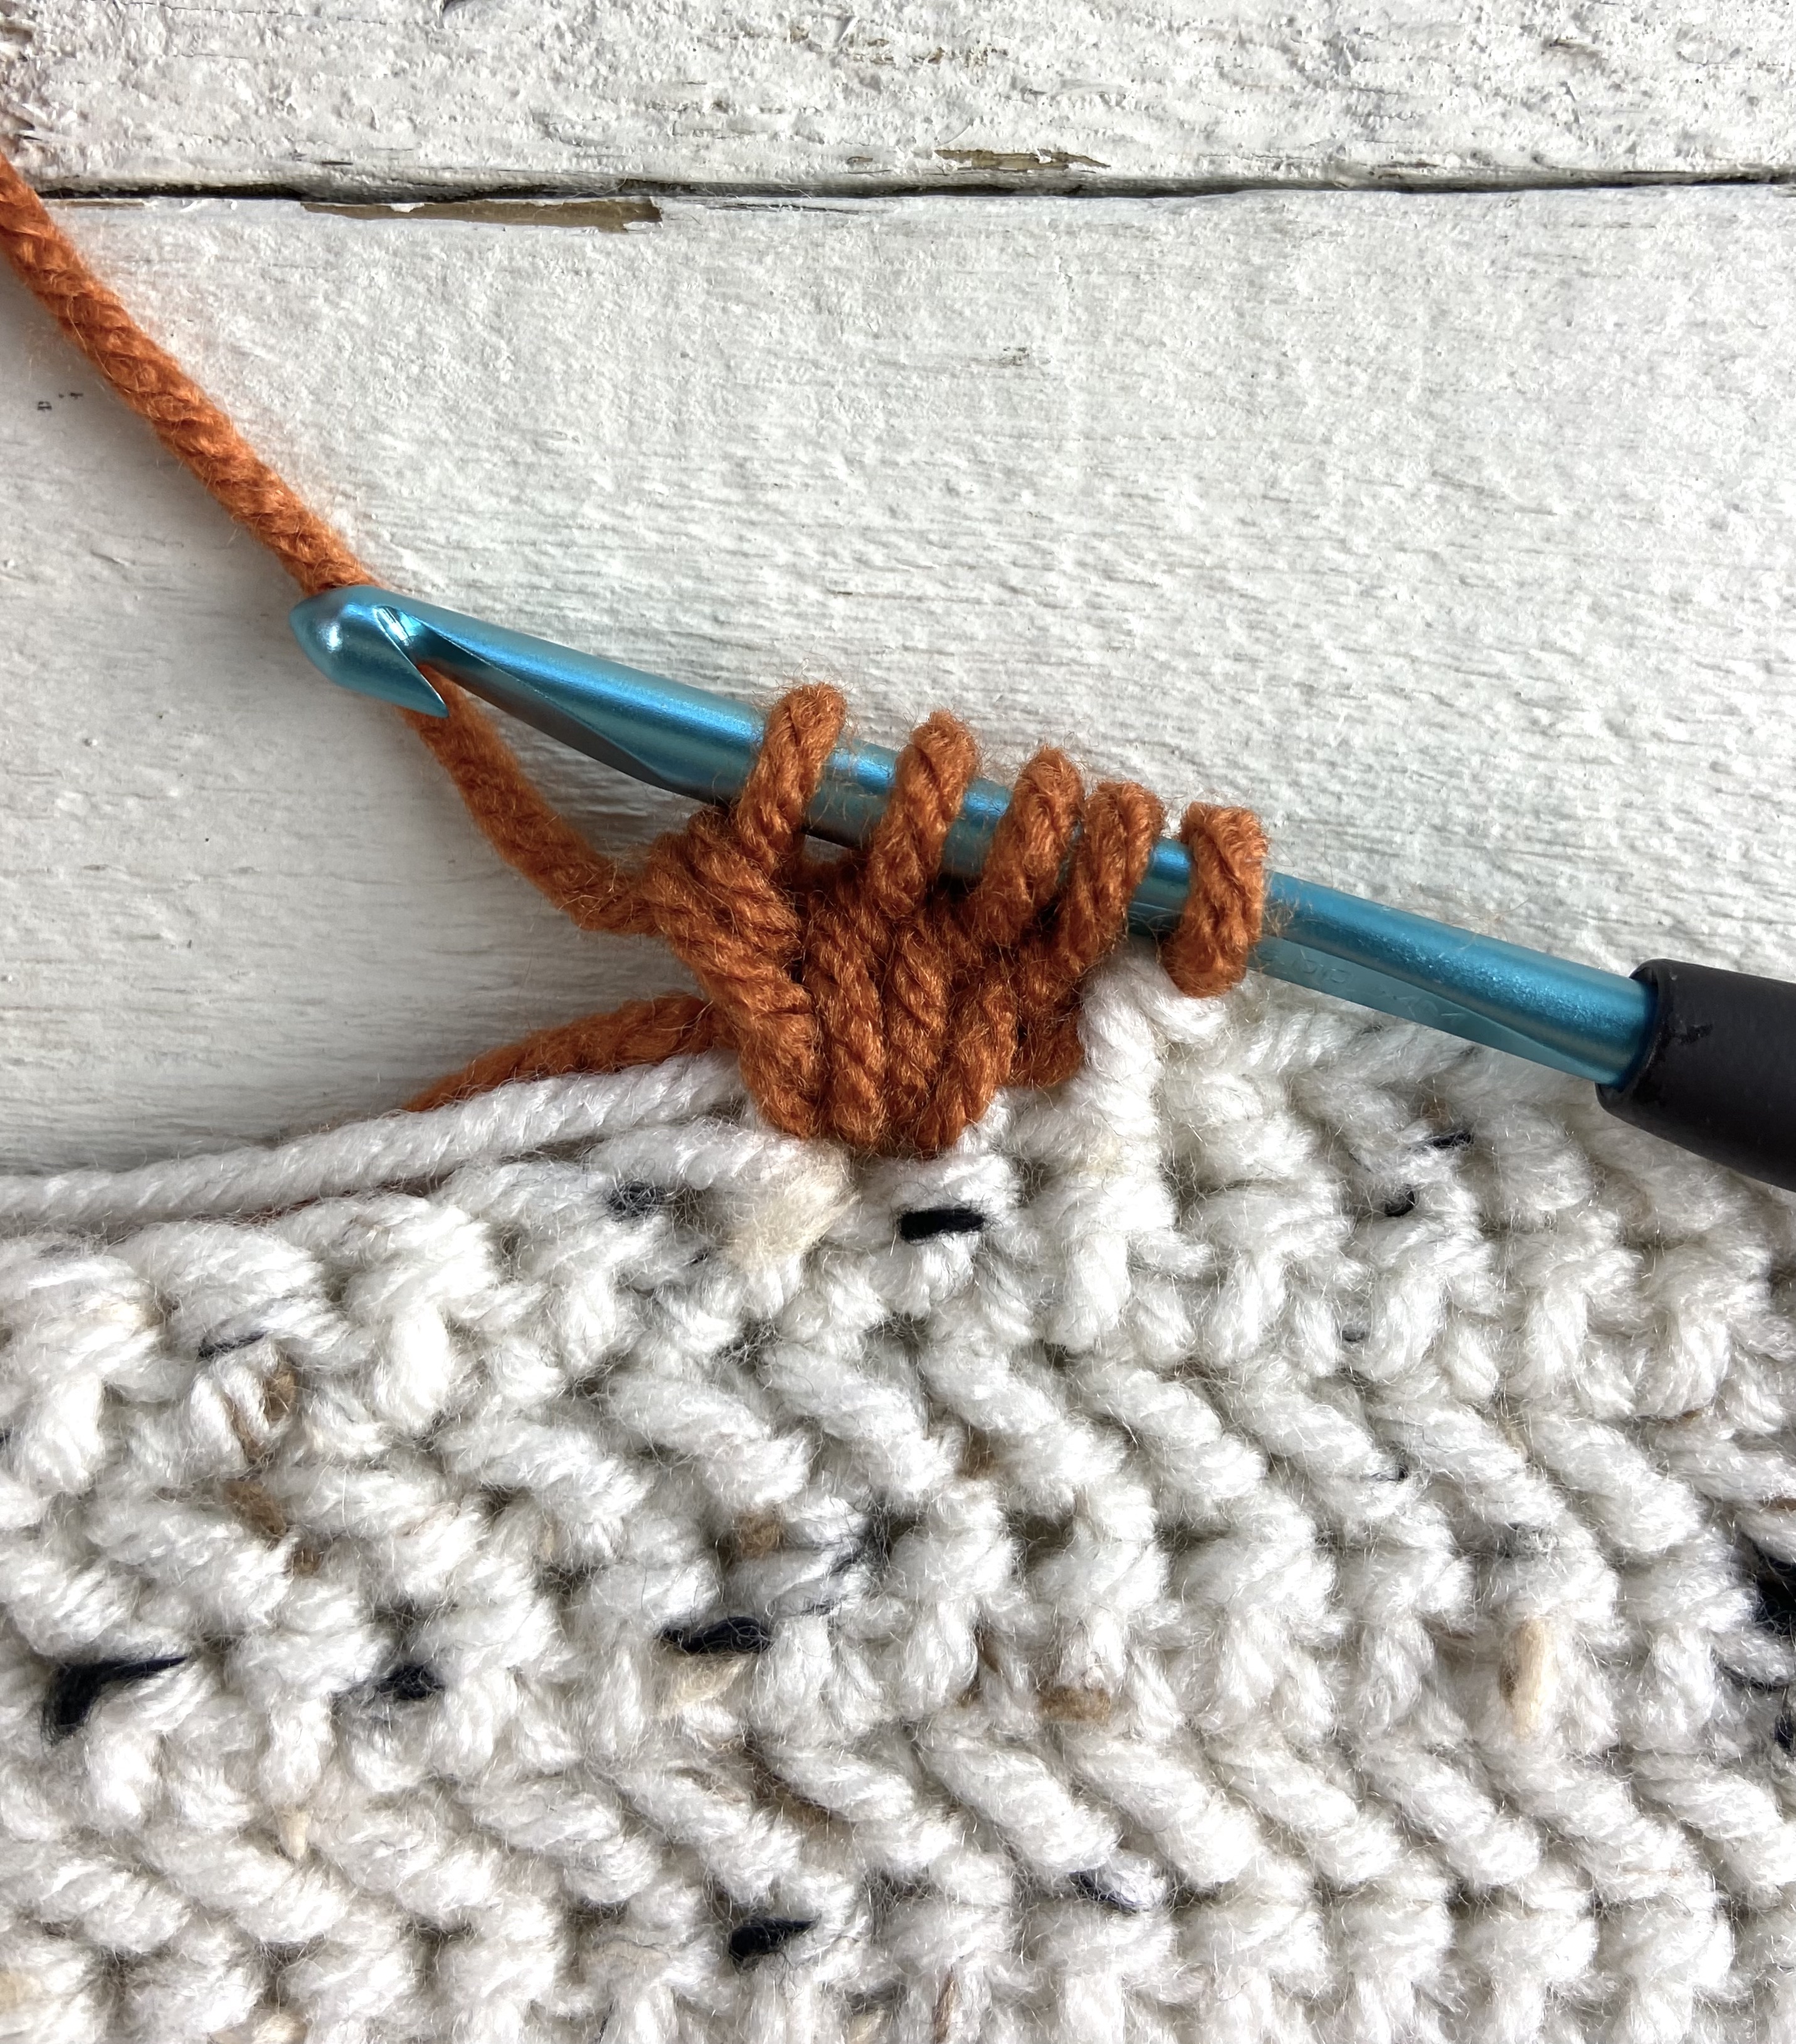
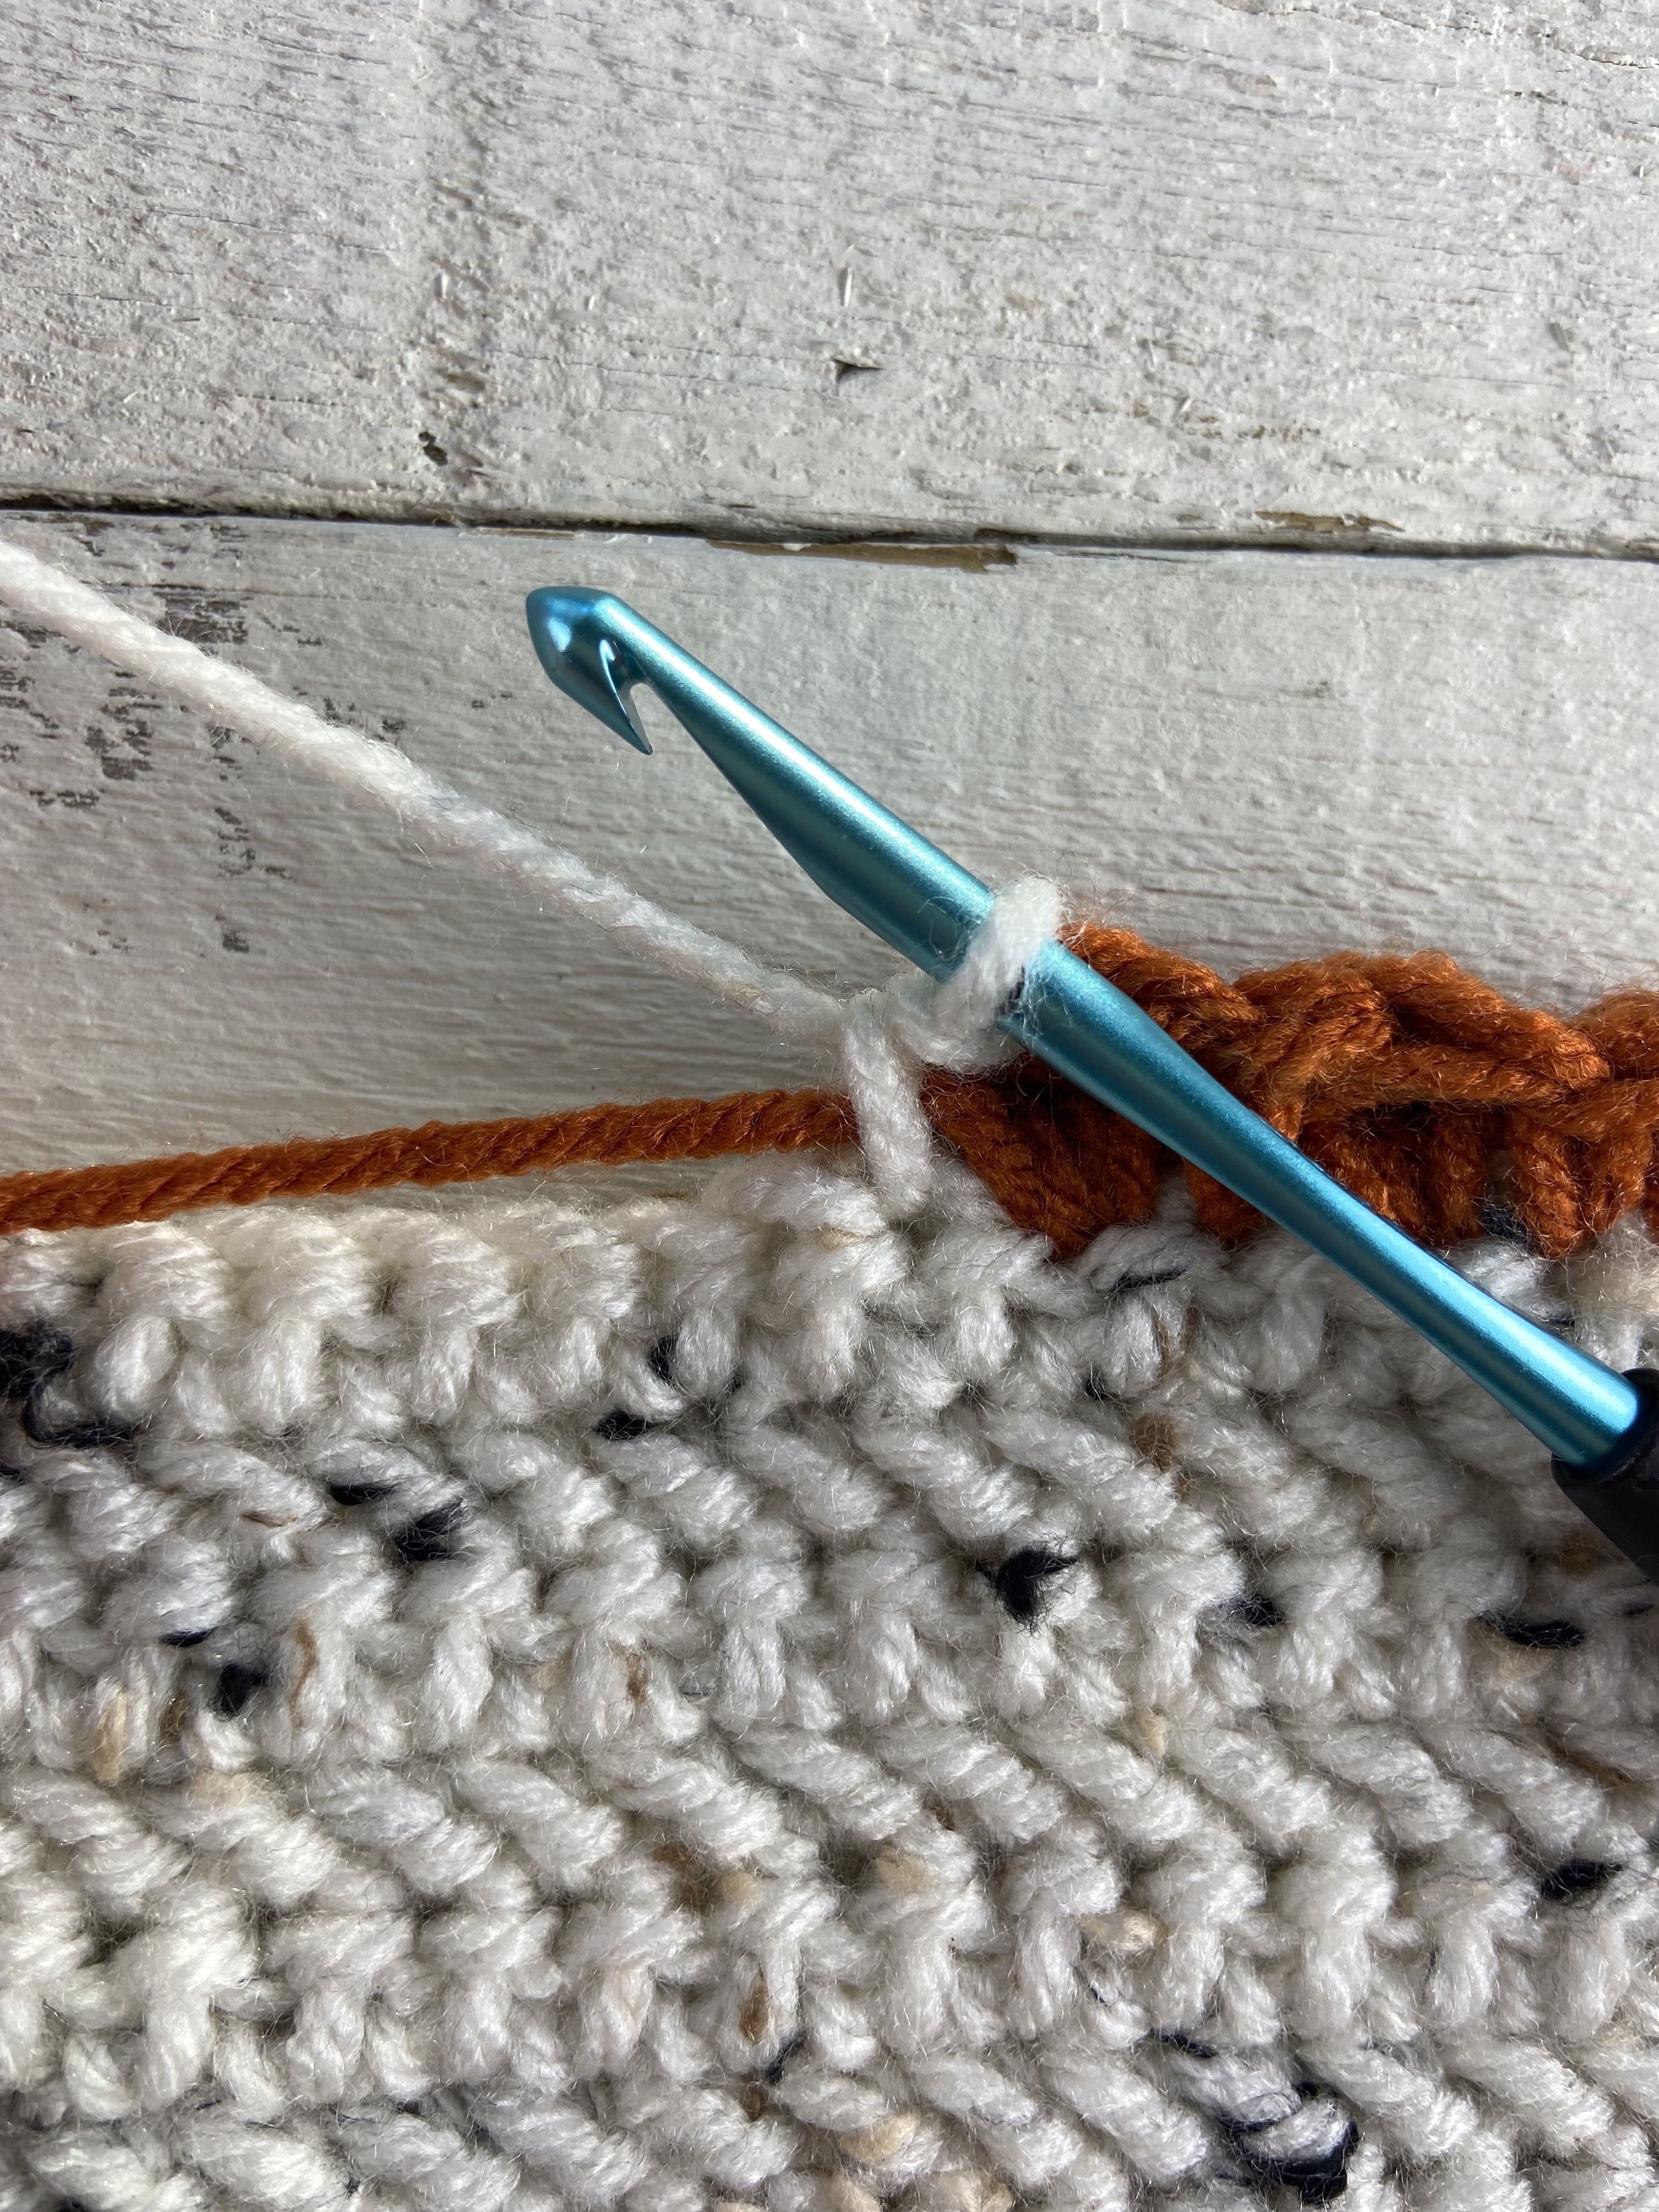
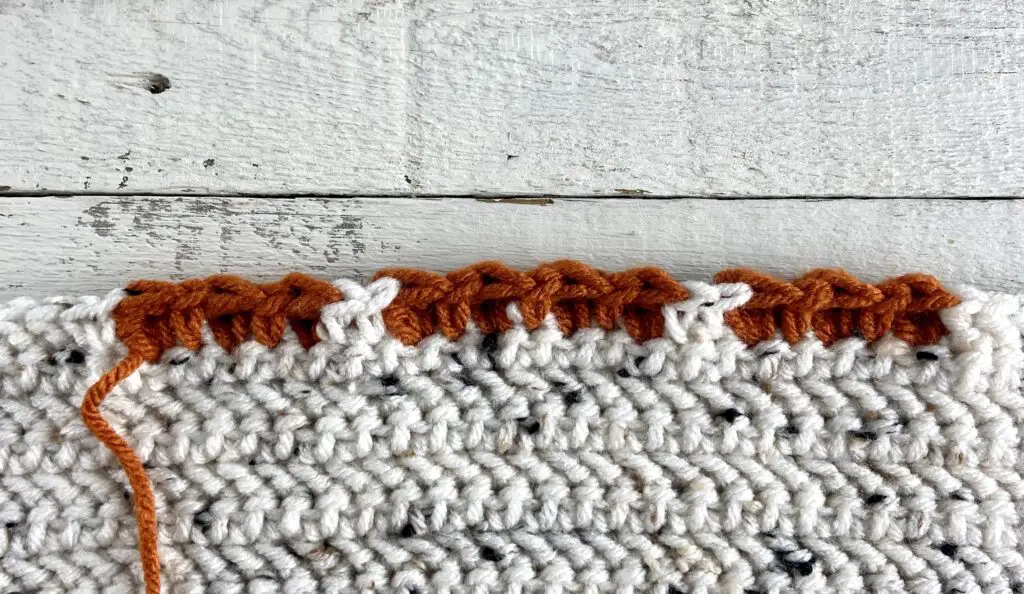
- Attach orange yarn at one corner using a slip stitch through both panels. Ch 1.
- Begin rsc evenly around to join the two panels (pull your loop up tall and make stitches loose to keep edges from puckering). For me this worked out to be placing a rsc in every stitch on the top and bottom, and about every other row on the sides.
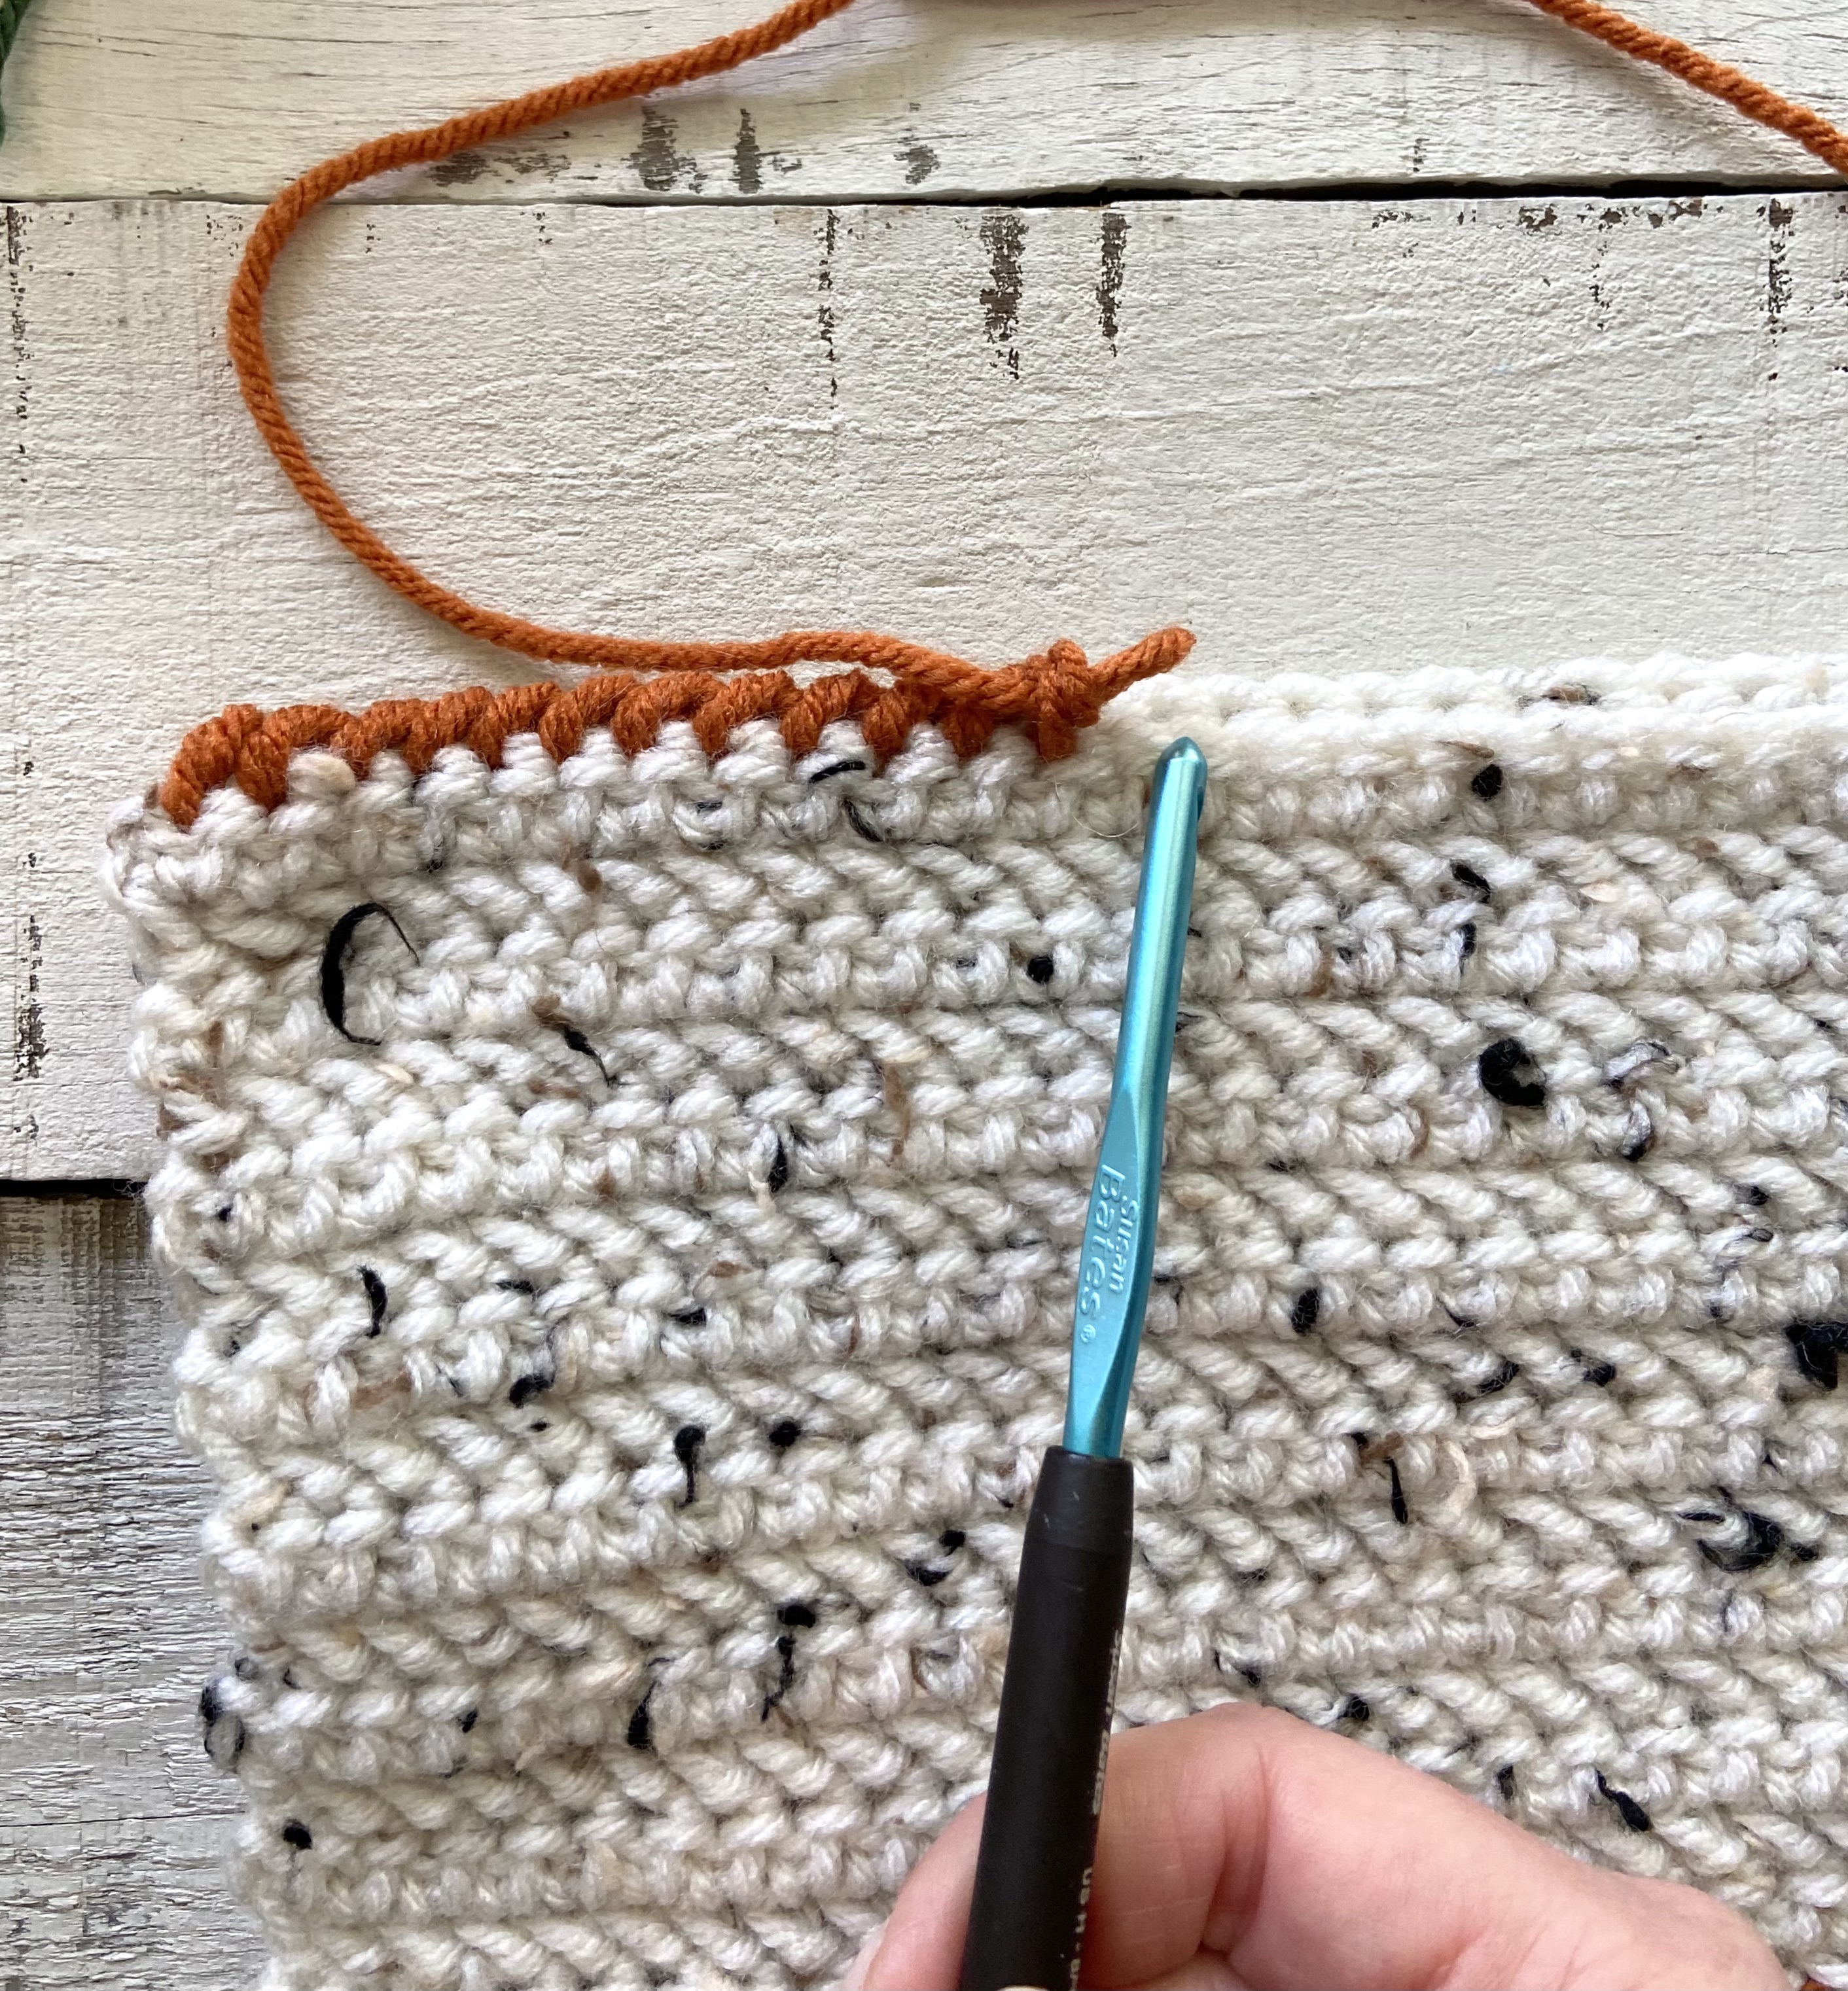
A rsc is worked just like a regular sc, but in the opposite direction. If you are right handed you will sc into the st to your right. 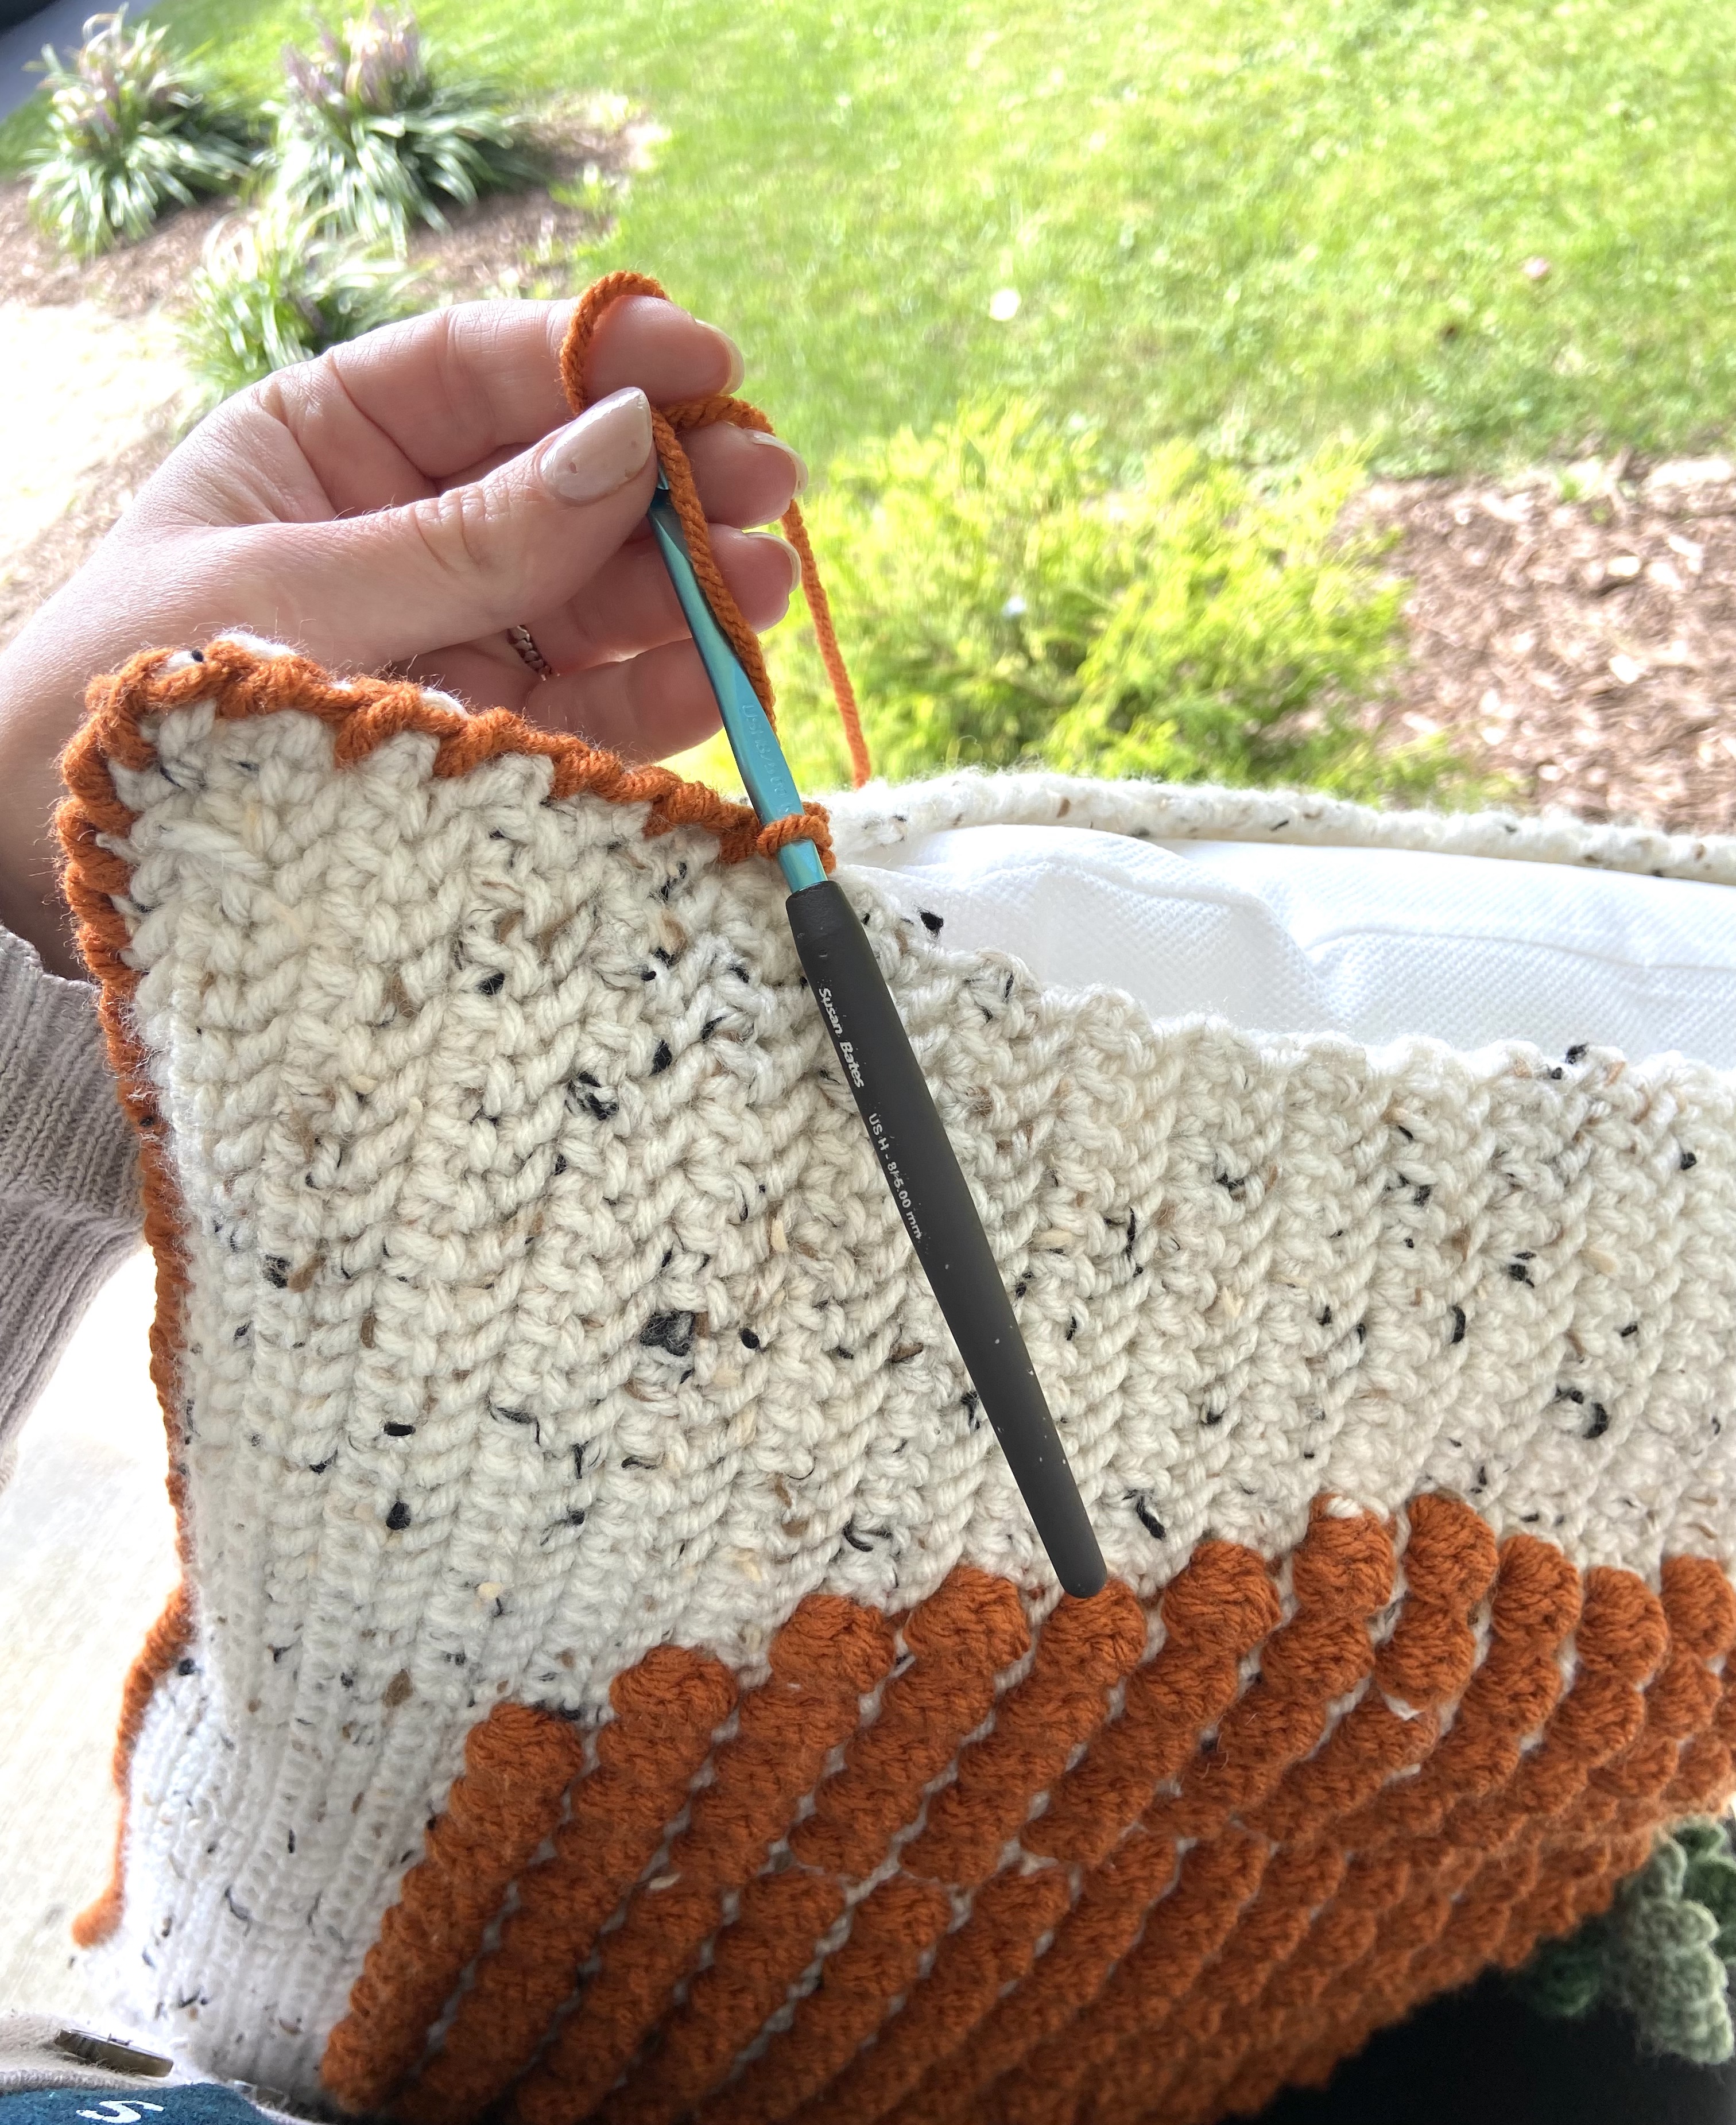
Stuff with pillow before joining the 4th side.
- For the corners, try to place one rsc before the corner, rotate your work, and place one rsc after the corner.
- Stop after you have stitched together three sides and stuff with a pillow insert or other stuffing.
- Continue rsc across the last side until you reach where you started. Sl st to the base of your first rsc to join. Fasten off, weave in ends and your Bobble Pumpkin crochet pillow is done!
Alternative border: You could use regular sc to join the two panels, working two scs at each corner and joining the row with a sl st.
I hope you enjoyed this pattern! Tag me on Instagram @theknottednest and use the hashtag #bobblepumpkinpillow to share your project! Looking for more cozy fall patterns? Check out my Rustic Pumpkin Garland or the Dreaming of Spring Triangle Scarf!
Happy making!


One Comment
Pingback: