Black Bean Dyed Crochet Pot Holder Pattern
Pin it for later!
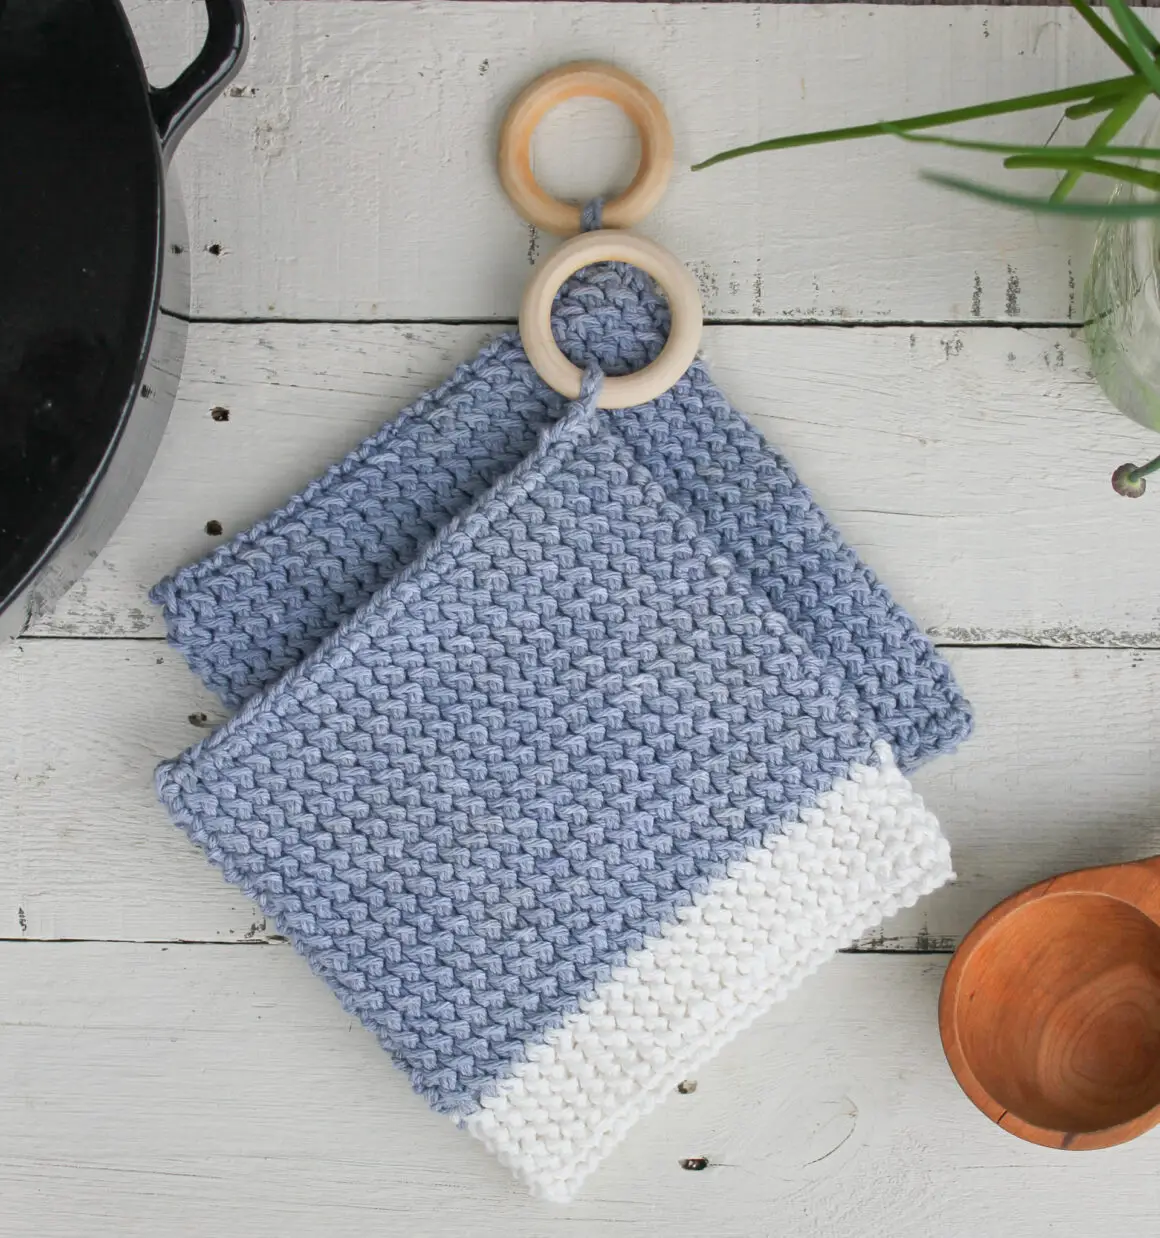
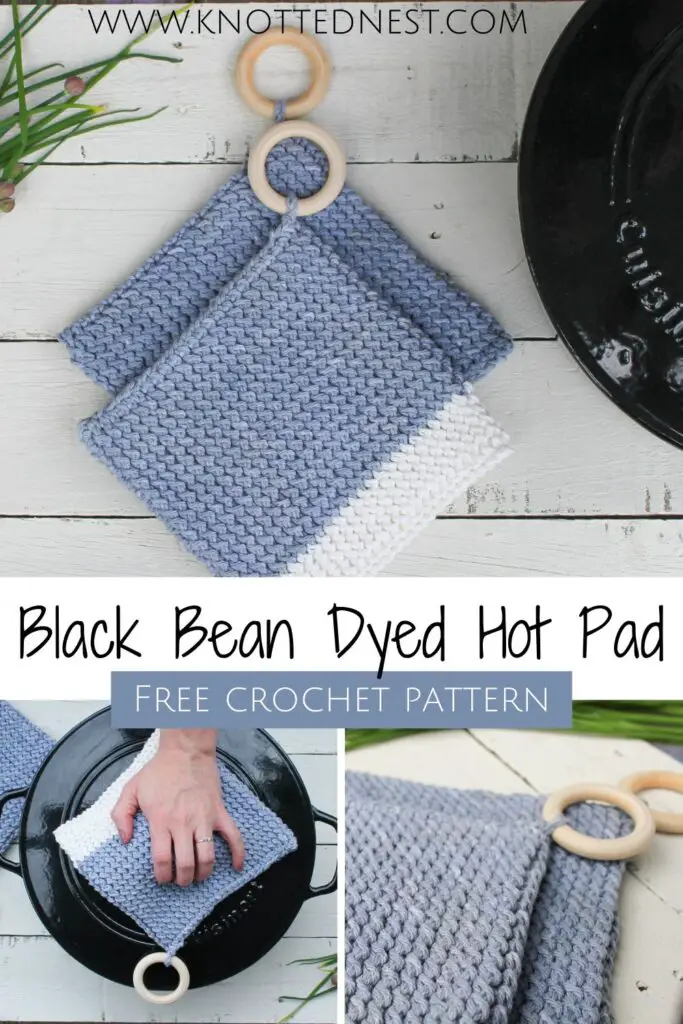
The Black Bean Dyed Crochet Pot Holder pattern – a fun natural dyeing experiment and a cozy new kitchen accessory all in one!
Read on to hear about my inspiration for these extra thick pot holders or scroll down to get the free pattern!
If you prefer an ad-free, printable version of this pattern, head over to my Etsy store or Ravelry!
The Yarn
Last weekend, the kiddos and I decided to try naturally dyeing yarn with black beans – it was a huge hit! Our white cotton yarn turned a gorgeous smokey blue from the black bean water! Who knew?!
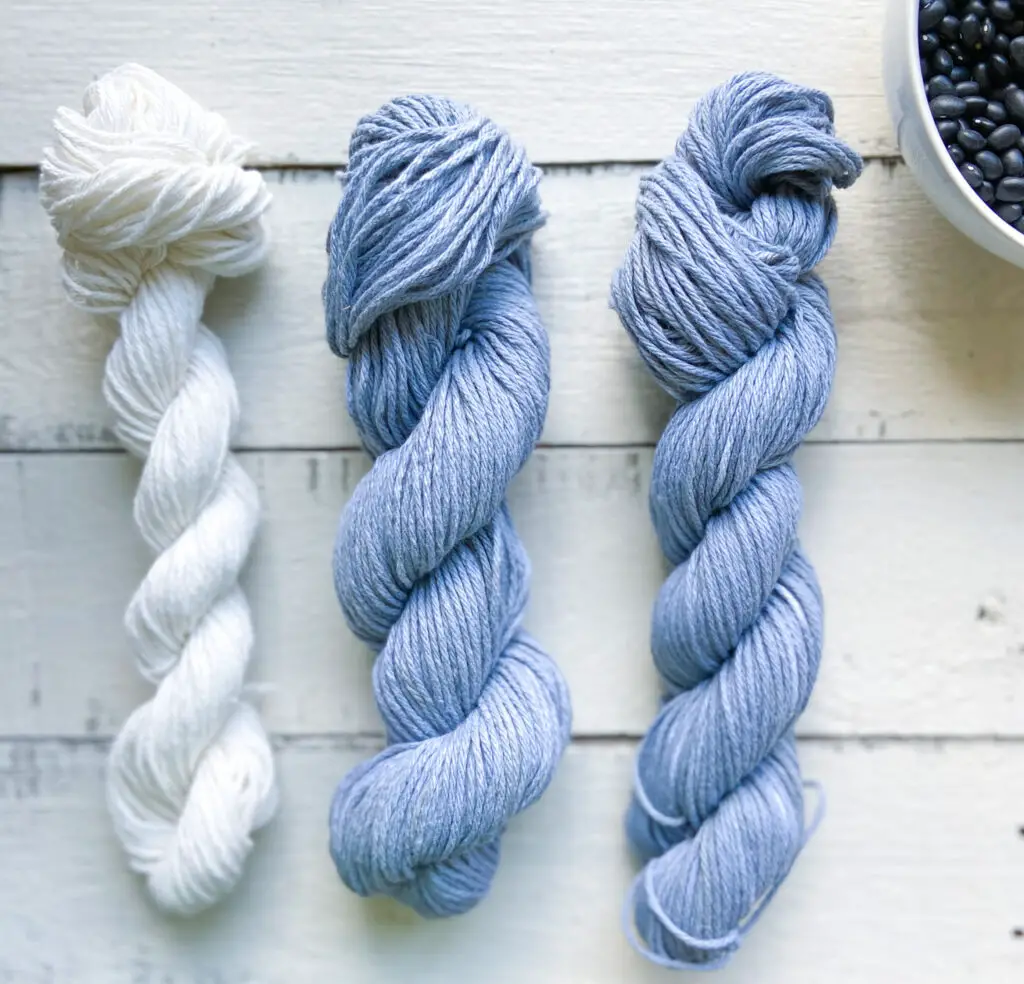
You can get all the details for dyeing with black beans on this blog post or follow along with the process step-by-step on my Instagram highlights here.
Of course, you don’t have to use black bean dyed yarn, but it does add another layer of DIY that makes these pot holders extra special. If you’re not up to hand dyeing, I’d suggest any worsted weight (size 4) cotton you have on hand. Stay away from acrylic yarn since it can melt or distort if exposed to high temperatures – not a good choice for hot pads!
The Pot Holders
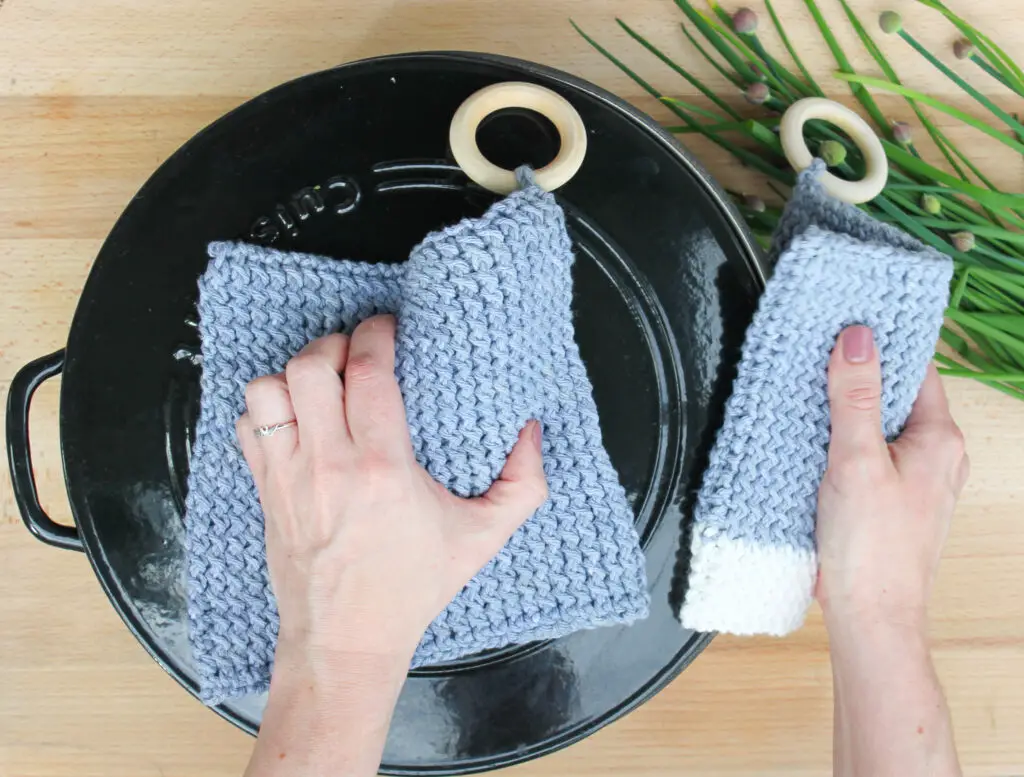
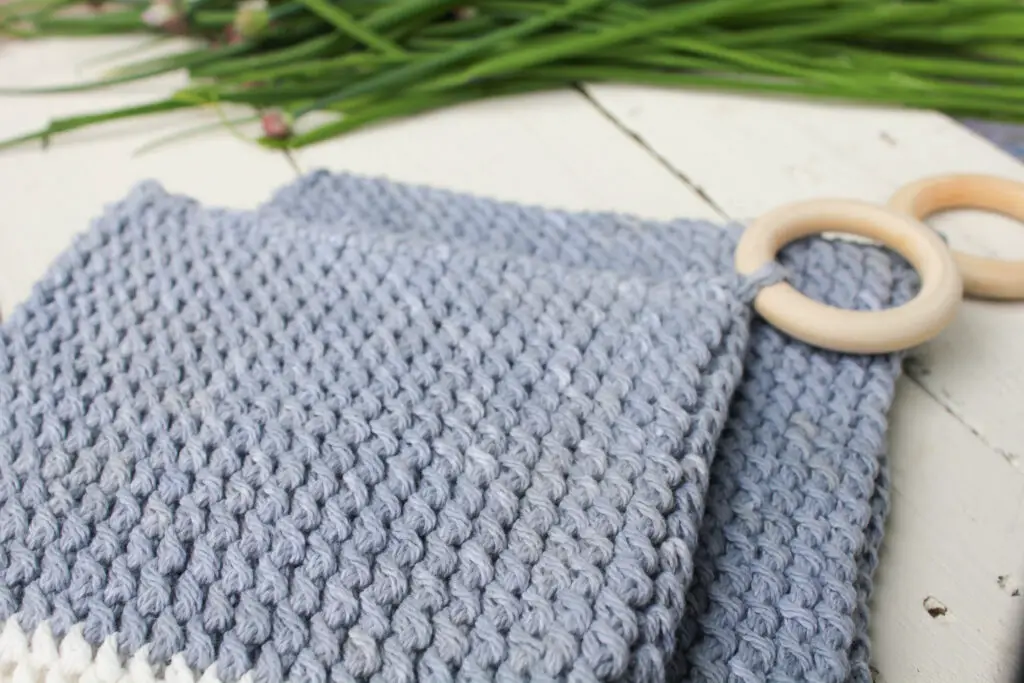
I wanted these pot holders to be extra thick and durable so I went with a double layered design. To make it easy and fast, the pattern is worked in the round to create a tube shape and then the top and bottom are seamed to make a square. Easy peasy!
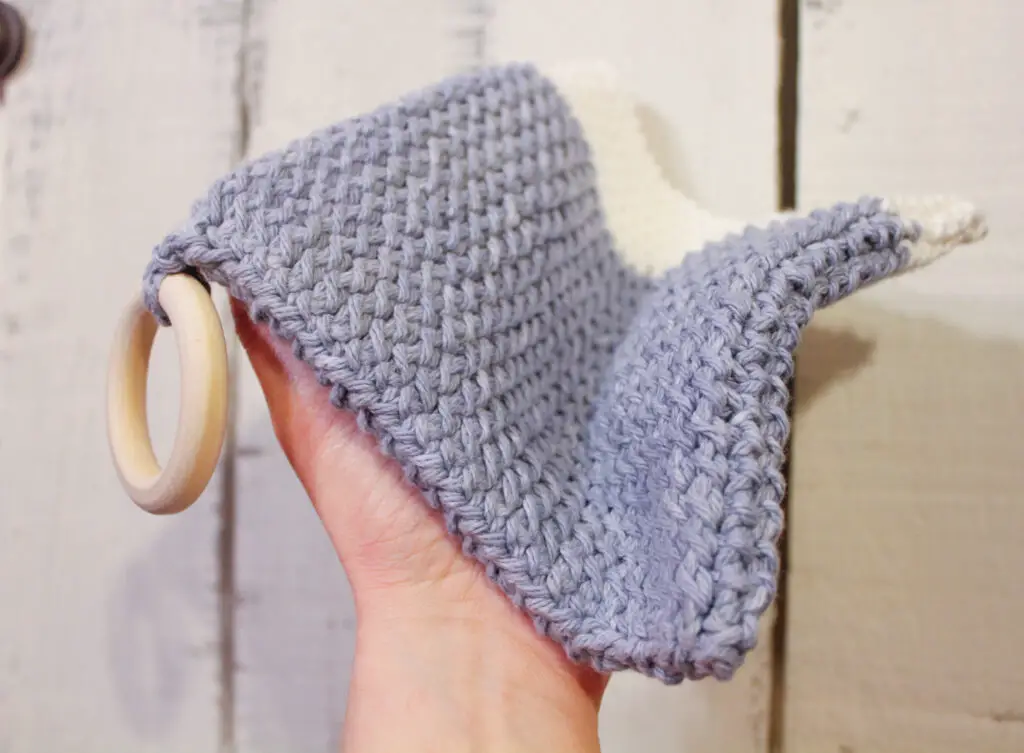
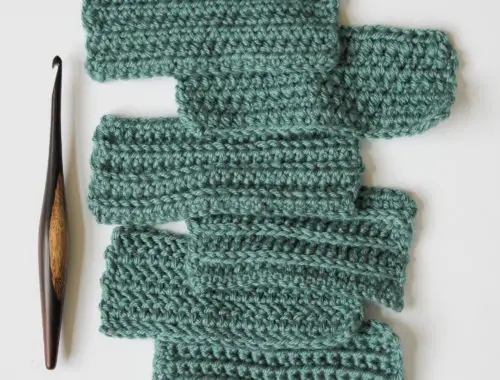
The stitch I chose for this crochet pot holder pattern is the front post single crochet. When worked in the round, it produces a lovely spiraled, dense texture – perfect for a pot holder! If you’ve never used the FPsc before, don’t be intimidated! It’s as simple as a regular single crochet, you just insert your hook around the post of the stitch instead of under the loops. Check out this quick demo of how to work a FPsc!
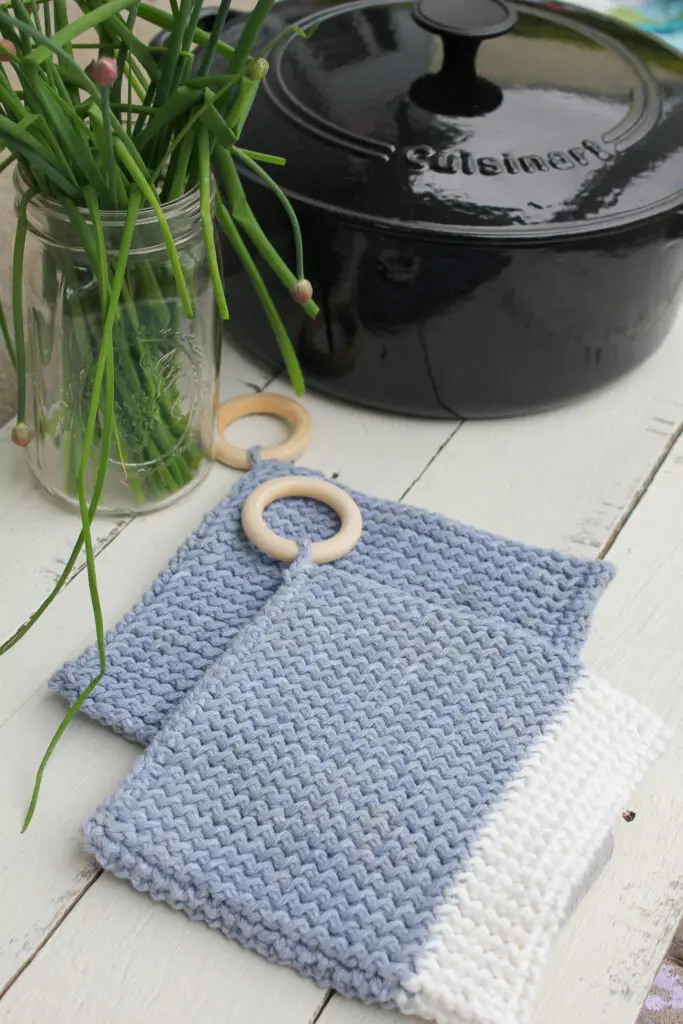
To finish off these little beauties, I added a wooden ring as a modern take on a hanging loop, but the pattern includes instructions for how to add a yarn hanging loop or none at all. Your choice!

These quick and easy hot pads are a great way to bring a little texture to your kitchen decor or whip some up as a thoughtful and useful handmade gift! I’m picturing a couple pot holders tied up with some pretty kitchen utensils and maybe your favorite cookbook for the perfect bridal shower or hostess gift! Whatever you can dream up!
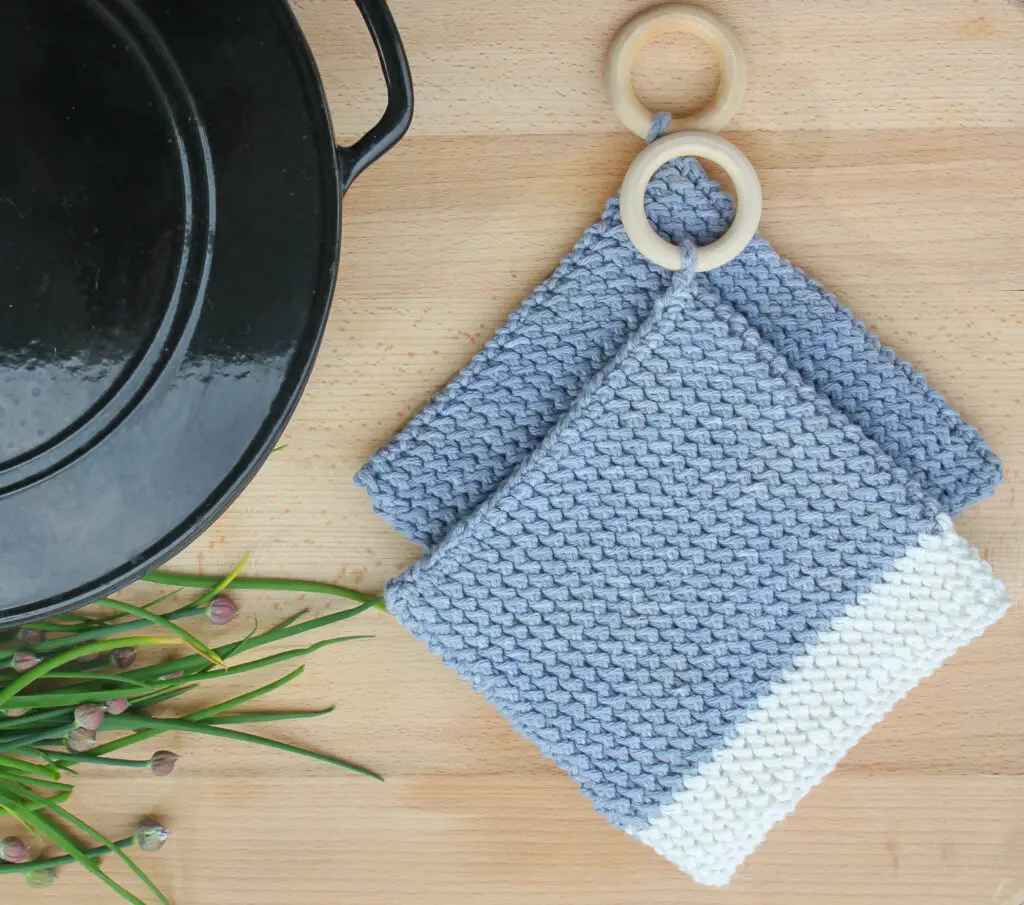
Now on to the free crochet pot holder pattern! If you prefer an ad-free, printable version of this pattern, visit my Etsy shop or Ravelry!
Black Bean Dyed Crochet Pot Holder Pattern
SKILL LEVEL
Easy – level 2
This pattern uses the front post single crochet worked in the round then seamed.
MATERIALS
- 120 yards of worsted weight (size 4) cotton yarn per pot holder. I used Peaches & Crème cotton that I had previously dyed using black beans (check out the tutorial here!). I also used Peaches & Crème in white for the two tone pot holder.
- Size J (6.00 mm) hook
- (Optional) 55 mm wooden ring
- Scissors, yarn needle
DIMENSIONS
7” x 7”
GAUGE
15 sts and 14 rows in 4” square using FPsc
NOTES
- This pattern is worked in joined rounds, then the top and bottom are seamed to create a square. Two options are given for hanging loops: yarn (A) or wooden ring (B).
- Pattern written in US terms.
- The ch 1 at the beginning of each round does NOT count as a stitch.
- Special stitch: Front Post single crochet (FPsc)
- FPsc is worked like a regular single crochet with the exception of how/where the hook is inserted. First, insert the hook into first stitch (under the 2 loops as usual). Then, angle your hook around back of the stitch “post” and insert the hook into the next stitch from back to front (i.e. in one stitch, out the next). Your hook will now be positioned horizontally behind the “post” of the stitch so that the post is pushed forward. The stitch is then worked the same as a standard single crochet. Yarn over and pull back through stitches to pull up a loop (2 loops on hook). Be sure to pull this loop up TALL. Yarn over again and pull through both loops on the hook to finish. To start the next FPsc, insert hook into the same stitch that you finished the last FPsc in.(See photo tutorial below)
- Abbreviations
- ch = chain
- FPsc = front post single crochet
- sc = single crochet
- sl st = slip stitch
- st = stitch
PATTERN
Ch 60. Join to 1st ch with a sl st to form a ring, being careful not to twist ch.
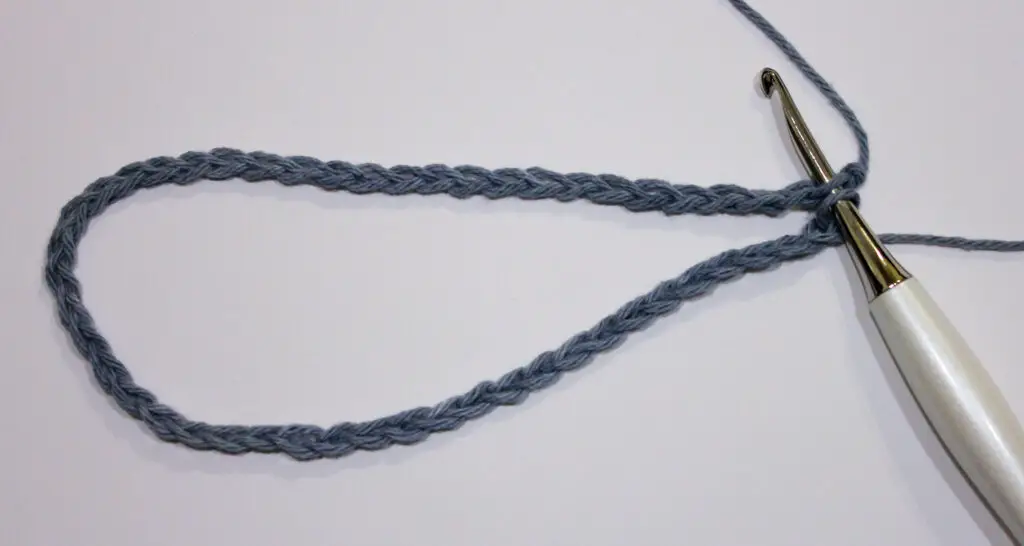
Round 1: Ch 1. Sc in 1st ch (ch you just sl st into to join the ring) and in each ch around. Sl st to 1st sc to join. <60 sc>
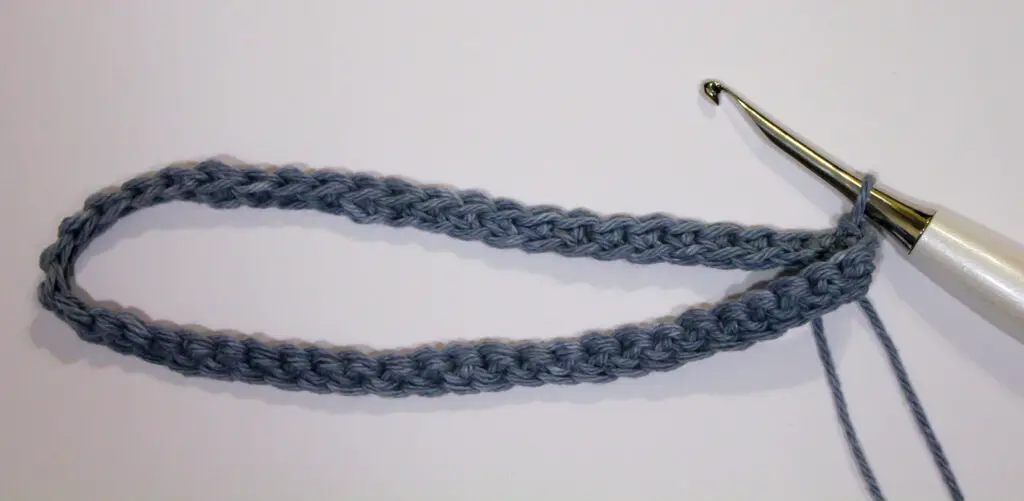
Round 2: Ch 1. Starting in the 1st stitch (st you sl st into to join), FPsc around each st. Sl st to 1st FPsc to join. <60 FPsc>
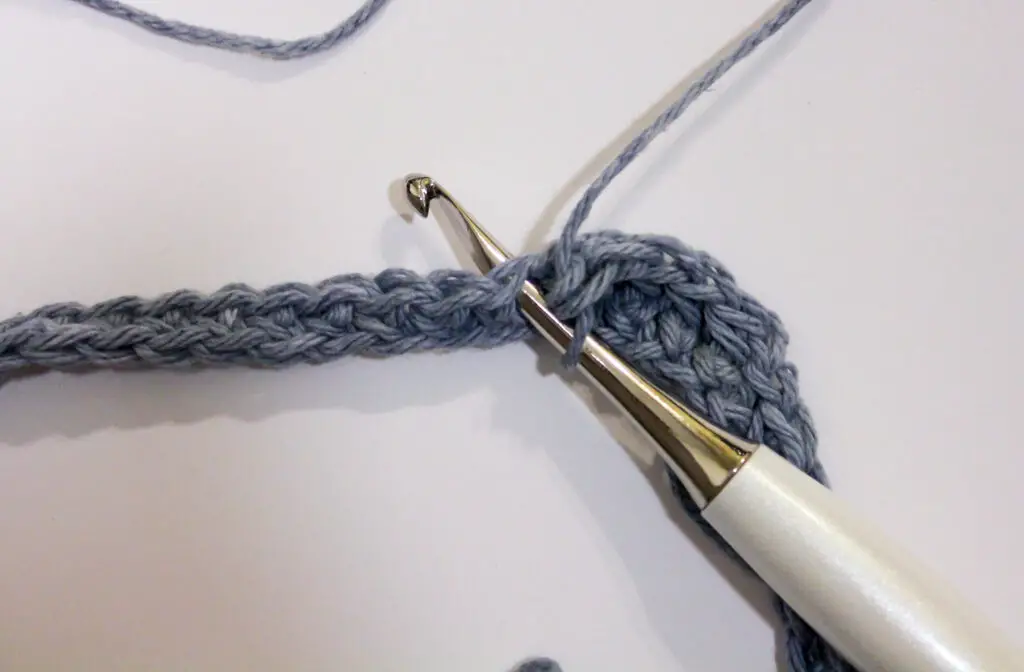
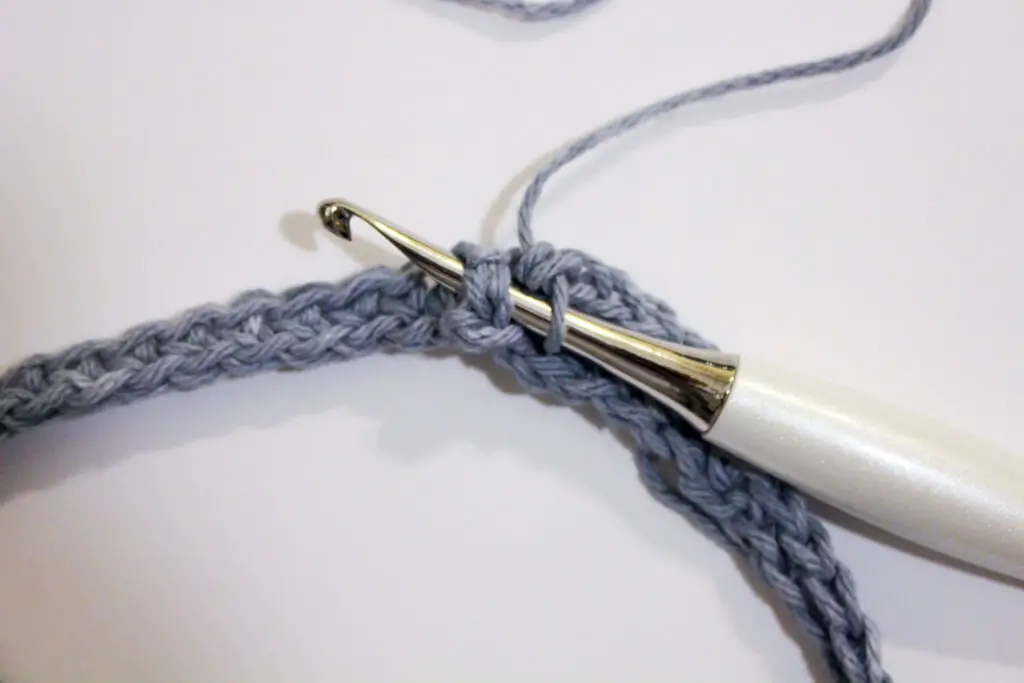
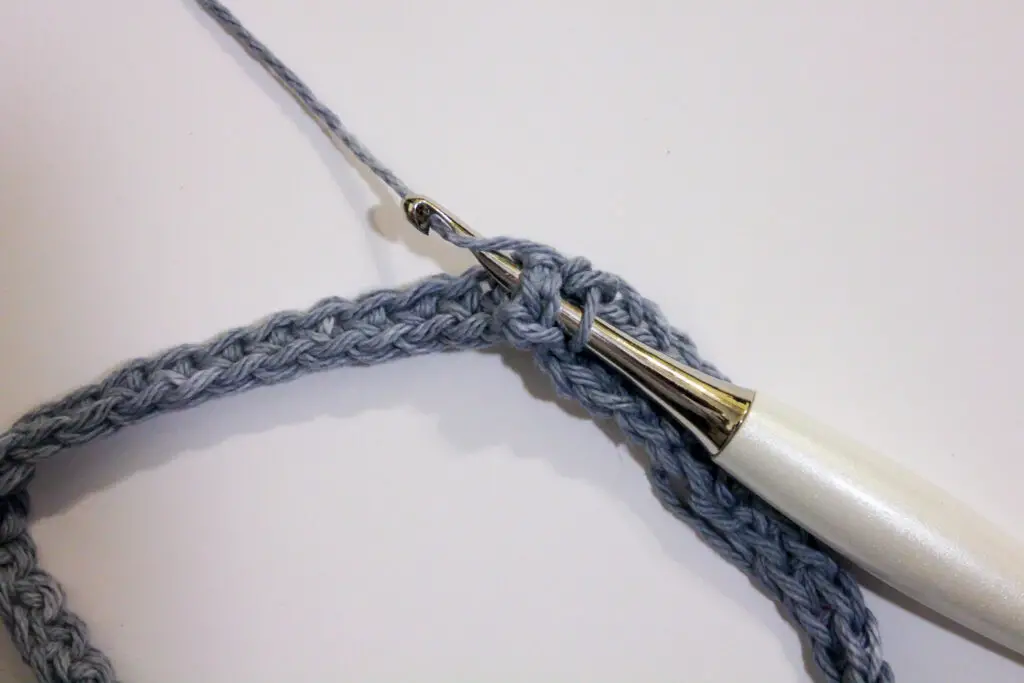
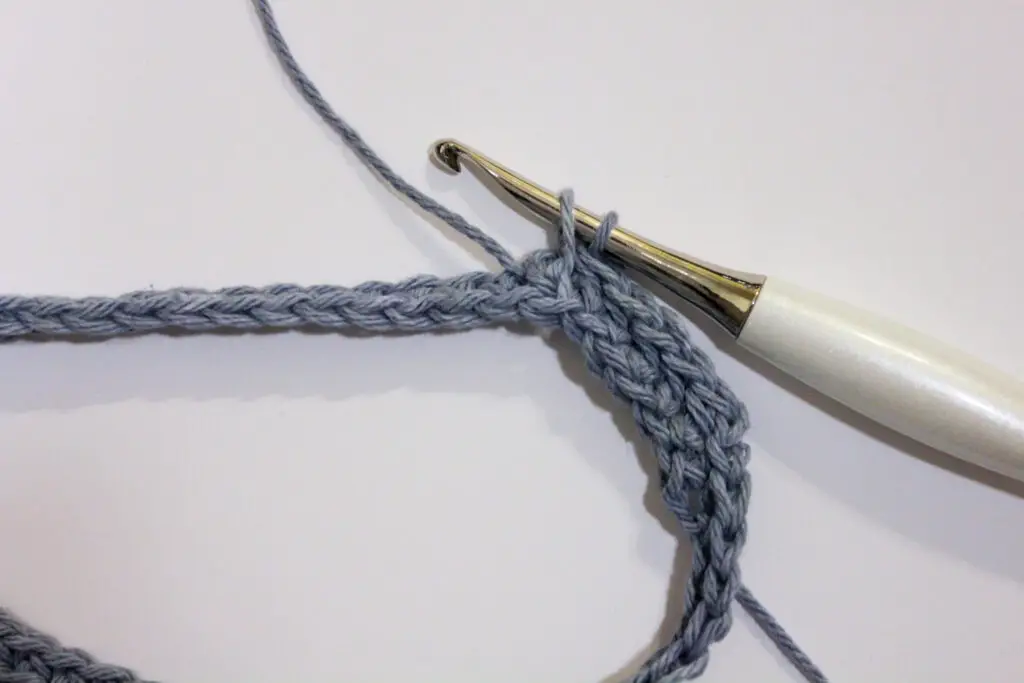
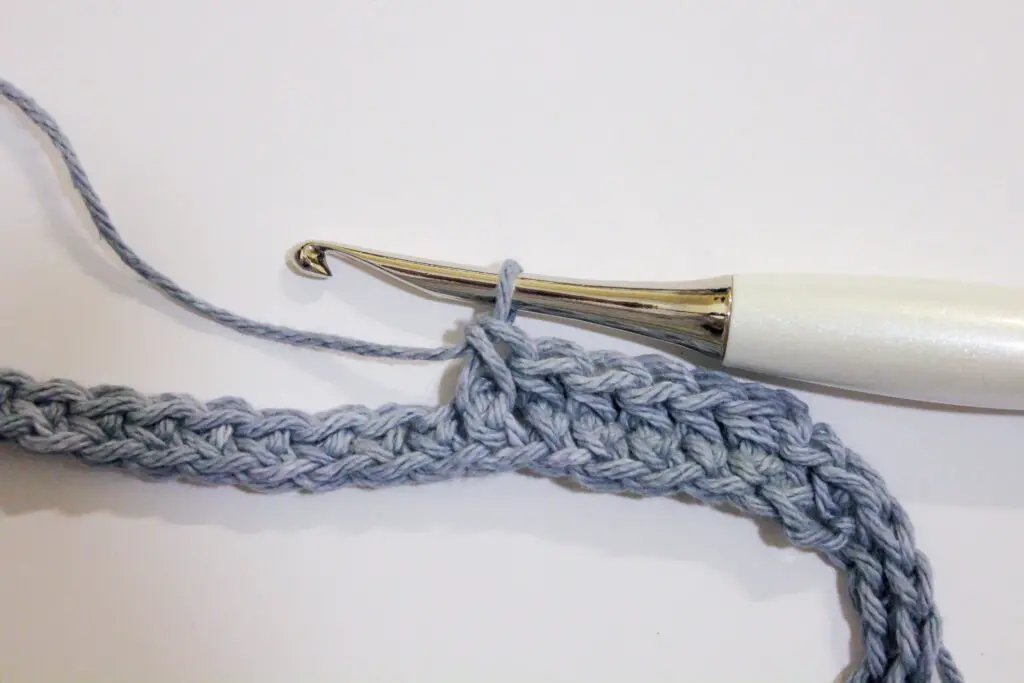
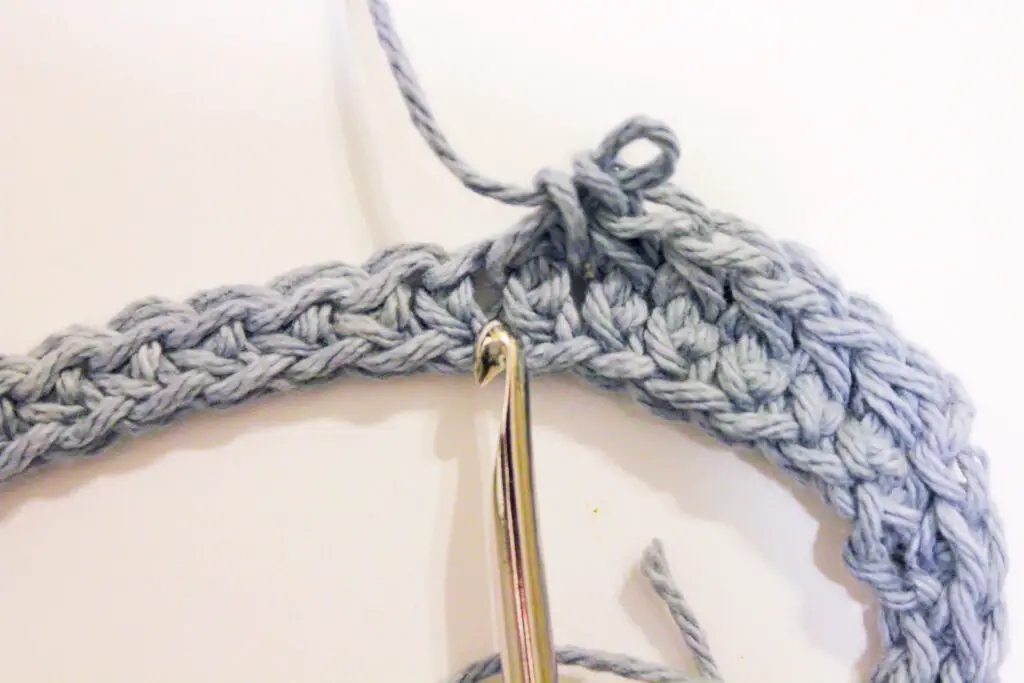
Repeat Round 2 until you reach a total of 26 rows.
If changing colors, use color A until the end of Round 16. Sl st to join the rounds using color B and continue to Round 26 using color B.
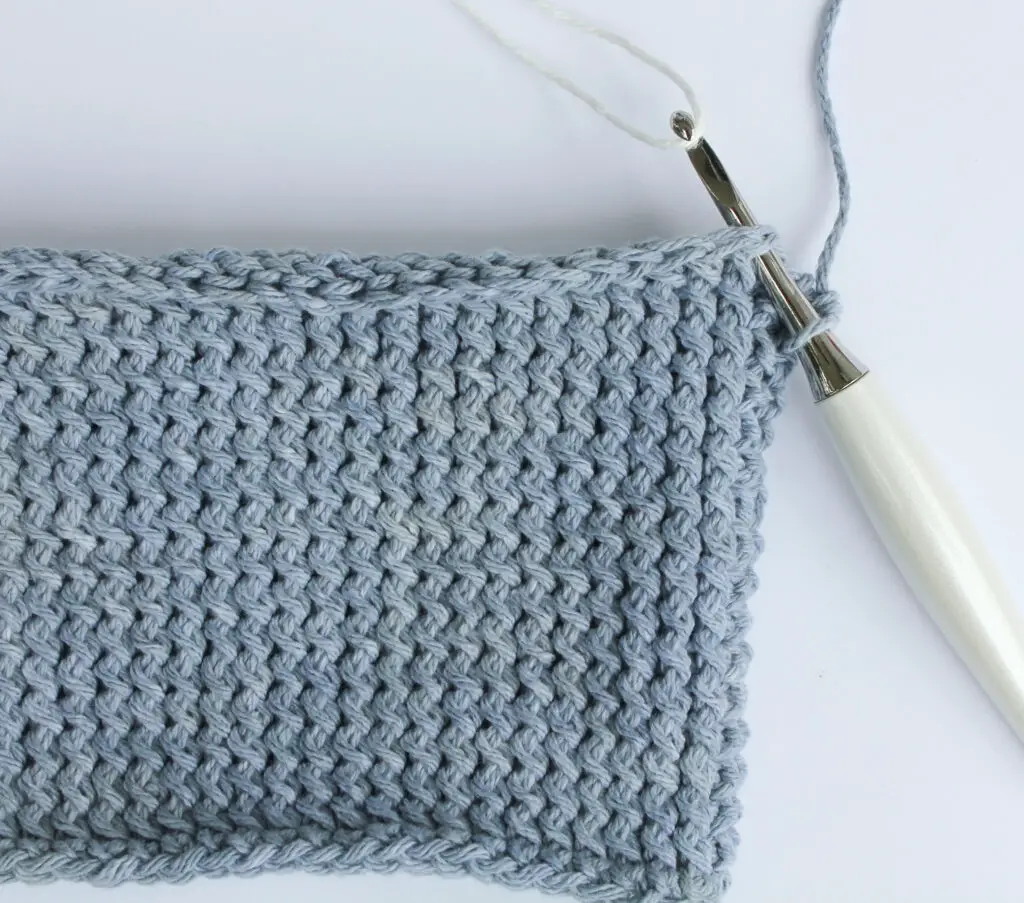
See Hanging Loop Options for next instructions, or fasten off and move on to Seaming if you choose not to have a hanging loop.
Hanging Loop Options
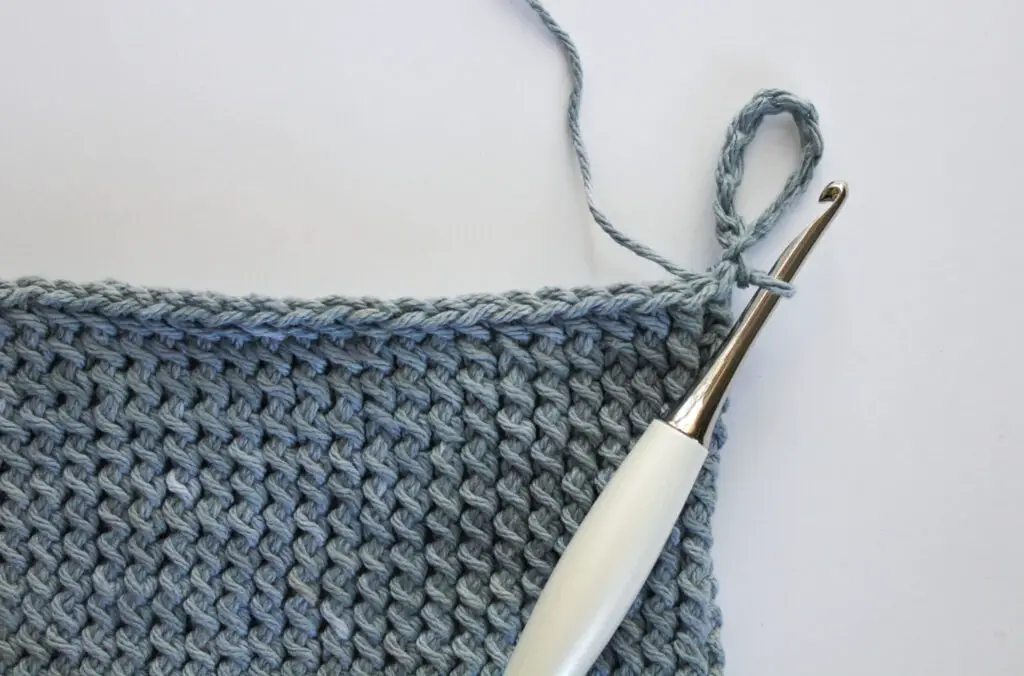
Option A – Yarn
Do not fasten off (or fasten off and reattach yarn to a different corner if you choose to have your loop on the other side). Ch 10, sl st into same st to form a loop. Fasten off (tie tightly) and weave in ends.
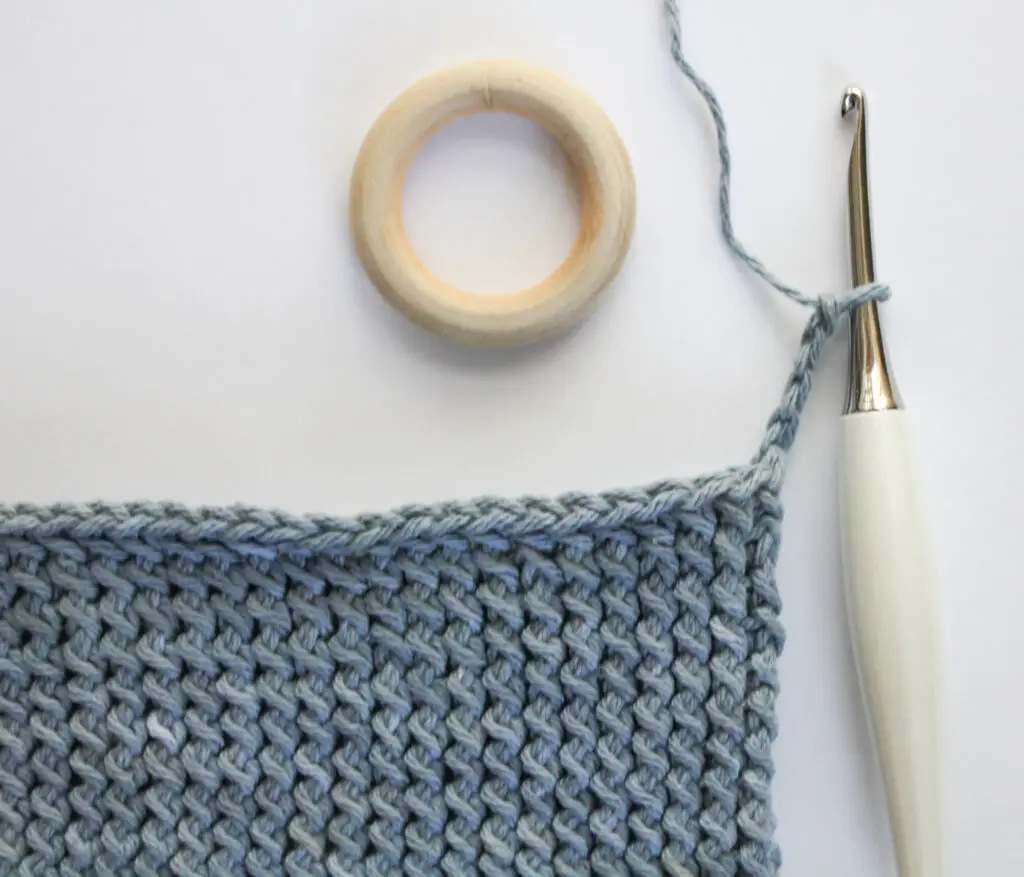
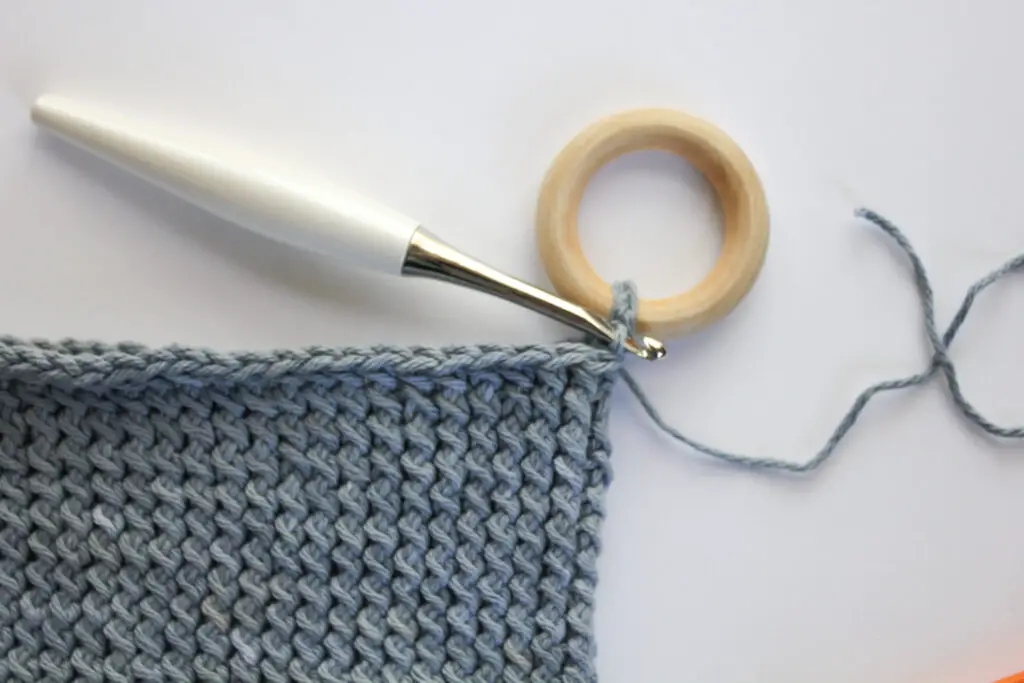
Option B – Wooden Ring
Do not fasten off (or fasten off and reattach yarn to a different corner if you choose to have your loop on the other side). Ch 4, remove hook, cut yarn leaving a tail, and wrap chain over wooden ring. Reinsert hook and sl st into same st to secure ring. Fasten off (tie tightly) and weave in ends.
Seaming
You should now have a tube shape that we will sew at the top and bottom to create a square. Flatten the tube with the seam from joining rounds to one side. Use a 20” length of yarn and needle to mattress stitch the top two sides of the tube together, passing your needle from the inside to the outside of each stitch (under both loops).
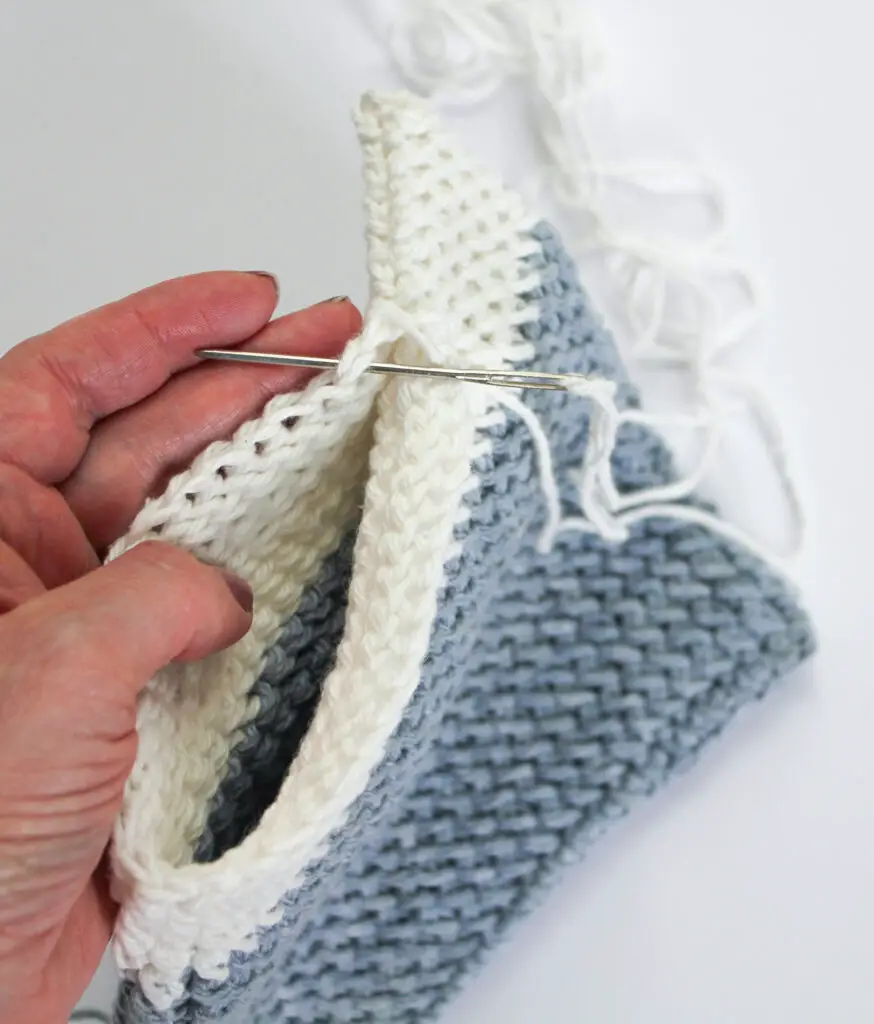
Repeat the seaming process on the other side of the tube. Fasten off, weave in your ends, and enjoy your new pot holder!

For more patterns from The Knotted Nest, check out the Patterns category here on the blog. And don’t forget to follow me on Instagram @theknottednest and use the hashtag #blackbeanpotholders to show off your project!
