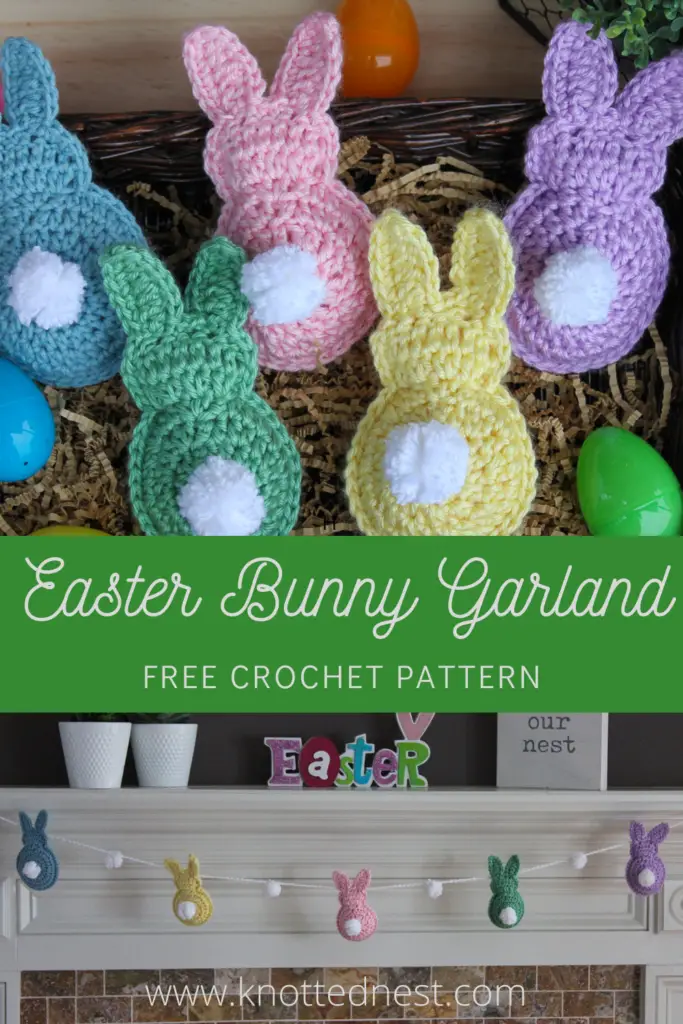
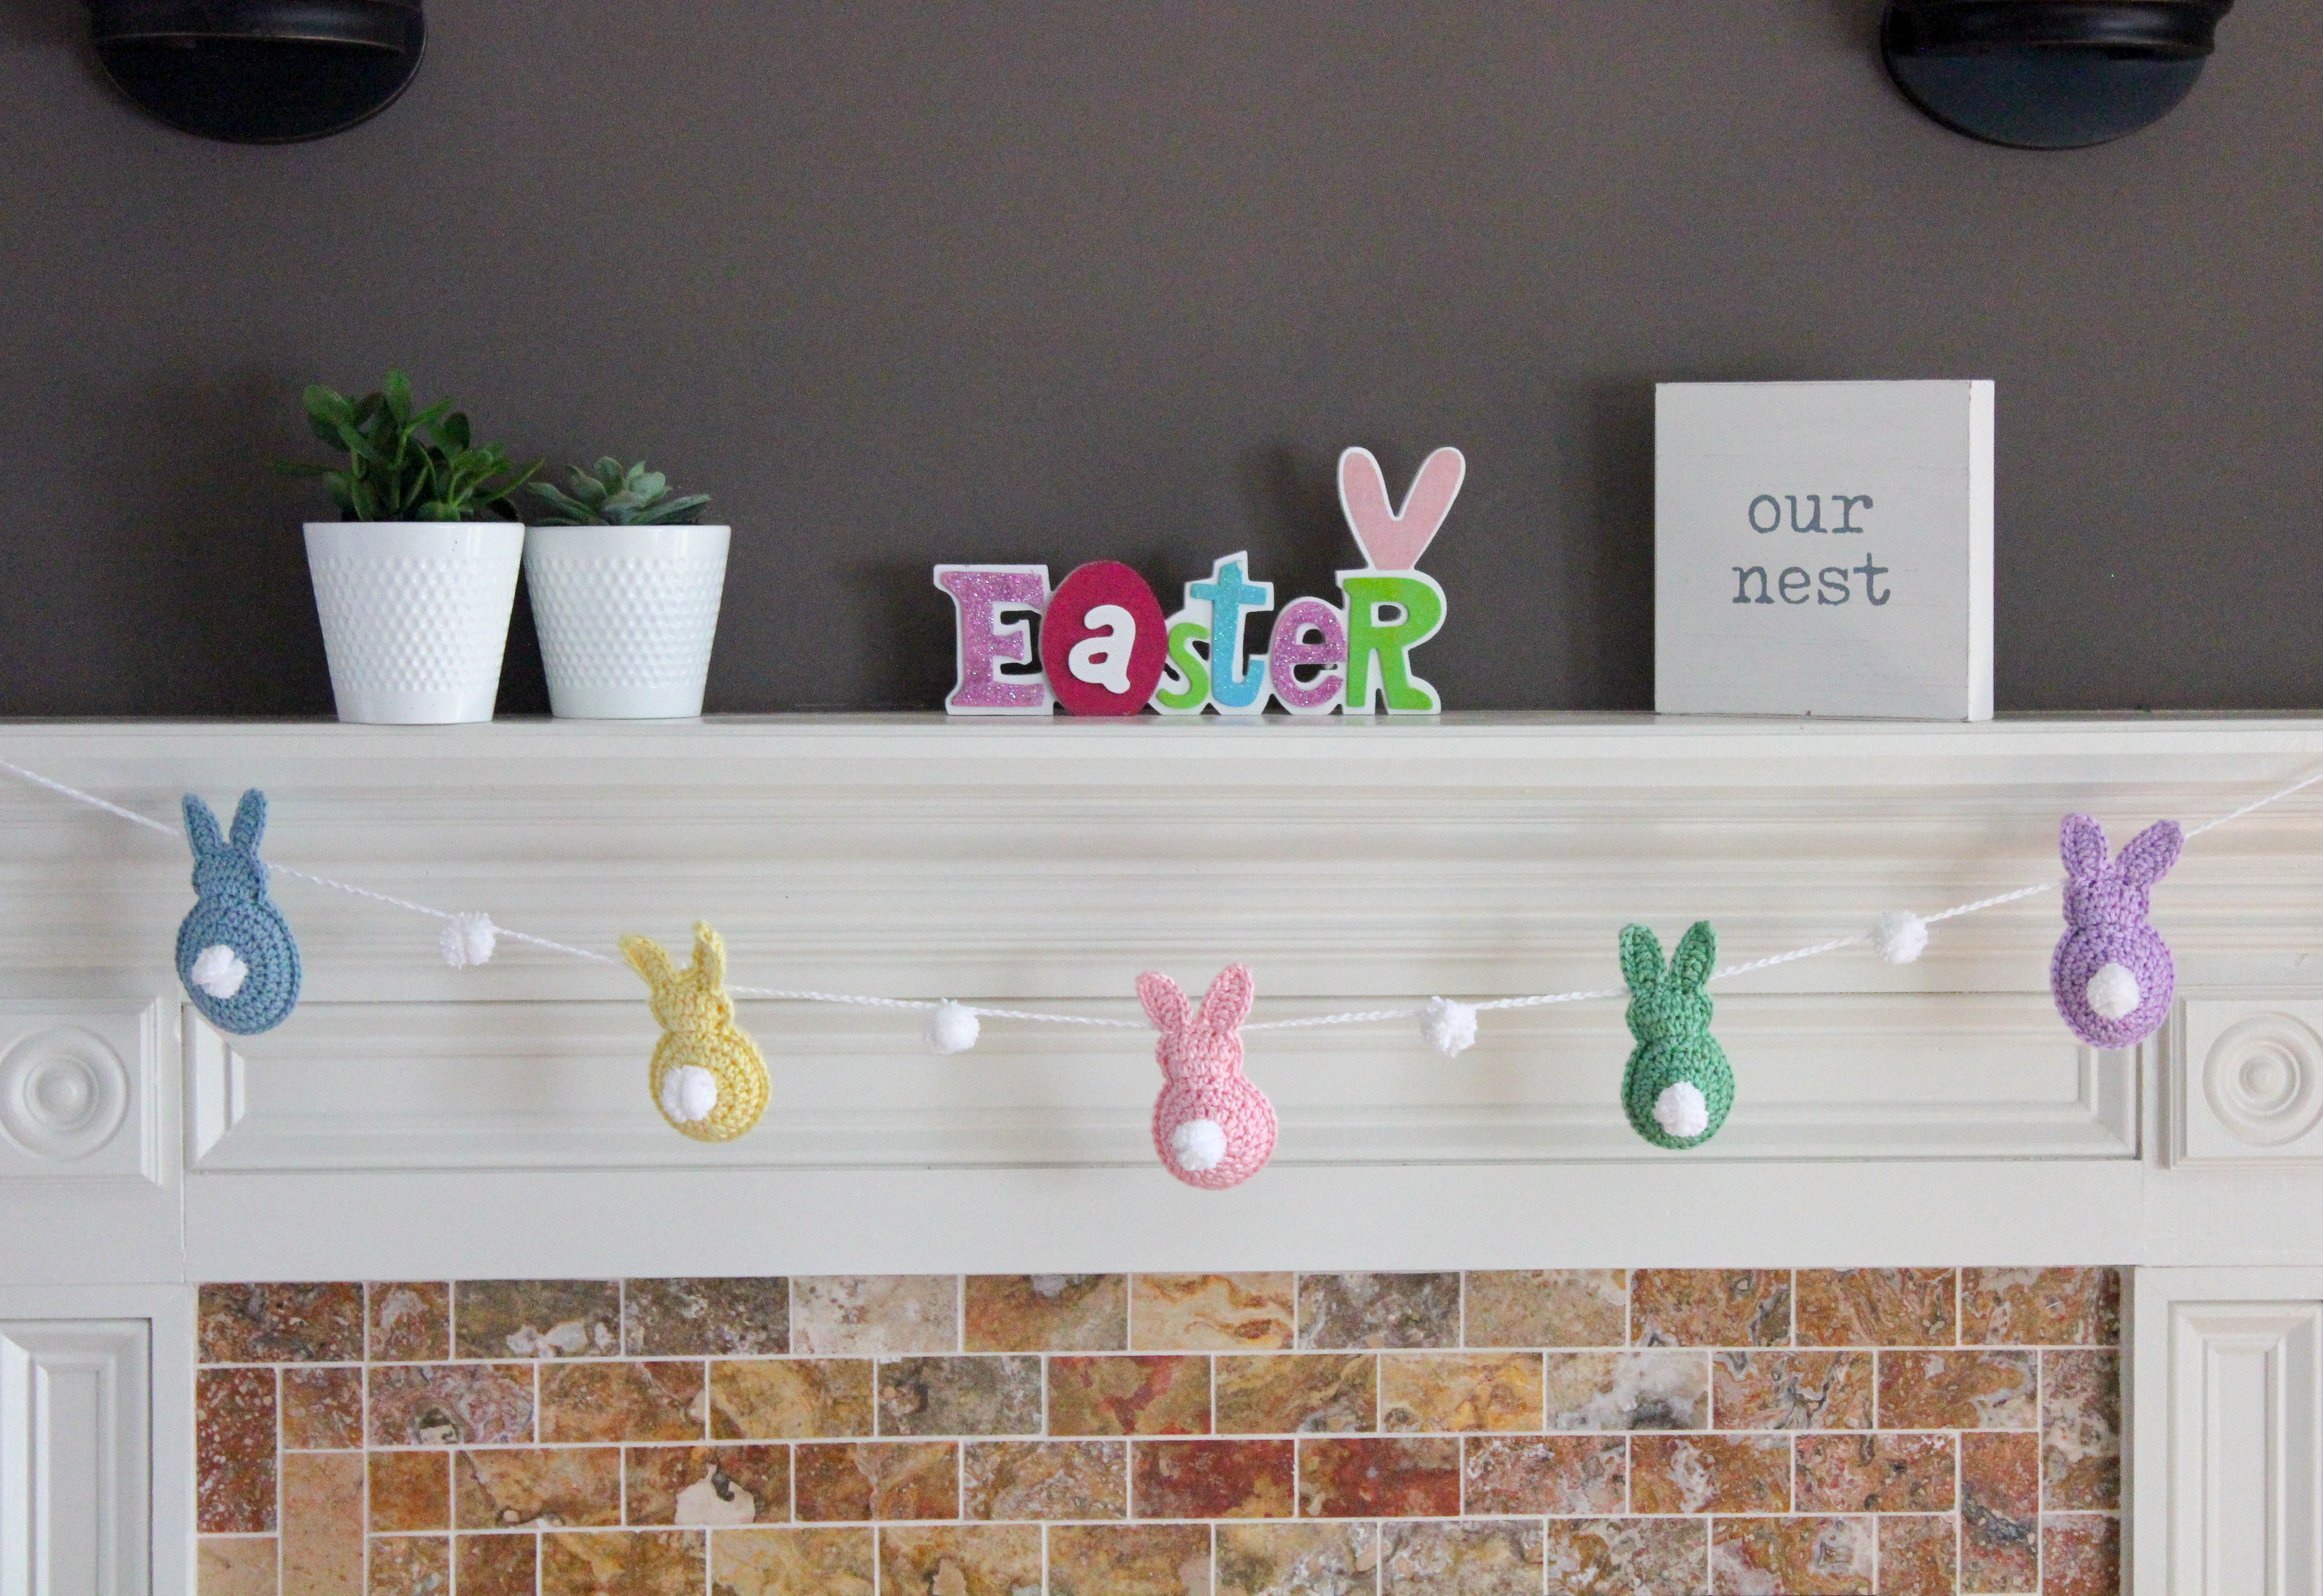
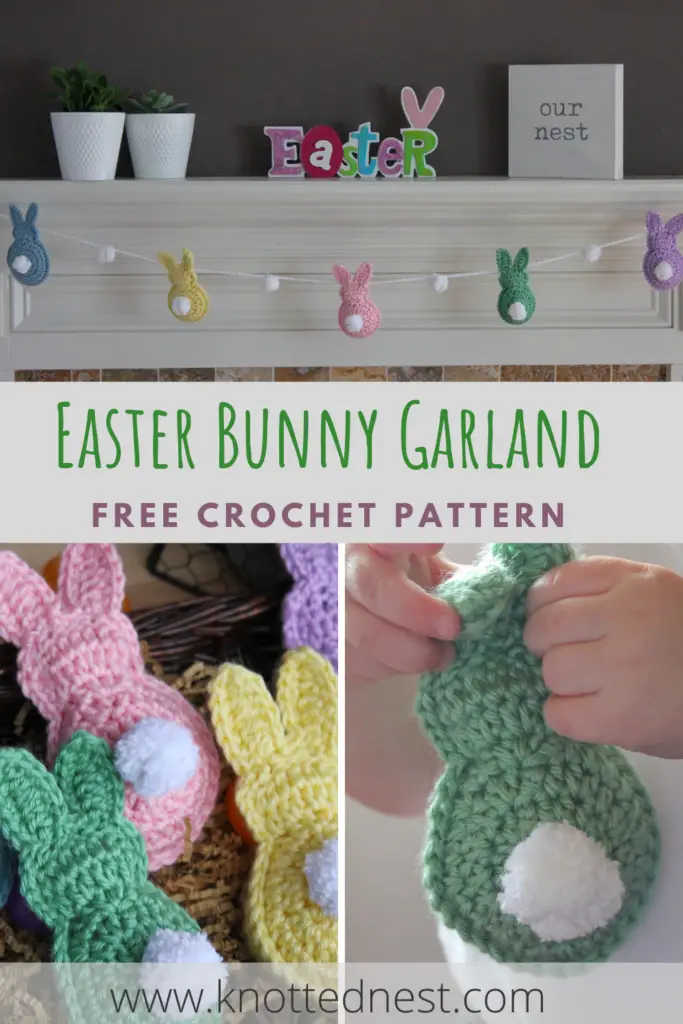
Crochet Easter Bunny Garland Free Pattern
Ring in Spring with this adorable crochet Easter Bunny free pattern!
Scroll down for the free pattern or read on for the inspiration behind these bunnies! Don’t forget to check out my other free Garland patterns so you can make one for every season!
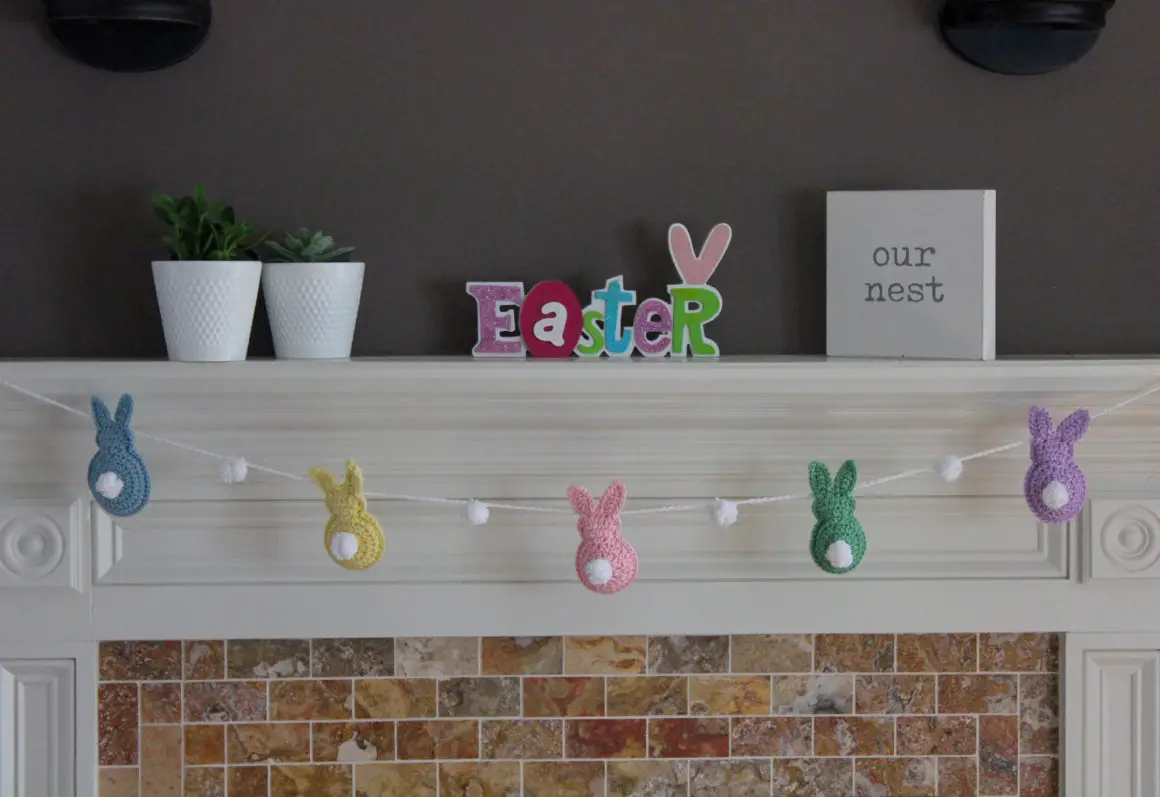
Hippity, hoppity, Easter’s on its way! In less than two weeks to be exact. We typically travel to PA to be with family for spring break and Easter so I don’t really decorate our house much beyond a wreath on the front door. When I realized we would most likely be spending Easter at home this year, I knew I wanted to make things a little more festive for the kiddos. Crochet to the rescue!
Click here to pin this pattern for later!
I got the idea for these sweet little bunnies when my daughter asked if I could crochet an Easter bunny for her baby brother. Since I’m currently surprise homeschooling 3 kids while chasing a toddler, I went with a small and simple design that I think turned out super cute. So cute that I couldn’t stop making them!

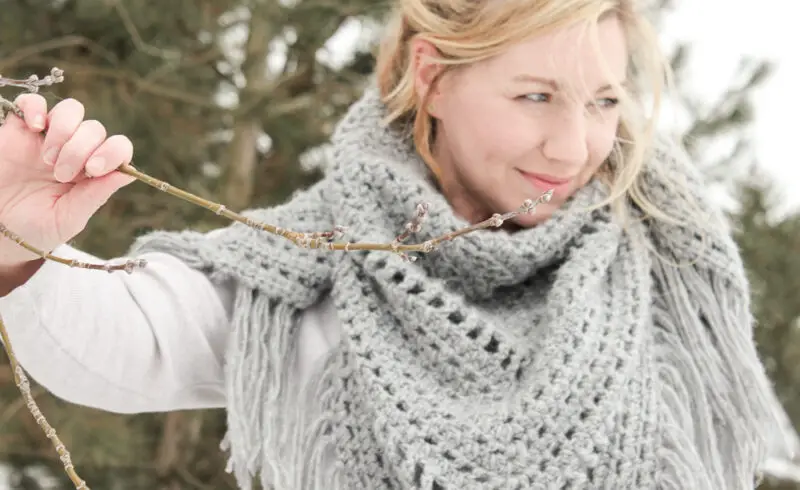
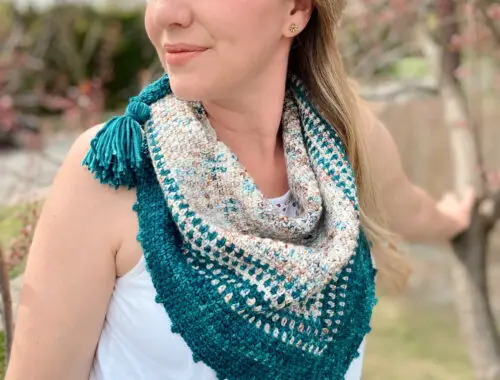
You might also like….the Dreaming of Spring Triangle Scarf
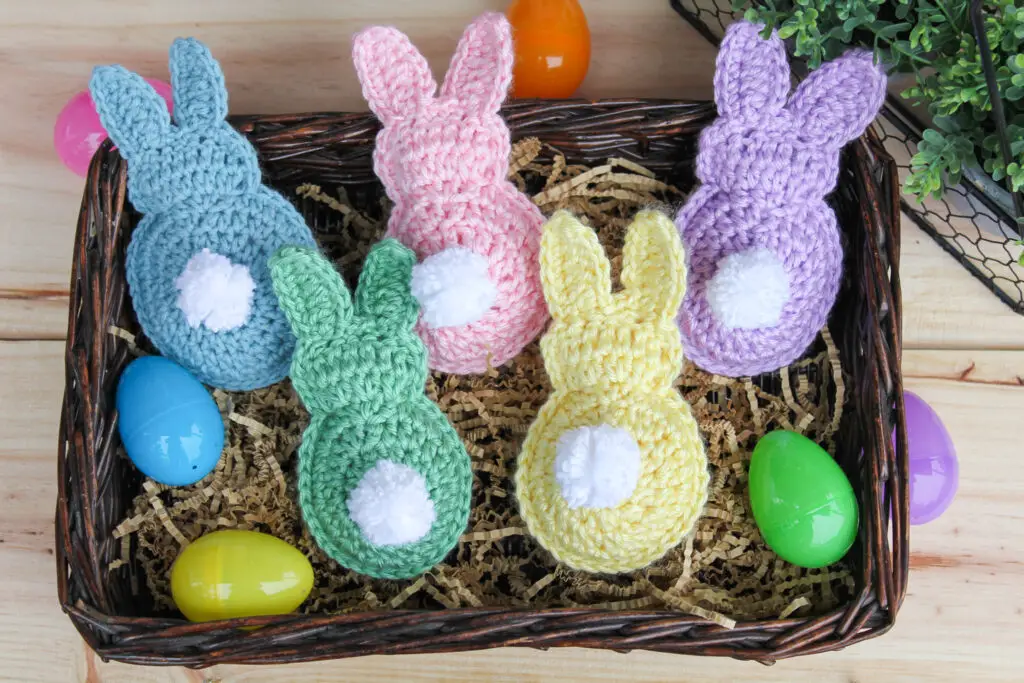
The possibilities for these adorable crochet Easter Bunnies are up to you! They are fast to make and are perfect as an Easter basket gift or strung together as garland for decoration. They would also make adorable nursery decor!
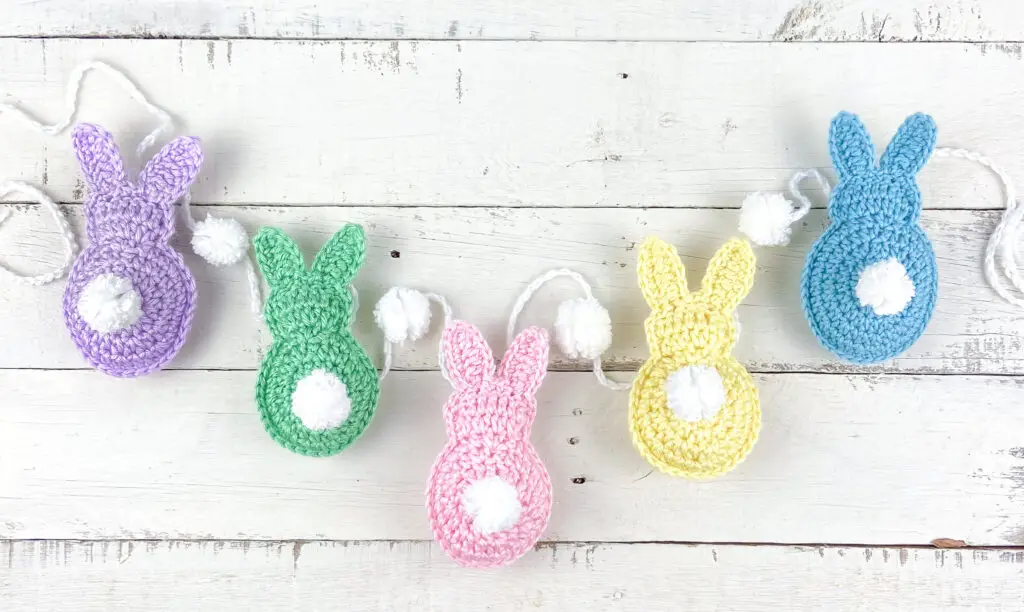
As for color, I personally can’t resist the traditional soft pastel Easter colors, but also I think these bunnies would look amazing done in different shade of creams and browns. Or any color combo you can come up with!
Grab an ad-free, printable version of this pattern on Ravelry or Etsy!
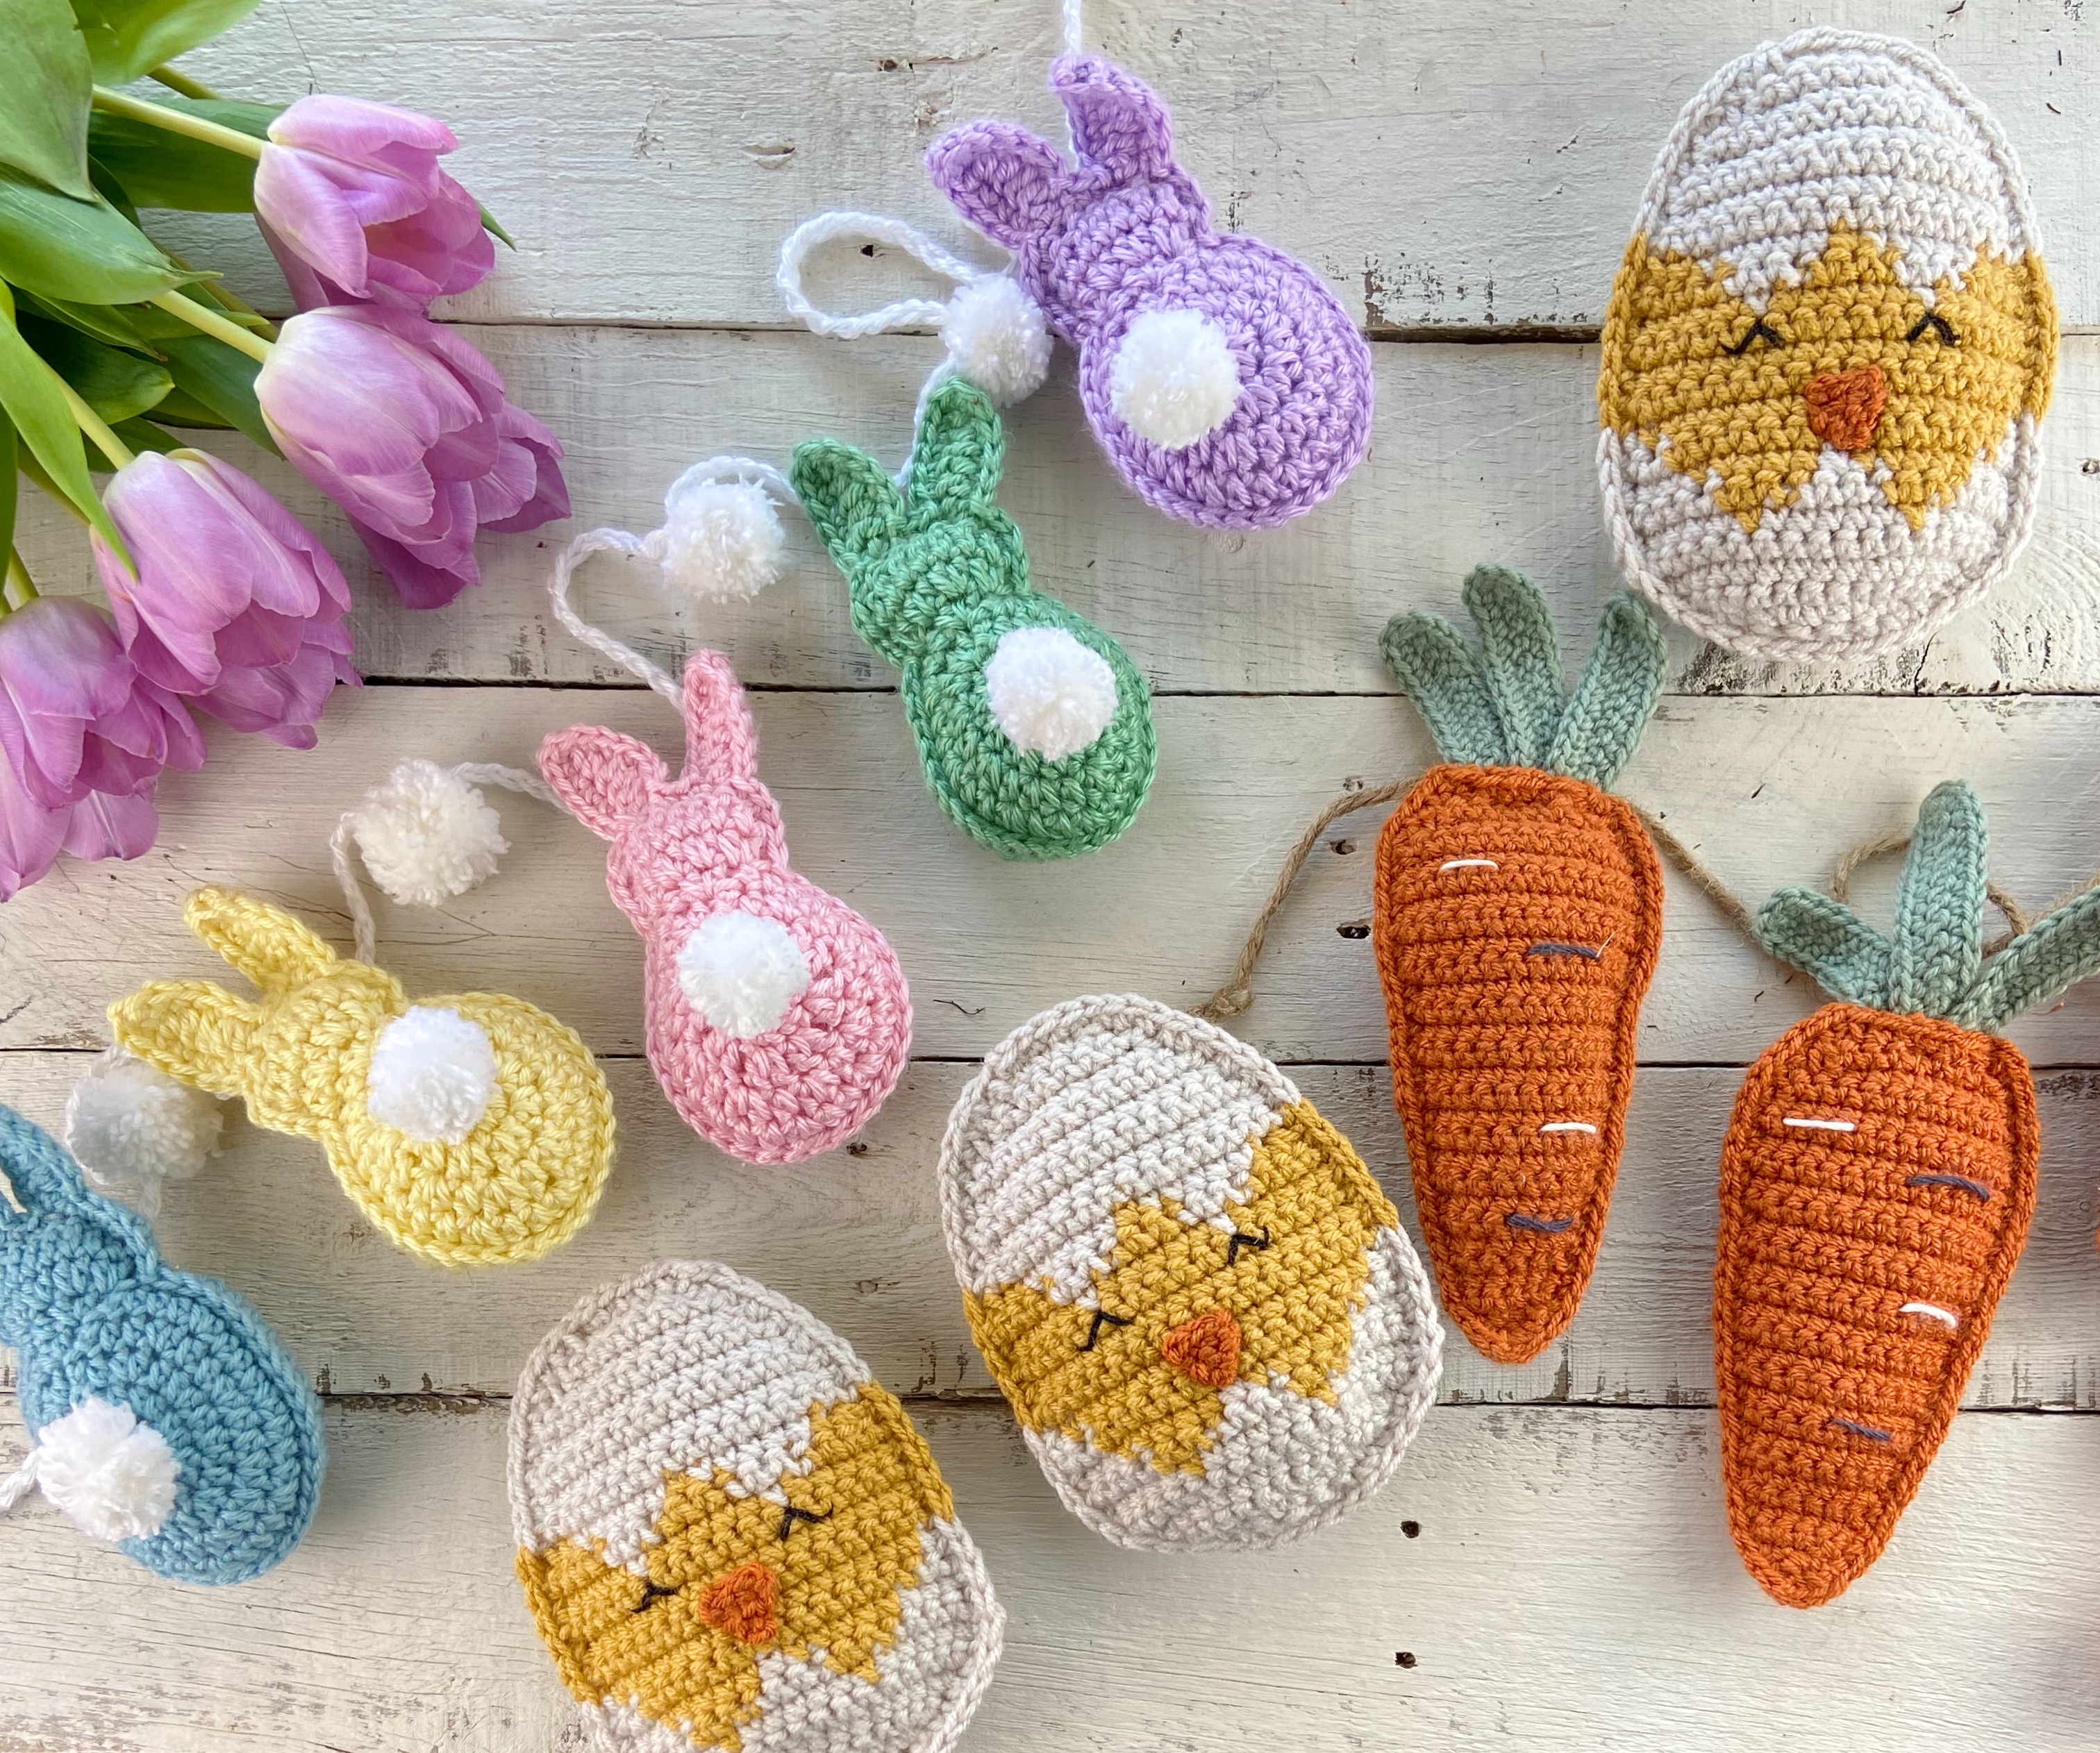
Update: I have now added Easter Chicks and Easter Carrots to the Spring garland lineup! Both are free patterns here on the blog!
Crochet Easter Bunny Garland Pattern
SKILL LEVEL
Easy – Level 2
MATERIALS
- Colored yarn: About 40 yards of worsted weight yarn per bunny. I used Caron Simply Soft in Orchid, Soft Pink, Baby Sunshine, Sage, and Light Country Blue
- White yarn for pom poms and garland chain: About 50 yards. I used Caron Simply Soft in White.
- WeCrochet’s Brava yarn or Lion Brand’s Vanna’s Choice yarn would also be great for this pattern.
- Size G hook (4mm)
- Fiberfill or other stuffing material
- Scissors, Yarn needle
- Fork or mini pom pom maker
DIMENSIONS
Finished bunny measures approximately 6”. Finished garland is approx. 70″.
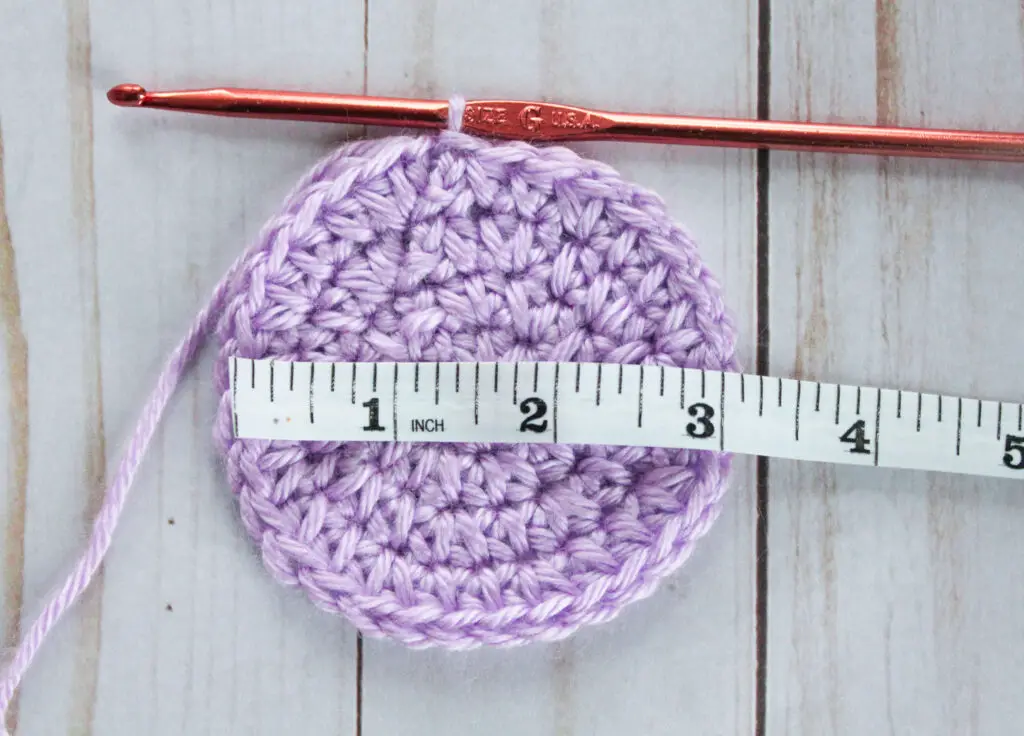
GAUGE
Diameter of circle after Round 4 = 3″
NOTES
- Each piece is made of two flat panels that are joined together and lightly stuffed.
- Each bunny panel starts out working in the round (body) and then you’ll switch to rows for the head/ears.
- Yarn, colors, and layout for this project are all easily customizable.
- The Ch 2 at the beginning of each round/row does NOT count as a stitch.
- Pattern written in US terms.
- Abbreviations (US terms)
- Ch = chain
- DC = Double Crochet
- hdc = half double crochet
- SC = Single Crochet
- sl st =slip stitch
- st = stitch
Pattern
Make 2
(Body)
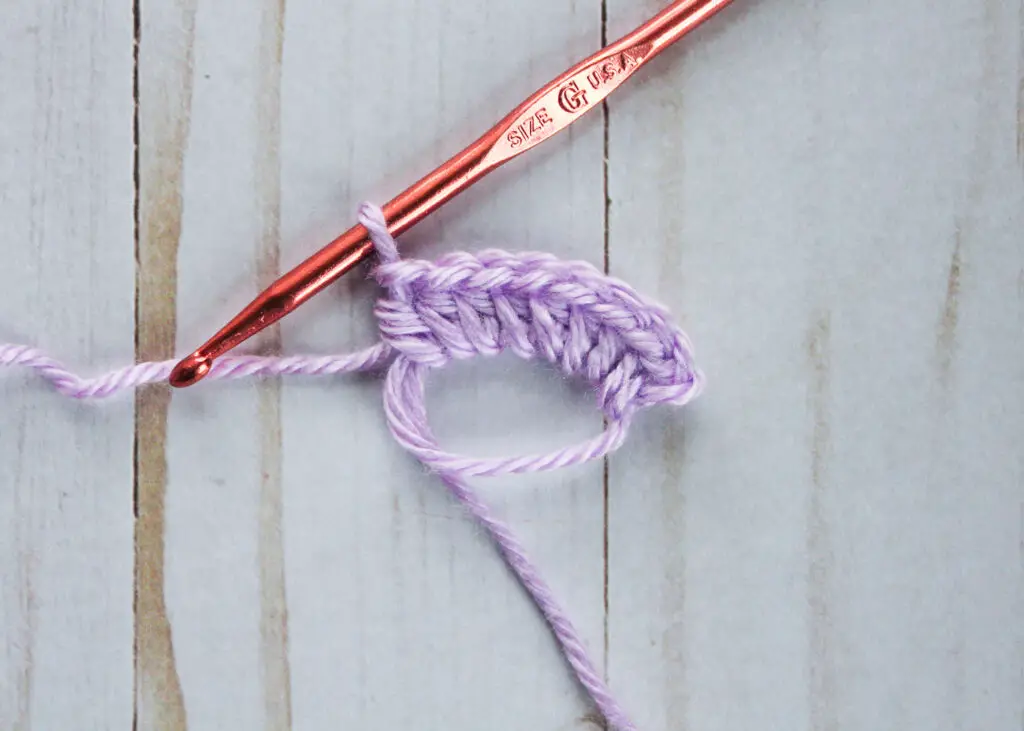
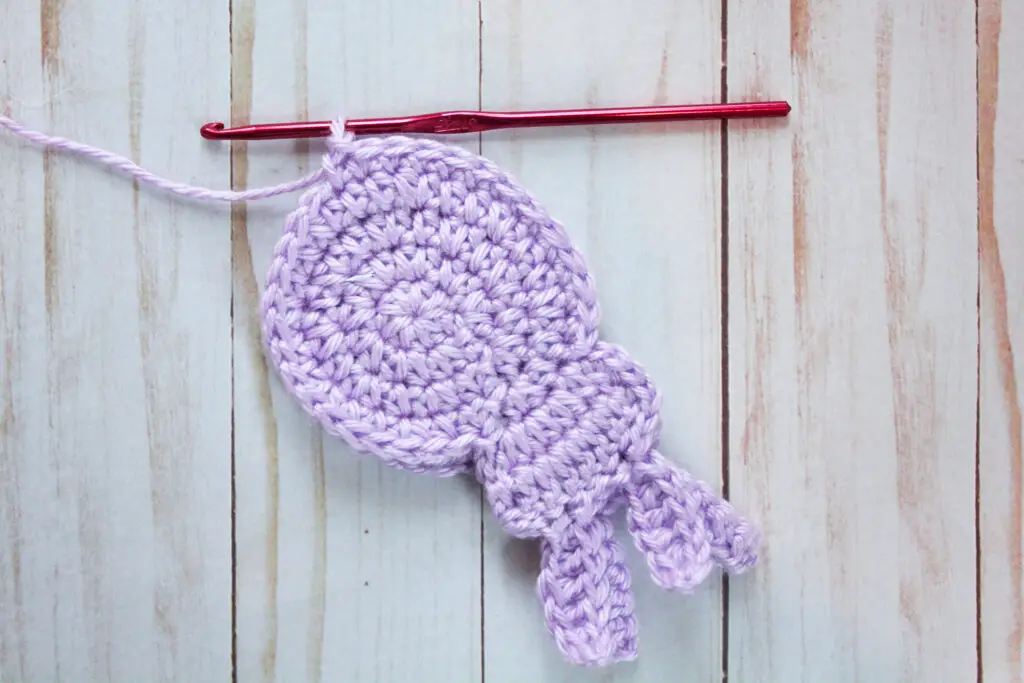
Round 1: Work 8 hdc in a magic circle. Join to first hdc with a sl st. <8hdc>
Round 2: Ch 2 (does not count as a st). In very first st, 2 hdc. Work 2 hdc in each st around. Join to first hdc with a sl st. <16 hdc>
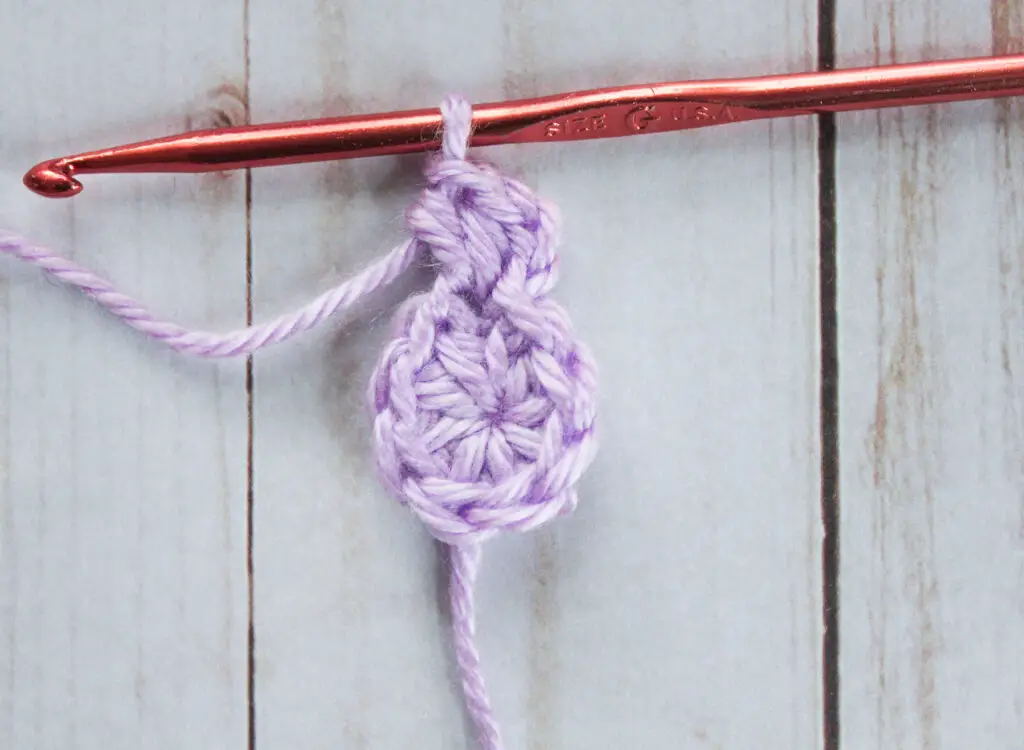
Round 3: Ch 2. *Work 2 hdc in first st, 1 hdc in next st. Repeat from *. Join with a sl st. <24 hdc>
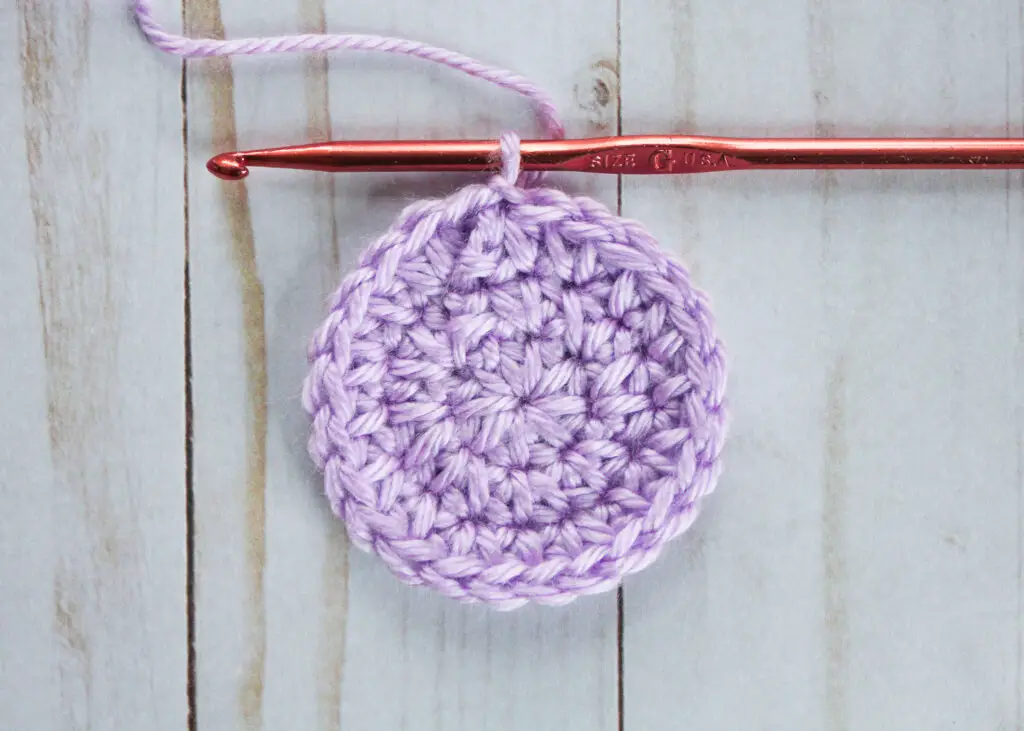
Round 4: Ch 2. *Work 2 hdc in first st, 1 hdc in next 2 sts. Repeat from *. Join with a sl st. <32 hdc> Check gauge here.
You’ll be working in rows from here on.
(Head)
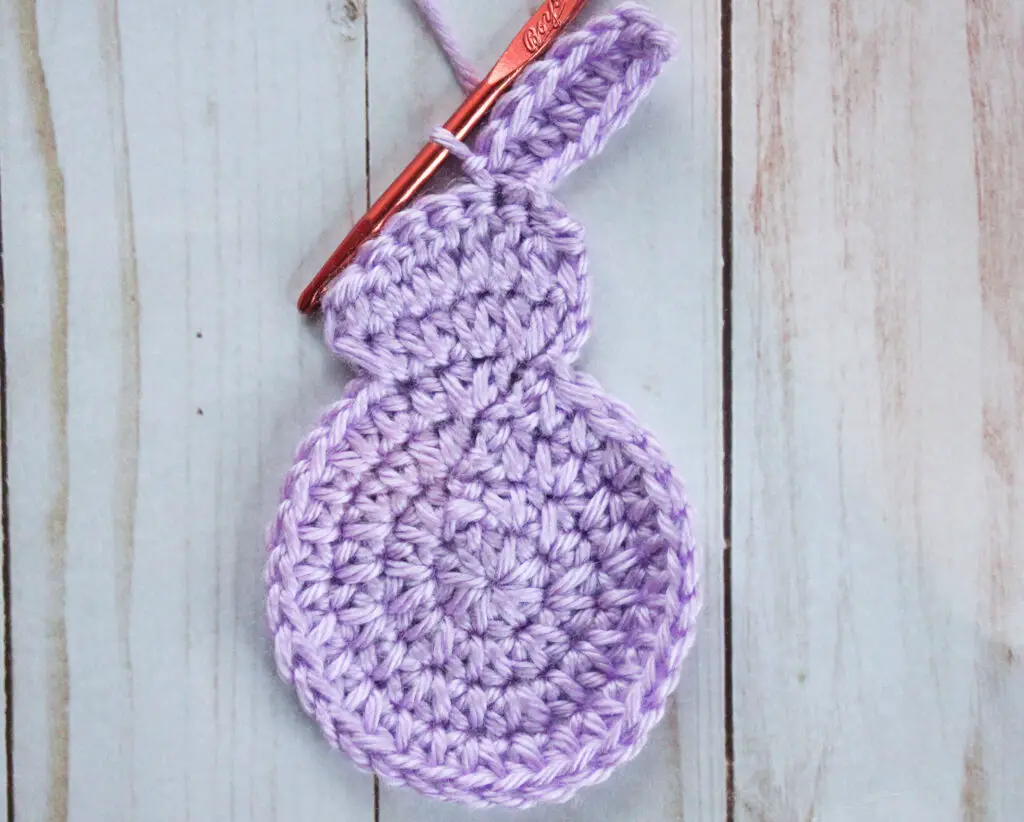
Row 1: Ch 2. Work 2 hdc in first st and in each of the next 3 sts. <8 hdc>
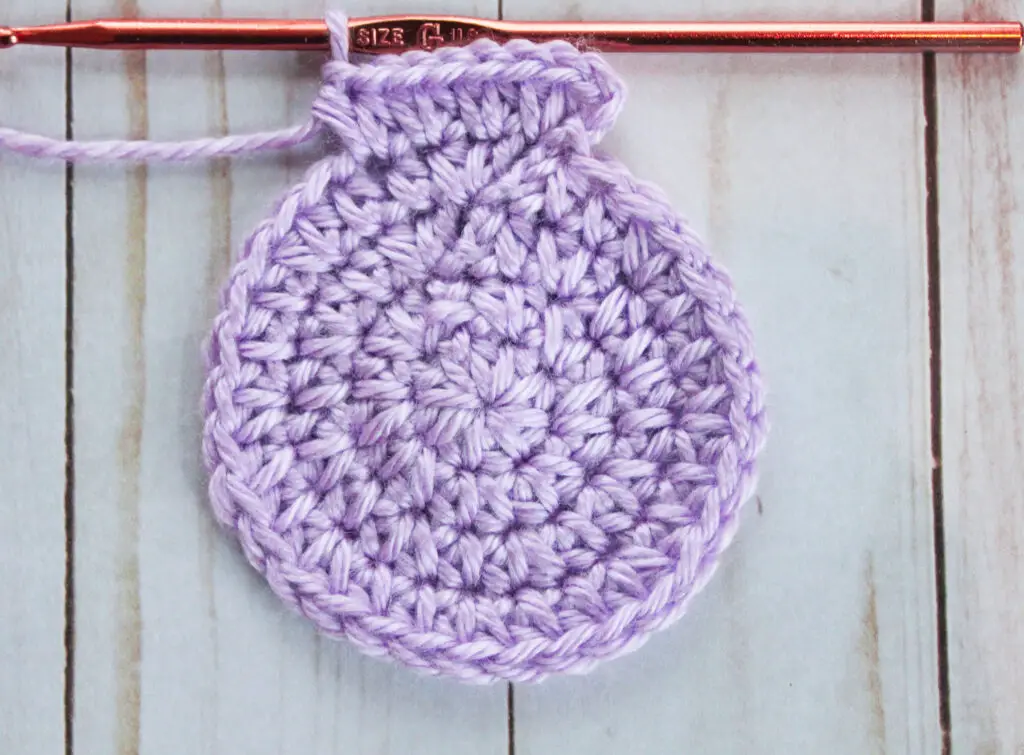
Row 2: Ch 2, turn. 1 hdc in the first st. 1 DC in each of the next 6 sts. 1 hdc in the last st. <8 sts>
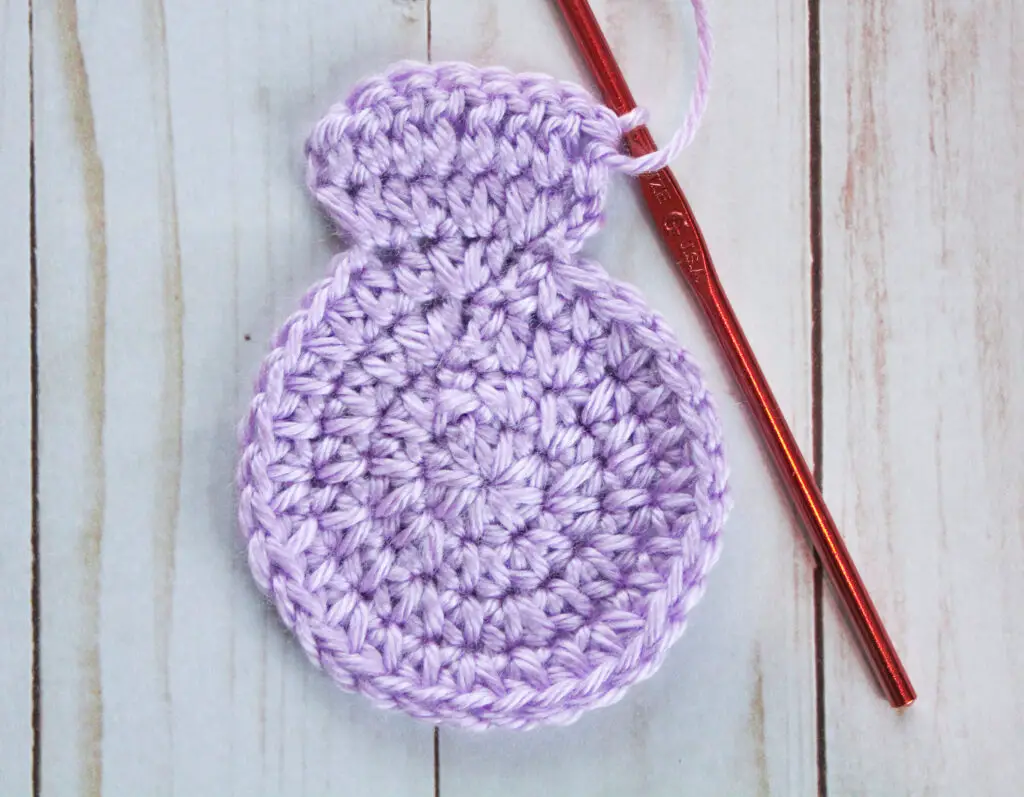
(Ears)
Row 3: Turn (do not chain). Sl st in the first 3 sts. Ch 7.

Ear 1 – Working back down chain, SC in 2nd chain from hook. Hdc in next chain. DC in next 3 chains. Hdc in last chain. Sl st in same st you started chaining from to secure ear to head.
Sl st in next 3 sts. Ch 7.
Ear 2 – repeat instructions for Ear 1.
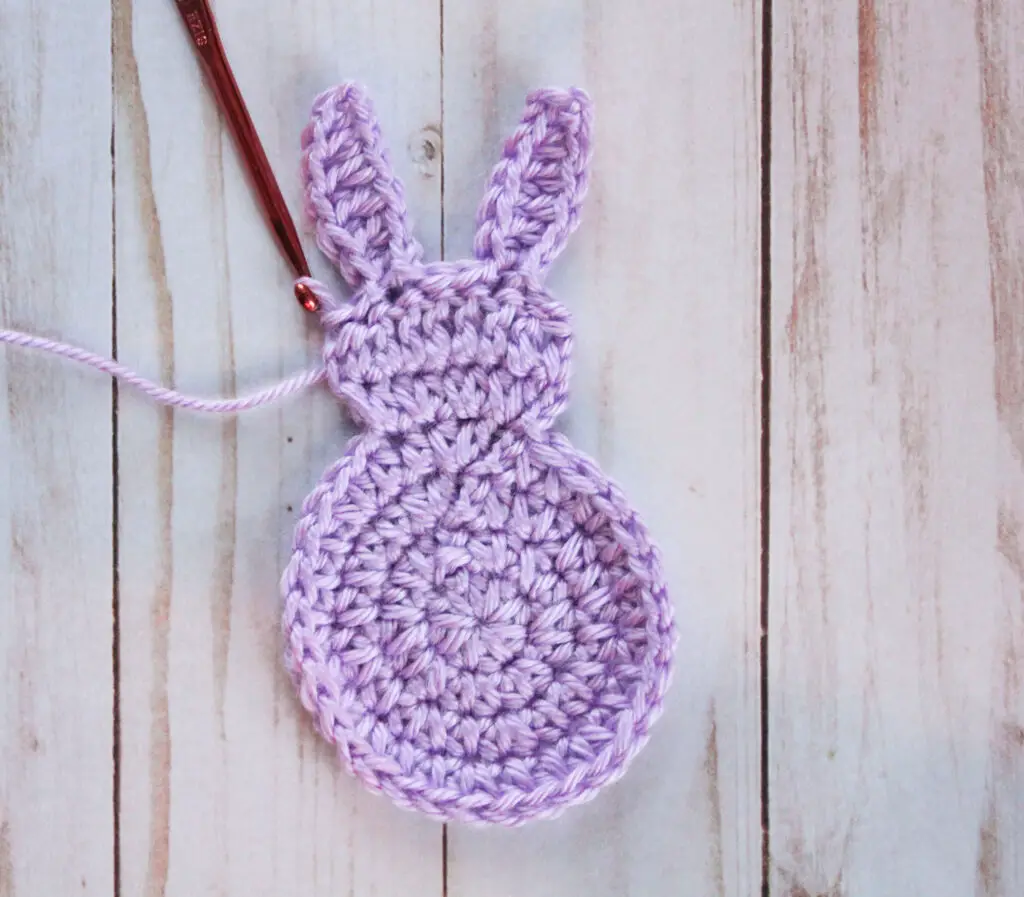
Sl st in next 2 sts.
For first panel, fasten off and weave in ends.
For second panel, do not break yarn. Continue to bunny assembly instructions.
Bunny Assembly
Before joining panels, attach a pom pom (see instructions below) to the front panel. Front panel will be the one facing you as you SC to join. Use the long tails and a yarn needle to attach pom pom to the center of the “body” circle.
- Align the two bunny panels with the wrong sides facing in (wrong sides will have an extra line on the body circle).
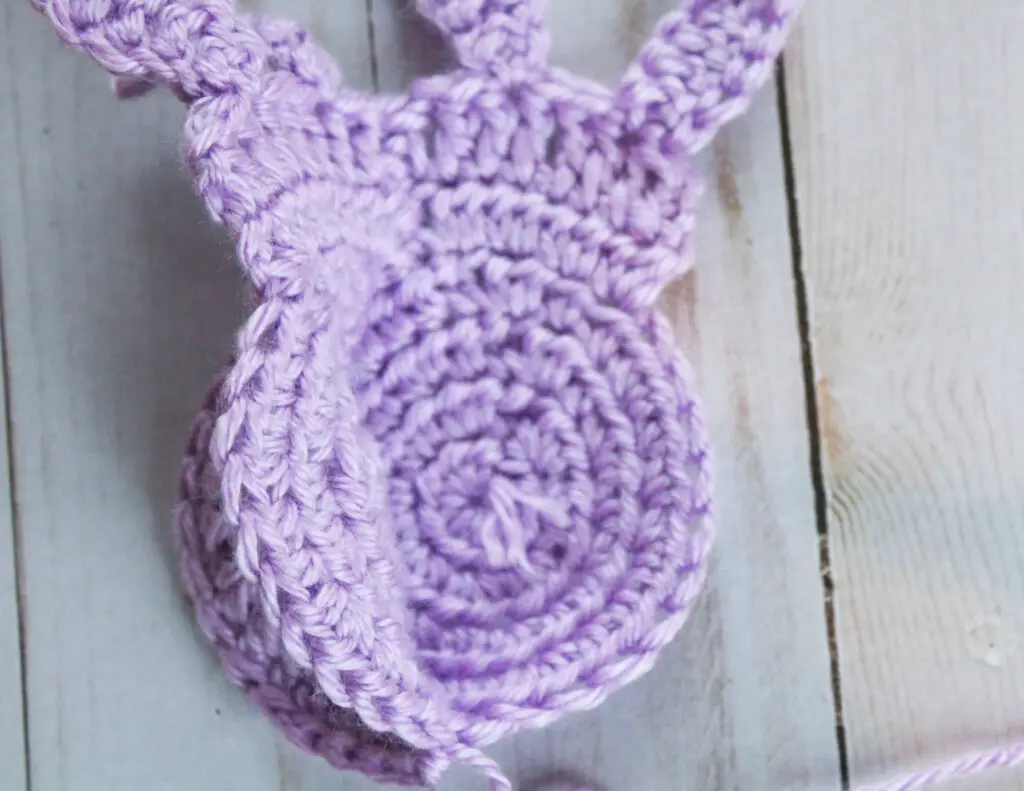
- Begin SC evenly around to join. I think it looks best to do a sl st instead of a SC where the head joins the body and where the ears join the head.
- Before joining the head and ears of the two panels, stop and lightly stuff body and head with fiber fill (no need to stuff ears).
- Continue stitching around to join. When you get back to your first SC, sl st to join edging. Fasten off and weave in ends.
Mini pom poms
Wrap yarn around all four tines of a fork, leaving about 1/2 inch of space at the base of tines. Make about 40 wraps. Cut yarn.
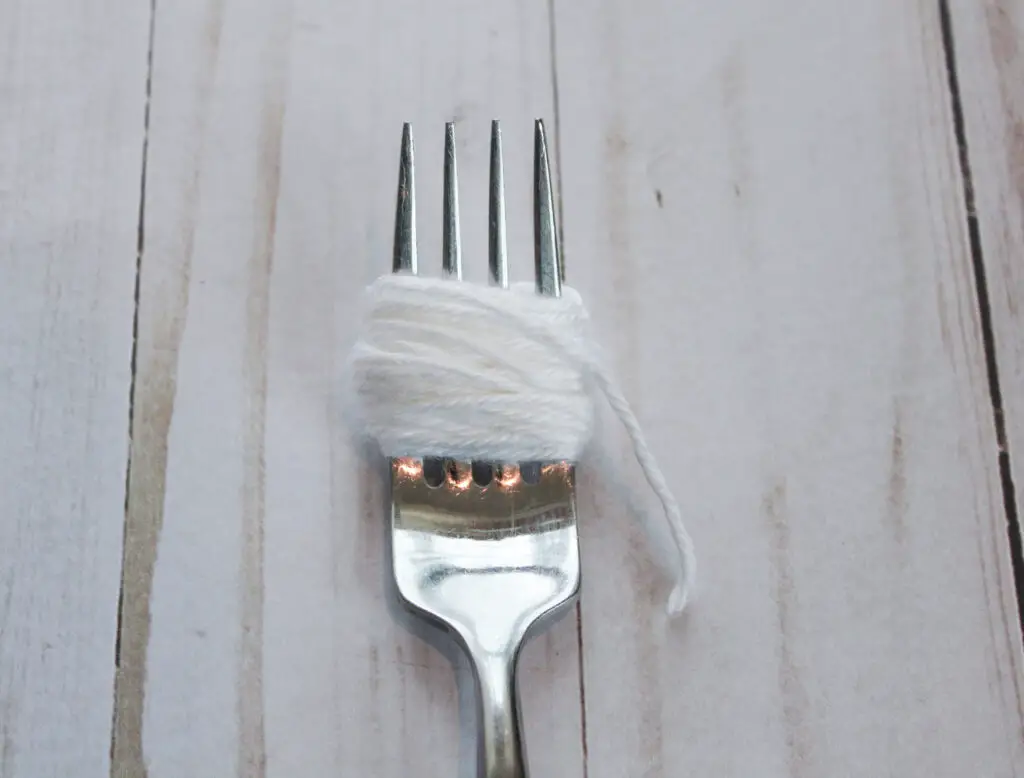
Cut a 12” length of yarn. Slip it through the center space between the tines, wrap tightly around loops of yarn and tie as tightly as you can.
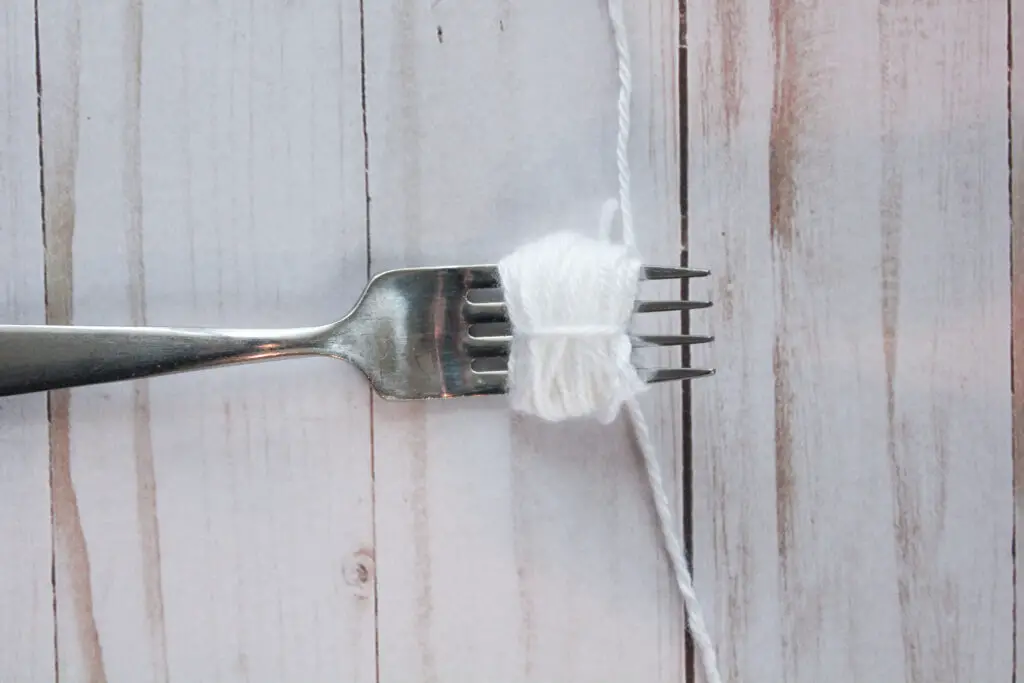
Slide yarn off of fork and use sharp scissors to cut the loops on either side. Fluff yarn and use scissors to trim and shape pom pom, being careful not to cut the long tails. Use the long tails to secure pom pom to bunny panel.

Garland
– With white yarn, ch 240. Fasten off.
– Use a small bit of yarn and yarn needle to attach bunnies to chain in even intervals.
– Thread the yarn through the back panel of the bunny at the top of the “head” (near where the ears attach), then thread it through the chain (this keeps it from sliding). Tie tightly and cut or weave in ends to hide them.
– To make it even more festive, attach a few mini pom poms (or larger ones – I have a tutorial for that here!) in between the bunnies!
– Admire your new garland!
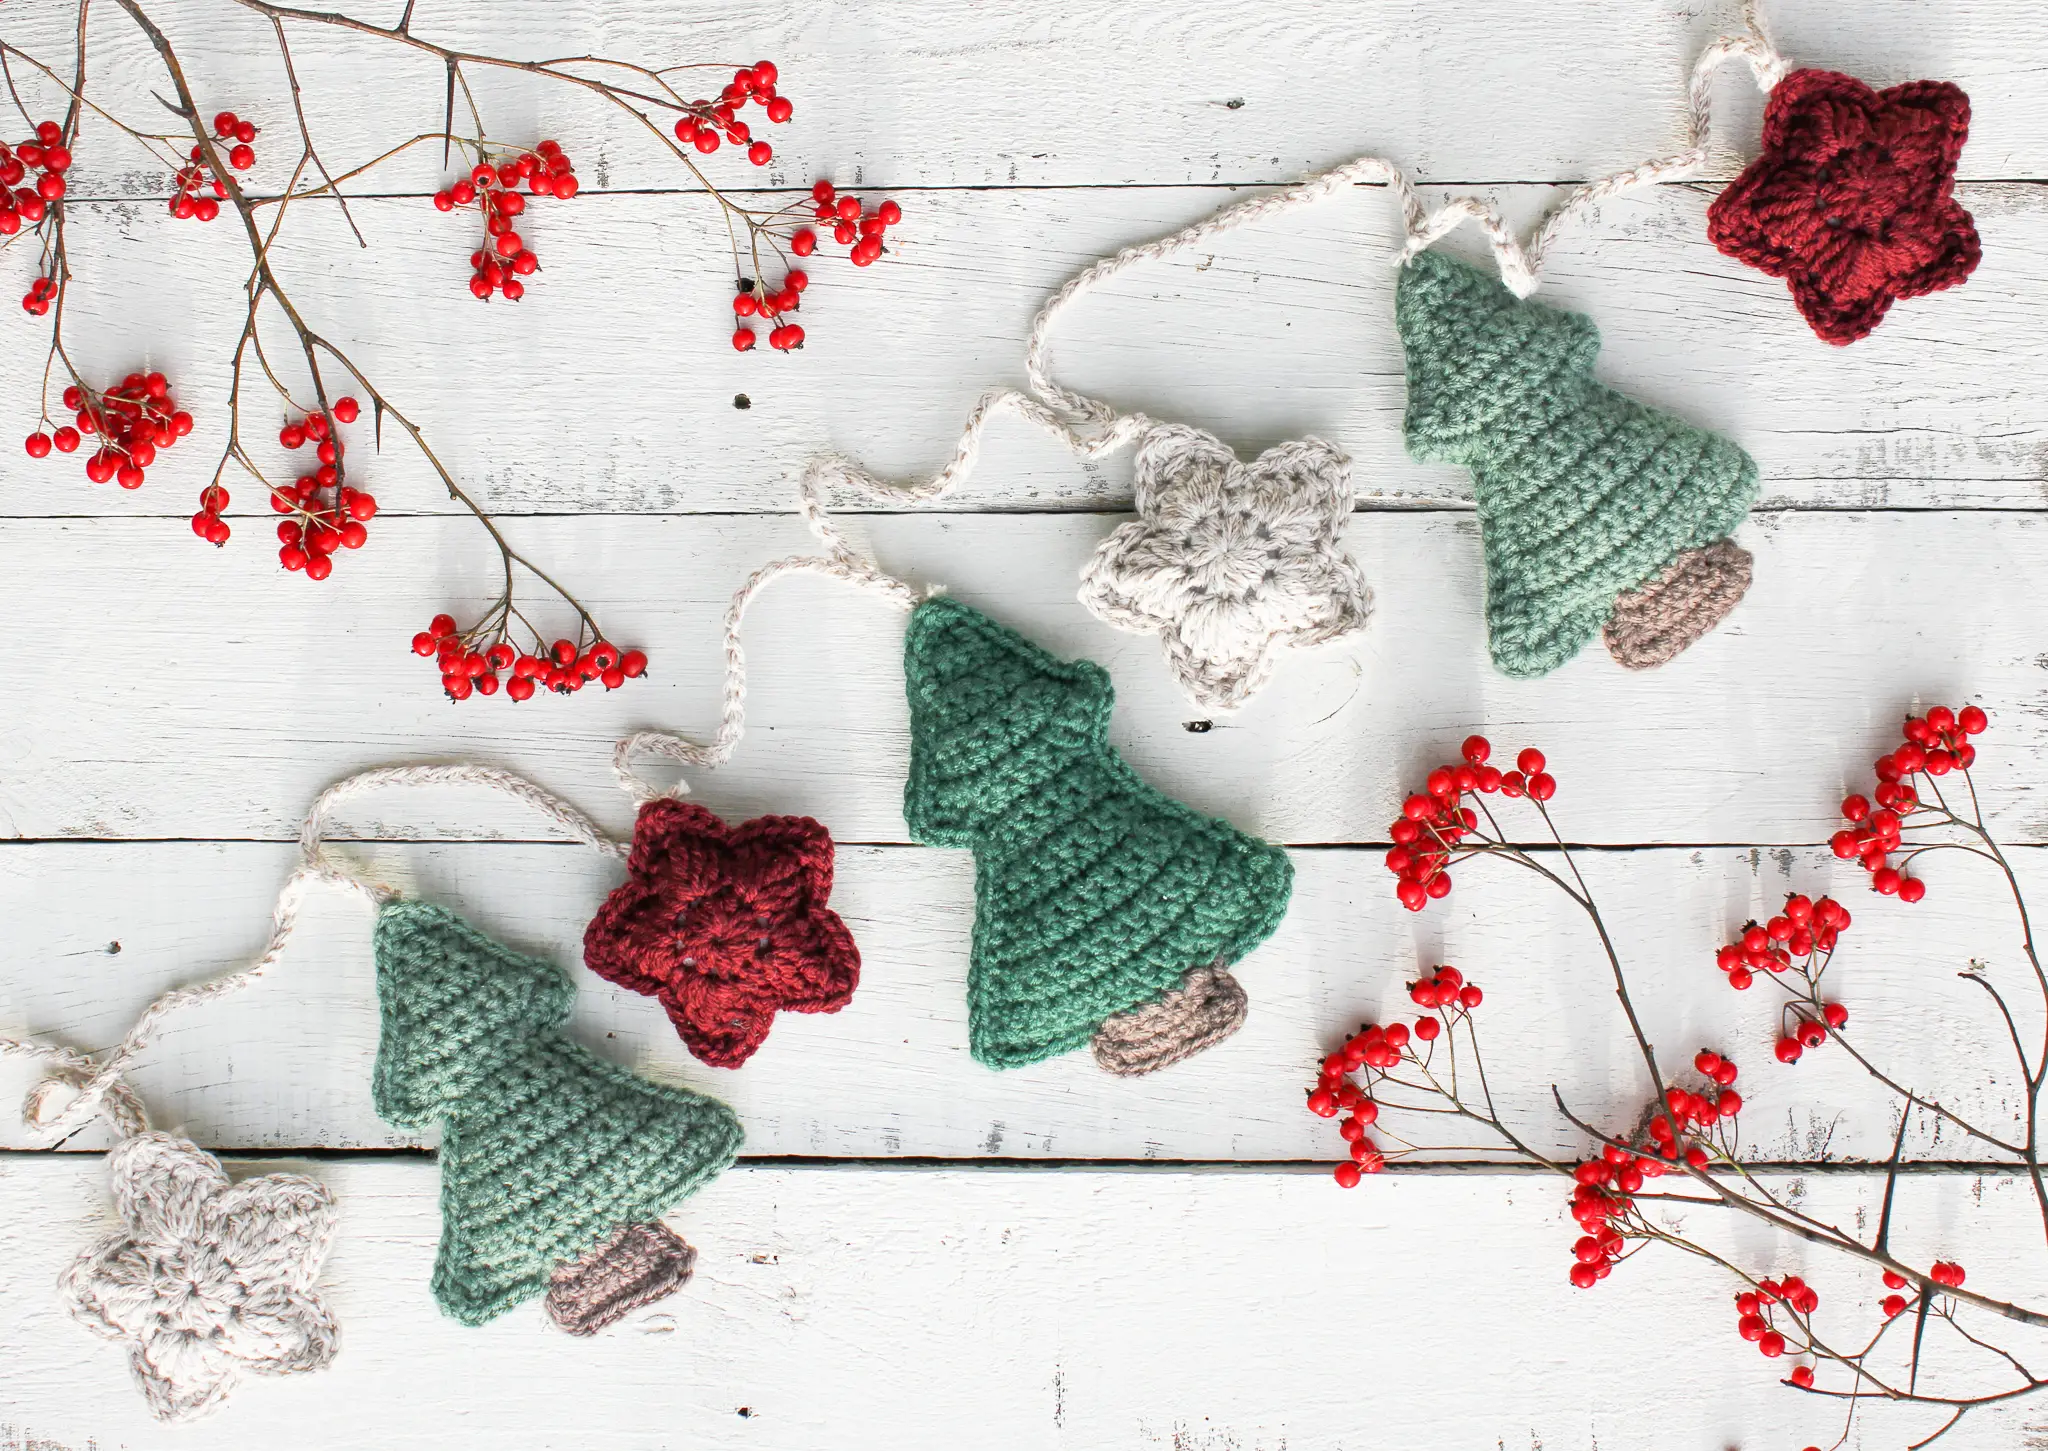
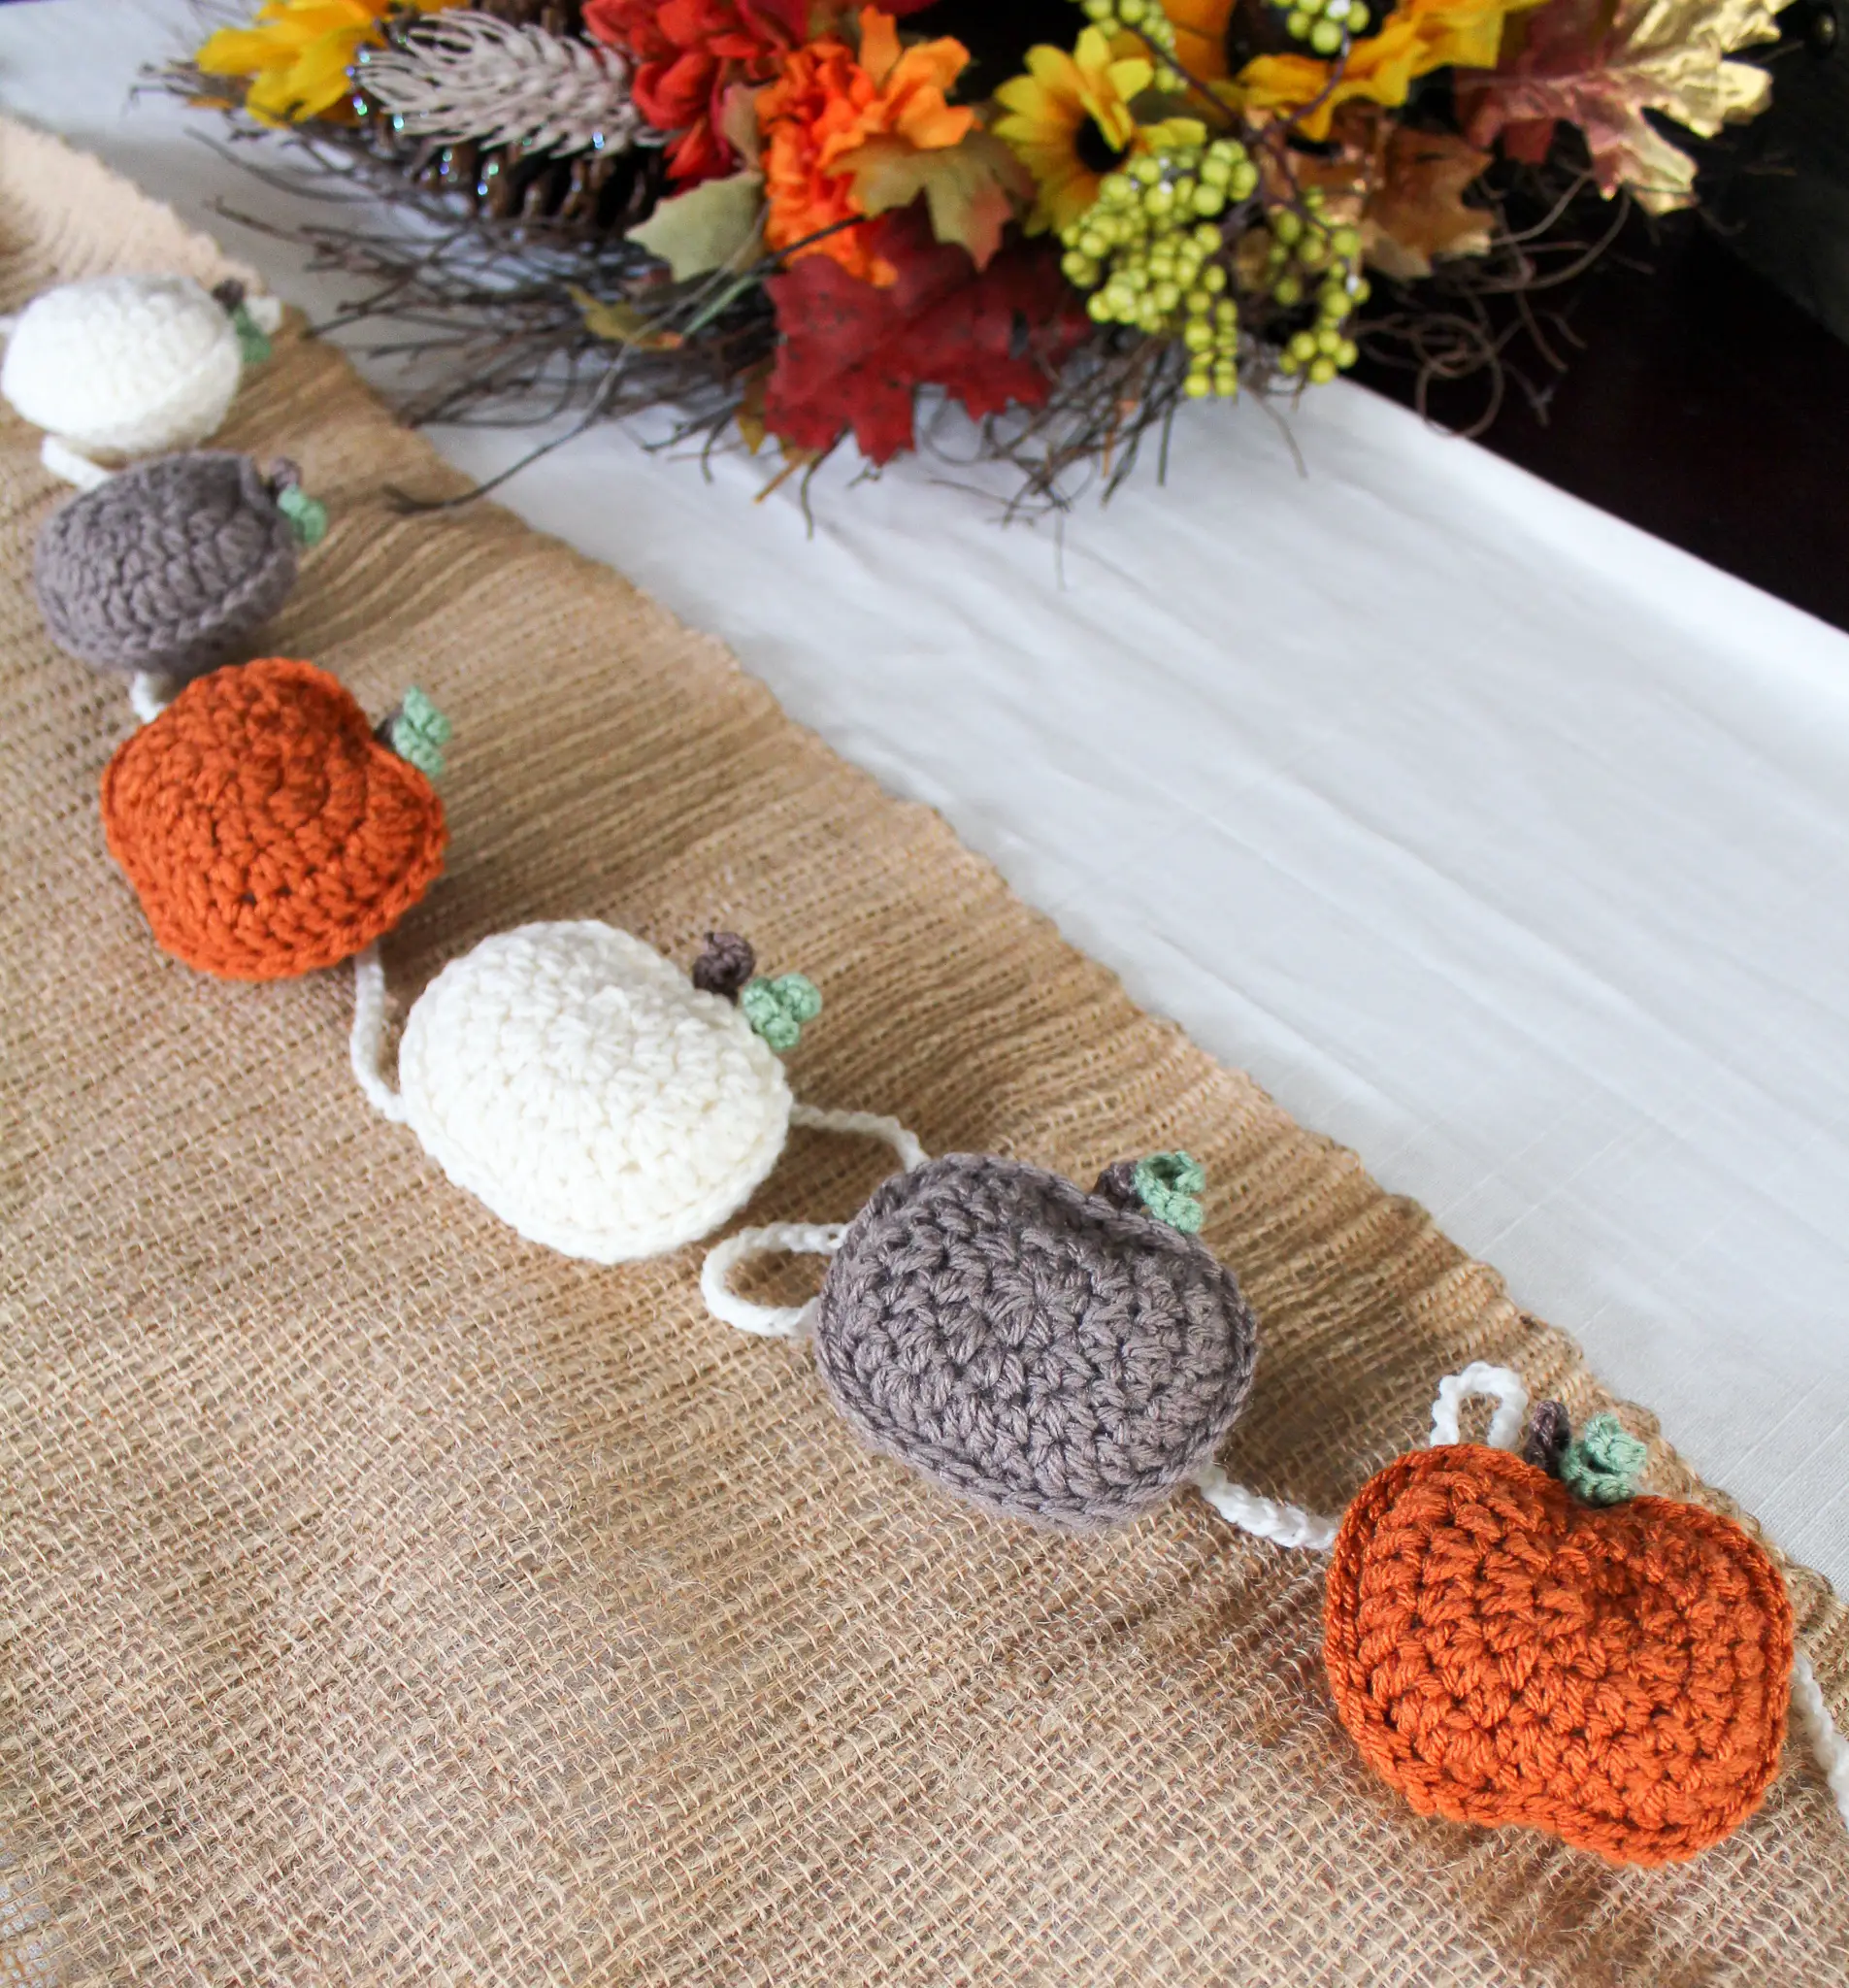
While you’re at it, check out my other crochet garlands and make one for every season! The Valentine Hearts Garland, The Christmas Tree and Star Garland, and The Rustic Pumpkin Garland are all available free here on the blog.

I hope you loved this pattern – let me know what you think in the comments below! I’d also love it if you’d tag me on Instagram (@theknottednest) to show off your finished product – I can’t wait to see! Check out the Patterns section here on the blog for more project inspo!


4 Comments
Lisa Popeck
Thank you so much for the great pattern. It was easy to follow and fun to make during the stay at home order. Happy Easter to you and yours!
theknottednest
I am so glad you enjoyed it! Happy Easter!
Sandi
Such an adorable pattern. Came out so cute! I didn’t see it until after Easter but I’m putting it away for next year. Thank you for sharing
theknottednest
So glad you enjoyed it! 😊